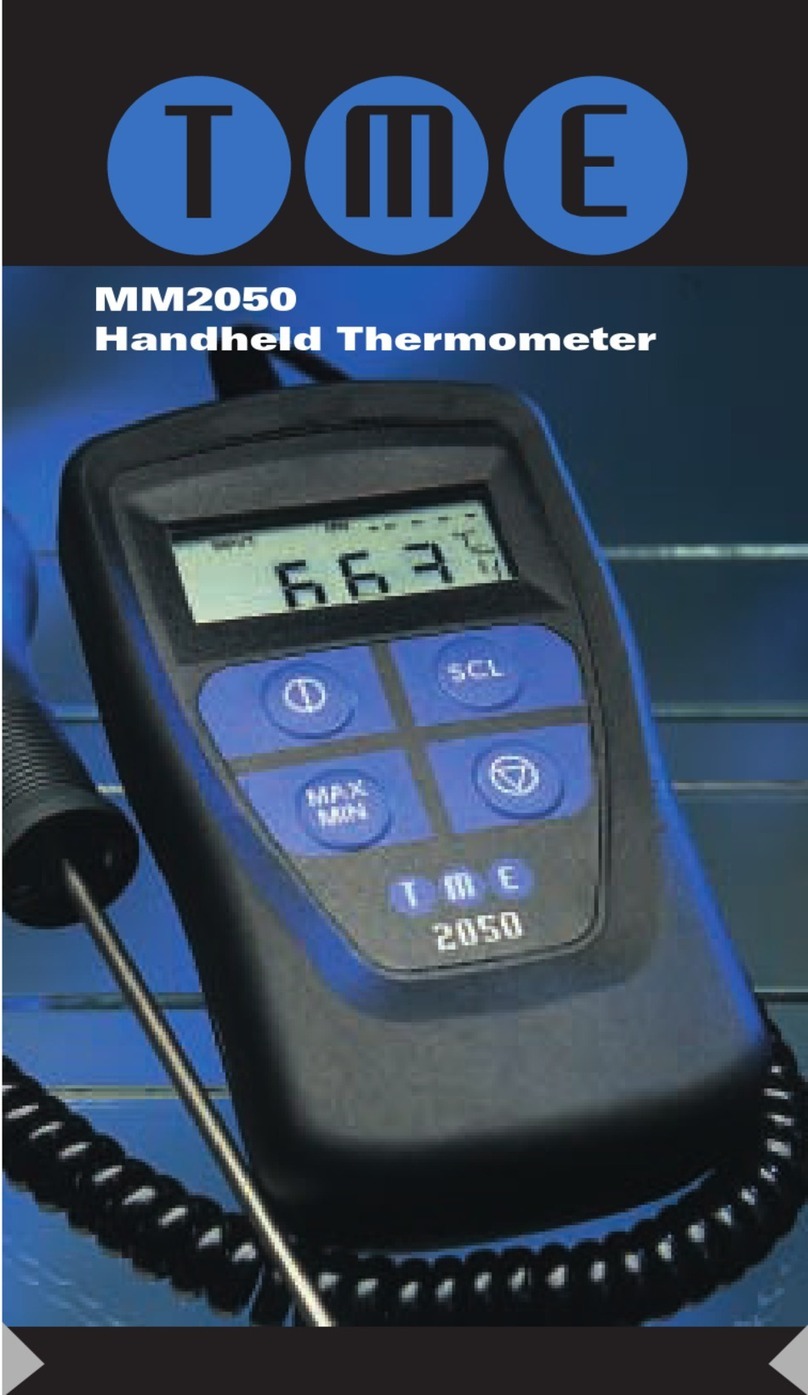
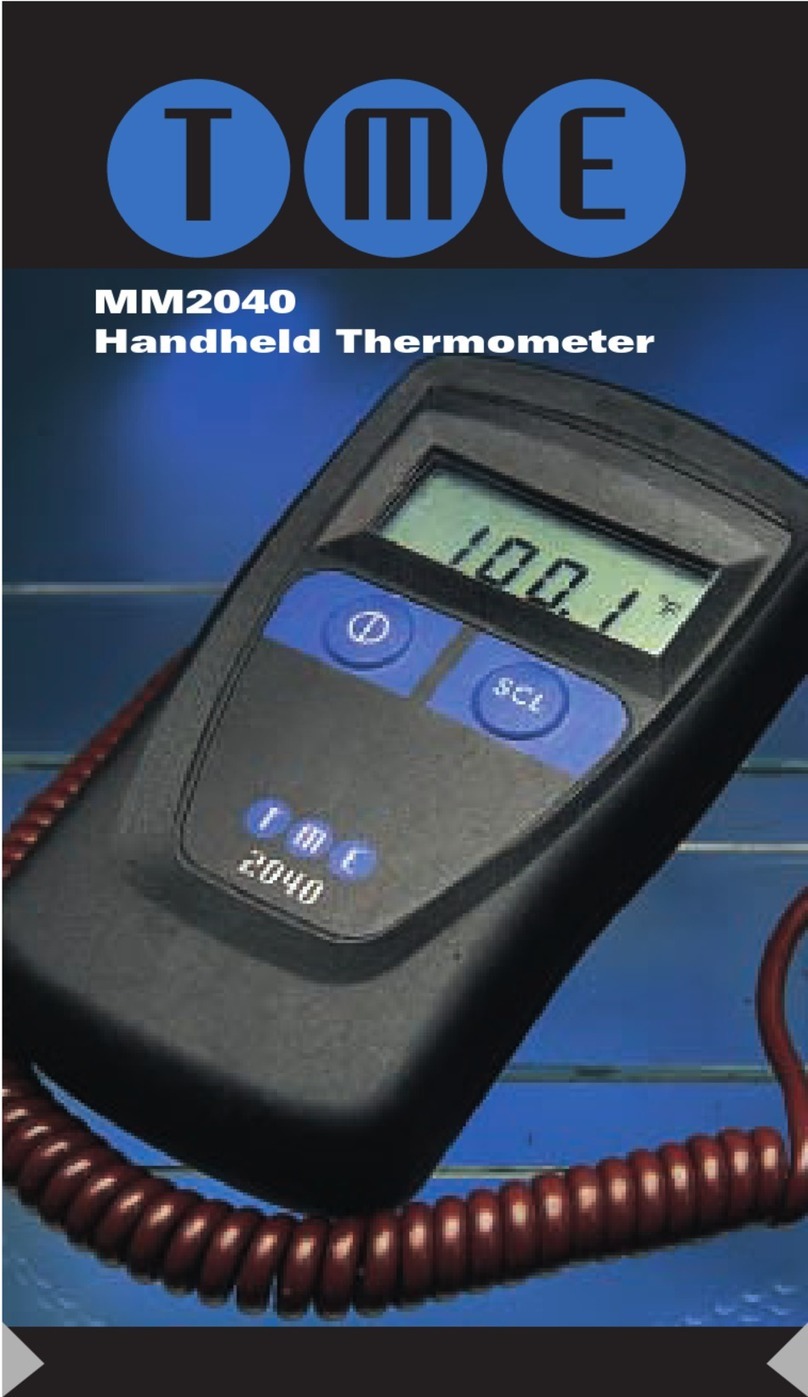
TME MM2030 User manual

MM2030
Handheld Thermometer
TMEbooklet2030 9/4/02 11:55 AM Page 1

3
MM2030
2
GB
English
OPERATING INSTRUCTIONS
To Measure Temperature
1. Fit the battery to the instrument
(refer to battery replacement details)
2. Switch thermometer ON.
3. Plug thermocouple into input socket.
4. Check temperature scale is correct.
(°C / °F/ °A)
5. Check thermocouple is correct
6. Take measurement by contacting object with probe and
reading from the display.
Changing Temperature Scale (°C / °F/ °A)
To change the temperature scale simply press the button
marked ‘SCL’
The temperature scale will alter as shown on the right
hand side of the display.
Changing Thermocouple Type
To change thermocouple type, follow the sequence below:
1. Switch the unit OFF.
2. Press and hold the ‘SCL’ button.
3. Switch the unit ON.
4. Release buttons.
Note
MilliVolt function is selected as if it were a thermocouple
type.
The new thermocouple type will appear in the bottom
right hand corner of the display (see fig 1). Repeat steps
above until desired thermocouple type is shown.
Introduction
Your high accuracy microprocessor driven thermometer is
suitable for use with thermocouple types K,J,T,R,N,E,S or
Infra-Red sensors.
The thermocouple calibrations are in accordance with
national and international standards (NBS and IEC) tables.
Features
•
°C / °F/ °A
TEMPERATURE SCALES
•MEASURE TEMPERATURE
•SIMULATE THERMOCOUPLE
•OVERRANGE / OPENCIRCUIT PROBE INDICATION
•LOW BATTERY INDICATION
•K,J,T,R,N,E,S THERMOCOUPLE TYPES
•Milli-Volt MEASUREMENT OUTPUT.
•RETENTION OF THERMOCOUPLE TYPE AND SCALE
MAIN DISPLAY THERMOCOUPLE TYPE
SECOND DISPLAY
SIMULATION INDICATOR BARS
BATTERY LOW INDICATION
TEMPERATURE SCALE
fig 1
TMEbooklet2030 9/4/02 11:55 AM Page 2

5
MM2030
4
Replacing The Battery
The instrument will indicate ‘BAT LOW’ when the battery
needs changing.
To change the battery, firstly remove the unit from the
outer case. The battery compartment is on the rear of the
instrument. Using a small screwdriver ease back the tab
of the battery compartment. The compartment will then
lift away.
Open Circuit Thermocouple Detection
An error in the probe is shown on the display by a series
of bars ‘- - - - -’ coupled with the word ’INPUT’ at the top
of the display. This indicates either that the probe has an
error or the temperature is out of range.
Simulate Thermocouple
This instrument is capable of simulating a thermocouple,
thus enabling it to be used to check the calibration
accuracy of any other thermocouple instrument/controller.
To change to the simulate mode press both arrow keys
simultaneously. Simulate mode is indicated by a solid bar
on the left of the display. To cancel this mode, simply
press both arrow keys again. When in simulate mode, the
set point is shown on the main display and may be
changed using the arrow keys. The second display
indicates the actual output of the unit. When the two are
equal the output has settled and as a further guide a
second bar is activated in the left of the display.
To avoid cold junction errors, the test equipment and the
simulator should be at the same ambient temperature.
K
T
R
N
J
E
S
mV
-200ºC to 1372ºC
-200ºC to 400ºC
-50ºC to 1767ºC
-200ºC to 1300ºC
-200ºC to 1200ºC
-200ºC to 1000ºC
-50ºC to 1767ºC
-328ºF to 250ºF
-328ºF to 752ºF
-58ºF to 3212ºF
-328ºF to 2372ºF
-328ºF to 2192ºF
-328ºF to 1832ºF
-58ºF to 3212ºF
-10 to 70mV
-73ºF to 1645ºF
-73ºF to 673ºF
-223ºF to 2040ºF
-73ºF to 1573ºF
-73ºF to 1473ºF
-223ºF to 1273ºF
-223ºF to 2040ºF
CENTIGRADE FAHRENHEIT KELVIN
ELECTRICAL
Measurement Ranges
Accuracy@23ºC ±0.15% of reading ±0.2ºC
Characterising error less than 0.05ºC
Temperature coefficient 0.01% of reading/ºC
Cold junction compensation 0.0075ºC/ºC
Resolution 0.1ºautoranging to 1º 1000º
Note
Strong RF fields may adversely affect measurement accuracy.
General
WEIGHT 155 gms (5.47 oz)
DIMENSIONS 130 x 70 x 33 mm
BATTERY PP3
BATTERY LIFE 200 Hours
SPECIFICATIONS
Environmental
Ambient operating range -30°C to 50°C (-21 to 122°F)
Storage temperature range -40°C to 60°C (-40 to 140°F)
Humidity 0 to 70% R.H.
TMEbooklet2030 9/4/02 11:55 AM Page 4

6
Introduction
Ce thermomètre de haute précision à microprocesseur est
conçu pour fonctionner avec des thermocouples de type
K, J, T, R, N, E, S ou des capteurs d’infrarouge.
L’étalonnage des thermocouples s’effectue conformément
aux tableaux publiés dans les normes américaines (NBS) et
internationales (IEC).
Caractéristiques générales
•ÉCHELLES DE TEMPÉRATURE
°C / °F/ °A
•MESURE DE TEMPÉRATURES
•SIMULATEUR DE THERMOCOUPLE
•INDICATION DE DÉPASSEMENT DE LIMITE / SONDE
EN CIRCUIT OUVERT
•INDICATION DE PILE FAIBLE
•TYPES DE THERMOCOUPLES K, J, T, R, N, E & S
•SORTIE EN MILLIVOLTS POUR SIMULATION DE
MESURE
•MÉMORISATION DU TYPE DE THERMOCOUPLE ET
DE L’ÉCHELLE
7
MM2030
FR
François
NOTICE D’UTILISATION
Pour mesurer une température
1. Montez la pile dans l’instrument (voir les instructions de
remplacement de la pile).
2. Mettez le thermomètre sous tension (ON).
3. Branchez le thermocouple dans la prise d’entrée.
4. Assurez-vous d’avoir sélectionné la bonne échelle de
température
(°C / °F/ °A)
.
5. Assurez-vous d’avoir sélectionné les bons types de
thermocouple.
6. Prenez la mesure en mettant la sonde en contact avec
l’objet et en lisant la valeur qui s’affiche.
Changement d’échelle de température
(°C / °F/ °A)
Pour changer d’échelle de température, appuyez sur le
bouton marqué ‘SCL’.
L’indicateur d’échelle de température, sur la droite de
l’afficheur, permet de constater que l’échelle a changé.
Changement de type de thermocouple
Procédez comme suit pour changer de type de
thermocouple :
1. Mettez l’instrument hors tension (OFF).
2. Appuyez sur le bouton ‘SCL’ et maintenez ce dernier
enfoncé.
3. Mettez l’instrument sous tension (ON).
4. Relâchez les boutons.
Remarque:
On sélectionne la fonction MilliVolt
comme s’il s’agissait d’un type de thermocouple.
Le nouveau type de thermocouple apparaît en bas à droite de
l’afficheur (voir figure 1). Recommencez les étapes ci-dessus
jusqu’à voir s’afficher le type de thermocouple désiré.
MAIN DISPLAY THERMOCOUPLE TYPE
SECOND DISPLAY
SIMULATION INDICATOR BARS
BATTERY LOW INDICATION
TEMPERATURE SCALE
fig 1
TMEbooklet2030 9/4/02 11:55 AM Page 6

9
MM2030
Précision à 23 °C : ±0,15 % de la valeur affichée ±0,2 °C
Erreur de caractérisation : Inférieure à 0,05 °C
Coefficient de température : 0,01 % de la valeur affichée / °C
Compensation de soudure froide :0,0075 °C/°C
Résolution : de 0,1° en mode
sélection de gamme automatique
jusqu’à 1° au-dessus de 1000°
Remarque:
Des champs électromagnétiques puissants de radiofréquence
peuvent dégrader la précision des mesures.
Caractéristiques générales
POIDS : 155 g (5,47 oz)
DIMENSIONS : 130 x 70 x 33 mm
PILE : PP3
DURÉE DE VIE DE LA PILE : 200 heures
8
Remplacement de la pile
L’instrument affiche ‘ BAT LOW ’ (pile faible) lorsqu’il faut
remplacer la pile.
Pour remplacer la pile, commencez par retirer l’instrument
de son boîtier de protection externe. Le compartiment de
la pile se trouve au dos de l’instrument. À l’aide d’un petit
tournevis, repoussez la languette de fermeture du
compartiment de la pile. Le compartiment s’ouvre alors de
lui-même.
Détection de thermocouple en circuit
ouvert
Une erreur au niveau de la sonde sera signalée sur
l’afficheur par une série de tirets ‘- - - - -’ associée au mot
‘INPUT’ en haut de l’écran. Ceci indique soit que la sonde
ne fonctionne pas normalement, soit que la température à
mesurer sort de la gamme des températures mesurables.
Simulateur De Thermocouple
Cet instrument est capable de simuler un thermocouple,
et peut ainsi servir à vérifier la précision de l’étalonnage
d’un autre instrument à thermocouple ou contrôleur.
Pour passer en mode simulateur, appuyez en même
temps sur les deux touches fléchées. Le mode simulation
est signalé par une barre pleine du côté gauche de
l’afficheur. Pour annuler ce mode, appuyez à nouveau sur
les deux touches fléchées en même temps. En mode
simulateur, la valeur de consigne apparaît sur l’afficheur,
et peut être modifiée à l’aide des touches fléchées.
L’afficheur secondaire indique la valeur de sortie réelle de
l’instrument. Lorsque ces deux valeurs sont égales, la
sortie est stabilisée, et pour l’indiquer de façon plus
évidente une seconde barre apparaît sur la gauche de
l’afficheur.
Pour éviter des erreurs de type soudure froide, l’appareil
de mesure et le simulateur doivent être à la même
température ambiante.
CARACTÉRISTIQUES ÉLECTRIQUES
Gammes de Mesure
SPÉCIFICATIONS
Caractéristiques d’environnement
Température ambiante
en fonctionnement -30 °C à 50 °C (-21 °F à 122 °F)
Température de stockage : -40 °C à 60 °C (-40 °F à 140 °F)
Humidité : 0 % à 70 % H. R.
K
T
R
N
J
E
S
mV
-200ºC to 1372ºC
-200ºC to 400ºC
-50ºC to 1767ºC
-200ºC to 1300ºC
-200ºC to 1200ºC
-200ºC to 1000ºC
-50ºC to 1767ºC
-328ºF to 250ºF
-328ºF to 752ºF
-58ºF to 3212ºF
-328ºF to 2372ºF
-328ºF to 2192ºF
-328ºF to 1832ºF
-58ºF to 3212ºF
-10 to 70mV
-73ºF to 1645ºF
-73ºF to 673ºF
-223ºF to 2040ºF
-73ºF to 1573ºF
-73ºF to 1473ºF
-223ºF to 1273ºF
-223ºF to 2040ºF
CENTIGRADE FAHRENHEIT KELVIN
TMEbooklet2030 9/4/02 11:55 AM Page 8

MM2030
11
BEDIENUNGSHINWEISE
Zum Messen Von Temperaturen
1. Batterie in das Instrument einlegen (siehe
Gebrauchsanweisung zu Batterieauswechseln
2. Das Thermometer EINschalten
3. Das Thermoelement in Eingangsockel stecken
4. Nachprüfen, ob die Skala
(°C / °F/ °A)
) richtig ist
5. Prüfen, ob Thermoelment Typ passend ist.
6. Messung durch Berührung des Gegenstandes mit
Sonde; Anzeige ablesen
Temperaturskala Ändern (°C / °F/ °A)
Um die Temperaturskala zu ändern, braucht man nur den
‘SCL’ Knopf zu drücken.
Die Skala ändert sich entsprechend der Anzeige auf der
rechten Seite.
Thermoelement -Typ Ändern
1. Um den Thermoelement- Typ zu ändern, folgende
Anweisungen befolgen:
2. Das Gerät ABschalten
3. Den ‘SCL’ Knopf drücken und halten
4. Das Gerät EINschalten
5. Den Knopf los lassen
NB:
Die Millivolt Funktion wird gewählt als ob sie ein
Thermoelement wäre
Der neue Thermolement- Typ erscheint unten rechts auf
der Anzeige (siehe Abb.1). Die obige Folge so lange
wiederholen bis der gewünschte Typ angezeigt wird.
10
Einführung
Ihr von einem Mikroprozessor gesteuertes
Präzisionsthermometer ist geeignet für Thermoelemente
der Typen K,J,T,R,N,E,S oder infrarote Sensoren.
Die Eichung des Thermoelements beruht auf nationalen
und internationalen Standardtabellen (NBS und IEC).
Besondere Merkmale
•
WAHRE ARITHMETISCHE
DIFFERENTIALMESSUNGEN
•TEMPERATURMESSUNG
•THERMOELEMENTE SIMULATOR
•GESAMTBEREICH/SONDENANZEIGE OFFENER
STROMKREIS
•ANZEIGE NIEDRIGER BATTERIESTAND
•TYPEN K,J,T,R,N,E,S THERMOELEMENTE
•MILLIVOLT MESSUNGS-OUTPUT
•SPEICHERUNG VON THERMOELEMENT-TYP
UND SKALA
D
Deutsch
MAIN DISPLAY THERMOCOUPLE TYPE
SECOND DISPLAY
SIMULATION INDICATOR BARS
BATTERY LOW INDICATION
TEMPERATURE SCALE
fig 1
TMEbooklet2030 9/4/02 11:55 AM Page 10

13
Präzision @ 23oC ± 0.15% bei Ablesung ± 0.2oC
Typische Abweichung weniger als 0.05oC
Temperatur Koeffizient 0.01% bei Ablesung /oC
Kompensation für
kalten Anschluss 0.0075oC/oC
Auflösung 0.1o bei auto.
Reichweite bis zu 1o über 1000o
Anmerkung
Starke Hochfrequenzfelder können die Messpräzision
negativ beeinflussen.
Allgemeines
GEWICHT 155g (5.47 Unzen)
AUSMASSE 130 x 70 x 33mm
BATTERIE PP3
BATTERIELEBENSDAUER 200 Stunden
MM2030
12
Auswechseln Der Batterie
Das Gerät zeigt ‘BAT LOW’an, wenn die Batterie
ausgewechselt werden muss.
Um die Batterie auszuwechseln, das Instrument erst aus dem
äußeren Gehäuse entnehmen. Das Batteriefach befindet sich
im hinteren Teil des Instruments. Mit einem kleinen
Schraubenzieher die Klappe des Batteriefachs zurückheben.
Dann hebt sich das ganze Fach heraus.
Offener Stromkreis,
Thermoelement Feststellung
Ein Fehler in der Sonde wird durch eine Anzahl von Strichen
‘- - - - -’ oben im Display angezeigt, zusammen mit dem Wort
‘INPUT’. Das bedeutet entweder, dass die Sonde einen Fehler
hat oder die Temperatur ausserhalb des Bereichs liegt.
Thermoelement Simulation
Das Instrument ist in der Lage, ein Thermoelement zu
simulieren, d.h. es kann zum Prüfen der Eichungspräzision
irgendeines anderen Thermoelement-Instruments/einer
Kontrolle benutzt werden. Um auf Simulation umzuwechseln,
beide Pfeiltasten gleichzeitig drücken. Simulation wird durch
einen dicken Balken auf der linken Seite des Displays
angezeigt. Um diese Betriebsfunktion aufzuheben, einfach
beide Pfeiltasten abermals drücken. Wenn in
Simulationsfunktion, wird der Stellungspunkt auf dem
Hauptdisplay angezeigt und kann mit den Pfeiltasten geändert
werden. Die zweite Anzeige stellt den eigentlichen Output
des Geräts dar. Wenn die beiden gleich sind, hat sich der
Output beruhigt und als weitere Hilfe wird ein zweiter Balken
im linken Teil des Displays aktiviert.
Um Fehler durch kalten Anschluss zu vermeiden, sollten
sowohl Testgerät wie auch Simulator dieselbe
Umgebungstemperatur haben.
ELEKTRISCH
Messbereiche
TECHNISCHE DATEN
Umfeld
Betriebsreichweite Umgebungsluft -30oC bis 50oC (-21 bis 122oF)
Aufbewahrungstemperatur-Bereich -40oC bis 60oC (-40 bis 140oF)
Luftfeuchtigkeit 0 bis 70% relative Luftfeuchtigkeit
K
T
R
N
J
E
S
mV
-200ºC to 1372ºC
-200ºC to 400ºC
-50ºC to 1767ºC
-200ºC to 1300ºC
-200ºC to 1200ºC
-200ºC to 1000ºC
-50ºC to 1767ºC
-328ºF to 250ºF
-328ºF to 752ºF
-58ºF to 3212ºF
-328ºF to 2372ºF
-328ºF to 2192ºF
-328ºF to 1832ºF
-58ºF to 3212ºF
-10 to 70mV
-73ºF to 1645ºF
-73ºF to 673ºF
-223ºF to 2040ºF
-73ºF to 1573ºF
-73ºF to 1473ºF
-223ºF to 1273ºF
-223ºF to 2040ºF
CENTIGRADE FAHRENHEIT KELVIN
TMEbooklet2030 9/4/02 11:55 AM Page 12

15
ISTRUZIONI PER L’UTILIZZO
Per Misurare La Temperatura
1. Inserire la pila nello strumento (consultare le informazioni
per la sostituzione della pila)
2. Accendere il termometro impostando l’interruttore nella
posizione ON.
3. Inserire la spina della termocoppia nella presa di ingresso.
4. Verificare che la scala della temperatura sia quella
corretta
(°C / °F/ °A)
.
5. Controllare che il tipo di termocoppia sia corretto.
6. Misurare la temperatura mettendo la sonda a contatto
con l’oggetto e poi leggendo il valore visualizzato sul
display.
Modifica Della Scala Della Temperatura
(°C / °F/ °A)
Per cambiare la scala della temperatura basta premere il
pulsante contrassegnato ‘SCL’.
La scala della temperatura cambierà come indicato nella
parte destra del display.
Modifica Del Tipo Di Termocoppia
Per cambiare il tipo di termocoppia svolgere i passi riportati
qui di seguito:
1. Spegnere l’unità impostando l’interruttore nella posizione
OFF.
2. Premere e tenere premuto il pulsante ‘SCL’.
3. Accendere l’unità impostando l’interruttore nella
posizione ON.
4. Rilasciare il pulsante.
Nota:
La funzione MilliVolt viene selezionata come se
fosse un tipo di termocoppia.
MM2030
14
Introduzione
Il termometro a microprocessore ad elevata accuratezza
può essere utilizzato con le termocoppie del tipo K, J, T, R,
N, E, S o i sensori infrarossi.
La taratura delle termocoppie è conforme alle tabelle delle
norme nazionali ed internazionali (NBS e IEC).
Caratteristiche
•MISURA DEL DIFFERENZIALE ARITMETICO EFFETTIVO
•MISURA LA TEMPERATURA
•SIMULA LA TERMOCOPPIA
•INDICAZIONE DI SUPERAMENTO CAPACITÀ /
CIRCUITO SONDA APERTO
•INDICAZIONE DI BASSA CARICA DELLA PILA
•TERMOCOPPIE DEL TIPO K, J, T, R, N, E, S
•USCITA PER LA MISURA DEI MILLIVOLT
•MANTENIMENTO DEL TIPO E DELLA SCALA DELLA
TERMOCOPPIA
IT
Italiano
MAIN DISPLAY THERMOCOUPLE TYPE
SECOND DISPLAY
SIMULATION INDICATOR BARS
BATTERY LOW INDICATION
TEMPERATURE SCALE
fig 1
TMEbooklet2030 9/4/02 11:55 AM Page 14

17
Accuratezza a 23 °C ±0,15% del valore misurato ±0,2°C
Errore di caratterizzazione Meno di 0,05°C
Coefficiente termico: 0,01% del valore misurato/°C
Compensazione saldatura fredda 0,0075°C/°C
Risoluzione 0,1° ricerca automatica
del fondoscala a 1°
al disopra dei 1000°
Nota
I forti campi di radiofrequenza possono influire
negativamente sulla precisione di misura.
Dati GeneraliI
PESO 155 g
DIMENSIONI 130 x 70 x 33 mm
PILA PP3
DURATA DELLA PILA 200 ore
MM2030
16
Il nuovo tipo di termocoppia sarà visualizzato nell’angolo
inferiore destro del display (vedere la Fig. 1). Ripetere i passi
sopra riportati finché non sia visualizzato il tipo di termocoppia
desiderato.
Sostituzione Della Pila
Quando sarà necessario sostituire la pila lo strumento
visualizzerà il messaggio ‘BAT LOW’.
Per sostituire la pila sarà necessario innanzi tutto rimuovere
l’unità dalla custodia esterna. Lo scompartimento della pila si
trova nella parte posteriore dello strumento. Fare leva usando
un cacciavite piccolo per tirare su il coperchio dello
scompartimento della pila.
Rivelazione Circuito Termocoppia Aperto
Un errore relativo alla sonda è indicato sul display mediante una
serie di trattini ‘- - - - -’ unitamente alla parola ’INPUT’ nella
parte superiore del display. Questo indica o che si è verificato
un errore relativo alla sonda o che la temperatura è fuori campo.
Simulazione Termocoppia
Lo strumento è in grado di simulare una termocoppia, in modo
da consentire la verifica della precisione di taratura di qualsiasi
altro strumento/regolatore a termocoppia.
Per passare alla modalità di simulazione premere
contemporaneamente i due tasti freccia. La modalità di
simulazione viene indicata da una barra piena riportata nella
parte sinistra del display. Per annullare questa modalità basta
premere nuovamente ambedue i tasti a freccia. Nella modalità
di simulazione il punto di riferimento è riportato sul display
principale e può essere variato mediante i tasti a freccia. Il
secondo display indica l’uscita effettiva dell’unità. Quando i due
valori sono uguali l’uscita si è equilibrata ed una seconda barra
appare nella parte sinistra del display quale ulteriore indicazione.
Per evitare gli errori di saldatura fredda sia l’apparecchio di
prova che il simulatore devono trovarsi alla stessa temperatura
ambiente.
CORRENTE
Portate
DATI TECNICI
Ambiente
Campo temperatura
ambiente di esercizio da -30°C a 50°C (da -21 a 122°F)
Temperatura ambiente
di conservazione da -40°C a 60°C (da -40 a 140°F)
Umidità da 0 a 70% di umidità relativa
K
T
R
N
J
E
S
mV
-200ºC to 1372ºC
-200ºC to 400ºC
-50ºC to 1767ºC
-200ºC to 1300ºC
-200ºC to 1200ºC
-200ºC to 1000ºC
-50ºC to 1767ºC
-328ºF to 250ºF
-328ºF to 752ºF
-58ºF to 3212ºF
-328ºF to 2372ºF
-328ºF to 2192ºF
-328ºF to 1832ºF
-58ºF to 3212ºF
-10 to 70mV
-73ºF to 1645ºF
-73ºF to 673ºF
-223ºF to 2040ºF
-73ºF to 1573ºF
-73ºF to 1473ºF
-223ºF to 1273ºF
-223ºF to 2040ºF
CENTIGRADE FAHRENHEIT KELVIN
TMEbooklet2030 9/4/02 11:55 AM Page 16

19
INSTRUCCIONES DE MANEJO
Modo De Medir La Temperatura
1. Instale la pila en el instrumento (consúltense los detalles
de cambio de pila)
2. Conecte el termómetro (ON).
3. Enchufe el termopar en el tomacorriente.
4. Compruebe que la escala termométrica sea la
correcta.
(°C / °F/ °A)
5. Compruebe que los tipos de termopar sean los correctos
6. Efectúe las mediciones poniendo la probeta en contacto
con el objeto y viendo la lectura en el visualizador.
Cambio De La Escala Termométrica
(°C / °F/ °A)
Para cambiar la escala termométrica sólo hay que pulsar el
botón marcado ‘SCL’ La escala termométrica se modificará
de acuerdo a lo mostrado en el lado derecho del
visualizador.
Cambio Del Tipo De Termopar
Para cambiar el tipo de termopar, sígase la secuencia
siguiente:
1. Desconecte la unidad (OFF).
2. Pulse y mantenga presionado el botón ‘SCL’.
3. Conecte la unidad (ON).
4. Suelte los botones.
Nota:
La función de milivoltios se selecciona como si se
tratara de un tipo de termopar.
El nuevo tipo de termopar aparecerá en la esquina inferior
derecha del visualizador (véase la ilust. 1). Repítanse los
pasos anteriores hasta que se muestre el tipo de termopar
deseado.
MM2030
18
Introducción
Su termómetro de gran precisión dirigido por
microprocesador es apto para utilizar con tipos de
termopares K, J, T, R, N, E, S o con sensores de rayos
infrarrojos.
Las calibraciones del termopar cumplen con las tablas de
normas nacionales e internacionales (NBS e IEC).
Prestaciones
•MEDICIÓN REAL DE DIFERENCIAL ARITMÉTICO
•MEDICIÓN DE TEMPERATURA
•SIMULACIÓN DE TERMOPAR
•INDICACIÓN DE PROBETA DE EXCESO DE ALCANCE
/ CIRCUITO ABIERTO
•INDICACIÓN DE PILA BAJA
•TIPOS DE TERMOPAR K, J, T, R, N, E, S
•SALIDA DE MEDICIÓN EN MILIVOLTIOS.
•RETENCIÓN DE TIPO DE TERMOPAR Y DE ESCALA
E
Espaneol
MAIN DISPLAY THERMOCOUPLE TYPE
SECOND DISPLAY
SIMULATION INDICATOR BARS
BATTERY LOW INDICATION
TEMPERATURE SCALE
fig 1
TMEbooklet2030 9/4/02 11:55 AM Page 18

21
Precisión a 23 °C ±0,15% de lectura ±0,2 °C
Error de caracterización Menos de 0,05 °C
Coeficiente de temperatura 0,01% de lectura/ °C
Compensación de los extremos 0,0075°C/°C
Resolución 0,1° de autoalcance hasta
1° sobre 1.000°
Nota
Los campos fuertes de radiofrecuencia pueden afectar
adversamente la precisión de la medición.
Generales
PESO 155 g. (5,47 onzas)
DIMENSIONES 130 x 70 x 33 mm
PILA PP3
DURACIÓN DE LA PILA 200 horas
MM2030
20
Cambio De La Pila
Cuando se necesite cambiar la pila, el instrumento indicará
‘BAT LOW’.
Para cambiar la pila, sáquese antes la unidad de la caja
exterior. El compartimento de la pila está en la parte
posterior del instrumento. Utilizando un destornillador
pequeño, empujar hacia atrás con cuidado la lengüeta del
compartimento de las pilas. Ahora, el compartimento se
podrá abrir izándolo.
Detección De Termopar De Circuito Abierto
Los errores de la probeta se muestran en el visualizador
mediante una serie de rayas ‘- - - - -’ acompañadas de la
palabra ’INPUT’[ENTRADA] en la parte superior del
visualizador. Esto indica o bien que la probeta tiene un error
o bien que la temperatura se encuentra fuera del campo.
Simulación De Termopar
Este instrumento tiene la capacidad de simular un
termopar, haciendo posible., consecuentemente, que se
pueda utilizar para la calibración precisa de cualquier otro
instrumento/controlador de termopar.
Para cambiar a la modalidad de simulación, púlsense
ambas teclas de flecha simultáneamente. La modalidad de
simulación se indica mediante una raya continua en la
parte izquierda del visualizador. Para cancelar esta
modalidad, sólo hay que pulsar de nuevo ambas teclas de
flecha. Cuando se está en la modalidad de simulación, el
valor prefijado se muestra en el visualizador principal y se
puede cambiar utilizando las teclas de flecha. El
visualizador secundario indica la salida real de la unidad.
Cuando ambas sean iguales, se habrá establecido la salida
y, a modo de guía, se acrtiva una segunda raya en la parte
izquierda del visualizador.
Para evitar errores en los extremos libres de los dos
elementos, el equipo de prueba y el simulador debrerán
tener la misma temperatura ambiente.
ELÉCTRICAS
Campos De Medición
ESPECIFICACIONES
Medioambientales
Régimen de
funcionamiento ambiental -30 °C a 50 °C (-21 a 122 °F)
Régimen de temperatura de
almacenamiento -40 °C a 60 °C (-40 a 140 °F)
Humedad 0 a 70%, humedad relativa
K
T
R
N
J
E
S
mV
-200ºC to 1372ºC
-200ºC to 400ºC
-50ºC to 1767ºC
-200ºC to 1300ºC
-200ºC to 1200ºC
-200ºC to 1000ºC
-50ºC to 1767ºC
-328ºF to 250ºF
-328ºF to 752ºF
-58ºF to 3212ºF
-328ºF to 2372ºF
-328ºF to 2192ºF
-328ºF to 1832ºF
-58ºF to 3212ºF
-10 to 70mV
-73ºF to 1645ºF
-73ºF to 673ºF
-223ºF to 2040ºF
-73ºF to 1573ºF
-73ºF to 1473ºF
-223ºF to 1273ºF
-223ºF to 2040ºF
CENTIGRADE FAHRENHEIT KELVIN
TMEbooklet2030 9/4/02 11:55 AM Page 20

23
Zubehör
Eine große Auswahl von Thermoelementen-Sonden ist mit diesem
Instrument erhältlich.
MM2030
22
Accessories
A wide variety of thermocouple probes are available for use with
this instrument.
Please contact the T.M.E sales office for further advice on probe
selection.
Recalibration
It is recommended that the calibration of thermometers is
performed annually, you may wish to consider our high accuracy
thermocouple simulator for use as a calibration check on this or
any other thermocouple instrument.
Accessoires
Il existe une multitude de sondes à thermocouple qui peuvent être
utilisées avec cet instrument.
Veuillez prendre contact avec le service commercial de t.M.E. Pour
obtenir des conseils sur le choix d’une sonde.
Réétalonnage
Il est recommandé d’étalonner les thermomètres tous les ans.
Nous vous recommandons de faire l’acquisition de notre
simulateur de thermocouple de haute précision pour vous
permettre de vérifier l’étalonnage de ce thermomètre ainsi que de
tout autre instrument de mesure à thermocouple.
FR
François
GB
English
D
Deutsch
IT
Italiano
Accessori
È disponibile un’ampia gamma di sonde a termocoppia per l’uso
con questo strumento.
Rivolgersi all’ufficio vendite T.M.E per ulteriori informazioni sulla
selezione della sonda.
Ritaratura
Si consiglia di effettuare annualmente la ritaratura dei termometri.
È disponibile a tale scopo la nostra termocoppia simulatrice ad
elevata precisione per verificare la taratura di questo o qualsiasi
altro strumento a termocoppia.
Bitte setzen Sie sich mit der T.M.E. Verkaufsabteilung bezüglich
weiterer Information über Sondenauswahl in Verbindung.
Eichung
Wir empfehlen, dass eine jährliche Eichung der Thermometer
vorgenommen wird und zu diesem Zweck sollten Sie zur
Eichungsüberprüfung dieses und anderer Thermoelementen-
Instrumente unseren Hochpräzisions-Simulator erwägen.
Accesorios
Hay disponible una amplia variedad de probetas para utilizar con
este instrumento.
Rogamos ponerse en contacto con la oficina de ventas de T.M.E
para más información acerca de la elección de probetas.
Recalibración
Se recomienda efectuar una calibración anual de los termómetros.
Podría interesarle nuestro simulador de termopar de gran precisión
para utilizarlo como verificación de calibración con éste o cualquier
otro instrumento de termopar.
E
Espaneol
TMEbooklet2030 9/4/02 11:55 AM Page 22

UNIT 12 MARLETS WAY
GORING BY SEA
WORTHING
WEST SUSSEX
BN12 4HF
TELEPHONE: +44 (0) 1903 700651
FAX: +44 (0) 1903 244307
E-MAIL: [email protected]
WWW.tmelectronics.co.uk
TECHNOLOGY IN TEMPERATURE
TECHNOLOGY IN TEMPERATURE
TMEbooklet2030 9/4/02 11:55 AM Page 24
Table of contents
Languages:
Other TME Thermometer manuals
