Tollos Ultralift 3510 Series User manual
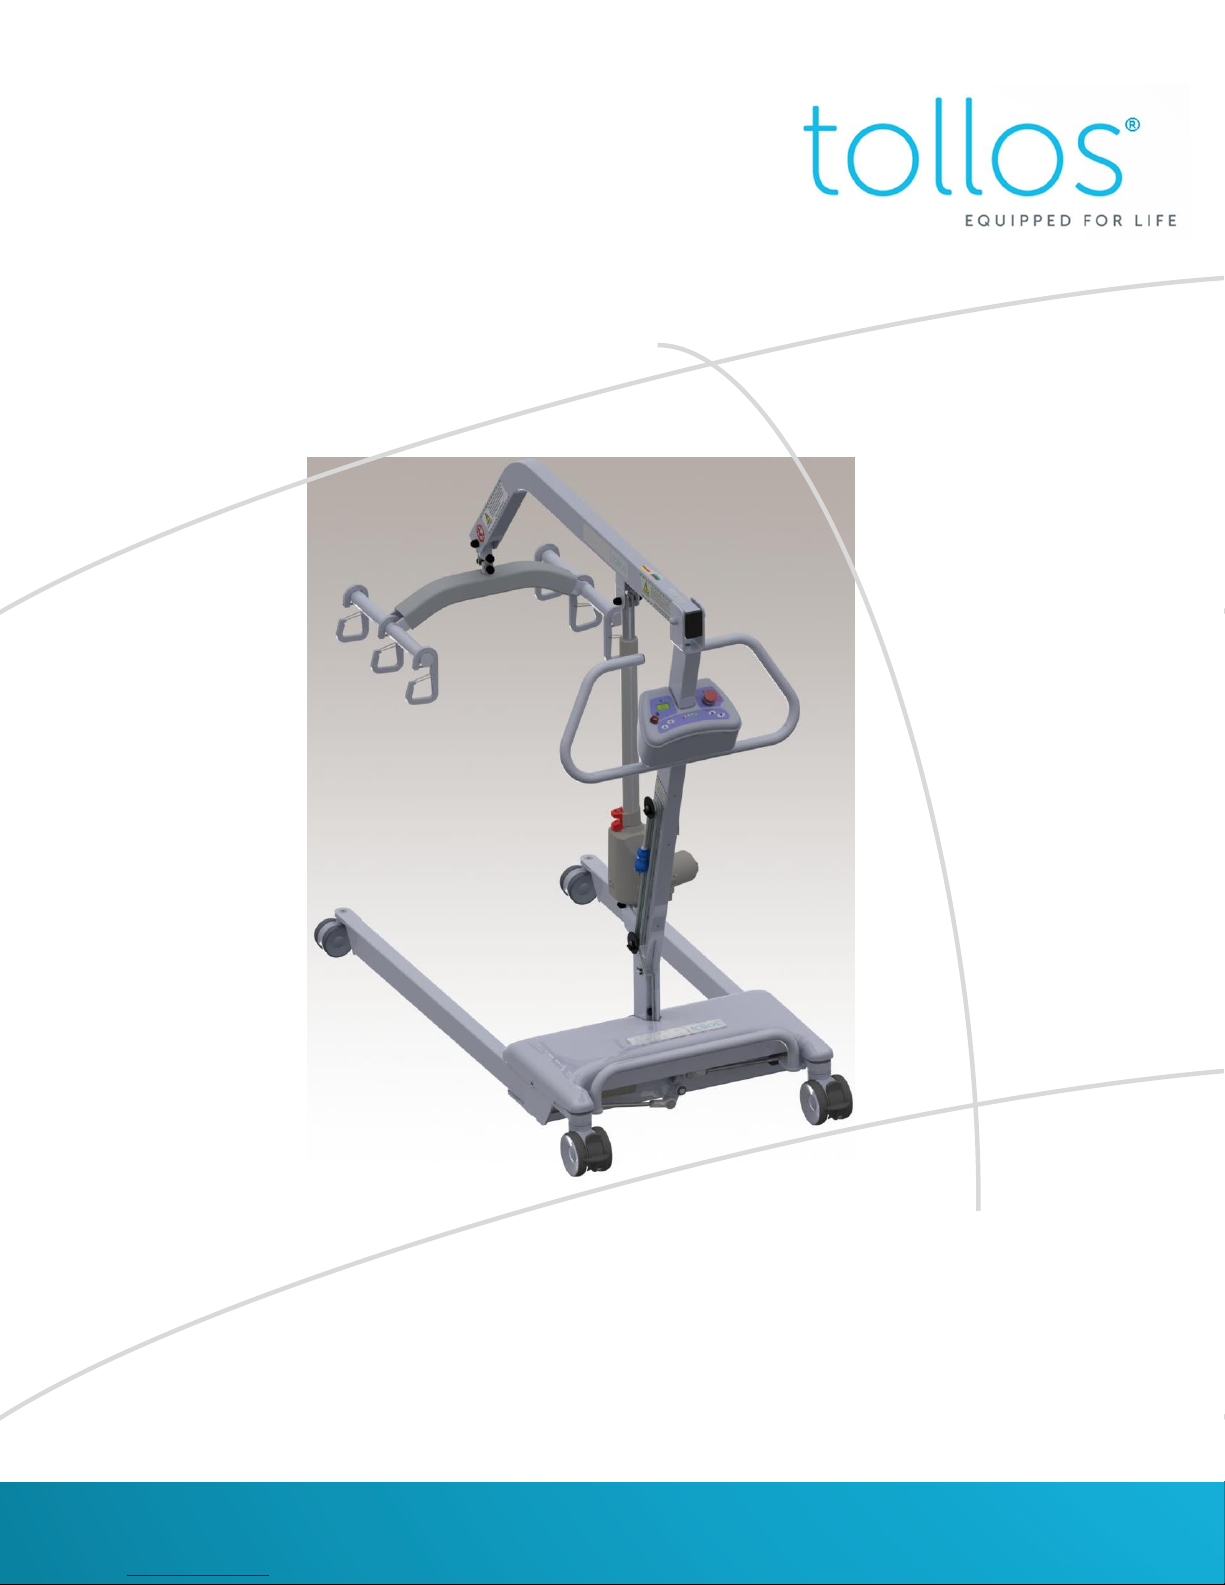
Ultralift™ 3510/7510 Series
Owner’s Manual
Phone: 1-888-363-7224 Fax: 410-363-7708
customerservice@tollos.com
www.tollos.com

© Copyright 2017. All rights reserved. TUL-01-OM-REV.1 P a g e | 2
Table of Contents
General Information .....................................................................................................................................4
About the product ....................................................................................................................................4
Safety Information .................................................................................................................................... 5
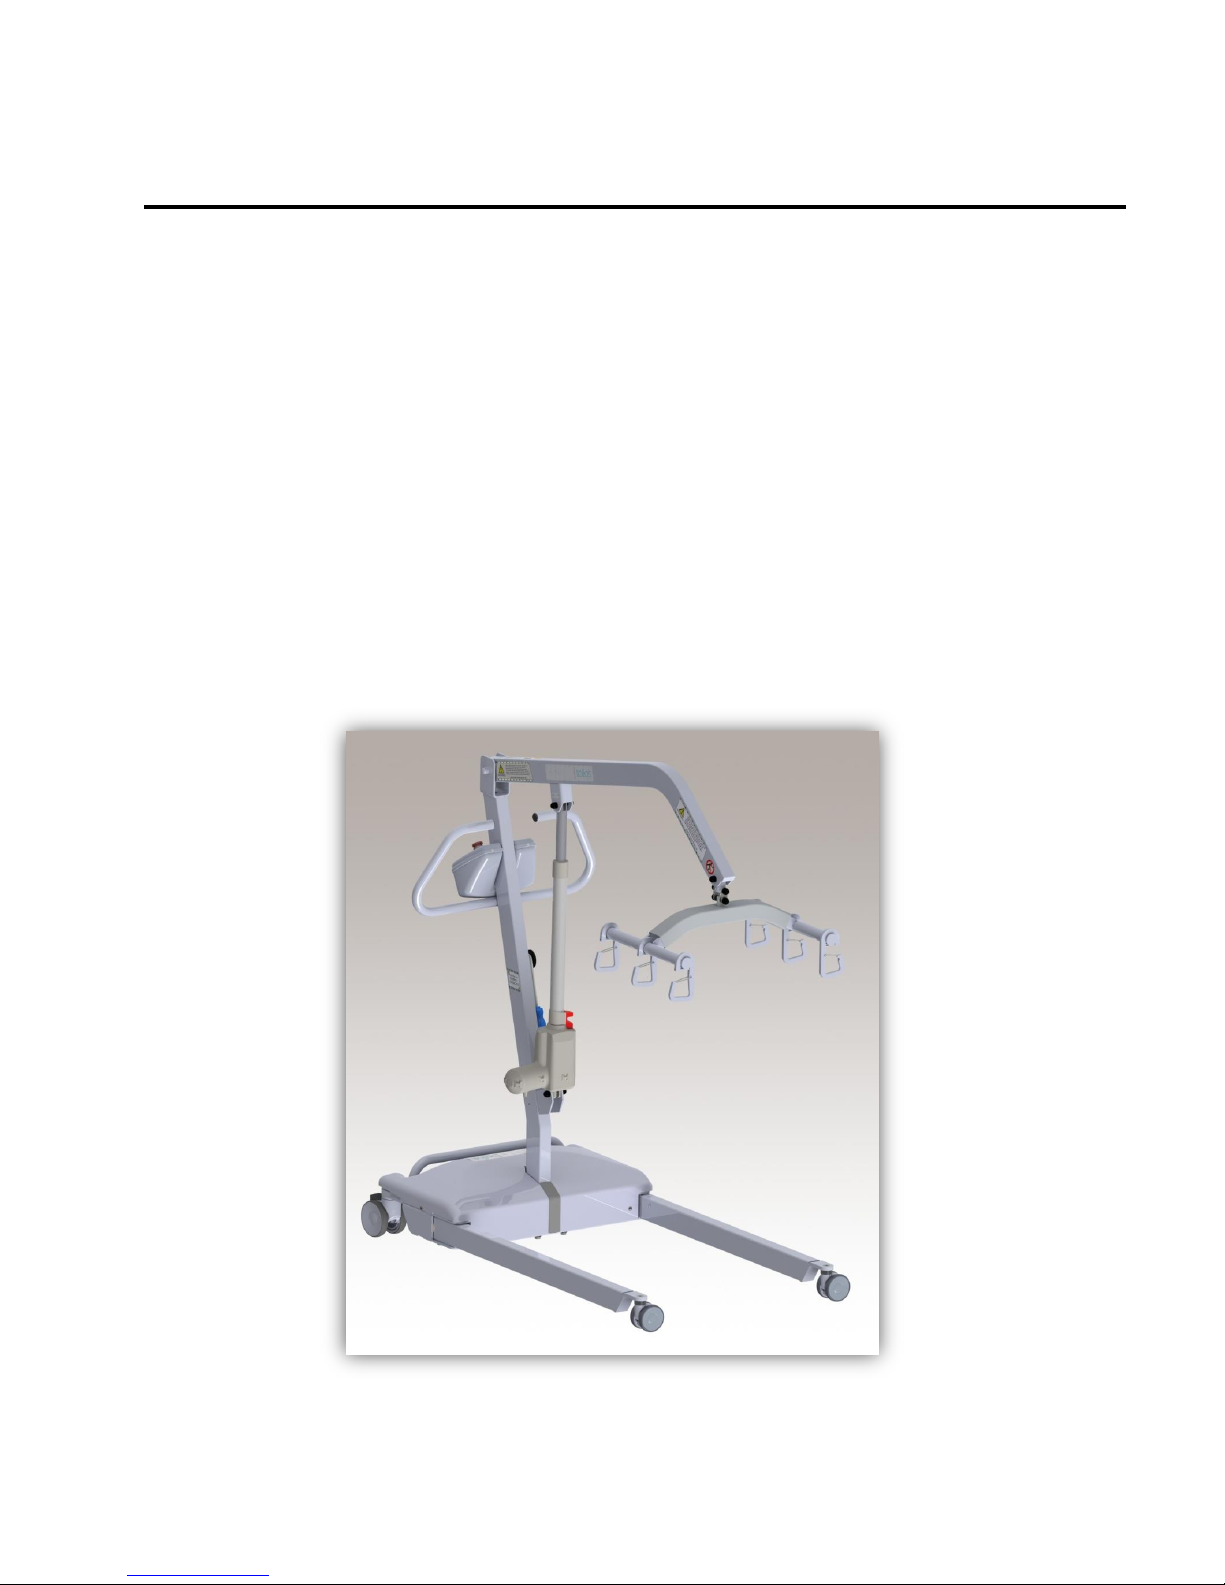
Parts Designation..........................................................................................................................................6
Product Description ...................................................................................................................................... 8
Functions................................................................................................................................................... 8
On/Off Switch (Emergency Stop)..........................................................................................................8
Battery Level / LED Display ...................................................................................................................9
Legs Opened or Closed (iQ Models Only) ...........................................................................................10
Raising and Lowering a Patient (iQ Models Only)...............................................................................10
Weigh Scale (iQ Models and Internal Scale Option only) ...................................................................11
Hand Control.......................................................................................................................................11
iQ Technology(Option)........................................................................................................................12
Scale Operation.......................................................................................................................................14
Internal Scale Option ..........................................................................................................................14
Safety Features .......................................................................................................................................15
Battery.....................................................................................................................................................16
Battery Charging .................................................................................................................................16
Charging the removable battery.........................................................................................................16
Lifting a Patient ...........................................................................................................................................17
Raising a patient......................................................................................................................................17
Lowering a Patient to a Bed....................................................................................................................18
Lift Legs Position .....................................................................................................................................19
Transporting a Patient ............................................................................................................................19
Maintenance & Care ...................................................................................................................................20
Maintenance Information.......................................................................................................................20
Service Warning ......................................................................................................................................20
Safety/Maintenance Inspection Checklist ..............................................................................................21
Trouble Shootings .......................................................................................................................................22
Warranty.....................................................................................................................................................23

© Copyright 2017. All rights reserved. TUL-01-OM-REV.1 P a g e | 3
Limited Warranty....................................................................................................................................23
Exclusions................................................................................................................................................23
Warranty Process....................................................................................................................................24
Technical Specifications ..............................................................................................................................26
Product Information ...............................................................................................................................26
Battery Performance...............................................................................................................................26
Lift Dimensions........................................................................................................................................27
Order Template...........................................................................................................................................29
Parts & Service ............................................................................................................................................30
© Copyright 2017. All rights reserved. TUL-01-OM-REV.1 P a g e | 4
General Information
About the product
The Ultralift™ has been designed with ease of use in mind. The following instructions will allow
any caregiver to perform safe and easy resident transfers. The lift is intended for professional
use by one trained operator. This should not replace any current policies or procedures in place
by the facility. Additional help may be necessary when using the lift. Please note that the
Ultralift™ is designed to perform all types of lifts. It can also be used as a bath lift in many
situations. When used as a bath lift, we recommend using a Tollos® mesh bath sling. Ensure
your model does not exceed weight capacity: 3510X is 600 lbs. and 7510X is 750 lbs.

© Copyright 2017. All rights reserved. TUL-01-OM-REV.1 P a g e | 5
General Information
Safety Information
WARNING: Untrained
operators can cause injury or
be injured. Permit only trained
personnel to operate the lift.
Improper operation can cause
injury. Operate the lift only as
described in this manual.
WARNING: Helpers can cause
injury or be injured. Maintain
control of the lift, operate the
controls, and direct any
helpers.
-------------------------------------
Improper maintenance
including, without limitation,
improper actuator inspection
and replacement can cause
serious injury. Poor lift
condition can cause serious
injury. Maintain the lift only as
described in this manual.
-------------------------------------
Improper parts and service can
cause injury and void of
warranty. Use only Tollos®
Medical parts and Tollos®
Medical approved items on the
lift
WARNING: Do not exceed
weight capacity of lift.
WARNING: Visibly inspect sling
prior to each use to ensure
sling is the correct type, size
and design to handle lifting.
Ensure the sling is not
damaged, torn worn,
discolored or past its useful life
(i.e. single patient for a
disposable sling); that the
sling’s straps are correctly
attached to the spreader bar,
and that the sling is tested with
resident in it at a few inches
over bed or chair prior to
actual transferring to proper
operation. At same time, visibly
inspect spreader bar to ensure
all bolts are tight. Never leave a
patient unattended in a lift.
WARNING: An actuator failure
may cause serious injury.
Comply with actuator service
inspections requirements.
WARNING: Electric shock can
cause death or serious injury.
Charge the lift batteries only as
described in this manual.
This manual suits for next models
1
Table of contents
Other Tollos Medical Equipment manuals


Popular Medical Equipment manuals by other brands


Getinge
Getinge Arjohuntleigh Nimbus 3 Professional Instructions for use

Mettler Electronics
Mettler Electronics Sonicator 730 Maintenance manual

Pressalit Care
Pressalit Care R1100 Mounting instruction

Denas MS
Denas MS DENAS-T operating manual

bort medical
bort medical ActiveColor quick guide

AccuVein
AccuVein AV400 user manual


