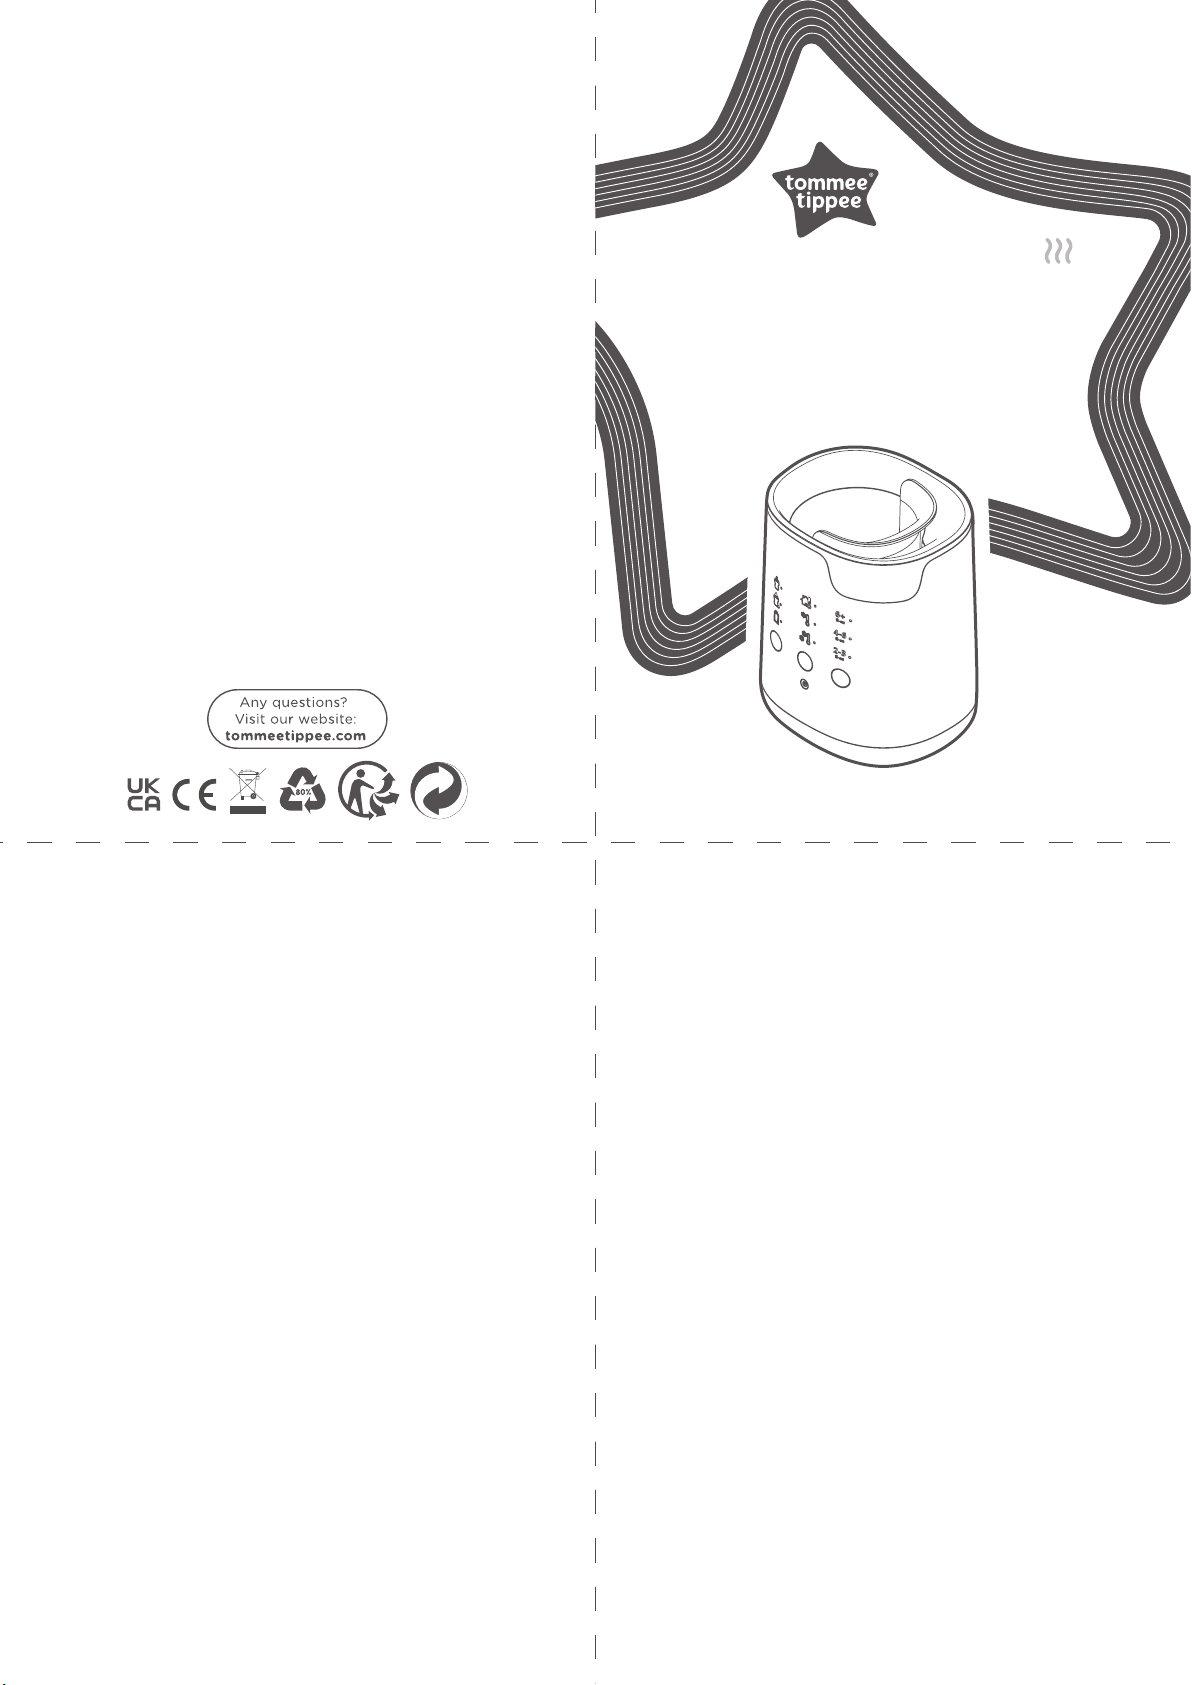
MULTIWARM BOTTLE AND POUCH WARMER
• Replace bottle and pouch warmer water after every use
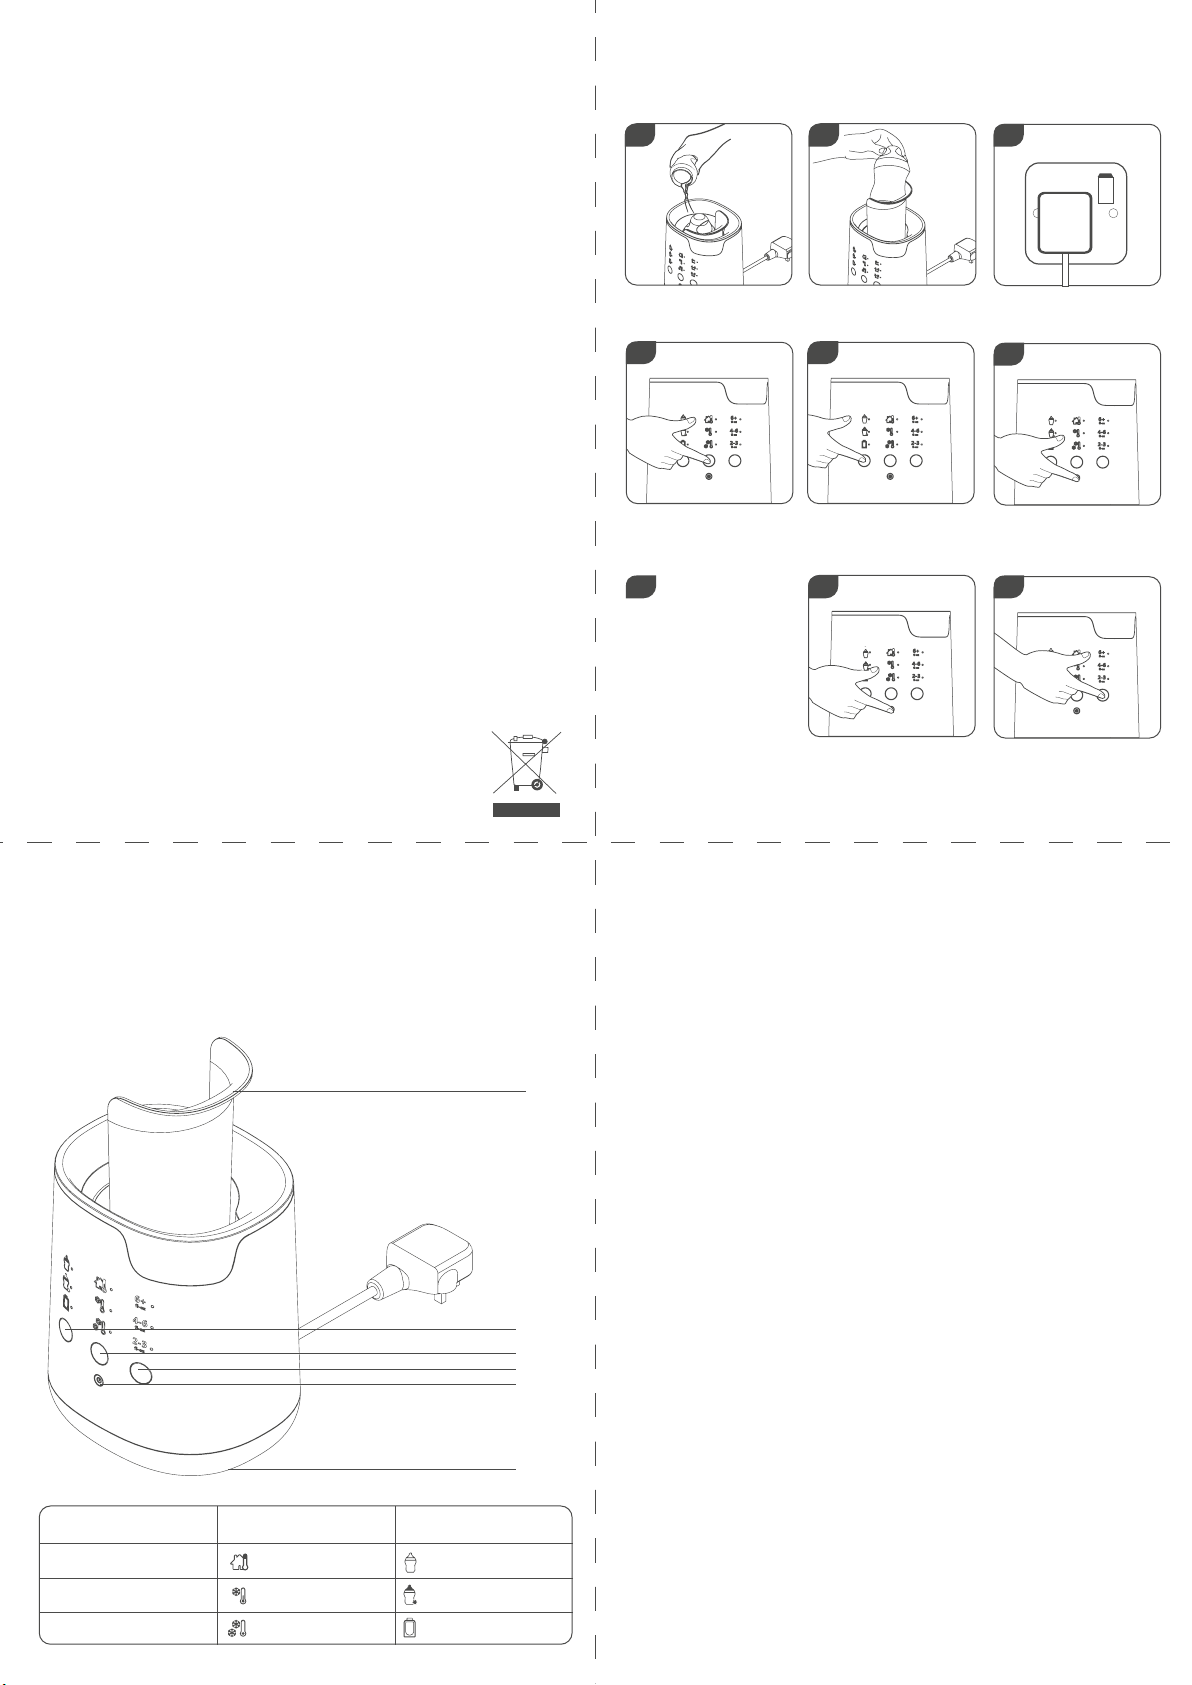
• If mains power is disconnected unit will reset
• Unit does not maintain temperature of feed
• Unit will not allow you to change the selection whilst in operation
• Do not store a bottle or pouch in the unit
1. SET UP
Please refer to instructions leaflet before use and remember to clean and descale your unit regularly. It is
recommended to run one cycle of the unit before use. Please refer to the instructions in the Usage section.
2. USAGE
For your child’s safety always check milk temperature before feeding by testing on a sensitive part of the skin.
3. CLEANING
Unplug and allow to cool before cleaning. After each use pour away remaining water from the bottle
and pouch warmer by tipping the bottle and pouch warmer sideways over a sink and wipe clean with a
damp cloth only. Do not clean with abrasive cleaners or allow to come into contact with solvents or harsh
chemicals, damage could result.
DE-SCALING
The frequency of de-scaling should be as follows:
Hard water – 7 days
Medium – 14 days
Soft – 21 days
You can find out your water quality via your water provider.
After each use allow to cool before pouring away remaining water from the bottle and pouch warmer by
tipping the bottle and pouch warmer sideways over a sink and wipe with a damp cloth only. Unplug the
bottle and pouch warmer and allow to cool before cleaning. A build up of limescale can negatively aect
the performance of the bottle and pouch warmer. We recommend carrying out the descaling process as
per above frequency guidelines to ensure the bottle and pouch warmer continues to work eciently. Living
in a hard water area can produce limescale quicker than other areas therefore descaling is required sooner.
Use a descaler that is suitable for use with stainless steel and use as per the manufacturer’s guidelines.
Alternatively you can use white vinegar to descale your bottle and pouch warmer, please use as per
manufacturer’s guidelines. Once you have descaled then follow instructions under set up to perform a final
cleaning cycle. You may need to repeat the process if you find that limescale is still present. DO NOT use
metal objects or scourers to clean your bottle and pouch warmer. DO NOT use bleach to clean the bottle
and pouch warmer. DO NOT use abrasive or anti-bacterial materials.
2
4
7
3
5
8
6
9
1
Lift the easy lift cradle and
place in the bottle or pouch. For
hygiene we recommend leaving
the hood on the teat.
Press power button to turn on the
unit. The LED will flash and beep once
to show the unit is in standby mode.
Select feed size - press until the
LED is adjacent to the amount of
feed to be warmed.
Place the easy lift cradle into
the unit and add 250ml/9floz of
water using your Tommee Tippee
bottle.
Select bottle type - press until
the LED is adjacent to your
requirement.
Press the power button, the unit will beep once to show the cycle has
started. When the cycle finishes the unit will beep 3 times, and LEDs
will keep flashing while the feed is still warm. Pressing any button will
stop the LED flashing, or it will automatically switch o after 45mins.
Select starting temperature -
press until the LED is adjacent to
the correct temperature of feed.
Remove feedafter the
cycle is completed
taking care not to touch the
waterinside the unit as it will
have heated during the cycle.
Empty unit and wipe dry with a
clean cloth.
TO RESET/SWITCH OFF
To cancel a cycle - hold down the
power button for 3 seconds and
the unit will reset.
Place the unit on a clean, dry
kitchen work surface. Plug unit
into the mains power supply and
switch on.
a. Cradle
b. Temperature selection
c. Power button
d. Volume or feed selection
e. Pouch or bottle type selection
f. Cable tidy
a
b
e
c
f
d
BOTTLE TYPE TEMPERATURE FEED SIZE
Plastic Room temp 2-3 fl-oz <100ml
Glass Fridge 4-6 fl-oz <200ml
Pouch Freezer 6+ fl-oz >200ml
INFORMATION ON THE DISPOSAL FOR WASTE ELECTRICAL & ELECTRONIC EQUIPMENT (WEEE)
This symbol on the products and accompanying documents means that used electrical and electronic
products should not be mixed with general household waste. For proper disposal for treatment, recovery
and recycling, please take these products to designated collection points where they will be accepted on a
free of charge basis. In some countries you may be able to return your products to your local retailer upon
the purchase of a new product.
Disposing of this product correctly will help you save valuable resources and prevent any possible eects on
human health and the environment, which could otherwise arise from inappropriate waste handling. Please
contact your local authority for further details of your nearest collection point for WEEE.
Penalties may be applicable for the incorrect disposal of this product in accordance with national
legislation.
The product is fitted with a BS 1363 mains plug containing a fuse. If it ever becomes necessary to replace
the fuse, only use fuses that are marked BS 1362, and rated at 13A. In the unlikely event that this plug is not
suitable for the sockets in your home, it should be removed and a suitable plug fitted as follows:
The wires of the mains lead are coloured in accordance with the following code:
GREEN AND YELLOW – EARTH
BLUE – NEUTRAL
BROWN – LIVE
As these colours may not correspond with the coloured markings sometimes used to
identify the terminals in the plug, connect as follows.
The wire coloured GREEN AND YELLOW must be connected to the terminal marked E
or by the earth symbol or coloured GREEN or GREEN AND YELLOW. The wire coloured
BLUE must be connected to the terminal marked N or coloured BLACK. The wire coloured
BROWN must be connected to the terminal marked L or coloured RED.
If you are in any doubt about how to wire a plug or replace a fuse safely, consult a
qualified electrician.