manuals.online logo
Brands
  1. Home
  2. •
  3. Brands
  4. •
  5. TONIN CASA
  6. •
  7. Indoor Furnishing
  8. •
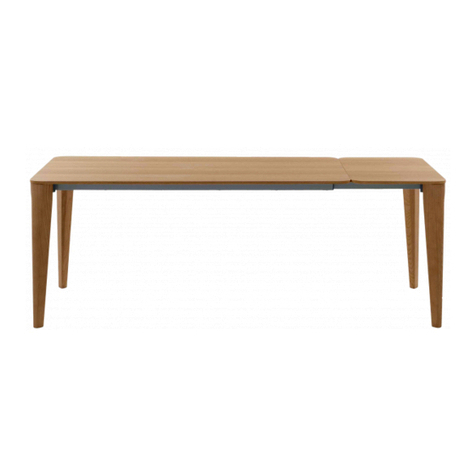
  9. TONIN CASA Still 8093FS User manual

TONIN CASA Still 8093FS User manual

Tonin Casa
divisione della
Progetto Design International srl Via Palladio, 43
35010 San Giorgio in Bosco (PD), Italy
t +39 049 9453300
f +39 049 9450725
[email protected]
www.tonincasa.it
100% Made in Italy
still
design by Angelo Tomaiuolo
scheda di montaggio
assembly instructions
8093 - 8103AV
INDEX
8093FS_glass & ceramic
pag. 1 - 6
8093AV_glass & ceramic
pag. 2 - 6
8103AV_glass & ceramic
pag. 4 - 6
Tonin Casa
divisione della
Progetto Design International srl Via Palladio, 43
35010 San Giorgio in Bosco (PD), Italy
t +39 049 9453300
f +39 049 9450725
[email protected]
www.tonincasa.it
100% Made in Italy
1
2
ferramenta
hardware
(B) x 8(A) x 8 (C) x 8 (D) x 8
8093FS_glass & ceramic
still
design by Angelo Tomaiuolo
scheda di montaggio
assembly instructions
8093FS
1 di 6
IMPORTANTE: i fori dei perni avvitati devono assolutamente essere rivolti verso
l’esterno delle gambe per poter procedere con i passaggi successivi.
IMPORTANT: the screwed holes of the bolts must be turned towards the outside
of the legs in order to proceed with the following steps.
Gli adesivi (D) possono essere utilizzati per coprire i fori attaccandoli alla gamba.
Adhesives (D) can be used to cover the holes by attaching them to the leg.
!
Tonin Casa
divisione della
Progetto Design International srl Via Palladio, 43
35010 San Giorgio in Bosco (PD), Italy
t +39 049 9453300
f +39 049 9450725
[email protected]
www.tonincasa.it
100% Made in Italy
still
design by Angelo Tomaiuolo
scheda di montaggio
assembly instructions
8093AV
2 di 6
2
1
ferramenta
hardware
x 1 (B) x 8(A) x 4 (C) x 4
x 1
(A)
(B)
8093AV_glass & ceramic
Per una migliore comprensione della procedura, potete visionare al link riportato qui sotto un video esplicativo del montaggio:
For a better understanding of the procedure, you can view an explanatory video of the assembly at the link below:
https://1drv.ms/u/s!AlMv2Y6DbODCxSGHlTuT8DSdq8hA?e=VSAXnk
Tonin Casa
divisione della
Progetto Design International srl Via Palladio, 43
35010 San Giorgio in Bosco (PD), Italy
t +39 049 9453300
f +39 049 9450725
[email protected]
www.tonincasa.it
100% Made in Italy
still
design by Angelo Tomaiuolo
scheda di montaggio
assembly instructions
8093AV
3 di 6
3
4
5
Aprire le allunghe e verificare l’allineamento verticale del piano: allunghe e piano devono essere
allo stesso livello. Regolare l’altezza del piano avvitando o svitando i regolatori sotto allo stesso.
Open the extensions and check the vertical alignment of the top: extensions and top must be at the
same level. Adjust the height of the top by screwing or unscrewing the regulators below it.
3 mm MAX
3 mm MAX
(B)
(C)
(C)
Tonin Casa
divisione della
Progetto Design International srl Via Palladio, 43
35010 San Giorgio in Bosco (PD), Italy
t +39 049 9453300
f +39 049 9450725
[email protected]
www.tonincasa.it
100% Made in Italy
still
design by Angelo Tomaiuolo
scheda di montaggio
assembly instructions
8103AV
4 di 6
ferramenta
hardware
8103AV_glass & ceramic
x 2 (C) x 8 (D) x 4
(A) x 8 (B) x 8
STILL
STILL
STILL
STILL
STILL
STILL
Ogni binario ha quattro possibilità di posizionamento della gamba: posizionata più verso l’interno oppure più verso l’esterno.
Each rail has four leg positioning options: positioned more inwards or more outwards.
10
10
10
10
10
10
9
9
9
9
9
9
8
8
8
8
8
8
7
7
7
7
7
7
L. 1600
L. 1800
L. 2000
misura piani - top sizes
Per una migliore comprensione della procedura, potete visionare al link riportato qui sotto un video esplicativo del montaggio:
For a better understanding of the procedure, you can view an explanatory video of the assembly at the link below:
https://1drv.ms/u/s!AlMv2Y6DbODCxSCWZsg51FXKpgoi?e=dhqlJy
Tonin Casa
divisione della
Progetto Design International srl Via Palladio, 43
35010 San Giorgio in Bosco (PD), Italy
t +39 049 9453300
f +39 049 9450725
[email protected]
www.tonincasa.it
100% Made in Italy
still
design by Angelo Tomaiuolo
scheda di montaggio
assembly instructions
8103AV
5 di 6
32
Attaccare i 4 gommini adesivi (D) su ogni regolatore.
Attach the 4 adhesive gaskets (D) on each regulator.
Avvitare i grani (B) nei fori indicati completamente e svitarli fino a metà lunghezza.
Screw fully the grains (B) into the indicated holes and unscrew them up to half the length.
Girare al contrario i binari e posizionare le gambe avvitando le viti (A) nei fori
della piastra prima su un binario e poi sull’altro.
Successivamente girare il tutto con le gambe che poggiano a terra.
Turn the rails in the opposite side and place the legs by screwing the screws (A)
on the holes of the plate, first on a rail and then on the other.
Then turn it all up with the legs that lie on the floor.
ATTENZIONE: per l’individuazione dei corretti fori far riferimento allo schema precedente.
ATTENTION: For identifying the correct holes refer to the previous scheme. 1
Visione delle quattro possibilità di posizionamento delle
gambe sul binario con distanza diverse tra di esse.
View of the four possibilities of positioning of the legs on
the rail with different distance between them.
posizionamento coppia fori 9-10.
holes couple positioning 9-10.
posizionamento coppia fori 8-9.
holes couple positioning 8-9.
posizionamento coppia fori 7-8.
holes couple positioning 7-8.
Tonin Casa
divisione della
Progetto Design International srl Via Palladio, 43
35010 San Giorgio in Bosco (PD), Italy
t +39 049 9453300
f +39 049 9450725
[email protected]
www.tonincasa.it
100% Made in Italy
still
design by Angelo Tomaiuolo
scheda di montaggio
assembly instructions
8103AV
6 di 6
6
7
45
Aprire le allunghe e verificare l’allineamento verticale del piano: allunghe e piano devono essere
allo stesso livello. Regolare l’altezza del piano avvitando o svitando i regolatori sotto allo stesso.
Open the extensions and check the vertical alignment of the top: extensions and top must be at the
same level. Adjust the height of the top by screwing or unscrewing the regulators below it.
Avvitare i perni (C) nelle piastre incollate sulle allunghe.
Screw the pins (C) into the plates glued to the extensions.
Infilare l’allunga facendo coincidere i suoi perni con i fori del binario.
Avvitare poi i grani per fissare il tutto.
Thread the extension by matching its pins with the rail holes.
Then screw the grains to fix it all.
N.B. l’allunga
va infilata con il
gommino verso
l’interno.
N.B. The stretch
should be threaded
with the rubber
washer inwards.
!
Chiudere le allunghe e posizionare il piano in modo tale da essere parallelo lateralmente alle allunghe.
Close the extensions and position the top so that it is laterally parallel to the extensions.
IMPORTANTE: Nel caso in cui, durante la chiusura e l’apertura delle allunghe, i binari siano poco scorrevoli procedere come segue: aprire le allunghe, solo
allentare (e non togliere) le viti di fissaggio della gamba ai longheroni, richiudere le allunghe e rifissare le viti.
IMPORTANT: If the rails are not slid enough during the closing and opening phases of the extensions, proceed as follow: open the extensions, only loosen
(and do not remove) the fixing screws of the leg to the metal struts, close the extensions and fix the screws.
!

This manual suits for next models

2

Other TONIN CASA Indoor Furnishing manuals

TONIN CASA drops User manual

TONIN CASA

TONIN CASA drops User manual

TONIN CASA Calliope 8090 User manual

TONIN CASA

TONIN CASA Calliope 8090 User manual

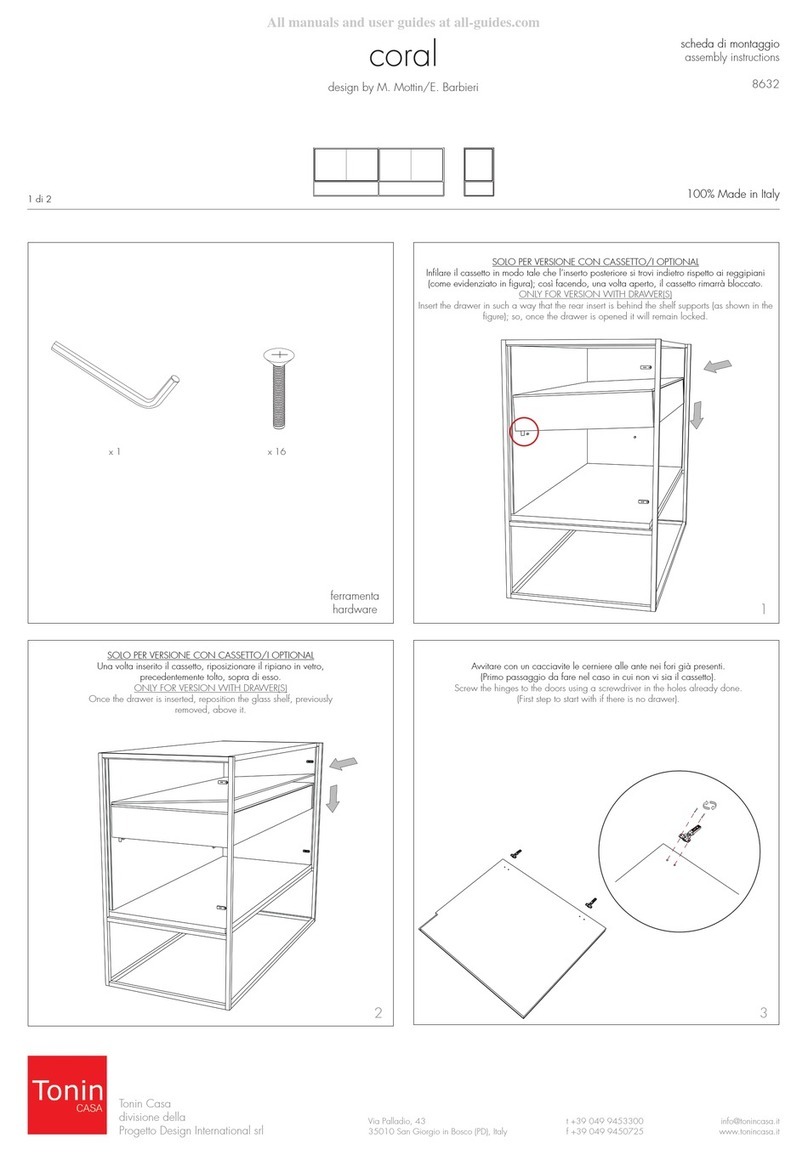
TONIN CASA coral 8632 User manual

TONIN CASA

TONIN CASA coral 8632 User manual

TONIN CASA Castle 7250 User manual

TONIN CASA

TONIN CASA Castle 7250 User manual

TONIN CASA Sunset User manual

TONIN CASA

TONIN CASA Sunset User manual

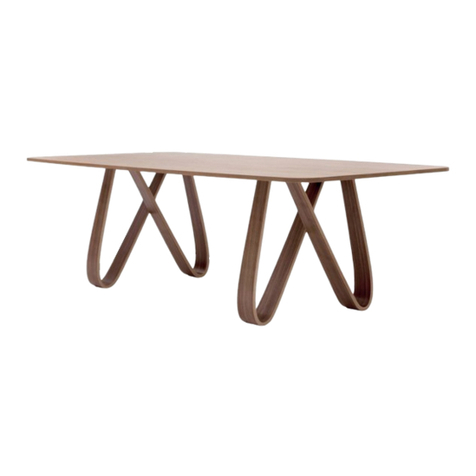
TONIN CASA butterfly User manual

TONIN CASA

TONIN CASA butterfly User manual

TONIN CASA opera 8646 User manual

TONIN CASA

TONIN CASA opera 8646 User manual

TONIN CASA gracia 6430 User manual

TONIN CASA

TONIN CASA gracia 6430 User manual

TONIN CASA dafne 8075 User manual

TONIN CASA

TONIN CASA dafne 8075 User manual

TONIN CASA Ambra 7875 User manual

TONIN CASA

TONIN CASA Ambra 7875 User manual

TONIN CASA Family 7534 User manual

TONIN CASA

TONIN CASA Family 7534 User manual

TONIN CASA Arpa Dining Table User manual

TONIN CASA

TONIN CASA Arpa Dining Table User manual

TONIN CASA coral 8632 User manual

TONIN CASA

TONIN CASA coral 8632 User manual

TONIN CASA idra 8633 User manual

TONIN CASA

TONIN CASA idra 8633 User manual

TONIN CASA Butterfly 8070 User manual

TONIN CASA

TONIN CASA Butterfly 8070 User manual
TONIN CASA ariston 8088 User manual

TONIN CASA

TONIN CASA ariston 8088 User manual

Popular Indoor Furnishing manuals by other brands

Kinfine HOMEPOP K7524 Assembly instructions

Kinfine

Kinfine HOMEPOP K7524 Assembly instructions

modway EEI-5704 Assembly instructions

modway

modway EEI-5704 Assembly instructions

moovin BC 95 Assembly instructions

moovin

moovin BC 95 Assembly instructions

Breezesta fiberon Furniture Coastal FIB-CO-0400 quick start guide

Breezesta

Breezesta fiberon Furniture Coastal FIB-CO-0400 quick start guide

Sprout SOSTA BED HEADBOARD Assembly guide

Sprout

Sprout SOSTA BED HEADBOARD Assembly guide

DHP 4172629N manual

DHP

DHP 4172629N manual

Finch Lockwood Console Table Product guide

Finch

Finch Lockwood Console Table Product guide

JWA 68439 Assembly instruction

JWA

JWA 68439 Assembly instruction

OBaby Belton Chest of Drawers instructions

OBaby

OBaby Belton Chest of Drawers instructions

Haworth Improv Tag quick start guide

Haworth

Haworth Improv Tag quick start guide

frasch WAFL BAFL Installation

frasch

frasch WAFL BAFL Installation

PARISOT 6024RAPT manual

PARISOT

PARISOT 6024RAPT manual

Argos RONDA 7592573 Assembly instructions

Argos

Argos RONDA 7592573 Assembly instructions

Manutan 1657105 Assembly instructions

Manutan

Manutan 1657105 Assembly instructions

hygena 249/8940 Assembly instructions

hygena

hygena 249/8940 Assembly instructions

Arjo Pentaflex MR Acute Instructions for use

Arjo

Arjo Pentaflex MR Acute Instructions for use

RTA Products RTA-B002 Assembly instructions

RTA Products

RTA Products RTA-B002 Assembly instructions

JWA Acorn 70821 Assembly instruction

JWA

JWA Acorn 70821 Assembly instruction

manuals.online logo
manuals.online logoBrands
  • About & Mission
  • Contact us
  • Privacy Policy
  • Terms and Conditions

Copyright 2025 Manuals.Online. All Rights Reserved.