Introduction
The VP and VPE satellites can be retrotted with the newly designed distribution board bracket that allows for the distribution board to be vertically installed. With the
distribution board vertically installed, the risk of equipment damage from moisture and debris accumulation over the distribution board is reduced.
Removal and Installation of the Distribution
Step 1 – Remove the satellite’s front and rear door to access the distribution board.
Step 2 – Turn the satellite’s power o.
Step 3 – If the satellite is equipped, remove the Maxon radio assembly and/or Turf Guard repeater.
Step 4 – Locate the distribution board and remove by pressing the retaining tabs to release the board.
Step 5 – Unplug all cables from it. Note the location of the cables for reassembly. See Figure 1.
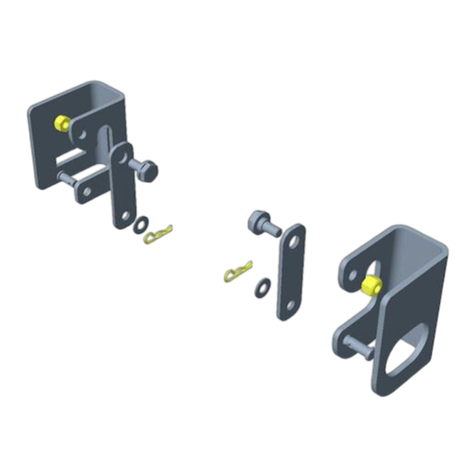
Step 6 – (For Bracket Only Kit) Install the distribution board onto the bracket as shown on Figure 2. Place rubber washer between the distribution board and the
screw nut. Place spacers on the threaded post between the distribution board and the bracket.
Step 7 – Install the bracket and board assembly inside the satellite using the provided screw holes above the center back plate. Make sure to align and insert the
bracket’s bottom tabs into the center back plate.
See Figure 3.
Step 8 – Reinstall the cables to the distribution board.
Step 9 – Return power to the satellite and check for proper function.
VP and VPE Bracket Retrot Kits
Installation Instructions
Figure 1 Figure 2 Figure 3
Remove Distribution Board
(Bracket Only Kit)
(Bracket Only Kit)
Install Distribution
Board to the Bracket
Rubber
Washer
Spacer
Install the Distribution
Board Assembly Inside
the Satellite
