Toshiba KT-S1 User manual

TOSHIBA
STEREO
CASSETTE
PLAYER
OWNER’S
MANUAL
KT-SI

Operation
Flowchart


aViws,
y
a
By
as
Df
A
———
[lll
Control
Features
@
[PHONES]
jack
@
[FUNCTION]
switch
(RADIO/TAPE)
@)
[RADIO]
indicator
lamp
4)
[TAPE]
selector
6)
[BATT]
indicator
6)
[>
REVIEW]
rewind/review
button
@
[«
CUE]
fast-forward/cue
button
[=
4STOP/EJECT,
OFF]
button
Note:
When
no
cassette
is
loaded
in
the
unit,
your
finger.
@)
[
TS
]
talk
switch
button
[<PLAY/{RADIO]
ON]
button
a)
[VOLUME]
control
(2
[DC
IN
6V]
jack
@
[TUNING]
knob
Tuning
dial
pointer
(3
[FM
STEREO]
indicator
®
[STEREO/MONO]
switch
@
[LOCK]
tab
open
the
cassette
compartment
lid
with

Power
Supply
Dry
Cell
Operation
@
Remove
the
battery
compartment
lid
from
the
rear
of
the
unit
by
pushing
it
in
the
OPEN
direction
shown
by
the
arrow.
insert
four
‘“AA"
dry
cells
into
the
compartment.
Take
care
that
the
cells
are
oriented
for
correct
polarity.
e
When
the
[€PLAY]
button
is
depressed
the
[BATT]
indicator
lamp
will
go
on.
If
this
indicator
remains
off
or
is
dim,
the
battery
cells
are
discharged.
Fieplace
them
with
new
"AA"
dry
cells.
AC
Line
Operation
(with
optional
AC
adaptor)
To
power
the
unit
from
an
AC
mains
outlet,
purchase
the
optional
AC
adaptor.
Plug
the
AC
adaptor
into
a
convenient
AC
outlet,
then
insert
the
output
plug
from
the
adaptor
into
the
[DC
IN6V]
jack
on
the
unit.
This
will
automatically
disconnect
the
internal
batteries
and
supply
power
to
the
unit
from
the
AC
mains.
Note:
The
centre
contact
in
the
[DC
IN6V]
jack
of
this
unit
requires
a
positive
voltage.
Incorrect
AC
adaptors
may
provide
a
negative
voltage
to
the
centre
contact,
damaging
the
unit.
If
the
unit
is
to
be
left
unused
or
is
to
be
powered
from
the
AC
adaptor
for
a
prolonged
period
of
time,
remove
the
dry
cells
from
the
unit.
Otherwise,
the
cells
may
leak
causing
corrosion
of
unit
parts.
Precautions
for
Headphone
Listening
The
supplied
headphones
are
designed
for
stereo
listening.
If
the
headphones
are
plugged
into
an
external
speaker
jack
or
earphone
jack
with
mono
design,
sound
output
is
obtained
from
only
one
of
the
phones.
Never
plug
an
erase
plug
or
earphone
into
the
[PHONES]
jack
on
the
unit.
An
unre-
coverable
damage
to
the
unit
or
earphone
may
result.
Cassette
Tapes
Tape
Slack
®
Before
inserting
a
cassette
tape
into
the
unit,
take
up
any
tape
slack
to
prevent
the
tape
from
becoming
entangled
around
the
capstan.
To
do
this,
twist
the
cassette
hub
inside
the
cassette
with
a
pencil.

Tape
Playback
See
the
illustration
on
page
2,
A.
@
To
stop
the
tape,
press
the
[m4STOP/EJECT]
button
slightly.
e@
To
“pause’’
playback,
set
the
[FUNCTION]
switch
to
the
RADIO
position.
e
For
metal
tapes
and
noise-reduction
processed
tapes,
we
recommend
the
position.
Cue
Feature
[€4
CUE]
While
the
tape
is
playing,
if
the
[«4
CUE]
button
is
pressed
and
held
in,
the
tape
will
fast-wind
forward.
Thus
allowing
a
particular
point
in
the
recorded
programme
to
be
found.
When
the
button
is
released,
normal
playback
will
resume.
Review
Feature
[>>
REVIEW]
While
the
tape
is
playing,
if
the
[>
REVIEW]
button
is
pressed
and
held
in,
the
tape
will
fast-wind
backward.
When
the
button
is
released,
norma!
playback
will
resume.
Auto
Shut
Off
(ASO)
The
AUTO
SHUT
OFF
feature
automatically
disengages
the
tape
transport
and
switches
otf
the
unit
when
the
end
of
the
tape
is
reached
in
playback
mode.
Always
press
the
[m4STOP/EJECT]
button
to
disengage
the
tape
transport
in
fast-forward
and
rewind
modes.
FM
Reception
with
the
FM
Tuner
Pack
See
the
illustration
on
page
2,
B.
e
When
a
stereo
programme
is
received,
the
[FM
STEREO]
indicator
lamp
goes
on.
e
To
stop
the
the
radio,
press
the
[[RADIO]
OFF]
button.
e@
When
removing
the
tuner
pack
from
the
unit,
open
the
cassette
holder,
slide
the
[LOCK]
tab
back
to
the
home
position,
then
remove
the
pack
from
the
compartment.
e
When
you
are
in
a
fringe
service
area
of
a
particular
FM
station,
the
stereo
programme
from
that
station
may
be
noisy.
In
such
a
case,
either
stretch
the
headphone
cord
or
set
the
[STEREO/MONO]
switch
to
MONO
to
reject
the
noise
interference.
Notes
on
Tuner
Pack
Operation
e
When
the
supplied
tuner
pack
is
used
with
the
unit,
the
headphone
cord
functions
as
an
antenna.
To
insure
maximum
tuner
sensitivity,
keep
the
headphone
cord
(antenna)
always
straight.
Do
not
fold
it.
e
Reception
sensitivity
depends
on
the
placement
of
the
headphone
cord.
Try
to
deter-
mine
the
cord
position
which
provides
the
best
sensitivity.
e
The
contact
of
connecting
terminals
or
jacks
on
the
unit
and
tuner
pack
may
become
defective
as
a
result
of
prolonged
use.
Clean
the
connection
surfaces
with
the
cotton
swab
dampened
with
a
contact
cleaner
agent
or
alcohol;
do
not
drip
cleaning
solvent
on
the
unit
case.

The
T.S.
Talk
Switch
Two
separate
headphones
can
be
connected
to
the
set
to
enable
two
people
to
listen
to
tape
or
radio
together.
When
the
T.S
talk
switch
is
depressed,
the
tape
or
radio
sound
is
decreased
to
make
it
easier
to
hear
other
sounds
such
as
people
speaking
etc.
Care
and
Maintenance
To
ensure
the
highest
performance
from
your
re-
corder,
keep
the
entire
tape
path,
including
the
play-
back
head,
pinch
roller,
and
capstan,
completely
clean.
Cleaning
the
Tape
Path
Press
the
[w4STOP/EJECT,
OFF]
button
to
open
the
cassette
holder.
Then
press
the
[€PLAY/
ON]
button
to
raise
the
head.
Dip
a
cotton
bud
into
a
little
alcohol,
remove
excess
alcohol
from
the
bud,
then
clean
the
entire
tape
path
with
the
bud.
During
cleaning,
take
care
to
avoid
scratching
the
head
surface.
Cleaning
the
Unit
Housing
To
clean
the
unit
housing,
use
a
soft,
dry
cloth.
If
dirt
persists,
use
a
soft
cloth
slightly
dampened
with
water.
After
cleaning,
wipe
the
unit
surface
with
a
dry
cloth.
Caution:
Never
use
chemicals
such
as
benzene
or
paint
thinner
for
cleaning.
Otherwise,
the
case
may
be
deformed
or
discoloured.
Notes
and
Precautions
1.
Do
not
depress
the
[s4STOP/EJECT]
button
when
the
snap
fasteners
on
the
carry-
ing
case
lid
are
fastened.
2.
To
prevent
possible
trouble
or
physical
deformation,
avoid
operating
or
leaving
the
unit
in
places
where:
e
They
will
be
in
the
path
of
direct
sunlight.
(Especially
in
a
closed
car.)
@
They
are
subject
to
direct
radiation
or
hot
airflow
from
heating
devices.
e
They
are
subject
to
oily
smoke
or
excessive
moisture,
as
in
a
kitchen,
etc.
3.
Do
not
place
the
unit
or
cassettes
near
highly
magnetic
materials.
Do
not
leave
them
on
aradio,
TV,
or
stereo
equipment.
4.
Do
not
touch
the
unit
with
bare,
wet
hands.

In
Case
of
Difficulty
If
your
unit
is
not
operating
properly,
check
the
points
listed
in
the
following
table.
=
Tape
fails
to
move
@
is
the
[FUNCTION]
switch
set
in
the
RADIO
position?
®
Poor
radio
sensitivity:
e
Straighten
the
headphone
cord.
e
Set
the
[STEREO/MONO]
switch
to
MONO,
or
use
the
unit
near
windows.
=
Radio
inoperative:
@
Clean
the
contacts
on
the
tuner
pack
or
unit
with
a
cotton
swab.
Specifications
—
Tape
Section
—
Track
system:
Recommended
tape:
Tape
speed:
Frequency
response:
Output
terminals:
Maximum
output
power:
Battery
life:
Power
supply:
Dimensions:
Weight:
—
Tuner
Section
—
Receiving
frequency:
Stereophonic
Normal
ferric,
chrome
dioxide,
and
metal
alloy:
C-30
to
C-120
4.8
cm/sec.
Reproduction:
40—12kHz
3.5
mm
dia.
stereo
headphone
jack
x
2
Integration:
80
mW
(40
mW
+
40
mW)
32
ohm
with
load
Approx.
5
hours
for
tape
playback
at
1
mW
output.
Approx.
11
hours
for
radio
operation.
6V
DC
(SUM-3
“‘AA”
x
4)
External
power
source
supplied
to
the
[DC
IN
6V]
jack
(5.0
mm
dia.
center
contact
positive)
89.5
(W)
x
148
(H)
x
31.5
(D)
mm
430
g
(including
batteries
but
not
the
tuner
pack)
88
MHz
—
108
MHz
e
This
EM
stereo
tuner
pack
(RP-S2)
is
designed
exclusively
for
this
unit,
KT-S2
and
KT-R2,
and
is
not
usable
in
other
types
of
cassette
recorders.
©
Specifications
are
subject
to
change
without
notice
due
to
improvements.
Other manuals for KT-S1
1
Table of contents
Other Toshiba Cassette Player manuals

Toshiba
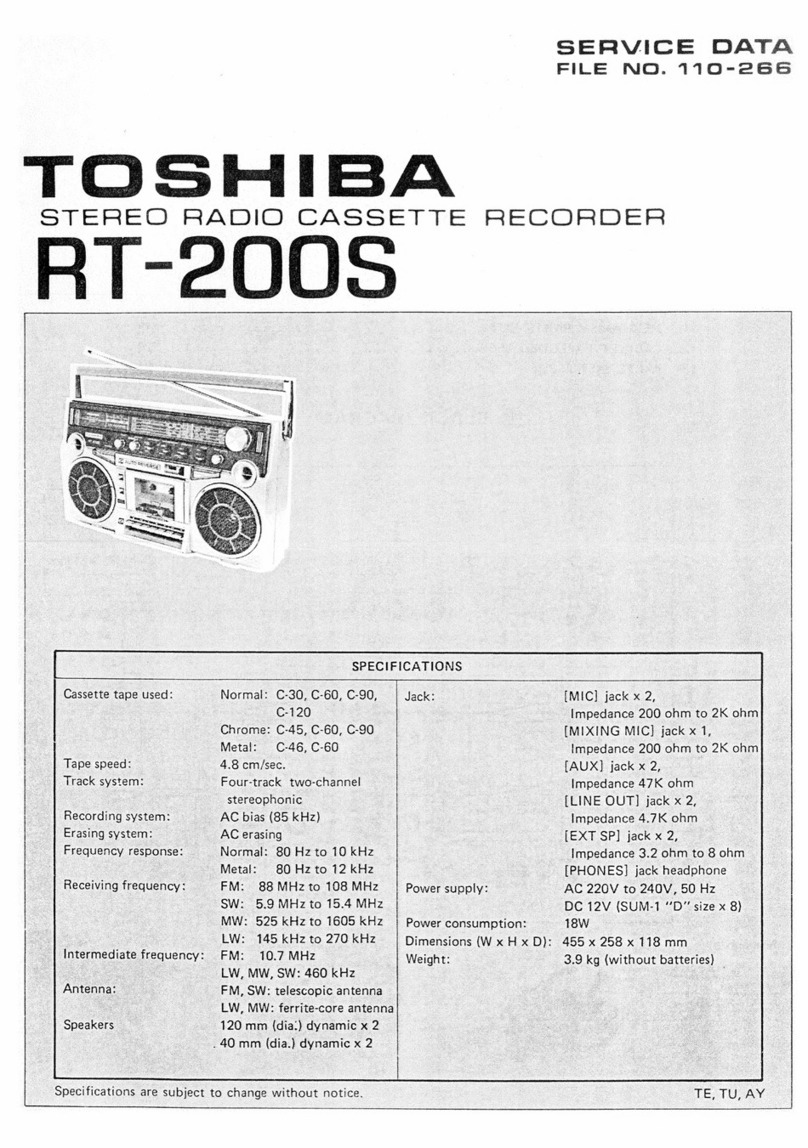
Toshiba RT-200S Mounting instructions

Toshiba
Toshiba KT-R2 User manual

Toshiba
Toshiba PC-X88AD Mounting instructions
Toshiba
Toshiba SD-V280 User manual

Toshiba
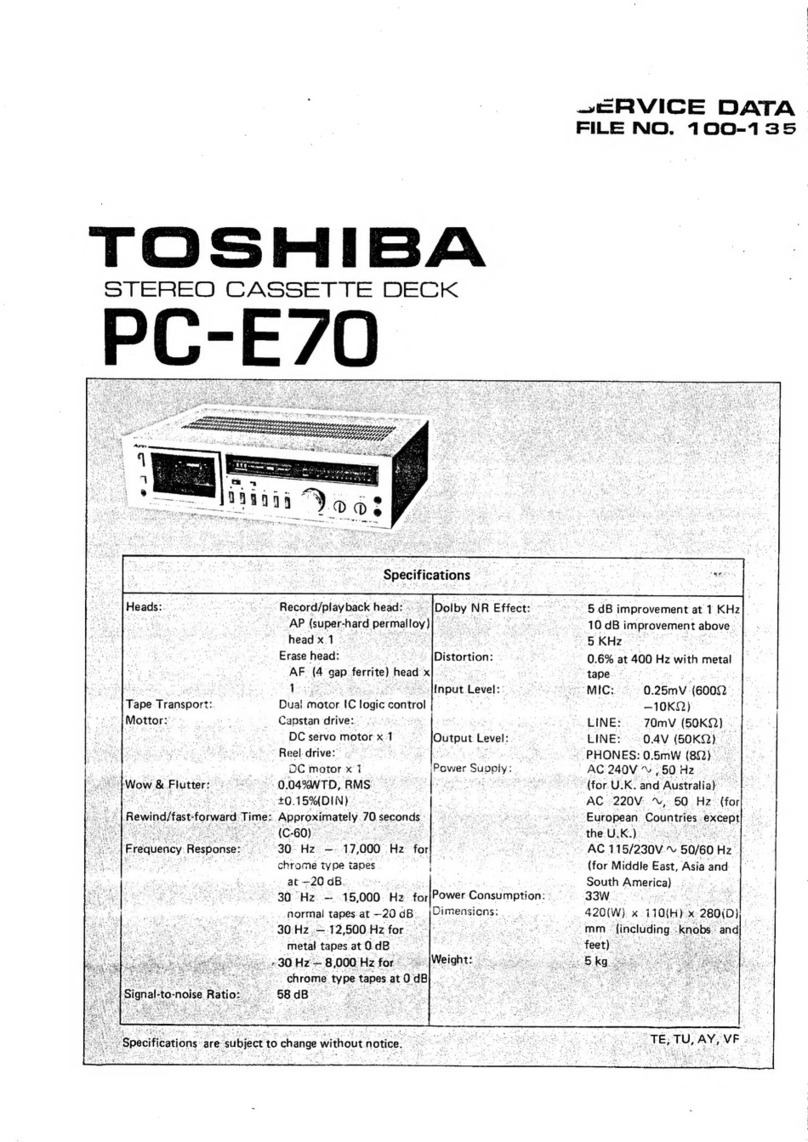
Toshiba PC-E70 User manual

Toshiba
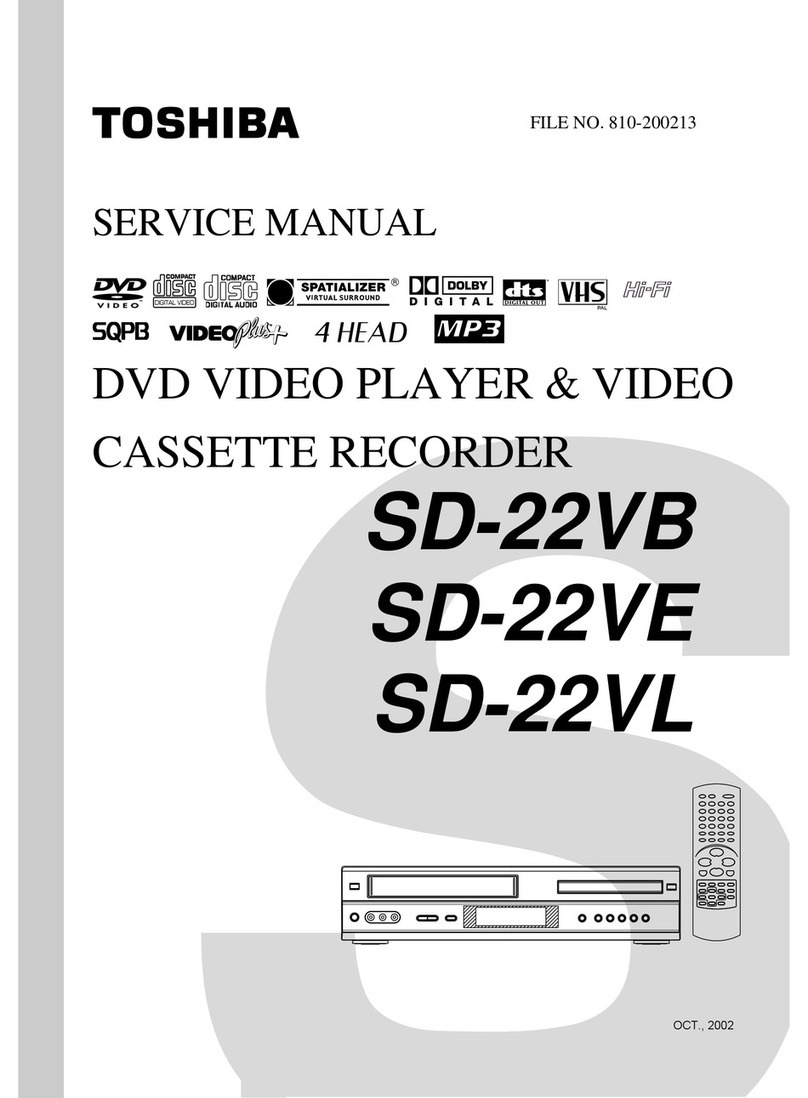
Toshiba SD-22VB User manual

Toshiba
Toshiba SD-V594SU User manual

Toshiba
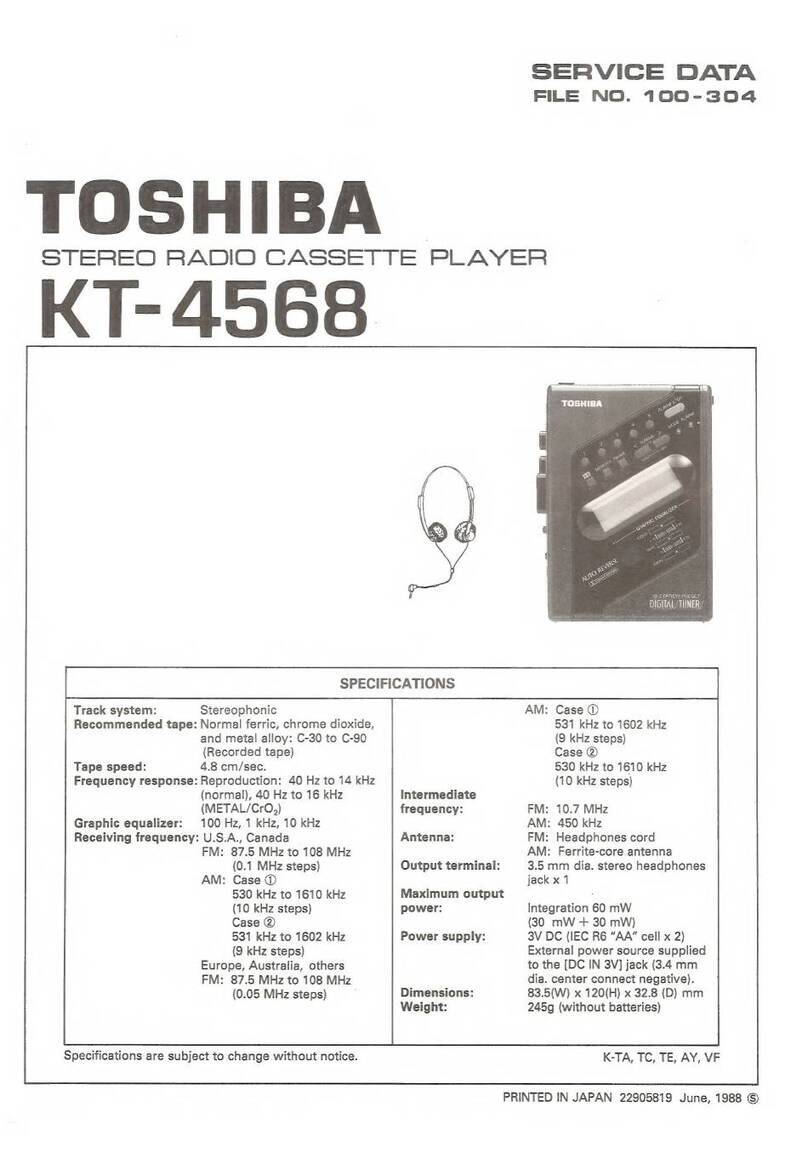
Toshiba KT-4568 Mounting instructions

Toshiba
Toshiba KT-S1 Mounting instructions
Toshiba
Toshiba RT-S933 User manual