Contents
English
English
4
Air Circulation 4
4
4
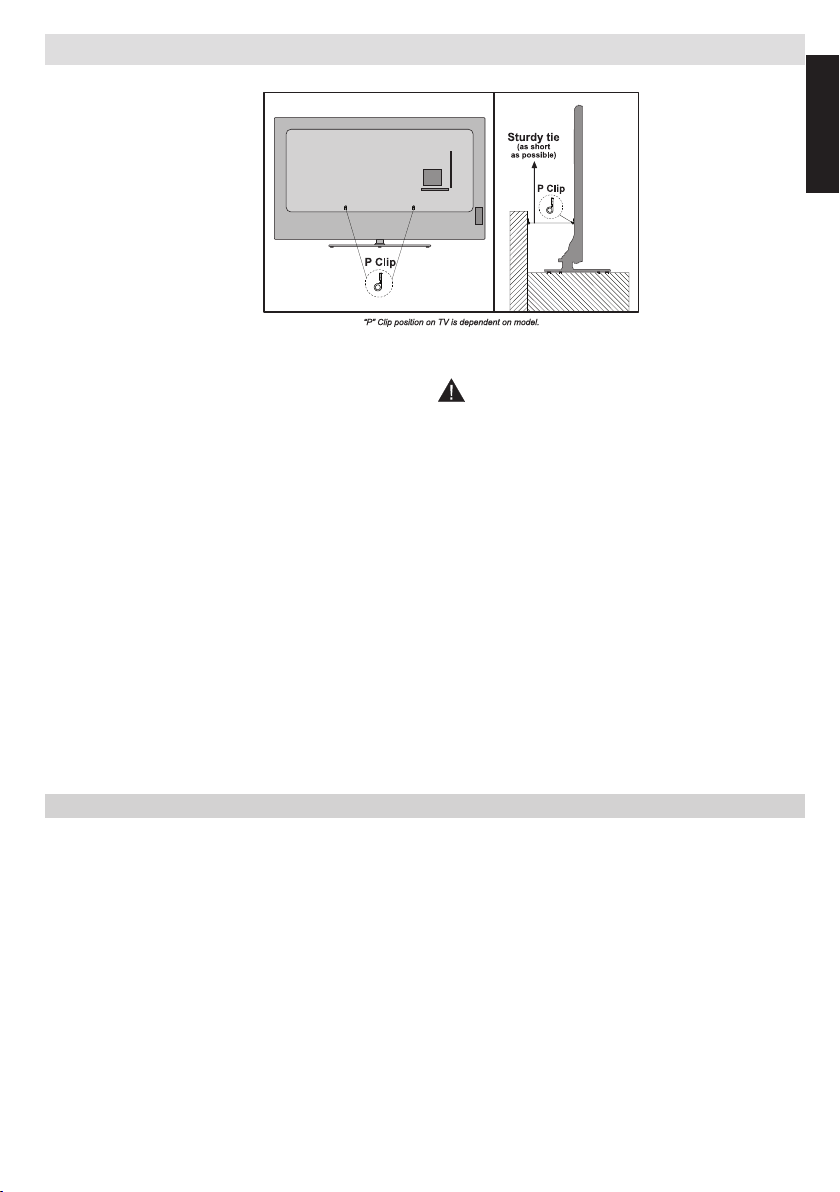
Warning 4
Do 4
Do not 4
5
EXCLUSION CLAUSE 5
6
7
8
8
9
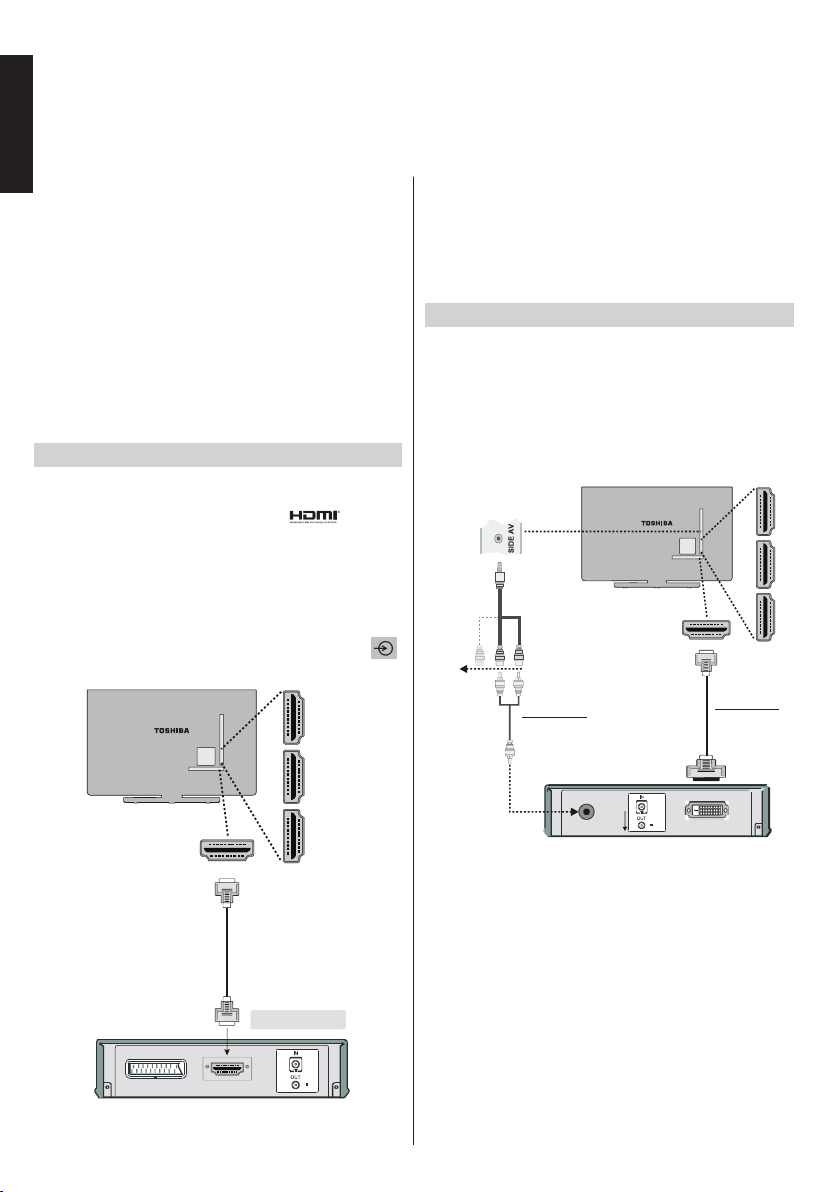
Connecting an HDMI®
10
10
10
11
11
11
Co11
11
13
13
Controlling the TV 14
14
14
14
15
Auto Tuning 18
Auto Tuning 18
18
Manual Tuning, Analogue Fine Tuning 19
Digital Aerial Manual Search 19
19
Analogue Manual Search 19
Digital Satellite Manual Search 19
Analogue Fine Tune
Locking
Deleting a Channel
Locking a Channel
Language Selection
Current
PIN
Menu Lock
Maturity Lock
Set PIN
Colour
Backlight
Dot Clock
30
30
30
30
30
30
30
30
AVL 30
30
30
30
Digital Out 30