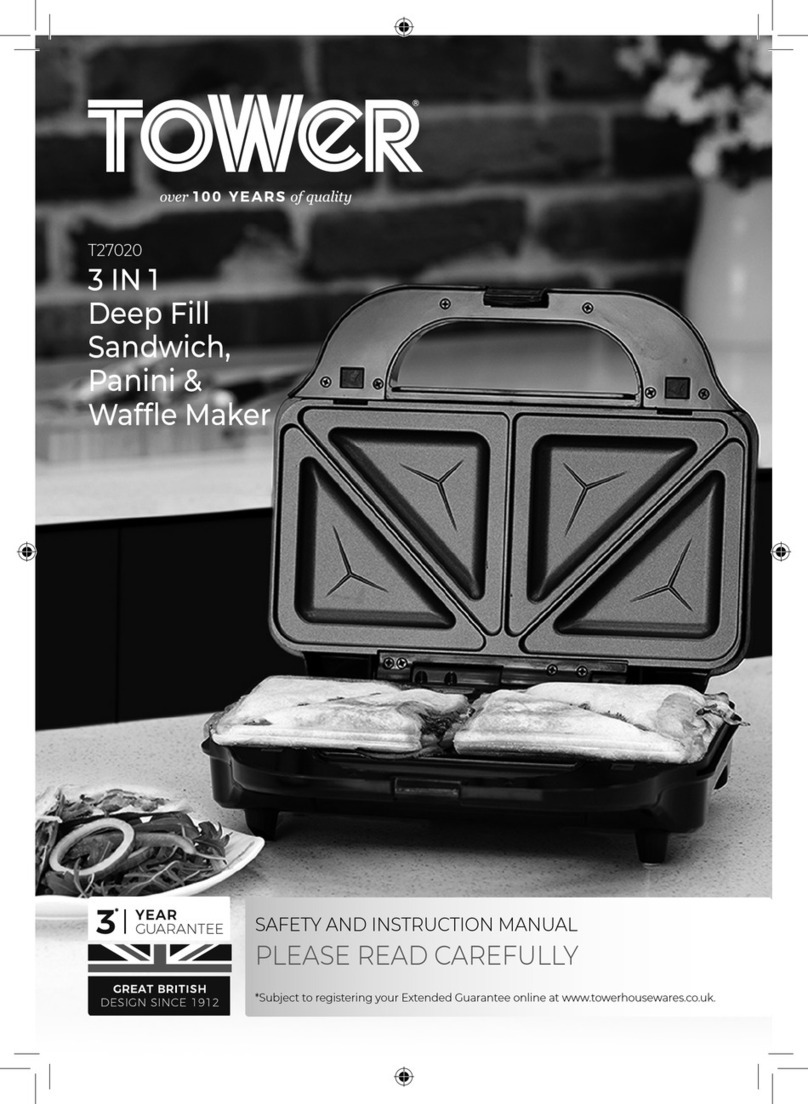
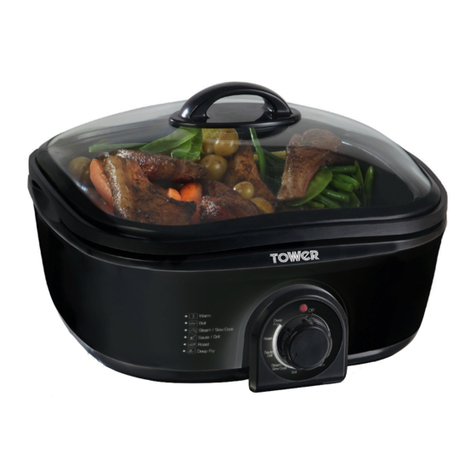
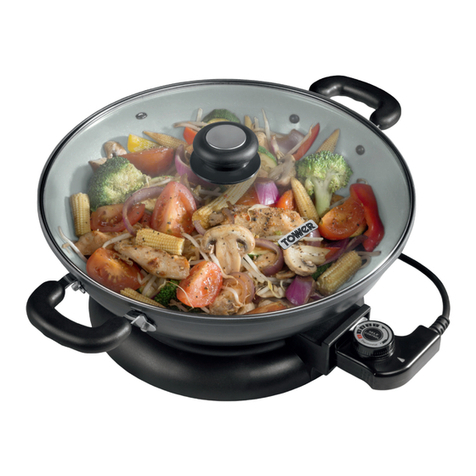
Tower Hobbies T27006 Operator's manual
Other Tower Hobbies Kitchen Appliance manuals

Tower Hobbies
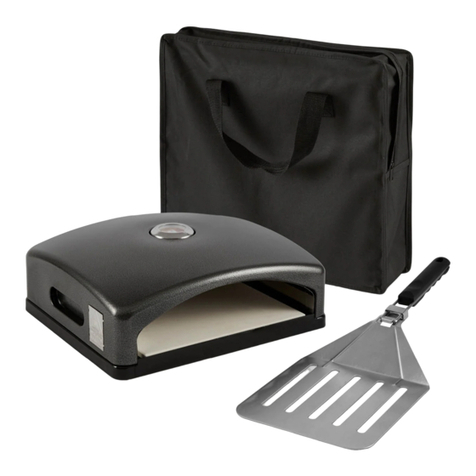
Tower Hobbies T12009 Operator's manual
Tower Hobbies
Tower Hobbies T978517 Operator's manual
Tower Hobbies
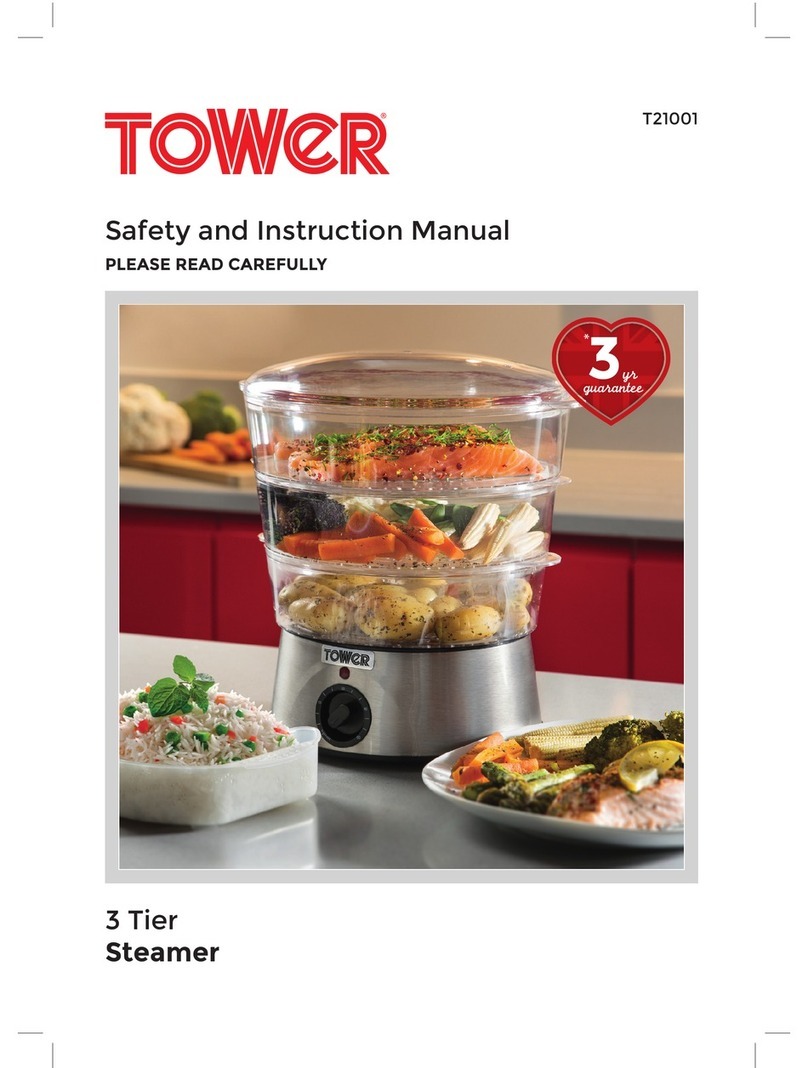
Tower Hobbies T21001 Operator's manual

Tower Hobbies
Tower Hobbies T21001 Operator's manual
Tower Hobbies
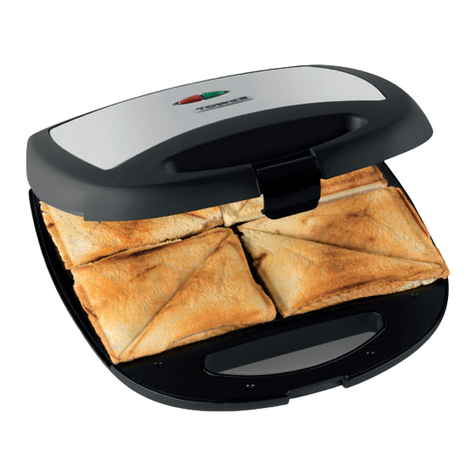
Tower Hobbies T27010 Operator's manual
Tower Hobbies
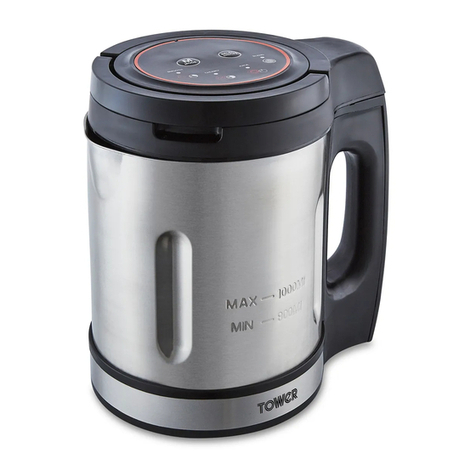
Tower Hobbies T12056 User manual
Tower Hobbies
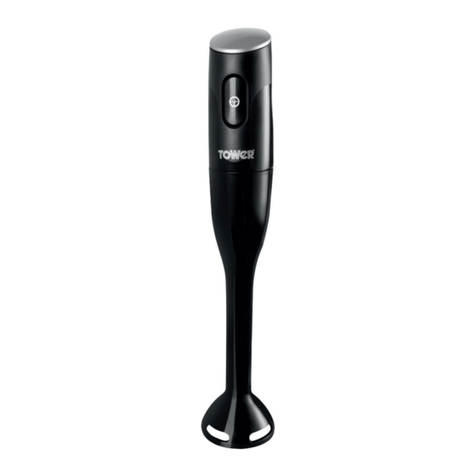
Tower Hobbies T19011 Operator's manual
Tower Hobbies
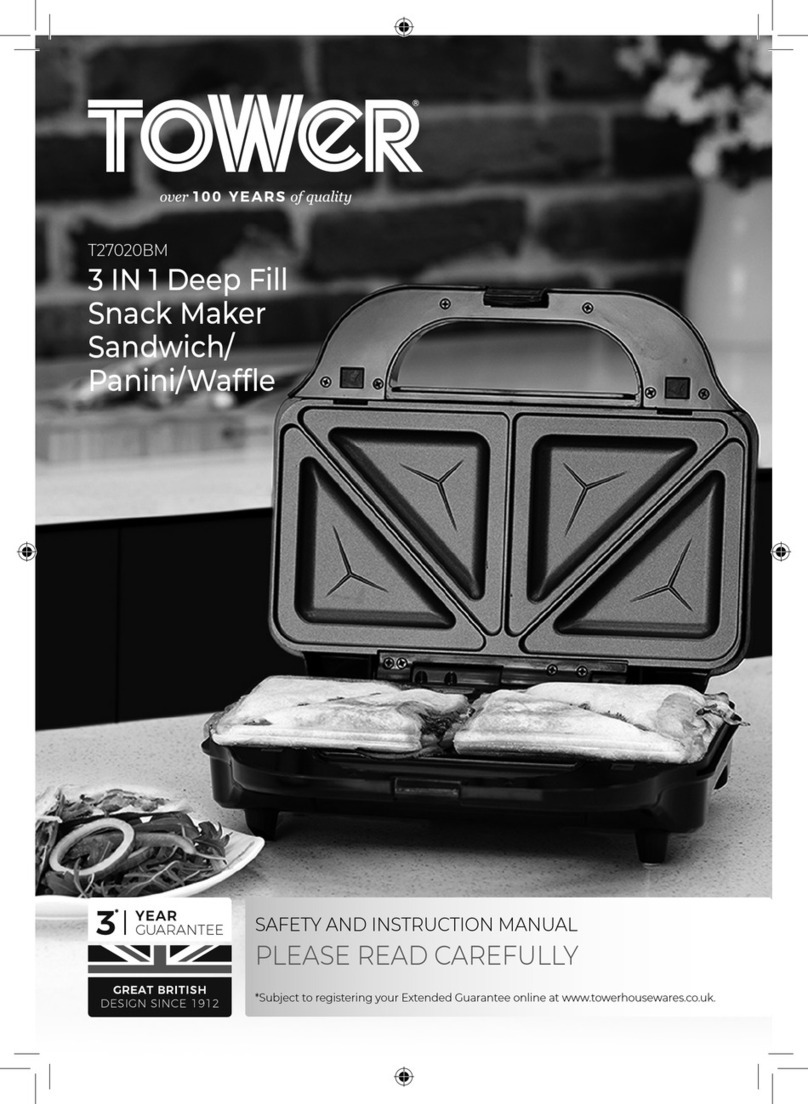
Tower Hobbies T27020BM Operator's manual
Tower Hobbies
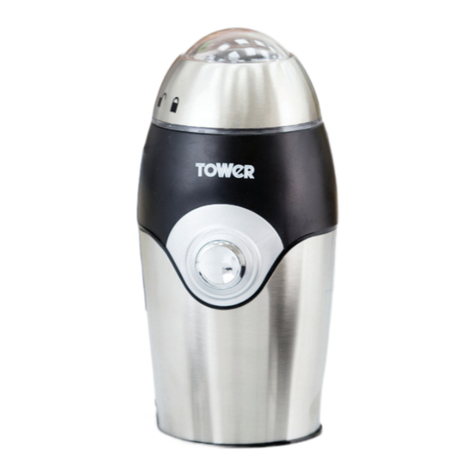
Tower Hobbies T13004 Operator's manual
Tower Hobbies
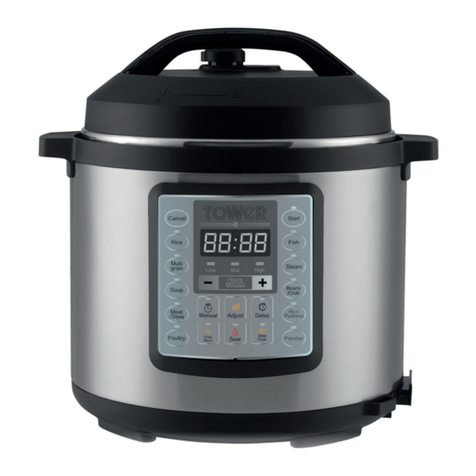
Tower Hobbies T16013 User manual
Tower Hobbies
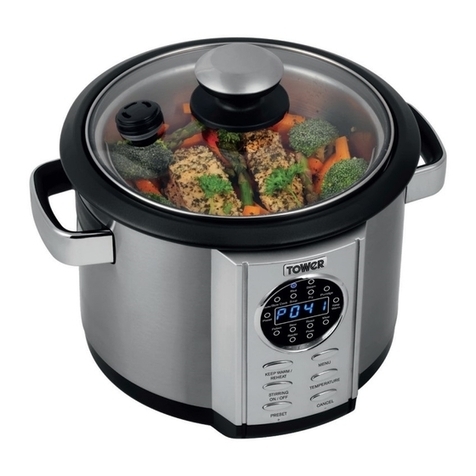
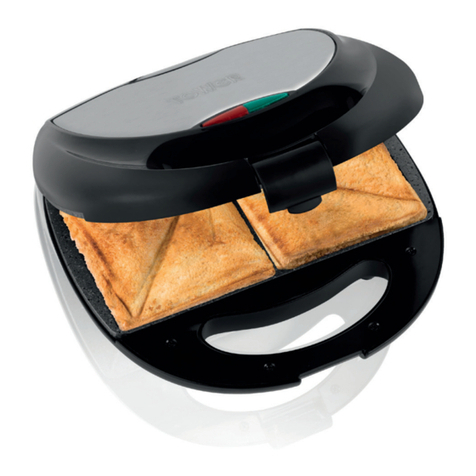
Tower Hobbies T1606 Operator's manual
Tower Hobbies
Tower Hobbies T27002 Operator's manual

Tower Hobbies
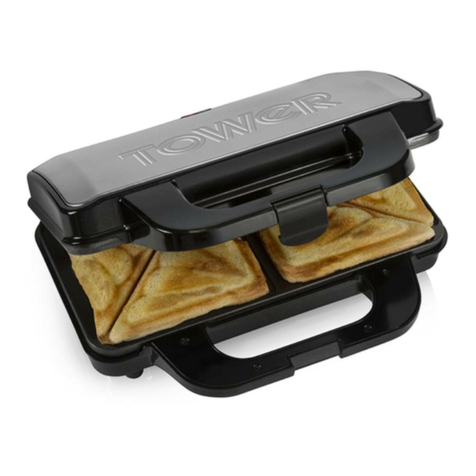
Tower Hobbies T16017JTF Operator's manual
Tower Hobbies
Tower Hobbies T27013RG Operator's manual

Tower Hobbies
Tower Hobbies PT19027WHT Operator's manual

Tower Hobbies
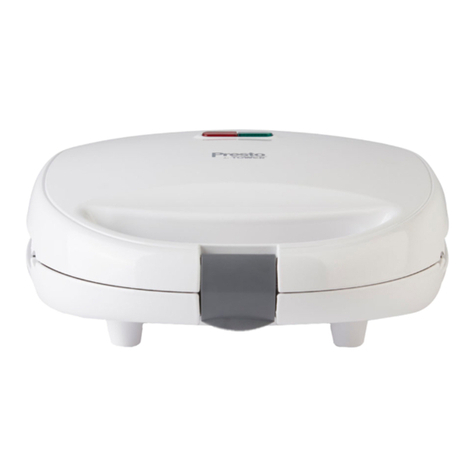
Tower Hobbies T80410 Operator's manual
Tower Hobbies
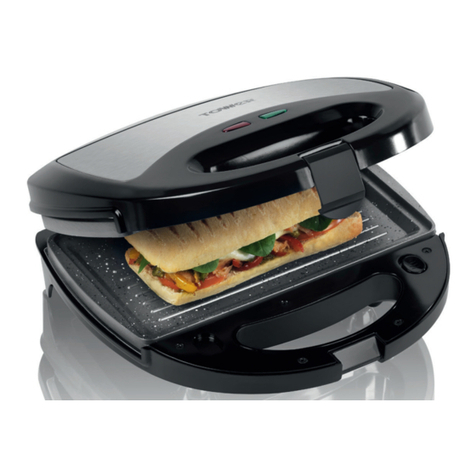
Tower Hobbies Presto PT27028WHT Operator's manual
Tower Hobbies
Tower Hobbies T27008 Operator's manual
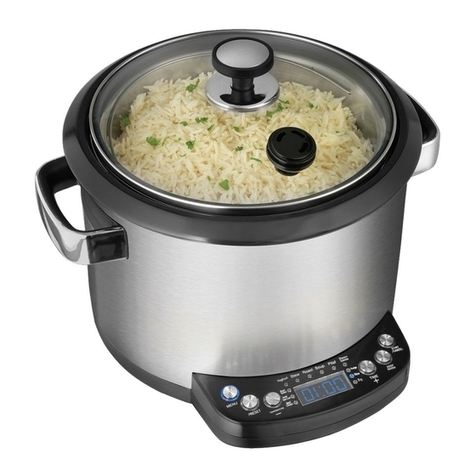
Tower Hobbies
Tower Hobbies T16001 Operator's manual
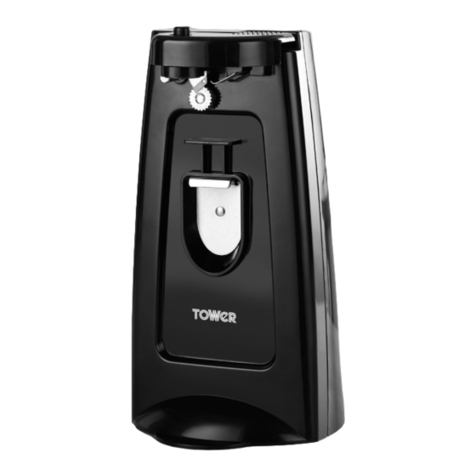
Tower Hobbies
Tower Hobbies T19007 Operator's manual
Popular Kitchen Appliance manuals by other brands

Tayama
Tayama TYG-35AF instruction manual

AEG
AEG 43172V-MN user manual

REBER
REBER Professional 40 Use and maintenance

North American
North American BB12482G / TR-F-04-B-NCT-1 Assembly and operating instructions

Presto
Presto fountain popper instruction manual

Westmark
Westmark 1035 2260 operating instructions
