6. MAINTENANCE
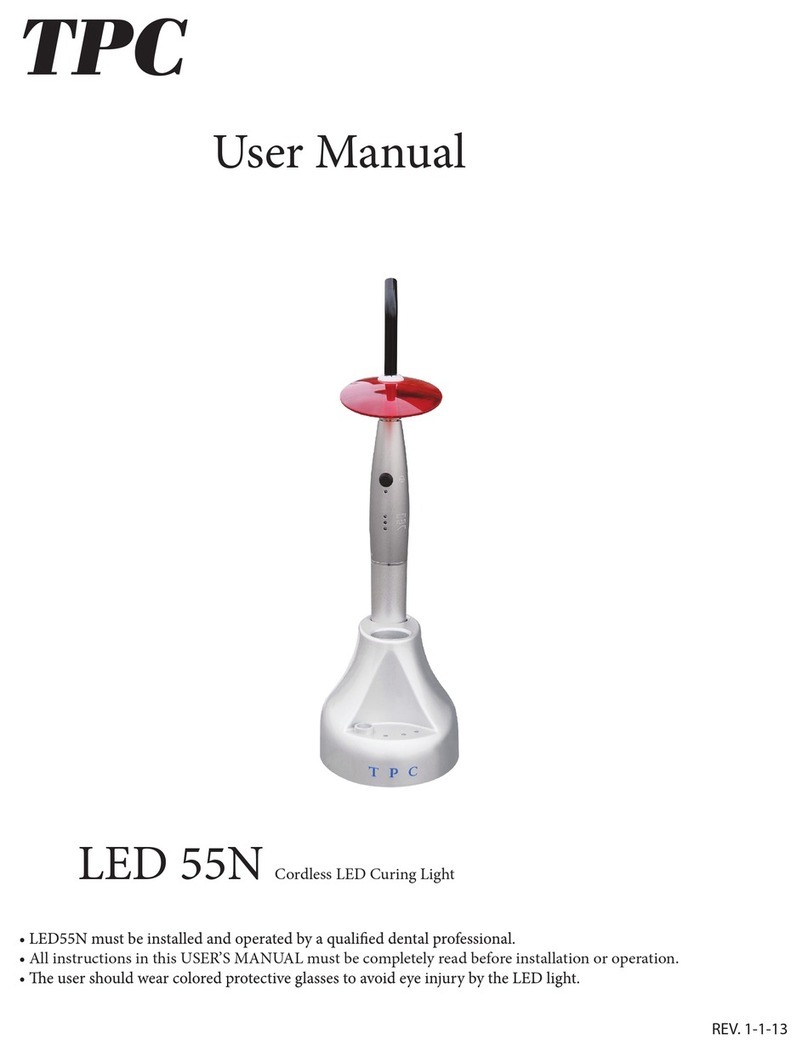
1. Be sure there is no resin or material sticking to the surface of the light guide.
2. If materials are sticking on the light guide immediately clean it with so cloth. Keep light guide clean for better
light intensity and curing performance.
3. e light guide should be sterilized aer each use. It can be safely autoclaved at 121 °C. For no more then 15
minutes. Let cool before handling.
4. e other accessories such as curing light hadpiece and eye protector should be scrubbed with pure water and
sheathed in accordance with standard disinfection procedures.
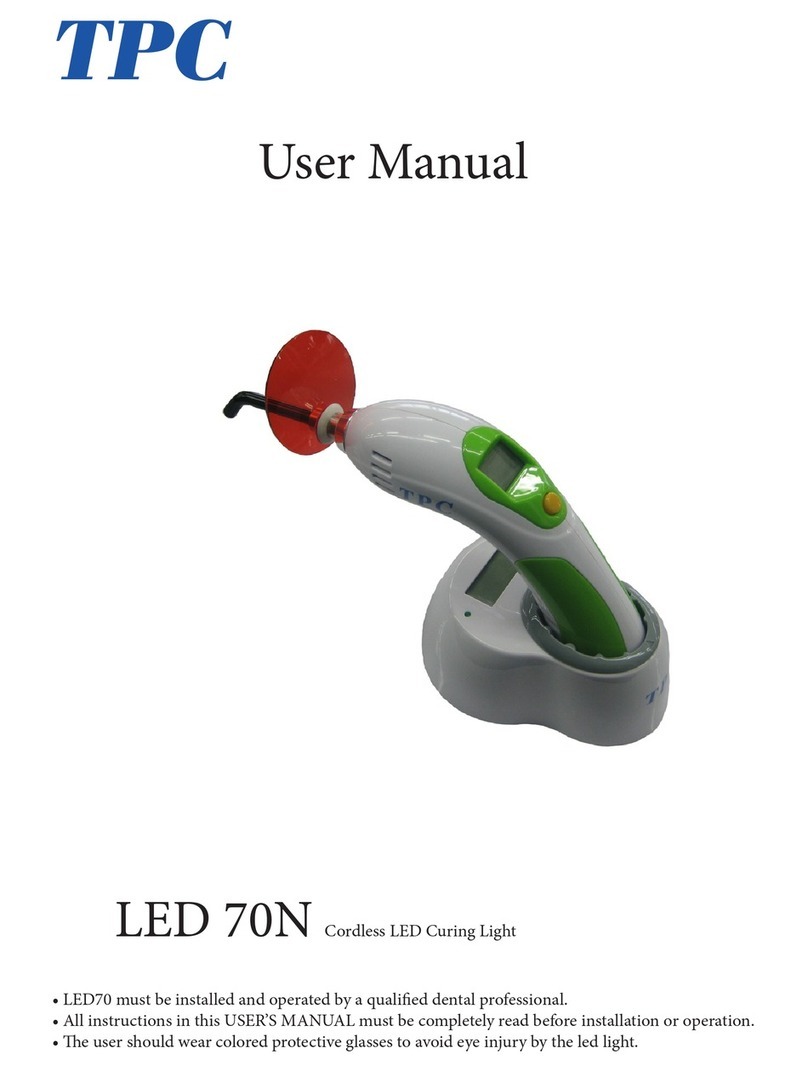
5. Keep curing light handpiece in charging station while not in use.
6. e User should wear colored protection glasses to avoid eye injury due to LED light.
7. TROUBLESHOOTING
Fault Possible Cause Solution
e low battery indicator on the
curing light is solid red
power supply failing Repalce power supply
e overheat indicator light is
orange
e curing light has overheated Allow to cool for 10 min
When the light is not in use it em-
mits light from the end.
Damage to main PCB board on
light.
Return for factory service.
My light guide is very loose when
placed in the curing light
O-ring damaged or missing Check o-ring or repalce
e light changes modes on its own Function button is depressed in Verify the function button is not
stuck. Press and release the func-
tion button
None of the mode or status lights
are illuminating
power supply not working
Contacts are dirty on the back of
the light
check power supply
Clean contacts
When i try to attach the light to the
tubing its very tight and will not
fully attach
Tubing may have been dropped and
the threads are dented in
Repalce / repair tubing
I see a halo pattern when the light
is being used
Light guide has cracks in the ber Replace light guide
6
