manuals.online logo
Brands
  1. Home
  2. •
  3. Brands
  4. •
  5. TPI
  6. •
  7. Heater
  8. •
  9. TPI 3480/RCH Series User manual

TPI 3480/RCH Series User manual

FORM: 9480 ECO 1-7255 REV. 01/17
1 OF 4
3480/RCH SERIES INSTALLATION
INSTRUCTIONS
GENERAL INFORMATION
MOUNT HORIZONTAL POSITION ONLY.
DO NOT INSTALL ANY CLOSER THAN 12” TO NEAREST WALL
MAXIMUM MOUNTING HEIGHT 12 FEET.
CHECK TO SEE THAT SERVICE VOLTAGE IS THE SAME AS HEATER VOLTAGE.
ALL WIRING MUST CONFORM TO THE NATIONAL ELECTRIC CODE AND EXISTING LOCAL CODE REQUIREMENTS.
INSTALLATION INSTRUCTIONS:
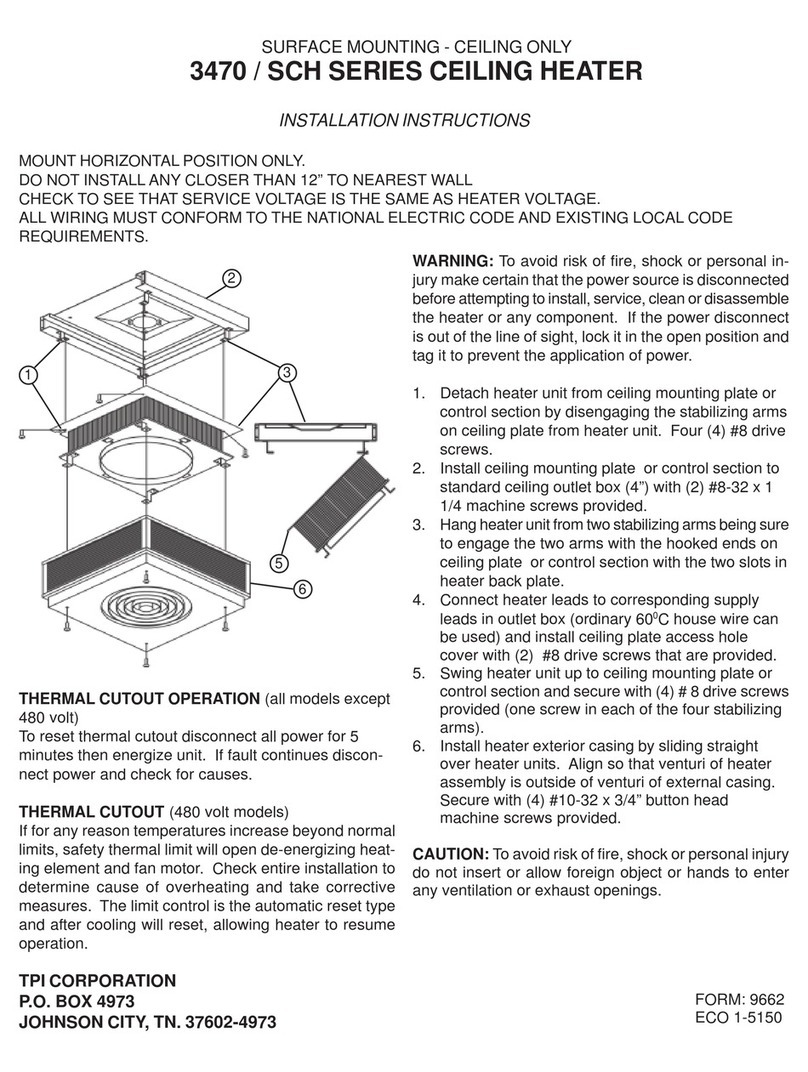
1. Detach heater unit from the ceiling mounting plate in the
recessed can by disengaging the stabilizing arms on
ceiling plate from the heater unit. 4 - #8 drive screws.
2. For a dropped or suspended ceiling, anchor the recessed
can using either threaded rod, or wire in an approved
method that is su󰀩cient to support the heater assembly
such that the bottom edge of the recessed can just
rest on the T-bar frame. For plaster or similar nished
ceilings, the can should be installed so the anges (of
the can) are even with the interior nish or ceiling line.
3. For plaster or other similar nish ceilings attach the
PT3480 accessory plaster frame to the recessed can
using 8 - #8 x 3/4 drive screws. (detail “AA”)
4. Hang heater unit from two stabilizing arms on the ceiling
mounting plate in the can. Be sure to engage the two
arms with the hooked ends on the ceiling plate with the
slots in the heater plate.
5. Connect the heater leads with their corresponding
supply leads in the outlet box (75OC wire must be used).
The outlet box is permanently attached to the top of
the can. After this is complete, install the ceiling plate
access hole cover with 2 - #8 drive screws which have
been provided.
6. Swing the heater unit up to the ceiling mounting plate
and secure with 4 - #8 drive screws that have been
provided. Do this by placing one screw in each of the
four stabilizing arms on the ceiling plate.
7. Install heater exterior grille by attaching it directly to the
heater unit. Rotate the exterior grille so that the two
1/4” dia. holes in the exterior grille align with the manual
reset limit control located on the bottom of the venturi
of the heater assembly, also make alignments so that
the venturi of the heater assembly is on the outside the
venturi of the exterior grille. Secure to the four bracket
arms on the heater case with 4 - 10/32 x 3/4 button
head machine screws provided.
WARNING: To avoid the risk of re, shock or personal injury; make sure that the power source is disconnected before
attempting to install, service, clean or disassemble the heater or any of its components. If the power disconnect is out of the
line of sight, lock in in the open position and tag it to prevent the application of power.
IMPORTANT: OWNER SHOULD RETAIN THESE INSTRUCTIONS FOR FUTURE REFERENCE
NOTE: If plaster frame is required for installation
order it as an option.
ATTENTION: Read carefully
before attempting to install
or operate the heater.
HANG HEATER UNIT FROM
TWO STABILIZING ARMS ON THE
CEILING MOUNTING PLATE IN THE CAN
RECESSED HARD SURFACE
INSTALLATION
RECESSED T-BAR
INSTALLATION
RECESSED
DETAILS
EACH
CORNER
HEATER
BOX T-BAR
BY OTHERS
HEATER
BOX
PT3480
1
4
2
7
FORM: 9480 ECO 1-7255 REV. 01/17
2 OF 4
IMPORTANT INSTRUCTIONS
1. When using electrical appliances, basic precautions should always be followed to reduce the risk of re, electrical shock, and injury
to persons, including the following:
2. Read all instructions before using this heater.
CAUTION: High temperatures. Keep cords and all other combustible material, such as furniture, papers, clothes
and curtains away from the heater. For safe and e󰀩cient operation, keep an open space around
heater of three feet in front and 12 inches at ends and rear.
ATTENTION:
Les températures élevées. Gardez les cordons et tout autre matériau combustible, tels que les
meubles, papiers, vêtements et rideaux à l'extérieur de l'appareil de chau󰀨age. Pour un
fonctionnement sûr et e󰀩cace, garder un espace ouvert autour de chau󰀨age de trois pieds à l'avant
et 12 pouces aux extrémités et à l'arrière.
3. Extreme caution is necessary when any heater is used by or near children or invalids and whenever the heater is left
operating and unattended
.
4. Do not operate any heater after it malfunctions, has been dropped or damaged in any manner. Return heater to
authorized service facility for examination, electrical or mechanical adjustment, or repair.
5. Do not use outdoors.
6. To disconnect heater, turn controls to o󰀨, and turn o󰀨 power to heater circuit at main disconnect panel (or operate internal disconnect
switch if provided).
7. Do not insert or allow foreign objects to enter any ventilation or exhaust opening as this may cause an electric chock or re, or
damage the heater.
8. To prevent a possible re, do not block air intakes or exhaust in any manner.
9. A heater has hot and arcing or sparking parts inside. WARNING: Do not use it in area where gasoline, paint,or ammable liquids
are used or stored.
10. Use this heater only as described in this manual. Any other use not recommended by the manufacturer may cause re, electric
shock, or injury to persons.
11. This heater may include an audible or visual alarm to warn that parts of the heater are getting excessively hot. If the alarm sounds
(or illuminates), immediately turn the heater o󰀨 and inspect for any objects on or adjacent to the heater that may have blocked the
airow or otherwise caused high temperatures to have occurred.
DO NOT OPERATE THE HEATER WITH THE ALARM SOUNDING (OR ILLUMINATING).
22 1/2"
22 1/2" 9 1/8"
3/8" FLANGE
23 9/16"
INSIDE
21 11/16"
2" X 2" T-BAR OR
PLASTER OPENING
BY OTHERS
21 11/16"
21 11/16"
23 13/16"
23 13/16"
TOP VIEW BOTTOM VIEW SIDE VIEW
(ALL SIDES IDENTICAL)
FORM: 9480 ECO 1-7255 REV. 01/17
3 OF 4
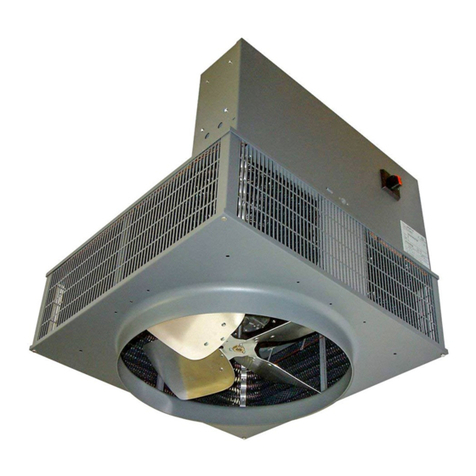
3480 / RCH SERIES CEILING HEATER
CAUTION: To avoid the risk of re, shock or personal injury;
do not insert or allow any foreign objects or hands to enter
any ventilation or exhaust openings.
THERMAL CUTOUT IDENTIFICATION
All 480V Models employ a automatic limit control. 208,
240 and 277V models have a capillary manual reset
limit control.
Models with capillary type manual reset limit control.
This device is located on the heater venturi (bottom of
unit as installed) with the capillary routed around the
outside of the element assembly.
THERMAL CUTOUT OPERATION
(WITH CAPILLARY MANUAL RESET)
To reset thermal cutout, rst disconnect power from
the unit allowing time to cool, locate the two 1/4” dia.
openings in the front grille. Using a small screwdriver
or pencil press the reset button (with minimal amount
of force) through the 1/4” opening, then restore power
to the unit. If fault continues disconnect power and
check for causes.
THERMAL CUTOUT (480 volt models)
If for any reason temperatures increase beyond normal
limits, safety thermal limit will open de-energizing
heating element and fan motor. Check entire installation
to determine cause of overheating and take corrective
measures. The limit control is the automatic reset type
and after cooling will reset, allowing heater to resume
operation.
OPERATION
1.Turn on the power supply to heater.
2.Rotate thermostat knob fully clockwise.
3.Allow the room to reach desired temperature, then rotate thermostat knob counter clockwise until the heater de-energizes.
MAINTENANCE AND CLEANING
DISCONNECT POWER BEFORE ATTEMPTING ANY SERVICE
The heater should be cleaned at least annually to prevent excess build-up of dirt and lint accumulated under normal
operating conditions. In an unusually dirty environment the cleaning should be done more often. Using a vacuum cleaner
with soft brush attachment, clean the the intake and discharge openings of any accumulated dirt or lint. The fan blade and
elements may be cleaned after removing the front cover. The face plate can be cleaned with damp cloth and mild detergent.
The factory installed louvered di󰀨user can be adjusted to
direct air ow as desired. If necessary the louvered di󰀨user
can be rotated 90 degrees by removing the four mounting
screws and turning the louvered di󰀨user to the desired
position and attaching to the grille. Care must be taken to
align the notched corners of the di󰀨user frame with the reset
holes in the grille. The louvered di󰀨user cannot be used in
conjunction with the standard circular outlet.
OPTIONAL LOUVERED DIFFUSER
FORM: 9480 ECO 1-7255 REV. 01/17
4 OF 4
480V 3FA.1 OPTION
(S) OPTIONAL DISCONNECT
WD-7
T.A.1 OPTION
(S) OPTIONAL DISCONNECT
480V 3F
WD-8
WD-9
480V 3F *NOTE: RELAY CONTROL VOLTAGE
OPTION R: SAME AS HEATER VOLTAGE
R1: 24VAC
R2: 120VAC
(S): OPTIONAL DISCONNECT
3 PHASE*NOTE: RELAY CONTROL VOLTAGE
OPTION R: SAME AS HEATER VOLTAGE
R1: 24VAC
R2: 120VAC
(S): OPTIONAL DISCONNECT
WD-2
WD-3
WD-5
WD-4
A.1 OPTION
(S) OPTIONAL DISCONNECT
1 PHASEA.1 OPTION
(S) OPTIONAL DISCONNECT
WD-6
WD-1
1 PHASE
1 PHASE
3 PHASE
T.A.1 OPTION
(S) OPTIONAL DISCONNECT
3 PHASE
T.A.1 OPTION
(S) OPTIONAL DISCONNECT
*NOTE: RELAY CONTROL VOLTAGE
OPTION R: SAME AS HEATER VOLTAGE
R1: 24VAC
R2: 120VAC
(S): OPTIONAL DISCONNECT

Other TPI Heater manuals

TPI 680 Series User manual

TPI

TPI 680 Series User manual

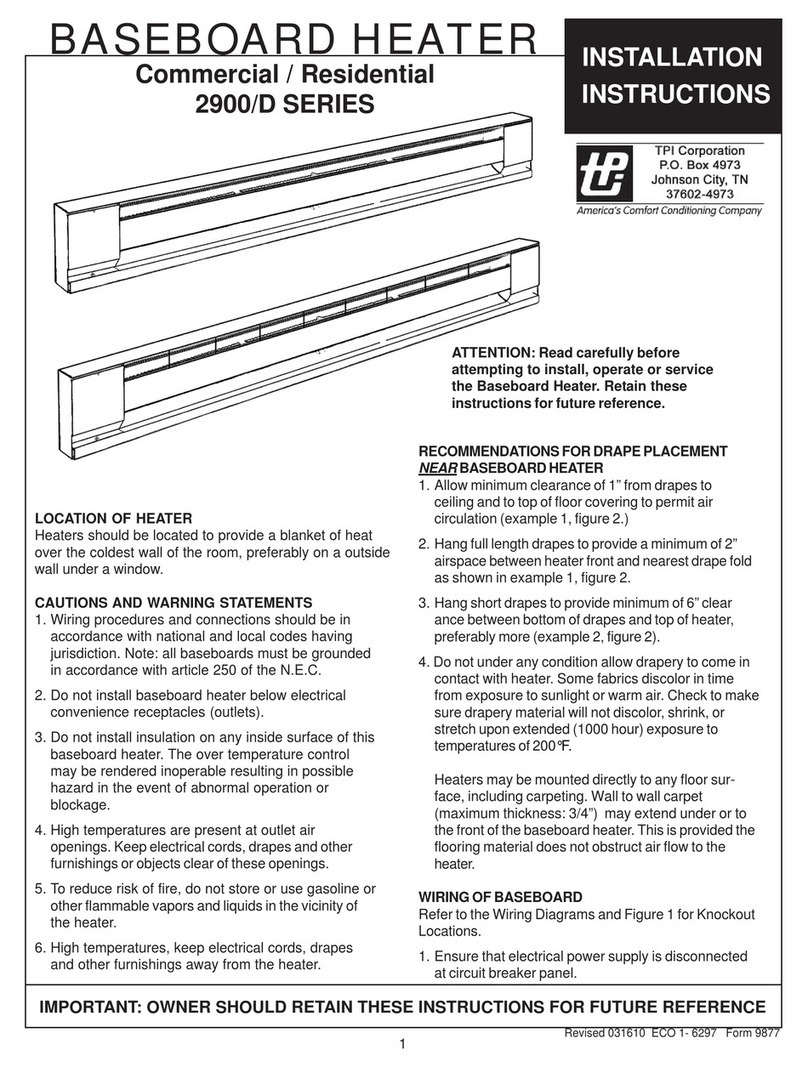
TPI 2900/D SERIES User manual

TPI

TPI 2900/D SERIES User manual

TPI CV Series User manual

TPI

TPI CV Series User manual

TPI 680 Series User manual

TPI

TPI 680 Series User manual

TPI TSH20J User manual

TPI

TPI TSH20J User manual

TPI 3200 Series User manual

TPI

TPI 3200 Series User manual

TPI FPQ 3310 Series User manual

TPI

TPI FPQ 3310 Series User manual

TPI 3420 Series User manual

TPI

TPI 3420 Series User manual

TPI TSH5X User manual

TPI

TPI TSH5X User manual

TPI E3313RP User manual

TPI

TPI E3313RP User manual

TPI 6300/T Series User manual

TPI

TPI 6300/T Series User manual

TPI CF35-C User manual

TPI

TPI CF35-C User manual

TPI HF5848TC User manual

TPI

TPI HF5848TC User manual

TPI CEH / 3380 SERIES User manual

TPI

TPI CEH / 3380 SERIES User manual

TPI 2600 Series User manual

TPI

TPI 2600 Series User manual

TPI CEH / 3380 SERIES User manual

TPI

TPI CEH / 3380 SERIES User manual

TPI 3470/SCH Series User manual

TPI

TPI 3470/SCH Series User manual

TPI Fostoria FHK Series User manual

TPI

TPI Fostoria FHK Series User manual

TPI ICH-240C User manual

TPI

TPI ICH-240C User manual

TPI CV Series User manual

TPI

TPI CV Series User manual

TPI 6300/T Series User manual

TPI

TPI 6300/T Series User manual

Popular Heater manuals by other brands

Scarlett comfort SC-FH53002 instruction manual

Scarlett

Scarlett comfort SC-FH53002 instruction manual

Jata calor TC73 Instructions for use

Jata calor

Jata calor TC73 Instructions for use

EINHELL HH 1200/1 Original operating instructions

EINHELL

EINHELL HH 1200/1 Original operating instructions

SBM SX Series Installer's instructions

SBM

SBM SX Series Installer's instructions

Totai F6T40G2 quick start guide

Totai

Totai F6T40G2 quick start guide

Frico SIReBX Original instructions

Frico

Frico SIReBX Original instructions

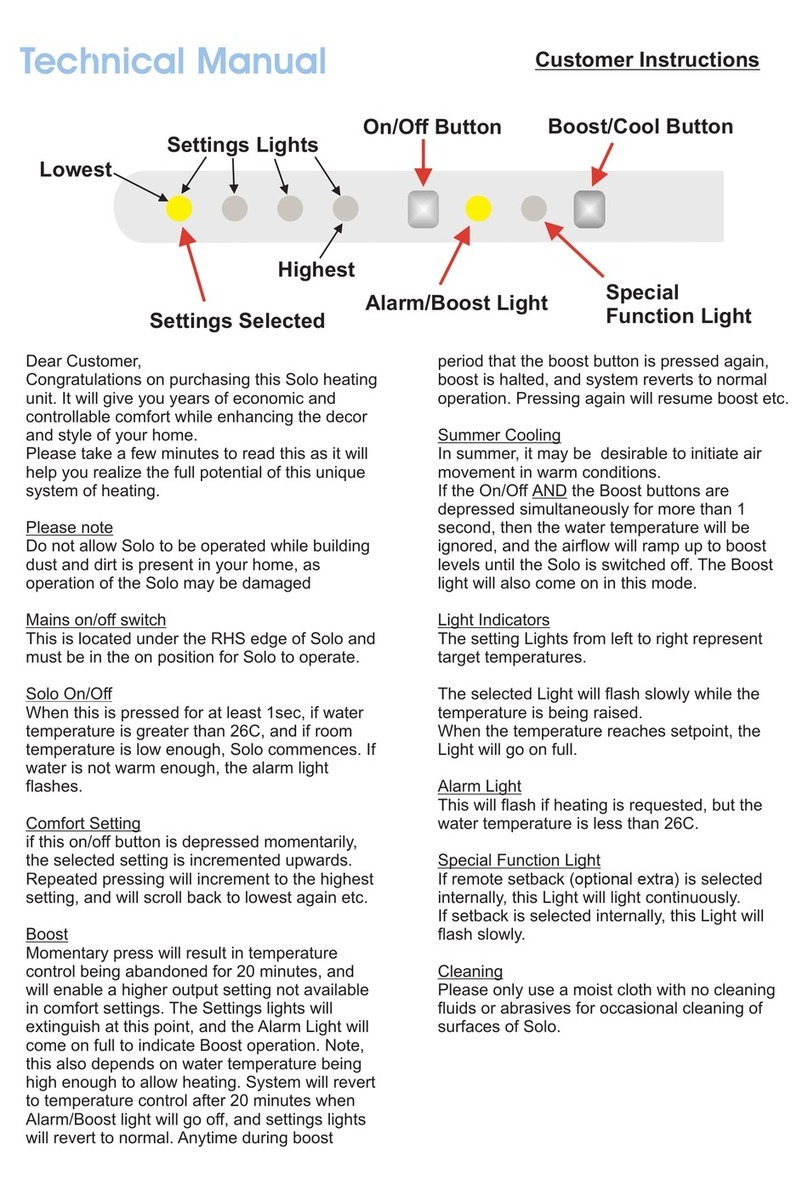
Solo 3 Technical manual

Solo

Solo 3 Technical manual

Klarstein 10032813 manual

Klarstein

Klarstein 10032813 manual

Trisa electronics 9345.42 Instructions for use

Trisa electronics

Trisa electronics 9345.42 Instructions for use

EOS 46.U XL Assembly and operating instruction

EOS

EOS 46.U XL Assembly and operating instruction

point pro Series user manual

point

point pro Series user manual

Broan 174 manual

Broan

Broan 174 manual

Saturn ST-HT0484 manual

Saturn

Saturn ST-HT0484 manual

Jata C214 Instructions of use

Jata

Jata C214 Instructions of use

Vaillant uniSTOR VIH GB 260 S Instructions for  and... Instructions for installation

Vaillant

Vaillant uniSTOR VIH GB 260 S Instructions for and... Instructions for installation

CLIMAMEISTER VAL 6 instruction manual

CLIMAMEISTER

CLIMAMEISTER VAL 6 instruction manual

Harvia sentiotec Concept R combi black Instructions for installation and use

Harvia

Harvia sentiotec Concept R combi black Instructions for installation and use

Decofire DF102043 Assembly, Safety & Operating Instructions

Decofire

Decofire DF102043 Assembly, Safety & Operating Instructions

manuals.online logo
manuals.online logoBrands
  • About & Mission
  • Contact us
  • Privacy Policy
  • Terms and Conditions

Copyright 2025 Manuals.Online. All Rights Reserved.