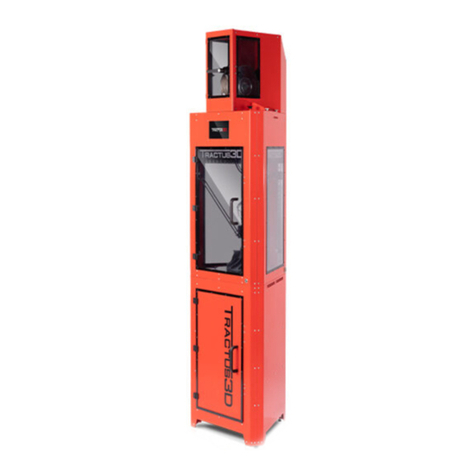
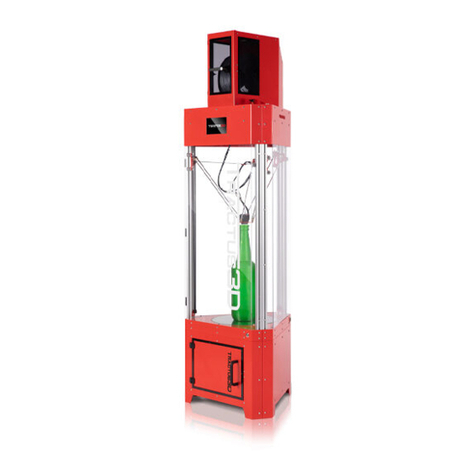
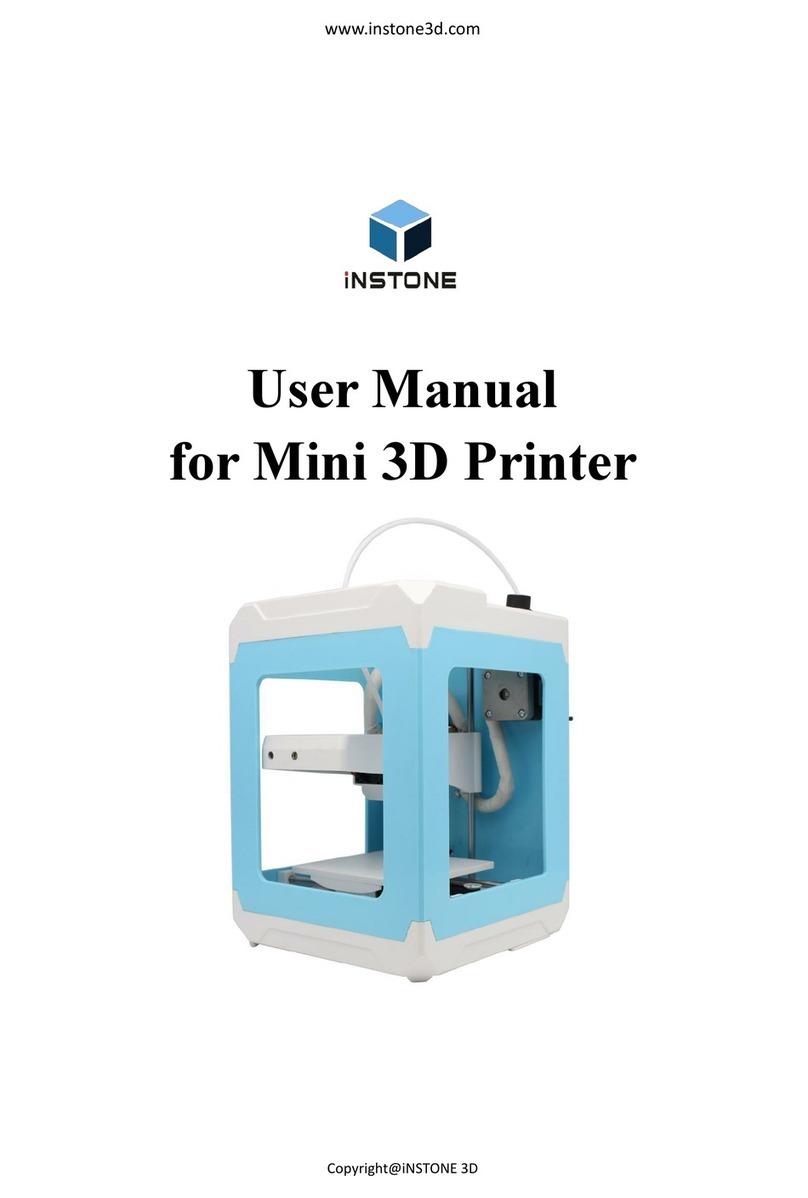
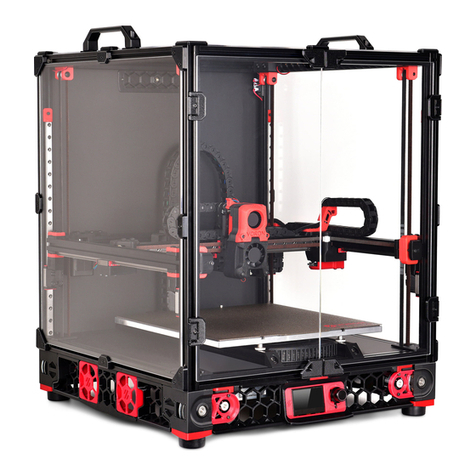
Tractus3D LARGE VOLUME Series User manual

A PROUD DUTCH COMPANY
HEART
SOUL
&
DUTCH
PERFECTION
Inside every 3D Printer
Installation and user manual
LARGE VOLUME series
Original manual v2.0

2
Table of Contents
Disclaimer 4
Preface 5
1. Safety and compliance 6
1.1 Safety Notices 6
1.2 Hazards 6
2. Introduction 8
2.1 Main components 8
2.2 Specifications T3500 8
2.3 Specifications T3000 10
3. Unboxing 12
4. Setup for rst use 12
4.1 Set up network 12
4.2 Update the firmware 15
4.3 Calibrating the print bed 16
4.4 Installing slicing software 19
4.5 Uploading files to 3D printer 25
5. Operation 26
5.1 Web interface 26
6. Materials 31
6.1 Material compatibility 31
6.2 Print recommendations 32
6.3 Tips for experimental materials 33
7. Operating the 3D printer 34
7.1 Load material 34
7.2 Unload material 37
7.3 Removing the filament with a blob 38
7.4 Preparing your print bed 40

3
7.5 Removing a print from the bed 41
7.6 Remove support material or brim 42
8. Maintenance 43
8.1 Maintenance schedule 43
8.2 Change the print head 44
8.3 Change the bed plate 47
8.4 Dimensional accuracy calibration 48
8.5 Material usage and storage 50
8.6 Clean the 3D printer 51
8.7 Check all arms 51
8.8 Clean the print head and nozzle 52
8.9 Clean the Bowden tube 53
8.10 Clean the slide wheels 55
8.11 Check for play on the slides 56
8.12 Check tension and wear of belts 57
8.13 Check if print head fan is running after heating up 57
8.14 Clean or replace the feeder/extruder motor 58
9. Troubleshooting 60
9.1 Unclog a print head 60
9.2 Print quality issues 61

4
Disclaimer
Please read this installation and user manual carefully before using this product. Misuse or failure to follow
warnings and instructions may result in personal injuries, inferior results or damages to the 3D printer. Users and
purchasers of this product must know and understand the contents of the manual for correct use and care of
the Tractus3D Printer.
The conditions or methods necessary for assembling, care, storage, use or removal of the product is not within
our control or knowledge. Therefor we do not take any responsibility and explicitly disclaim liability for injuries,
loss, damages, or costs ensued from or connected with the assembly, care, storage, use or removal of the
Tractus3D Printer.
The contents of this document is provided by Tractus3D and without warranties of any kind, either expressed or
implied in relation to the propriety, reliability or accuracy or otherwise of these contents.
Intended use of our 3D printers
Tractus3D printers are engineered and manufactured for use within a commercial environment and for FFF
materials. Tractus3D printers are ideal for functional prototypes, concept models and series production on a
small scale. With the usage of Simplify3D, we have reached a very high level in the production of 3D models.
However the user is responsible for qualifying and validating the utilization of the printed object, in particular if
these are vital in highly restricted circumstances, like medical or automotive applications.
Our printers are compatible with 3rd party filaments but we do recommend the use of Tractus3D materials for
the best results. The properties of these materials are fully matched with our printer settings.
Copyright © 2019 Tractus3D. All rights reserved worldwide.
This language version of the manual is verified by the manufacturer (Original manual). No part of this publication, including
pictures may be reproduced and/or made public, whether by printing, photocopying, microfilm or by any other means
whatsoever, without the prior written permission of Tractus3D.

5
Preface
This is the installation and user manual for your Tractus3D printer.
This manual contains chapters about the installation and use of the 3D printer.
The manual contains important information and instructions on safety, installation and use. Please read all
information and follow the instructions and guidelines in this manual carefully. This ensures that you will obtain
great quality prints and that possible accidents and injuries are prevented. Make sure that everyone who uses the
Tractus3D printer has access to this manual.
Every effort has been made to make this manual as accurate and complete as possible. The information is
believed to be correct but does not aim to be all inclusive and shall be used only as a guide. Should you discover
any errors or omissions, please bring this to our attention, so that we can make amendments.
This will enable us to improve our documentation and service to you.

6
Safety and compliance
1. Safety and compliance
Always work safe with your Tratus3D printer and follow all warnings and instructions to prevent any possible
personal injuries or accidents.
1.1 Safety Notices
This manual includes warnings and safety notices.
Provides additional information that is helpful to do a task or to avoid problems.
Warns of a situation that may cause material damage or injuries if one does not follow the safety
instructions.
General safety information
The Tractus3D printer has moving parts that will get hot and generate high temperatures. This may cause
injuries. When in operation, never reach inside of the 3Dprinter. Control the 3Dprinter with the touchscreen,
positioned on the front or with the power switch at the front. Let the Tractus3D printer cool down for at least 5
minutes before reaching inside.
Do not leave or store items inside the 3D printer.
Without explicit instructions from Tractus3D, please do not adjust or change anything on the Tractus3D printer.
Persons with reduced physical and/or mental capabilities that are unable them to act accurately in case of
emergency or persons with lack of experience and knowledge, should not use the Tractus3D Printer. Only when
given instructions concerning the use of the appliance, or under supervision by a person responsible for their
safety.
Children should always be under supervision when using the 3D printer.
1.2 Hazards
Electromagnetic compatibility (EMC)
This product has been tested and found to comply with the limits for a digital device Class A, according to part
15 of the FCC Rules. These limits are designed to provide reasonable protection against harmful interference
when the 3D printer is operated in a commercial environment. This Tractus3D printer generates, uses, and can
radiate radio frequency energy and, if not installed and used in accordance with the instruction manual, may
cause harmful interference to radio communications.
Electrical safety
Every printer has passed testing before shipment. This test guarantees the right level of insulation against
electrical shock. An earthed mains socket must be used. Be sure that the building installation has dedicated

7
Safety and compliance
means for over-current and short-circuiting.
The printer is powered by a power adapter or mains voltage, which is hazardous when touched. This has been
marked with a high-voltage symbol.
Always unplug the printer before doing maintenance. Never turn off the printer with a print head above 50
degrees Celsius!
Mechanical safety
The Tractus3D printer complies to the Machine Directive 2006/42/EU. The Tractus3D printer contains moving
parts. No damage to the user will be expected from the drive belts, arms or slides. Always unplug the printer
before doing maintenance.
Risk of burns
Do not touch the heated bed or printhead with your bare hands.
The print head can reach temperatures up to 300 °C and the heated bed can reach temperatures of more than
100 °C. This means there is a potential risk of burns!
Let the 3D printer cool down for 30 minutes before you perform any maintenance. Never turn off printer with a
print head above 50 degrees Celsius!
Health and safety
Our printers are compatible with all brands of 3D print filament, but we do recommend the use of Tractus3D
materials for the best results. The properties of these materials are fully matched with our printer settings. These
materials can be printed safely if the recommended temperatures and settings are used. Printing in a well-
ventilated area is always recommended. Please check the SDS of each specific material for more information.
Third-party materials may release VOCs* that are above regulated threshold levels when processed in Tractus3D
printers (not covered by warranty). These substances may cause headaches, fatigue, dizziness, confusion,
drowsiness, malaise, difficulty in concentration, and feelings of intoxication. We recommend the use of a fume.
Check the SDS of these materials for more information.
*Volatile Organic Compounds

8
Introduction
2. Introduction
About the possibilities of your new Tractus3D printer
2.1 Main components
Print head(s)
Heated build plate
Spool holder
Touchscreen
Extruder
Bowden tubes
Polycarbonate panels
Power socket with cord or adapter
Ethernet port
Power Switch
2.2 Specifications T3500
Machine properties
Printing technology Fused filament fabrication (FFF) - Fused deposition modeling (FDM)
Build width 1000 mm diameter (39.4”)
Build height 2100 mm (82.6”)
Speed 300 mm/s
XYZ resolution 20, 20, 50 micron
Layer resolution 0.4 mm nozzle: 300 - 50 micron
0.6 mm nozzle: 400 - 50 micron
0.8 mm nozzle: 600 - 50 micron
1.0 mm nozzle: 800 - 50 micron
1.2 mm nozzle: 1000 - 50 micron
Operating sound +/- 40 dBA
Power rating max. 1860 W
Connectivity LAN
Display 7” color touchscreen (17.8 cm)
Language support English, Dutch, French, German
Monitoring Web interface

9
Introduction
Physical dimensions
Dimensions 1350 mm x 1350 mm x 3550 mm
Net weight 205 kg
Shipping weight 505 kg
Shipping box dimensions 1600 mm x 1600 mm x 3650 mm
Build plate
Build plate material Heated glass build plate
Build plate temperature 10 - 110 °C
Build plate levelling Automatic bed levelling with probe unit
Build plate heat up time < 10 min (from 20 to 60 °C)
Print head
Feeder type Hardened steel geared (ready for composite materials)
Nozzle diameter 0.4 mm, 0.6 mm, 0.8 mm, 1.0 mm, 1.2 mm
Nozzle temperature up to 300 °C
Nozzle heat up time < 90 sec
Max. extrusion volume < 40 mm3/s
Ambient conditions
Operating ambient temperature 15 - 35 °C, 10 - 90% RH non-condensing
Materials
Supported materials PLA, PRO1, PET-G, ABS, ASA, Facilan C8, TPU/TPE, Nylon, PC, Fillers
like woodfill
Filament diameter 1.75 mm
Software
Supplied software Simplify3D with 1 license (usage on 2 computers)
Supported OS MacOS, Windows and Linux
File types STL, OBJ, 3MF, JPG, PNG
Printable formats G, GCODE

10
Introduction
2.3 Specifications T3000
Machine properties
Printing technology Fused filament fabrication (FFF) - Fused deposition modeling (FDM)
Build width 1000 mm diameter (39.4”)
Build height 1450 mm (57.1”)
Speed 300 mm/s
XYZ resolution 20, 20, 50 micron
Layer resolution 0.4 mm nozzle: 300 - 50 micron
0.6 mm nozzle: 400 - 50 micron
0.8 mm nozzle: 600 - 50 micron
1.0 mm nozzle: 800 - 50 micron
1.2 mm nozzle: 1000 - 50 micron
Operating sound +/- 40 dBA
Power rating max. 1860 W
Connectivity LAN
Display 7” color touchscreen (17.8 cm)
Language support English, Dutch, French, German
Monitoring Web interface
Physical dimensions
Dimensions 1350 mm x 1350 mm x 3050 mm
Net weight 175 kg
Shipping weight 450 kg
Shipping box dimensions 1600 mm x 1600 mm x 3150 mm
Build plate
Build plate material Heated glass build plate
Build plate temperature 10 - 110 °C
Build plate levelling Automatic bed levelling with probe unit
Build plate heat up time < 10 min (from 20 to 60 °C)
Print head
Feeder type Hardened steel geared (ready for composite materials)
Nozzle diameter 0.4 mm, 0.6 mm, 0.8 mm, 1.0 mm, 1.2 mm
Nozzle temperature up to 300 °C
Nozzle heat up time < 90 sec
Max. extrusion volume < 40 mm3/s

11
Introduction
Ambient conditions
Operating ambient temperature 15 - 35 °C, 10 - 90% RH non-condensing
Materials
Supported materials PLA, PRO1, PET-G, ABS, ASA, Facilan C8, TPU/TPE, Nylon, PC, Fillers
like woodfill
Filament diameter 1.75 mm
Software
Supplied software Simplify3D with 1 license (usage on 2 computers)
Supported OS MacOS, Windows and Linux
File types STL, OBJ, 3MF, JPG, PNG
Printable formats G, GCODE

12
Setup for rst use
3. Unboxing
The printer must be stored in a dry place, awaiting installation.
Unpacking should always be done by a qualified engineer of Tractus3D. Unpacking the printer on
your own initiative can void the warranty.
4. Setup for rst use
You need to set up the printer for the first use, after installing. This chapter will explain how to set up network
settings, load materials, update the firmware, install Simplify3D and prepare the build plate.
Turn on the printer with the power switch at the front, to perform the setup steps.
4.1 Set up network
After turning on the printer you need to configure the printer to be used in your network. We prefer to have static
IP address for the printer or a DHCP reservation made by the network administrator.
Preparation needed for network settings if you want to use static IP:
A free IP address
Subnet mask
Gateway IP address
When you turn on the printer for the first time the IP address will be assigned by your DHCP server in the
network. To view the IP address, go to the console tab on the LCD screen.

13
Setup for rst use
Change to Static IP address
To set a static IP address please use the following instructions in the Web Interface of the printer.
To access the web interface, open a web browser (prefer Chrome) and surf to the IP address which you found on
the console tab of the LCD screen.
Go to Settings and select the System Editor
Open the config.g file via a left mouse click on the name config.g

14
Setup for rst use
Search in this file for the line:
M552 P0.0.0.0
Change this line to:
M552 Pxxx.xxx.xxx.xxx (Where xxx.xxx.xxx.xxx is your IP address, for example: M552 P192.168.1.10)
Next search for the line:
M553 P255.255.255.0
This is your subnet mask. If you have to change it, do this accordingly your details of the subnet mask in the
same way as you changed the IP address
Next search for the line:
M554 P0.0.0.0
Here you set your Gateway IP address in the same way as you changed the IP address.
After changing this detail, please click on Save Changes in the bottom of the editor.
Now you only have to reboot the machine to make the changes active. At the question, if you want to restart the
printer please click Yes.

15
Setup for rst use
Change to DHCP IP address
If you want to revert back to DHCP mode, please change the IP address to 0.0.0.0 and follow the chapter about
Change to Static IP address. You don’t have to change the gateway to put the machine in DHCP mode.
4.2 Update the firmware
All printers will be shipped with the latest firmware onboard. In some rare situations it’s possible that while
shipping your 3D printer a new firmware is released. In this case, follow these steps to update the firmware.
Make sure you did the setup procedure for the web interface described in chapter 4.1 Set Up Network.
In the web interface go to Settings and tab General.
Click on the blue button Upload File(s) and select the firmware you’ve received from Tractus3D.
The interface will give you a notification that you uploaded a new firmware.

16
Setup for rst use
Click YES to update your firmware.
Check the Firmware Version number to see if the update is loaded successfully.
4.3 Calibrating the print bed
When you install the 3D printer for the first time or you have moved your printer to another location please
always calibrate the print bed.
Make sure the print bed is empty and cleaned. The nozzle is clean without any residue of filament.
Heat up the bed to 60 degrees by clicking the LCD screen on the BED heater icon.
Click on the active temperature box below this heater and set the temperature to 60 (select temperature by
clicking + until desired temperature is reached and click SET afterwards). You can also use the web interface to
set the bed temperature to 60 degrees.

17
Setup for rst use
Attach the probe unit by clicking in the triangles on the printhead (needs a bit of force).
Turn the knobs of the probe unit just a little so it’s secured to the printhead.

18
Setup for rst use
Connect the probe cable to the main cable of the machine.
Use the LCD screen on the Bed Level icon or in the web interface on the Auto Delta Calibration button.
Please make sure the 3D printer has reached the bed temperature and the bed is clean!
The printhead will go down and perform some calibration points on the bed. This will take around 1 minute to
complete. When the calibration is done the printhead will go up and calibration is done.
To make the calibration more accurate you can redo this step multiple times. The machine will try to get better
each try.
If you want to view the results you can click on the console button and look for the results.

19
Setup for rst use
4.4 Installing slicing software
Default we supply Simplify3D with our 3D printers as slicing software. As we do recommend this software it’s
not the only one that you can use for the 3D printer. Tractus3D is a reseller of Simplify3D and does give basic
support for this and their printers but most of the support will be found online at the Simplify3D website.
https://www.simplify3d.com/support/
To get the Simplify3D license with your 3D printer please fill in the Request Simplify3D license on our website.
Please use a general e-mail address for your request as this will be used company wide.
https://tractus3d.com/getsimplify3d
Fill in this form and you will receive an e-mail with your license.
You’ll have to make a login which we advise to keep it simple and general (like the company name) because also
this will be used company-wide on all Simplify3D installations.
When you login on the Simplify3D website click on Download Software and choose your operating system.

20
Setup for rst use
See the Windows Installation Instructions on the website how to open the installer.
Select your installation language and click OK.
Select Next > read the Simplify3D software End User License Agreement and Accept the agreement to continue.
Choose I accept the agreement and click Next >
In the next window enter the installation directory. Click Next >
After this the installation will start by clicking one more time on Next >
This manual suits for next models
1
Table of contents
Other Tractus3D 3D Printer manuals
