manuals.online logo
Brands
  1. Home
  2. •
  3. Brands
  4. •
  5. Zonestar
  6. •
  7. 3D Printer
  8. •
  9. Zonestar P802QS User manual

Zonestar P802QS User manual

1
www.zonestar3d.com Youtube Channle Facebook Group
Version
Date
Author
Check
Remark
V1.0
2016-07-20
Chris
Hally
1st Version
V2.0
2017-05-10
Alien
Hally
New package and upgrade
V3.0
2017-06-07
Alien
Hally
Modify “wiring”
V4.0
2018-03-24
Hally
Combine P802Q(M8) serial
installation guide
V5.0
2018-06-25
Sea
Hally
Modify Metal Frame
2
If you have any problems with the installation, please feel free to
contact us, we will reply to you ASAP!
Email: Suppor[email protected]om
3
SKU
Frame
meterial
Frame
Color
Extruder
Num.
Keypad
2-IN-1-OUT
HOTEND
Bed Auto
level
FROD
Feeder
bracket
P802QS
Stainless steel
Silver
1
5 buttons
or Knob
○
○
○
●
P802QSU
Stainless steel
Silver
1
5 buttons
or Knob
○
●
●
●
P802QR2
Stainless steel
Silver
2
5 buttons
or Knob
○
●
○
●
P802QM2
Stainless steel
Silver
2
5 buttons
or Knob
●
●
○
●
M8S
Metal
Black
1
Knob
○
○
○
X
M8R2
Metal
Black
2
Knob
●
○
○
X
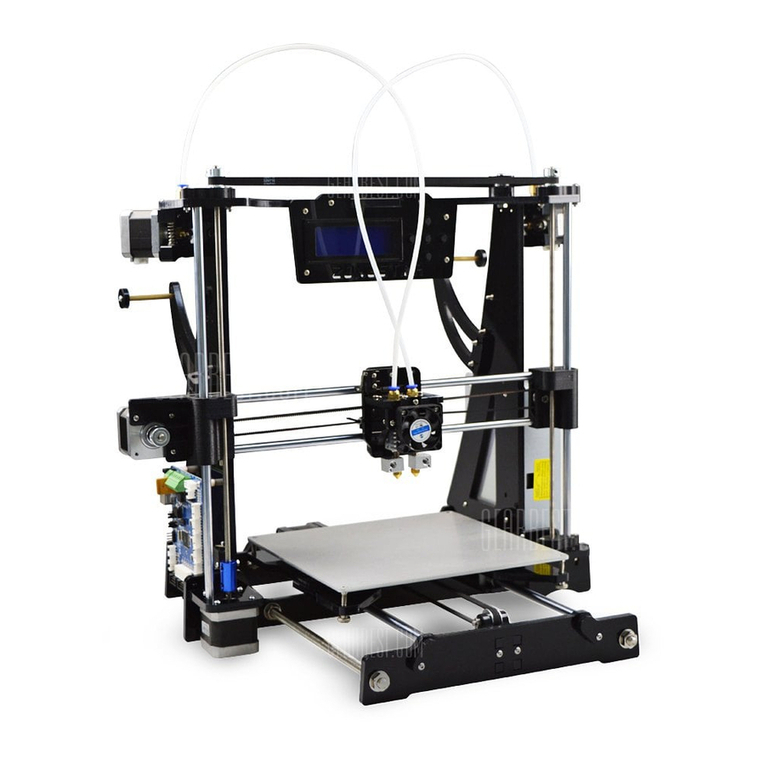
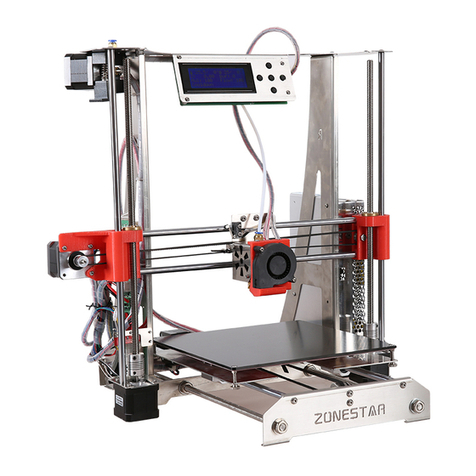
P802Q series is ZONESTAR‘s most popular Prusa i3 type product after the
P802M and P802N series. According to the frame material and the number of
extruders, we divide the products into different models. The differences between
them are as follows:
Remark:
● : Default equipped with this feature.
○ : This function is not available by default and can be upgraded.
X : Did not equip with this feature, you can print it by yourself, we provide stl file.
4
Product proview
* Used knob keypad in the different model or versions
5
Product proview
6
Hotend housing
Part Number: ZSD-12
Print head bracket
Part Number: ZSD-14
Y Motor Bracket
Part Number: ZSD-9
Hed Bed bracket
Part Number: ZSD-220BED
top base frame
Part Number: P802Q-LMT
left base frame
Part Number: P802Q-L
right base frame
Part Number: P802Q-R
back base frame
Part Number: P802Q-YB
front base frame
Part Number: P802Q-YF
bottom base frame
Part Number: P802Q-LMB
bracing piece
Part Number: P802Q-YI
Z ENDSTOP bracket
Part Number: P802Q-ZSW
lead rod holding
Part Number: P802Q-ZM
Note: Some pieces have been pre-installed.
PM4x6 Screw (x45)
PM3x6 Screw (x45)
M3 Nut (x10 )
PM3x20 Screw(x5)
M3x12 pole (x4)
M3 shim (x12)
KM3x25 Screw (x4)
Φ4.5*22 spring (x4)
M3 Hand Nut (x4)
7
8
9
Z endstop
10
1. Put two linear bearings on slider module left, through the two bearings by sliding
rod, then push bearings into slot, check concentricity of the bearings.
2. Mount copper nut,lock with three M3x20 screws and M3 nuts.
11
M3 Nut *3
LM8UU
linear bearing
slider module left
copper nut
1.mount screw M5x25,shim M5, linear bearing shim M5,lock with nut M5.
2.mount copper nut, lock with three screws M3.
copper nut
slider
module right
M3 Nut *3
shim M5 *3
M5x20
ball bearing 625zz
12
13
Proximity sensor
Fan housing
PA3x12 *4
4010 FAN
PM3x6 *2
PTFE Fitting
Heat sink
Heat block
PM3x16 *2
SCS8UU bearing
Print head bracket
PN: ZSD-14
PM4x6 *6
PM2.5x8
*2
X ENDSTOP
PM3x10 *2 PM3x6 *3
PM3x20 *2
14
Assemble extrude engine (Pre-assembled)
Lock the jbckscrews
Note: This hole
should at the center
of the gear
Note: One of jbckscrew
should be locked on the
flat surface
15
String
HM5x10
PM3x20 *2
PM3x10 M3x10
Rotate this screw
to adjust the
pressure
Insert filament to check
if the filament can output
from the fitting
Press the
thumb and
then load filament
Output
Assemble extruder engine (2 sets for dual extruder)
Motor
Shaft length: 16mm
1. Install a motor (shaft length is 23mm) to silder left , lock with 3 pcs M3x6 screws.
2. Install one pulley to the stepper motor, lock the jbckscrew on the pulley.
16
PM3x6 *3
silder left
Install X-axis Motor to slider left
17
Install LCD display module to top base frame
Lead
screw set
18
Assemble heat bed bracket
19
Assemble base frame front
20
Assemble base frame back

Other manuals for P802QS

2

This manual suits for next models

5

Other Zonestar 3D Printer manuals

Zonestar P802QS User manual

Zonestar

Zonestar P802QS User manual

Zonestar P802QS User manual

Zonestar

Zonestar P802QS User manual

Zonestar P802-STS User manual

Zonestar

Zonestar P802-STS User manual

Zonestar Z9 Series User manual

Zonestar

Zonestar Z9 Series User manual
Zonestar Z6 User manual

Zonestar

Zonestar Z6 User manual
Zonestar P802CR2 User manual

Zonestar

Zonestar P802CR2 User manual

Zonestar Z8X User manual

Zonestar

Zonestar Z8X User manual

Zonestar Z5 Series User manual

Zonestar

Zonestar Z5 Series User manual

Zonestar Z8PM4 Pro User manual

Zonestar

Zonestar Z8PM4 Pro User manual
Popular 3D Printer manuals by other brands

3D Systems FabPro 1000 Setup

3D Systems

3D Systems FabPro 1000 Setup

VORON VORON0 Assembly manual

VORON

VORON VORON0 Assembly manual

MakerBot Replicator Z18 Teardown Guide

MakerBot

MakerBot Replicator Z18 Teardown Guide

XYZ Printing da Vinci 1.0 product manual

XYZ Printing

XYZ Printing da Vinci 1.0 product manual

Kulzer CARA Print Clean Application guide

Kulzer

Kulzer CARA Print Clean Application guide

Oryx SCA1200ht Repair manual

Oryx

Oryx SCA1200ht Repair manual

Wuxn WXR quick start guide

Wuxn

Wuxn WXR quick start guide

Rokit EDISON S user manual

Rokit

Rokit EDISON S user manual

Bresser RAPTOR instruction manual

Bresser

Bresser RAPTOR instruction manual

Flashforge Guinder II user guide

Flashforge

Flashforge Guinder II user guide

LeapFrog Xeed manual

LeapFrog

LeapFrog Xeed manual

ZYYX Pro II user manual

ZYYX

ZYYX Pro II user manual

Snapmaker Enclosure installation guide

Snapmaker

Snapmaker Enclosure installation guide

formlabs Form Wash L manual

formlabs

formlabs Form Wash L manual

Chaokuo Technologies Kossel user guide

Chaokuo Technologies

Chaokuo Technologies Kossel user guide

zortrax DSS manual

zortrax

zortrax DSS manual

R3D S3 Quick operation guide

R3D

R3D S3 Quick operation guide

zortrax Z-PETG quick start guide

zortrax

zortrax Z-PETG quick start guide

manuals.online logo
manuals.online logoBrands
  • About & Mission
  • Contact us
  • Privacy Policy
  • Terms and Conditions

Copyright 2025 Manuals.Online. All Rights Reserved.