TrailFX A8247S /B User manual


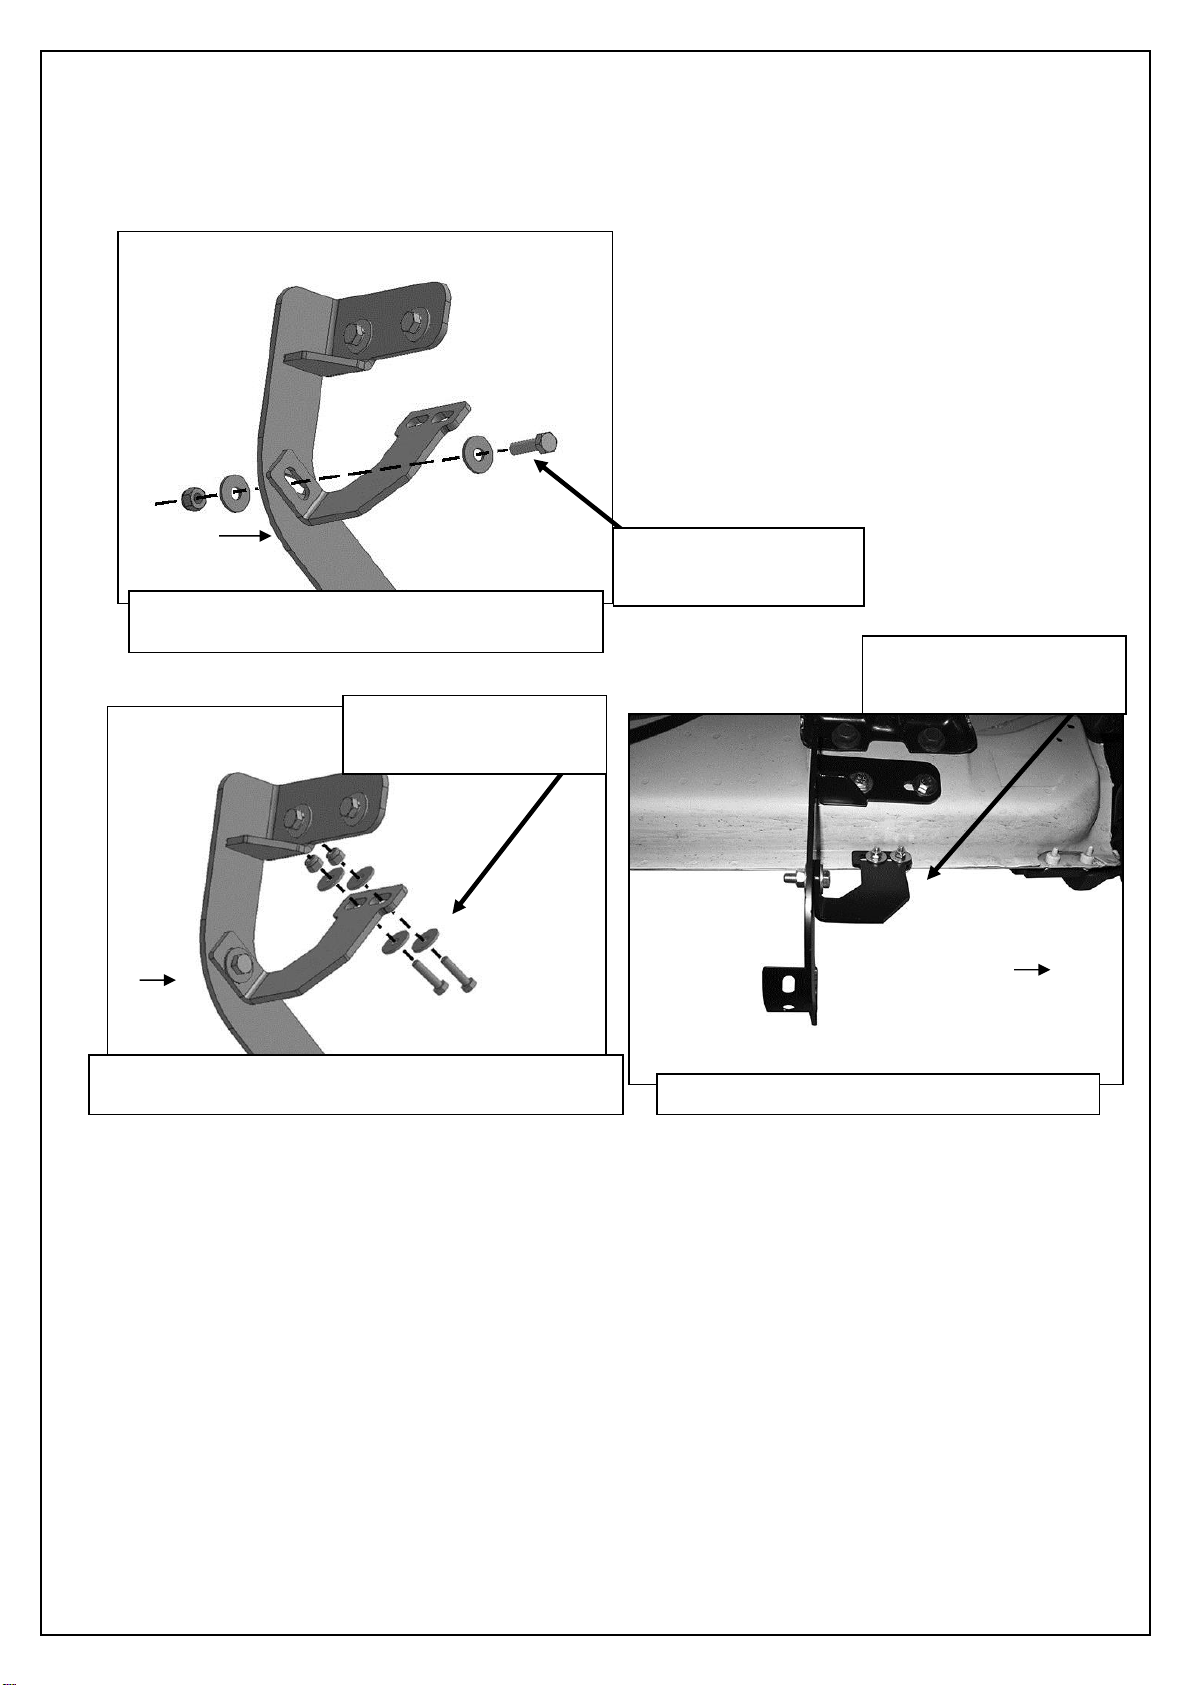


Table of contents
Other TrailFX Automobile Accessories manuals

TrailFX
TrailFX JL05RF User manual

TrailFX
TrailFX RBW10B User manual

TrailFX
TrailFX J043T User manual

TrailFX
TrailFX FX3003 User manual

TrailFX
TrailFX A1546T User manual

TrailFX
TrailFX A1007S/B User manual

TrailFX
TrailFX A7001S User manual

TrailFX
TrailFX A0030S User manual

TrailFX
TrailFX 5707H User manual

TrailFX
TrailFX B1503S User manual

TrailFX
TrailFX B1603S User manual

TrailFX
TrailFX 210101 User manual

TrailFX
TrailFX TFX5522 User manual

TrailFX
TrailFX FX3018 User manual

TrailFX
TrailFX NERF BAR A0025S User manual

TrailFX
TrailFX DHS015B User manual

TrailFX
TrailFX RBA023TI User manual

TrailFX
TrailFX A7003S/B User manual

TrailFX
TrailFX R0023MK User manual

TrailFX
TrailFX J044T User manual


Popular Automobile Accessories manuals by other brands

BMW
BMW 01 29 0 007 613 Supplementary sheet

Ecco
Ecco EC4200-K installation instructions

torras
torras X002SF6B81 user manual

Directed
Directed Directechs DB3 installation guide

Voxx Electronics
Voxx Electronics CA-510a installation instructions

Sony
Sony MGS-X1 - Mg Memory Stick System-up Player operating instructions

Directechs
Directechs Directed 403.HYUNDAI10 v2.11 installation guide

Scosche
Scosche HAQ04 quick start guide

Whelen Engineering Company
Whelen Engineering Company Inner Edge Rear Deck Interior Lightbar installation guide

Gazer
Gazer MMW50 Series user manual

SuperATV
SuperATV Half Windshield installation instructions

Thule
Thule CAST AWAY 885 installation instructions


