Installation and operating manual – TUM7401
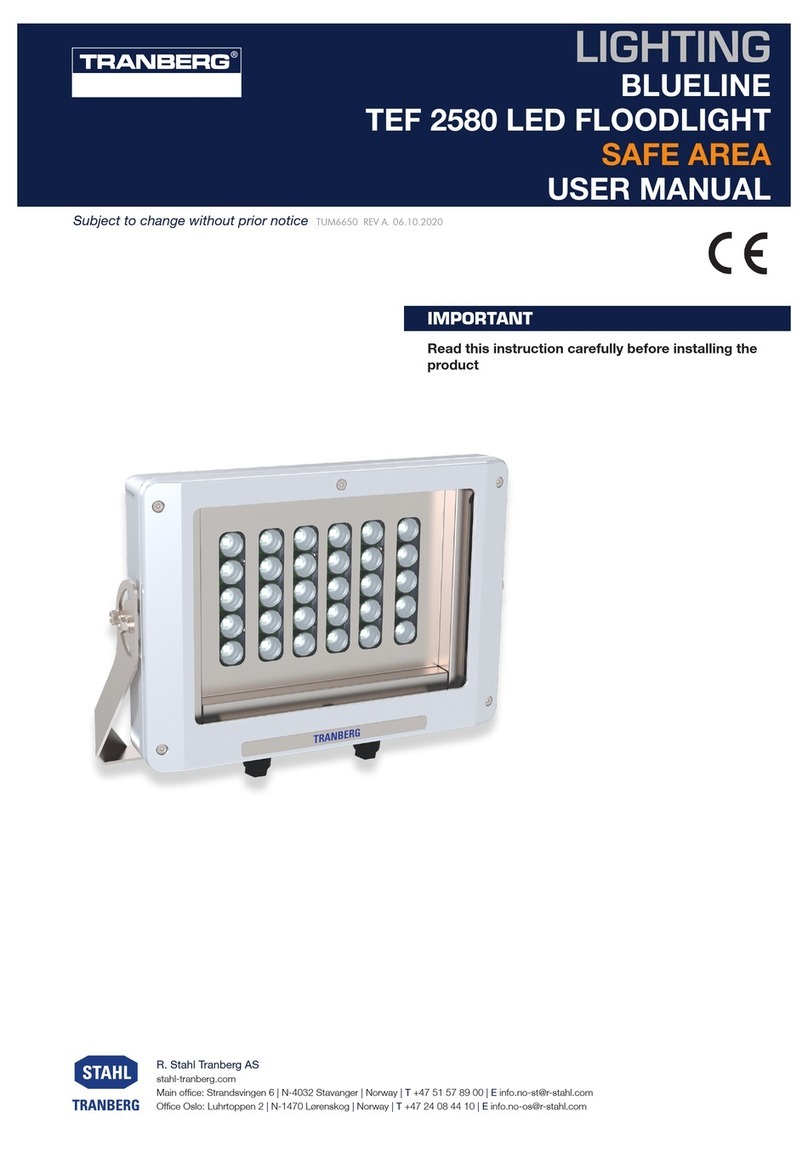
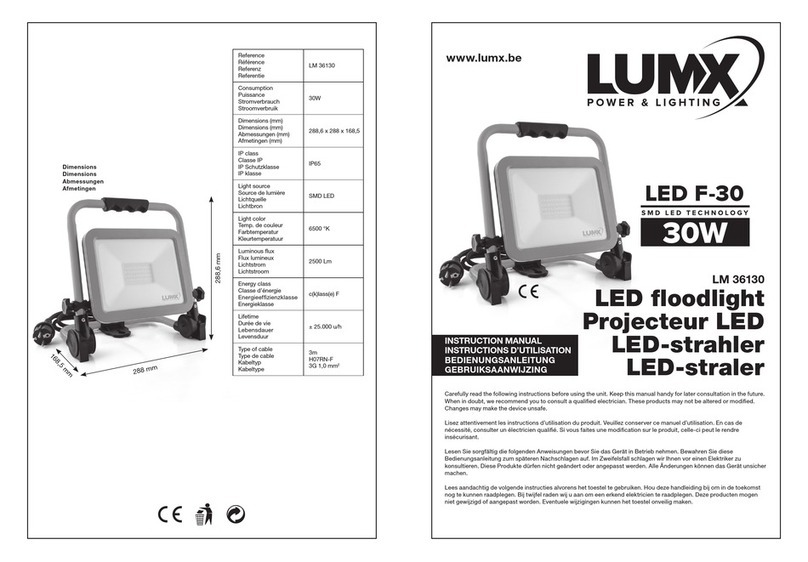
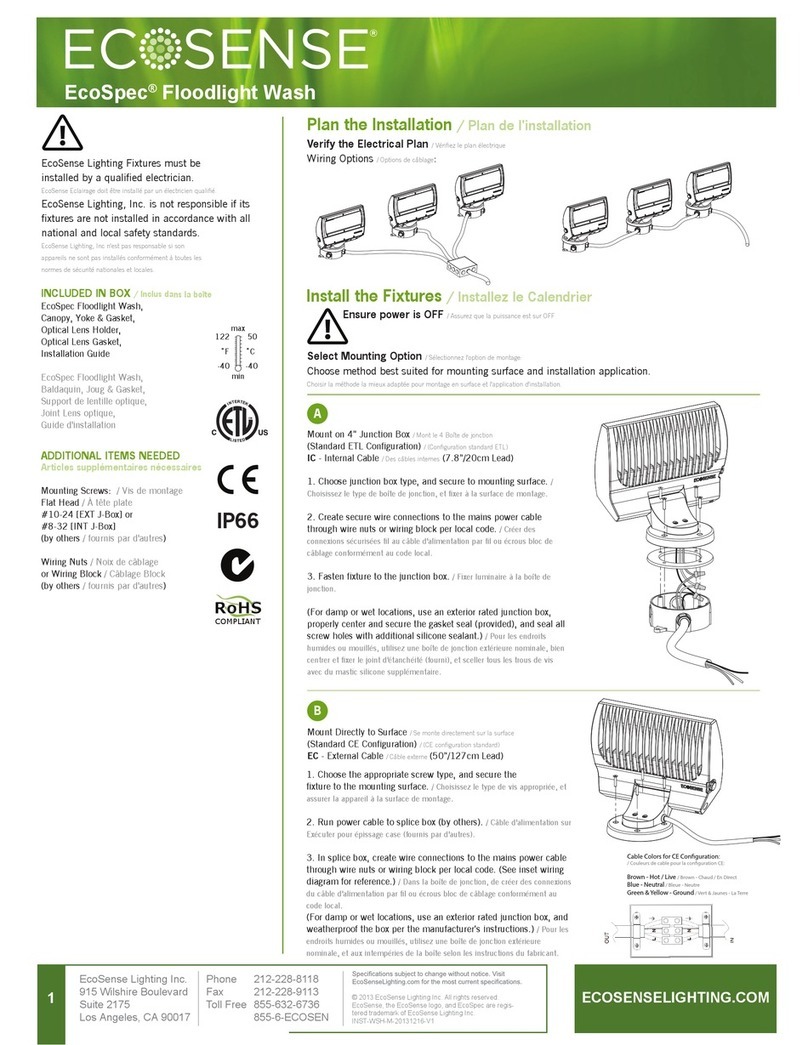
TEF 2581 LED Floodlight
Electrical connections
Only qualified electrical personnel may install and start up the QPD components. For correct electrical termination,
please follow the Phoenix user manual, Appendix 1 in the end of this document. Below is an excerpt of the Phoenix
user manual describing the main points of the procedure.
Important!
Be sure to install the cable in a way, which prevents water to penetrate into the enclosure through the connection
plug. Always let the cable bend downwards from the cable gland to prevent water to sip in with the cable.
See illustration below. The illustration is showing another type of lamp, but the principle is the same.
Also make sure to use the correct QPD Plug connector size (according to the cable diameter) when you install
the luminaire.
Cable termination
•Cable diameter: Ø9-16mm
•Wire cross section: 1.0mm2 to 2.5mm2.
•Wire diameter incl. insulation: 2.0mm to 3.80mm.
Connections
1. Strip approx. 60mm off the cable.
2. Loop the PE conductor around the live conductors (1). As a result, the PE conductor will be pulled out of the
terminal block last if strong tension is exerted on the cable.
3. Insert the cable into the terminal nut.
4. Fix the wires in the conductor support of the splice body (2).
5. Cut off the wires with a diagonal cutter flush on the splice body (3).
6. When connecting the terminal nut to the light connector socket, make sure that their markings are aligned.
7. Screw the terminal nut together with the light connector socket (4). For this, we recommend using either the
socket wrench, a wrench, or a plier. Screw the terminal nut as far as it goes, or with the specified torque. It
must not be possible to unscrew the terminal again by hand.
8. Seal off any non-allocated connections using a protective cap or a sealing plug.
Ground bounding screw
The floodlight is equipped with a ground bounding screw which can be used as grounding where national or
company regulations require it.
