Transpo SonoBlaster SBII User manual

Warranty
Thefollowingwarrantyismadeinlieuofallotherwarranties,eitherexpressed
or implied. This product is manufactured of selected materials by skilled
technicians. Neither seller nor manufacturer has any knowledge or control
concerningthepurchaser’suseofeitherproductandnowarrantyismadeasto
theresultsofanyuse.Theonlyobligationofeithersellerormanufacturershall
be to replace any quantity of this product that proves to be defective. Neither
sellernormanufacturerassumesanyliabilityforinjury,lossordamageresulting
fromtheuseofthisproduct.
SonoBlaster!
®isprotectedbyPatents6,075,450&6,357,382
SonoBlaster!
®isa registered trademark licensedtoTranspoIndustries,
Inc. ©2008 1/16/08
SonoBlaster!
®
FHWANCHRP350Accepted
CategoryIISafetyDevice 20JonesStreetNewRochelle,NY10801
HSA10/WZ131 Phone:914.636.1000Fax:914.636.1282
www.transpo.com/sonoblaster.htm info@transpo.com
Work Zone Intrusion Alarm
Operation Manual
ModelSBII
ANewConceptinWorkZoneIntrusionProtection
TheSonoBlaster!
® WorkZoneIntrusionAlarmisanimpactactivatedsafety
alarmthatalertsbothroadwayworkersanderrantvehicledriversatthesame
timetohelpreducecrashesandinjuriesinournation’shighwayworkzones.
TheSonoBlastermountsonstandardworkzonebarricadessuchastrafficcones,
drums, and delineators. Upon impact by an errant vehicle, the SonoBlaster’s
builtin CO2powered horn blasts at 125 decibels (dB) to signal workers that
theirprotectivezonehas been violatedallowing themcriticalreaction timeto
moveoutofharm’sway.
The SonoBlaster’s loud alarm sound can also alert distracted or drowsing
driversallowingthemtosteeroutoftheworkzoneorbrakepriortoreaching
workers or construction equipment, addressing a major cause of work zone
crashes.
SonoBlaster!
®
FHWANCHRP350Accepted
CategoryIISafetyDevice
HSA10/WZ131 www.transpo.com

1.
SonoBlaster!
®MountingInstructions–Standard28”TrafficCone:
àIMPORTANT– DoNotOverTightenMountingHardware ß
1. Use the CARTRIDGE HOLDER to space the bottom of the SonoBlaster unit
approximately1inch(25mm)abovethebaseofthetrafficcone.
2. Align the SonoBlaster vertically on the cone. Mark upper mounting hole
locationthroughtheunit’supperMOUNTINGHOLE.Drill1/4”upperhole.
3. Attachthedevicetotheconeinsertingoneofthe2”x 1/4”MOUNTINGSCREWS
providedthroughfromtheinsideoftheconeusingaLARGE WASHER onthe
insideofthecone.InstalltheCONESPACER ontheSCREW.InserttheSCREW
intotheSonoBlaster’supperMOUNTINGHOLEasshowninFig.1below.
4. Hang the device from the top MOUNTING SCREW and align the device
vertically.TightentheupperSCREWfirmlybutnotcompletelytight.
5. Withthedeviceinproperverticalalignment,markthelowerholethroughthe
SonoBlaster. Rotate the SonoBlaster 180°to allow access to drill the lower
MOUNTINGHOLE.HoldtheSonoBlasterinverticalalignmentwhiledrilling.
6. Return the unit to its proper vertical position. Insert the lower MOUNTING
SCREW thru from inside the cone with a LARGE WASHER. Tighten both
MOUNTINGSCREWS firmly. Donotovertighten.
C a u t i o n :
TheSonoBlastercanproducesoundinexcessof125dB.
HearingprotectionmeetingminimumNRR33mustbewornwhile
activatingorhandlinganactivatedunit.
6.
SonoBlaster!
®Specifications
TechnicalSpecifications:
□ UnitWeight [WithoutCartridge] 1.5lbs.(0.66kg)
□ AlarmDuration 5to15Seconds
□ SoundLevelinDecibels [Peak] 125dB(Measuredat6feet)
□ CO2 Cartridge 16gApproved(.13lbs./60g)
□ UnitOperatingTemperatureRange 0°to+110°F(18°TO +43°C)
□ CartridgeTemperatureRange 22°to+120°F(30°TO +49°C)
□ AngleofTilttoActuateUnit 70°to90°fromVertical
Specificationsareapproximateandaredeterminedat60°F(16°C).Specificationsatother
temperaturesandconditionswillvary.SpecificationsSubjecttoChangeWithoutNotice.
SonoBlaster!
®Troubleshooting
AllowrecentlyfiredSonoBlasterunitstowarmup10to30minutesafteruse
priortoretesting.
UnitCan’tbeCocked
●Makesurethe CONTROL KNOBisinthe UNLOCKEDPOSITION.Tryagain.
[PullKnobOuttoTurn– ReleasetoLockKnobinPlace]
●Checkunitfordamageorblockage–replaceunitifnotinperfectcondition.
UnitWon’tTestFire
●Makesuretheunithasbeenproperlycocked.Insertthe COCKINGRODinto
the COCKINGRODHOLEtorecocktheunit.Checkthe VISUALCOCKING
INDICATOR.
●Inspecttheunitfordamage. Ifdamaged,discardanduseanotherunit.
PoorSoundQuality
●Makesurethe HORN OPENINGANDHORNPORTHOLES arenotblocked.
●CheckthatSonoBlasterApprovedcartridgesarebeingused.
●Makesurethatcartridgesarefullyinsertedandcartridgeholderistight.
●Allowunittowarmup10to30minutesafterusebeforeretesting.
ImpactedSonoBlaster!
®Units
SonoBlasterunitsinvolvedinanyvehicleimpactorcrashareNOTTOBEREUSED
forworkerprotectionandmustbedestroyedandreplacedwithanew unit.
SonoBlaster!
®FitnessforUse
●Purchasersandusersofthisdeviceshalleachdetermineontheir
own,thefitnessandsuitabilityofthisdevicefortheirparticularuse
orapplication.Neithertheseller,distributor,manufacturer,nor
licensorofthisdevicemakeanyclaimregardingitssuitabilityor
fitnessforuseinanyparticularapplication.
●TheuseofmultipleSonoBlasterunitsinthesameareais
recommendedtoprovidethemaximumpossiblelevelofworkzone
safetyprotection.

5. àWearPersonal Hearing Protection!!! ß
SonoBlaster!
®CareandMaintenance
●TheSonoBlasterisaprecisioninstrument.Handlewithcareatalltimes.
●Keeptheunitcleanandstoreinaprotectedenvironment. Do notstore
withobjectsthatcouldpenetrate the horn, damage the diaphragm,orharm
the unit.
●Keepacartridgeinstalledontheunitatalltimestokeepdirtoutoftheunit.
●Keepunitoutofmudandfreezingrain.
●Make sure theHORN OPENING AND HORN PORT HOLES are not blocked.
●The unitislubricatedforlife.Donotdisassembleorattemptmaintenance.
●Donotleaveunitsunattendedwheretheycanbetamperedwith.
●Useonly SONOBLASTERAPPROVED16gramunthreadedCO2 Cartridges.
TemperatureEqualization
Uponfiring,theSonoBlasterbecomesextremelycold,duetotheinternalhigh
pressuredischargefromtheunit’sCO2 Cartridge.Thisisanormalcondition.
After firing, allow the unit to completely adjust to ambient temperature
conditionsbylettingitrestfor10to30minutespriortoreuse.
Moisture
Moisturemustnotbeallowedtocollectinsidetheunit.Itcanbeblownoutby
firingtheunitwithalivecartridge.Ifthereisanyquestionaboutthecondition
oftheunitoritsabilitytooperateproperly,testfirethe unitwithalivecartridge
toconfirmproperoperation. WearHearingProtection(See‘TestFiring’ –Page3)
CO2 CartridgeSafeHandling
●CO2 cartridgescanbecomeextremelycoldafterdischarging.Wearglovesor
allowdischargedcartridgestowarmuppriortohandling.
●Donotusecartridgesthathavebecomerusted,dented,damaged,dirty,mis
fired,orhavebeenabusedinanyway.
●StoreCO2 cartridgessafelyinacool,dry,protectedenvironment.Keepoutof
directsunlight.
●Donotstorecartridgesinareassubjecttohightemperatureextremes.Donot
store in vehicles or closed containers that can become extremely warm, i.e.,
vehicledashboards,toolboxesleftinthesun.
●Useonlynew,clean,SonoBlasterCertifiedCO2 cartridges.
SoundMuffling
Thesound of adischargingSonoBlaster can besafely muffled,as needed,by
cuppingaglovedhandovertheendoftheunittopreventexcessivenoisefrom
affectingnearbypersonnelduringatestfiringoranunplannedunitactivation.
Earprotectionshouldbewornwhilemufflingthehorn.
SonoBlaster!
®OperatingProcedures 2.
VisualInspectionàMakesureallcomponentsareinproperworkingorder.
1. ExaminetheDIAPHRAGMlookingintotheHORN toassureitiscleanandnot
damagedandthe HORNOPENINGandHORN PORTHOLESareunobstructed.
2. Checkthatthe CO2CARTRIDGE INSERTIONHOLEiscleanandunobstructed.
Donotusetheunitifanydoubtaboutitsconditionorabilitytooperateproperly.
CockingtheUnitàUseOnlythePlasticSonoBlasterCockingRod
Provided– Usinganotherobjecttococktheunitcancauseseveredamageand
operatingfailure.Do notattempttococktheunitin‘LockedPosition’.
3. MakesuretheunitisstandinginaverticalpositionasshowninFig.1.
4. RemovetheCO2 CartridgeHolderandCartridgefromtheSonoBlasterunit.
5. Rotatethe CONTROL KNOBto UNLOCKED POSITION.PullKnobOuttoTurn.
6. MakesuretheSonoBlasterPlasticCockingRodisCLEANandundamaged.
7. PlacetheCartridgeHolderontotheCockingRodtocreateaHandle(SeeBelow).
8. InserttheCockingRodintotheCockingRodHole.
9. PushtheCockingRodinfirmlyuntilitclicks,cockingthefiringmechanism.
10.RotatetheControlKnobto LOCKEDPOSITION.[PullKnobOuttoTurn]
TestingtheUnitWithoutaCO2 PowerCartridgeInstalled
11.Beforeinserting CO2 cartridge,test firewithemptyCARTRIDGE HOLDER in
place.Rotate CONTROL KNOBto UNLOCKEDPOSITION.Tiltunit90°tofire.
(Ifitfails tofire,donotusetheunit. SeeTroubleshooting.)
12.Aftertestfiring,RepeatCockingStepsto ReCockthefiringmechanism.
13.TURN CONTROL KNOB to LOCKED POSITION deactivating the firing
mechanism.(SeeFigure1.)[PullKnobOuttoTurn – ReleasetoLockKnobinPlace]
14.VISUALCOCKING INDICATOR:RedIndicatorshowsthat itsproperly cocked.
InstallingtheCO2 Cartridge Hearing Protection MustBe Worn
Withtheunit Cockedandthe CONTROL KNOBinLOCKED POSITION:
15.MakesuretheCO2 cartridgeendandCartridgeHolderarecompletelyclean.
16.InsertanewSonoBlasterApproved16gramCO2 CartridgeintheCartridge
Holder.(Note:ThreadedCO2 cartridgeswillnotfunctionintheSonoBlaster)
17.Screw the CO2 Cartridge Holder onto the unit. Make sure the threads are
aligned Donotforce Handtightenfirmlywithoutovertightening.
àTheunitisnowreadytooperateuponrotatingthe
CONTROL KNOBto UNLOCKEDPOSITION[PullKnobOuttoTurn]
Keepthe CONTROL KNOBinLOCKED POSITION untilunithasbeenplacedin
thedesiredoperatinglocationandissecurelyinastableuprightposition.

3.
DeployingtheSonoBlaster!
®
WithPersonalHearingProtectionInPlace
1. PlacetheSonoBlasterinaverticalpositiononaflat,levelsurfacesuchasa
paved or stable unpaved roadway or shoulder surface. Do not place on
unstabledirt,gravel,rocksorsnowthatcouldallowtheunittotiltandcause
anunwantedactivation.
2. Align the unit on the roadway with the SonoBlaster unit facing awayfrom
oncoming trafficlane(as shownFigure3 below.)Positionunitssothatthe
conewillcushiontheimpactandthedevicewillfallforwardaspictured.
3. Withtheunitinastable,stationary,verticalposition,turnthe CONTROL KNOB
to UNLOCKEDPOSITIONwithouttiltingorjarringtheunit.[PullKnobOuttoTurn]
àTheunitisnowARMEDß
andwillACTIVATEuponTILTorIMPACT
TestFiring
IMPORTANT àIF THERE IS ANY QUESTION ABOUT THE CONDITION OF THE
UNIT OR ITS ABILITY TO OPERATE PROPERLY, TEST FIRE THE UNIT SAFELY
AWAY FROM OTHERS(WEARING HEARING PROTECTION) USING A LIVE CO2
CARTRIDGETOCONFIRMPROPEROPERATION.
CAUTION:
Placing the unit on hot, freshly paved asphalt may exceed the operating
temperaturerangeoftheunitcausingcartridgeoverheatingandunitfailure.
MultipleUnits– UsingmultipleSonoBlastersinthesameareaisrecommended
toprovidethemaximumpossiblelevelofworkzonesafetyprotection.
Windy Area Operation – Attach readily available cone weights prior to
mountingSonoBlasterunitsoncones.Asanoption,doubleconesmaybeused
toprovideadditionweightforstability.
4.
DoubleCheckingtheReadinessof SonoBlaster!
®
WithPersonalHearingProtectionInPlace –
CO2 Cartridge
●Ittakeslessthan30secondstoremove,check,andreplaceaCO2 cartridge
tomakesurethatthecartridgeisnewandhasnotbeendischarged.
●Making surethat cartridges areunusedand securely fastened in place can
helppreventinjuriesandsavelives.
CockingIndicator
●Visuallyexaminethecockingindicatortomakesurethatisshowstheunit
tobecockedandreadyforactivation.Ifthereisanydoubtaboutwhetherthe
unitiscocked,removetheCO2 cartridgeandmanuallyrecocktheunit.
Positioning
●CheckthattheunitispositionedtooncomingtrafficasshowninFigure3.
●Makesuretheunitisstable,standinguprightandlevelontheroadway.
ControlKnob [PullKnobOuttoTurn– ReleasetoLockKnobinPlace]
●Makesurethatthe CONTROL KNOBisturnedtothedesiredoperatingposition.
Deactivatingthe SonoBlaster!
®
WithPersonalHearingProtectionInPlace –
●Turn theCONTROL KNOB totheLOCKED POSITION without tilting or
jarringtheunit.[PullKnobOuttoTurn – ReleasetoLockKnobinPlace]
●Theunitisnowdisarmedandwillnotfireiftiltedormoved.
SonoBlaster!
®Storage
StoringUnitsandSecuringforTravel – AvoidingUnwantedActivation
WithPersonalHearingProtectionInPlace –
●Makesurethattheunit’sCONTROL KNOB is inthe“LOCKED POSITION”and
cannotmovetothe“UNLOCKEDPOSITION”.
●StoreallSonoBlasterunitsinaclean, dry,wellprotectedplace.
LongTermStorageorShipping
WithPersonalHearingProtectionInPlace –
●Withthe CONTROL KNOBinLOCKEDPOSITION,removetheCO2Cartridge.
●With no cartridge in the unit, turn theCONTROL KNOB to the UNLOCKED
POSITIONandtilttheunittofirethemechanism.
●ReplacetheCO2 cartridgeontotheUNCOCKED UNIT topreventcontaminants
fromentering the unit throughthe cartridge hole.
●Sealinaclean,dry,storagecontainerwithmoistureabsorbingdesiccant.
Popular Security System manuals by other brands
KRAMBLE INDUSTRIES
KRAMBLE INDUSTRIES 6 Series Installation and operating manual
ADEMCO
ADEMCO V12C Programming guide
Xeos Technologies Inc.
Xeos Technologies Inc. Resilient user manual
Star
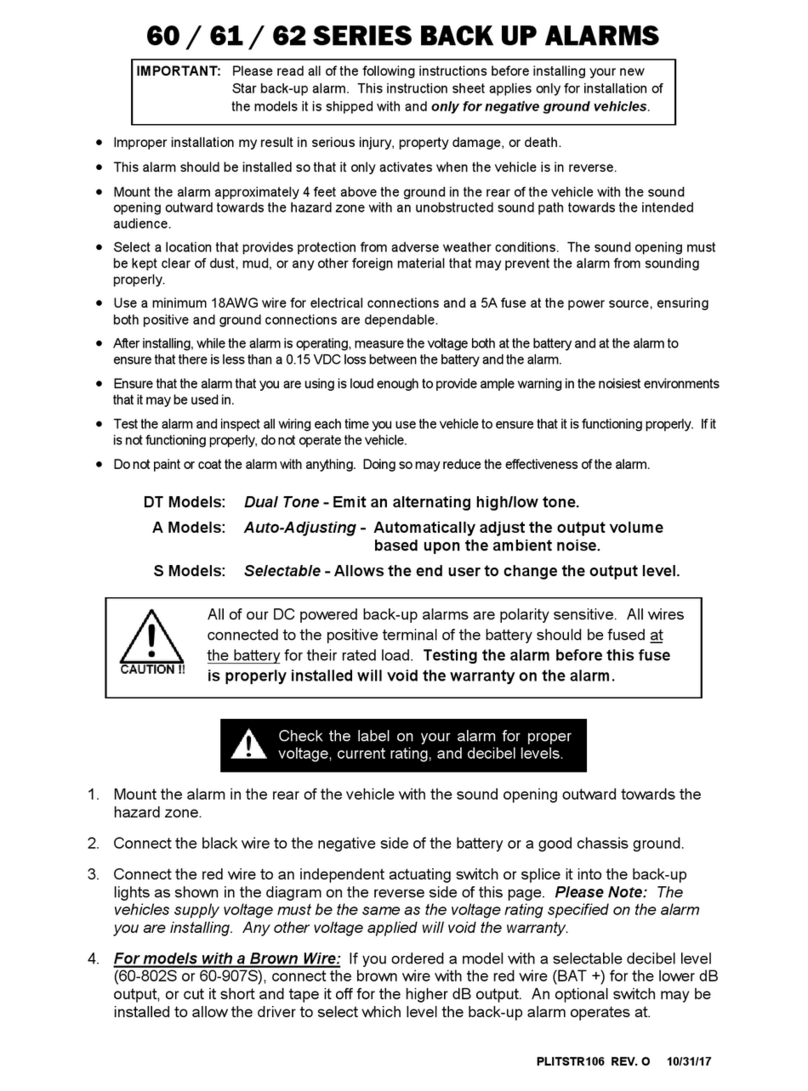
Star 60 Series instructions
eTIGER
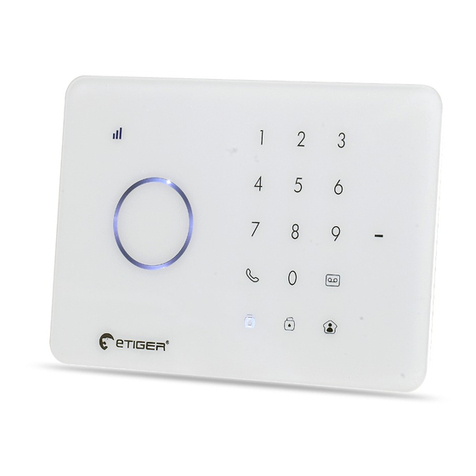
eTIGER S3b Sim Secual quick start guide

Arcteq
Arcteq AQ 200 Series instruction manual


