TRiALED 01 series User manual

Bedienungsanleitung für LED-Panel
Serie 01 / Serie 11
User Manual of LED-Panel Series 01 /
Series 11
www.trialed.de © TRiALED GmbH | An der Pönt 46 | 40885 Ratingen | Germany
info@trialed.de Version 10/ 2018
Hinweise
•Vor Gebrauch des Gerätes bitte die Bedienungsanleitung lesen
•Bewahren Sie diese Anleitung gut für zukünftige
Wartungsarbeiten und zur Demontage auf
Bestimmungsgemäße Verwendung
Bei Schäden, die durch Nichtbeachtung dieser
Bedienungsanleitung verursacht werden, erlischt jeglicher
Garantieanspruch. Durch Nichtbeachtung der Sicherheitshinweise
und unsachgemäße Bedienung des Gerätes wird für Folgeschäden
sowie bei Sach-oder Personenschäden keine Haftung von uns
übernommen.
•Leuchtmittel nur bei unterbrochener Stromversorgung im
abgekühlten Zustand wechseln oder einbauen
•Wir empfehlen Ihnen das Tragen von Handschuhen, um Finger-
oder Handabdrücke zu vermeiden
•Dieses Produkt ist nur für die Verwendung in geschlossenen
Räumen geeignet
Entsorgungshinweis
Altgeräte dürfen nicht mit dem Hausmüll entsorgt werden.
Sie müssen bei einer Sammelstelle für Altgeräte, Altbatterien bzw.
Sondermüll (informieren Sie sich bitte bei Ihrer Gemeinde) oder bei
Ihrem Händler abgeben werden.
Pflege und Gewährleistung
Trennen Sie das Gerät vor dem Reinigen vom Netz und verwenden
Sie keine aggressiven Reiniger. Das Gerät wurde einer sorgfältigen
Endkontrolle unterzogen. Für Schäden, die durch falsche
Handhabung, unsachgemäße Nutzung oder Verschleiß verursacht
wurden, übernehmen wir keine Haftung. Technische Änderungen
sind vorbehalten. Die aktuellen Garantiebedingungen können
jederzeit auf unserer Homepage eingesehen werden.
Technische Daten
Alle technischen Daten können dem Gerätesticker entnommen
werden oder auf unserer Homepage eingesehen werden.
Sicherheitshinweise
•Niemals direkt in den Lichtstrahl blicken
•Das Produkt muss durch eine qualifizierte Fachkraft und in
Übereinstimmung mit den aktuellen elektrischen Richtlinien und
nationalen Vorschriften installiert werden
•Leuchten nicht mit Dämmmaterial abdecken
•Berühren Sie keine elektronischen Komponenten, da diese
unter Spannung stehen könnten oder elektrostatisch
beschädigt werden könnten.
•Öffnen Sie niemals das Produkt. Bei Öffnung entfällt jegliche
Gewährleistung.
Information’s
•Please read this manual carefully before installation
•Please keep this instruction for any future maintenance and
demounting
Intended Use
In case of damages arising from violation of the operating
instructions, the warranty will be void! We accept no liability for
consequential damages! We accept no liability for material or
personal damages arising from improper use or disregard of the
safety instructions. In such instances all warranties are null and
void.
•Always switch off electricity and cool it before changing or
installing your light bulb
•We recommend that you wear gloves to avoid the finger or
hand prints on the panel
•This product can only be used indoor
Disposal Notice
Old units may not be disposed of in the household rubbish. You
must take them to a collection point for old units (enquire at your
local authority) or the dealer from whom you bought them. These
agencies will ensure environmentally friendly disposal.
Care and Warranty
Unplug the unit before cleaning, if necessary from any active
components and please do not use aggressive cleansing material.
The device was subjected carefully during a final inspection. For
damage caused by improper handling, improper use or improper
installation, we accept no liability.
Technical changes are reserved. The current warranty terms be
viewed on our website at any time.
Technical Data
All technical data are shown on the rating label of the product or
can be reviewed on our website.
Safety Notes
•Never look directly into the light beam
•The luminaire shall be installed by a qualified electrician and
wired in accordance with the latest IEE electrical regulations or
the national requirements
•Never cover the product with insulating material
•Do not touch electronic components! Electronic components are
under high voltage.
Electronic components are ESD sensitive.
•Never open the product. If you open the product any warranty
claim will be invalid.

Installationsschritte /Installation steps (Teil 1 / Part 1) Treiber /Driver TRiALED LT40 |Series 01 and 11
1. Lieferzustand mit Treiber
Status of delivery of the driver included
2. Schalten Sie die Stromzufuhr bzw. den Stromkreis ab.
Shut down the power circuit for the installation.
3. Schließen Sie den Treiber an das Panel an. Führen Sie das rote (+) Anschlusskabel in die rote, das schwarze (-) Anschlusskabel in die
blaue Schnittstelle auf der sekundären Seite (SEC) des Treibers ein.
Connect the LED driver to the panel. Therefore connect the red (+) cable of the panel to the red and the black (-) cable of the panel to
the blue female connector of the drivers secondary side (SEC).
4. Setzen Sie das Panel in die Decke oder den Aufbaurahmen (separates Zubehör / separate Anleitung) ein. Siehe dazu auch die
Zeichnungen auf Seite 3.
Insert the panel into the ceiling or the frame (separate accessory / separate installation guide). Please refer to the drawing following on
the next page.
5. Verbinden Sie nun die primäre Stromleitung mit dem LED Treiber (PRI). Eine Polarität ist nicht zu beachten.
Connect the primary power to the primary side of the LED driver (PRI). Any polarity can be ignored.
www.trialed.de © TRiALED GmbH | An der Pönt 46 | 40885 Ratingen | Germany
info@trialed.de Version 10/ 2018

Installationsschritte /Installation steps (Teil2 / Part 2) Treiber /Driver TRiALED LT40
6. Die Schnittstelle 1-10V des Treibers sorgt für eine Leistungsreduzierung des Treibers. Dazu setzen Sie einen der mitgelieferten
Widerstände in diese Schnittstelle ein. Sie können auch über diese Schnittstelle einen regulären 1-10V kompatiblen Dimmer
anschließen.
Leistungsreduzierung durch Widerstände aus dem Lieferumfang:
-Rot –Reduktion um 10% auf 90%
-Orange –Reduktion um 20% auf 80%
-Schwarz –Reduktion um 30% auf 70%
-Blau –Reduktion um 40% auf 60%
-Grün –Reduktion um 60% auf 40%
You can insert one of the included resistors for lower down the wattage into the 1-10V interface. You also can use a compatible dimmer
for connecting the driver to an dimming system.
Values of resistors (included):
-red –reduction of 10% to 90%
-orange –reduction of 20% to 80%
-black –reduction of 30% to 70%
-blue –reduction of 40% to 60%
-green –reduction of 60% to 40%
7. Zum Abschluss schließen die den Treiber mit den Endkappen.
Finally mount the end caps to both sides of the driver.
www.trialed.de © TRiALED GmbH | An der Pönt 46 | 40885 Ratingen | Germany
info@trialed.de Version 10/ 2018

Installationsschritte /Installation steps (Teil 1 / Part 1) Treiber /Driver Tridonic LC 45 |Series 11 only
1. Lieferzustand mit Treiber
Status of delivery of the driver included
2. Schalten Sie die Stromzufuhr bzw. den Stromkreis ab.
Shut down the power circuit for the installation.
3. Schließen Sie den Treiber an das Panel an. Führen Sie das rote (+) Anschlusskabel in die rote, das schwarze (-) Anschlusskabel in die
blaue Schnittstelle auf der sekundären Seite (SEC) des Treibers ein.
Connect the LED driver to the panel. Therefore connect the red (+) cable of the panel to the red and the black (-) cable of the panel to
the blue female connector of the drivers secondary side (SEC).
4. Setzen Sie das Panel in die Decke oder den Aufbaurahmen (separates Zubehör / separate Anleitung) ein. Siehe dazu auch die
Zeichnungen auf Seite 3.
Insert the panel into the ceiling or the frame (separate accessory / separate installation guide). Please refer to the drawing following on
the next page.
5. Verbinden Sie nun die primäre Stromleitung mit dem LED Treiber (PRI). Eine Polarität ist nicht zu beachten.
Connect the primary power to the primary side of the LED driver (PRI). Any polarity can be ignored.
www.trialed.de © TRiALED GmbH | An der Pönt 46 | 40885 Ratingen | Germany
info@trialed.de Version 10/ 2018

Installationsschritte /Installation steps (Teil2 / Part 2) Treiber /Driver Tridonic LC 45 |Series 11 only
6. Die Schnittstelle ISel2 des Treibers sorgt für eine Leistungssteuerung des Treibers. Dazu setzen Sie einen der mitgelieferten
Widerstände in diese Schnittstelle ein. Dieser Wert kann zwischen 600mA bis 1000mA gewählt werden. Im offenen Zustand, ohne
Widerstand, verfügt der Treiber über seine geringste Leistung.
You can insert one of the included resistors for setting the wattage into the ISel2 interface. The selectable and approved resistors are
600mA up to 1000mA. If you leave the interface without any resistor, the driver will run on its minimum power.
Werte /Values:
-600mA Plug =24W
-700mA Plug = 27W
-800mA Plug = 31W
-900mA Plug = 35W
-1000mA Plug = 39W
7. Zum Abschluss schließen die den Treiber mit den Endkappen.
Finally mount the end caps to both sides of the driver.
www.trialed.de © TRiALED GmbH | An der Pönt 46 | 40885 Ratingen | Germany
info@trialed.de Version 10/ 2018

Einbau in abgehängten Decken / Installation in suspended ceilings
Technische Daten / Technical data
Alle technischen Daten können auf der Homepage unter www.trialed.de heruntergeladen werden.
All technical data can be downloaded on our homepage www.trialed.de.
www.trialed.de © TRiALED GmbH | An der Pönt 46 | 40885 Ratingen | Germany
info@trialed.de Version 10/ 2018
This manual suits for next models
2
Table of contents
Other TRiALED Light Fixture manuals
Popular Light Fixture manuals by other brands
Modulex
Modulex MSP-080F installation guide
IMG
IMG Stage Line LE-302 instruction manual

Xtralite
Xtralite omni XL20717 instruction manual
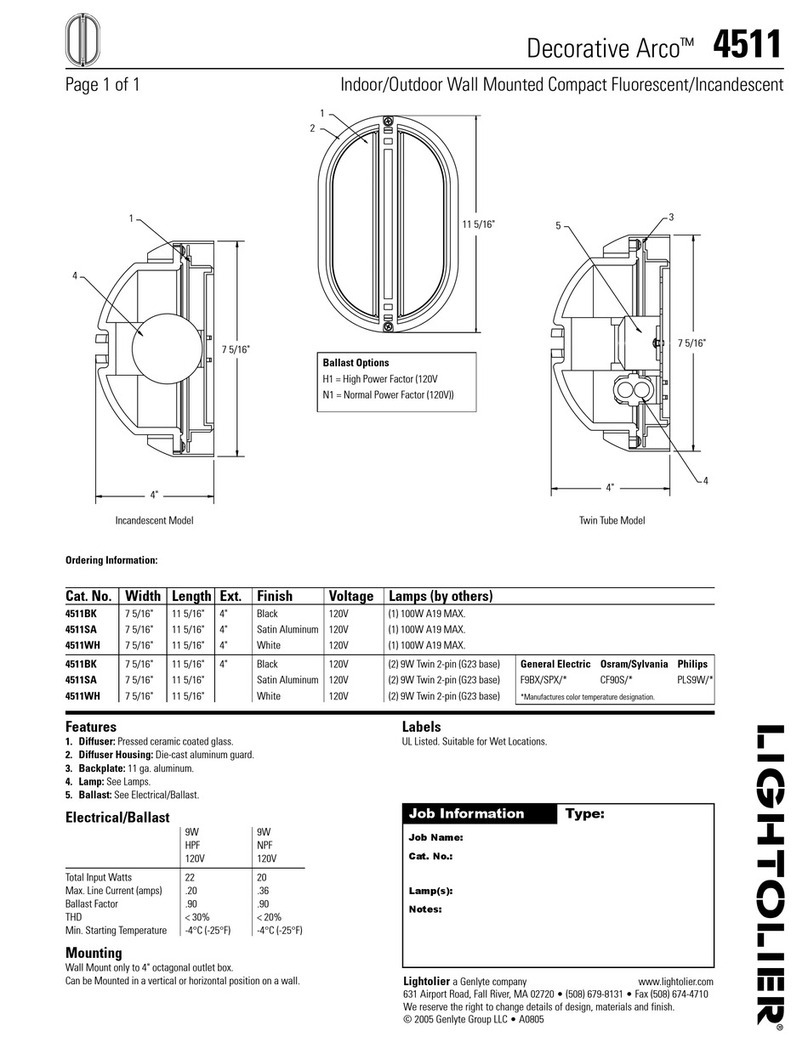
Lightolier
Lightolier Decorative Arco 4511 specification
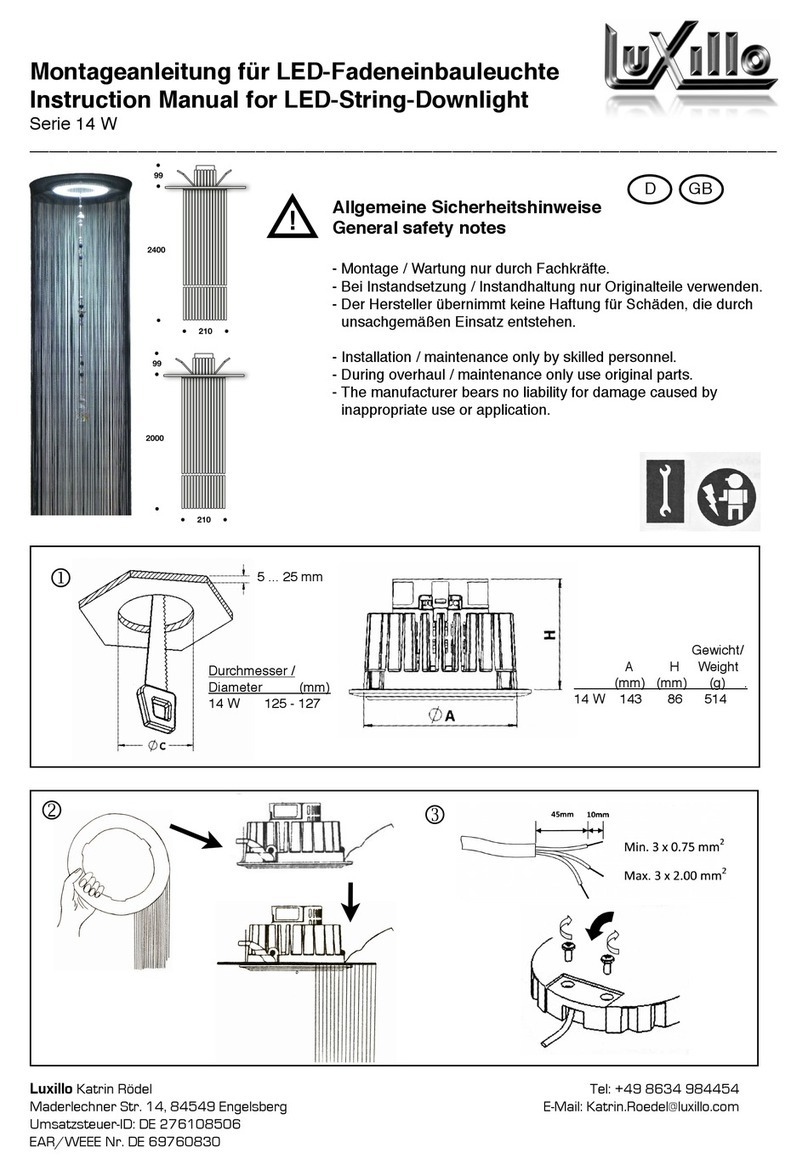
Luxillo
Luxillo LED-String-Downlight instruction manual

Hubbell
Hubbell Kim Lighting Wall Director WD18 installation instructions
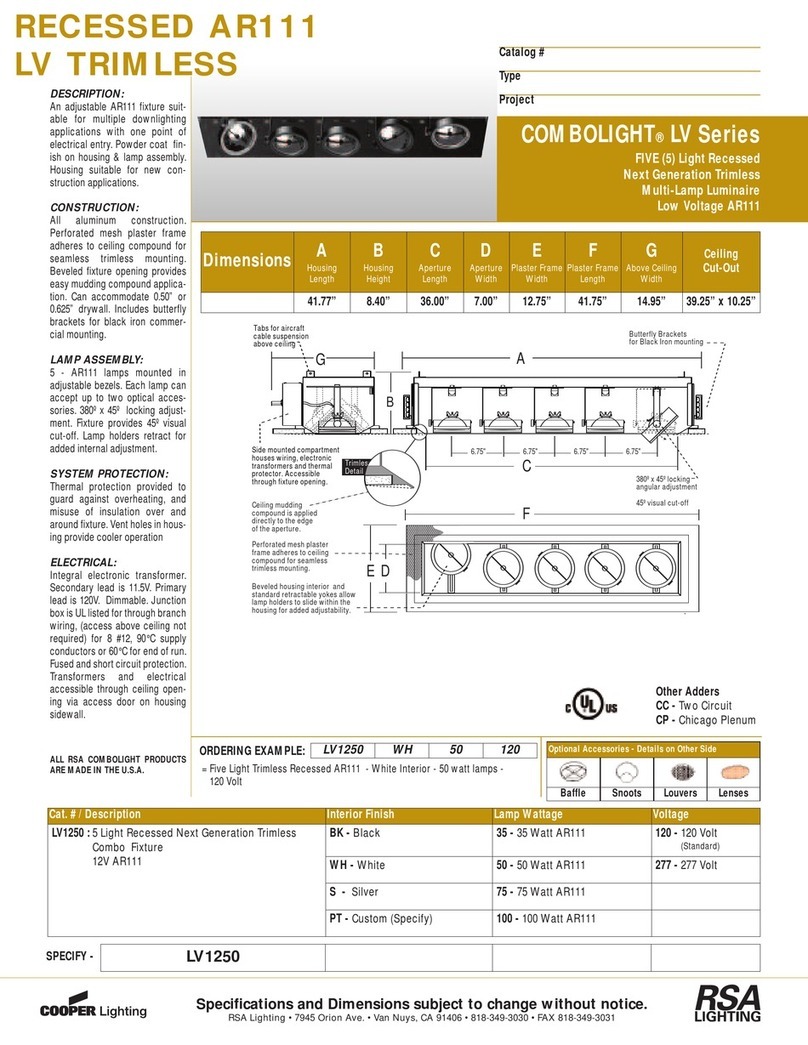
RSA Lighting
RSA Lighting Combolight LV1250 Specifications
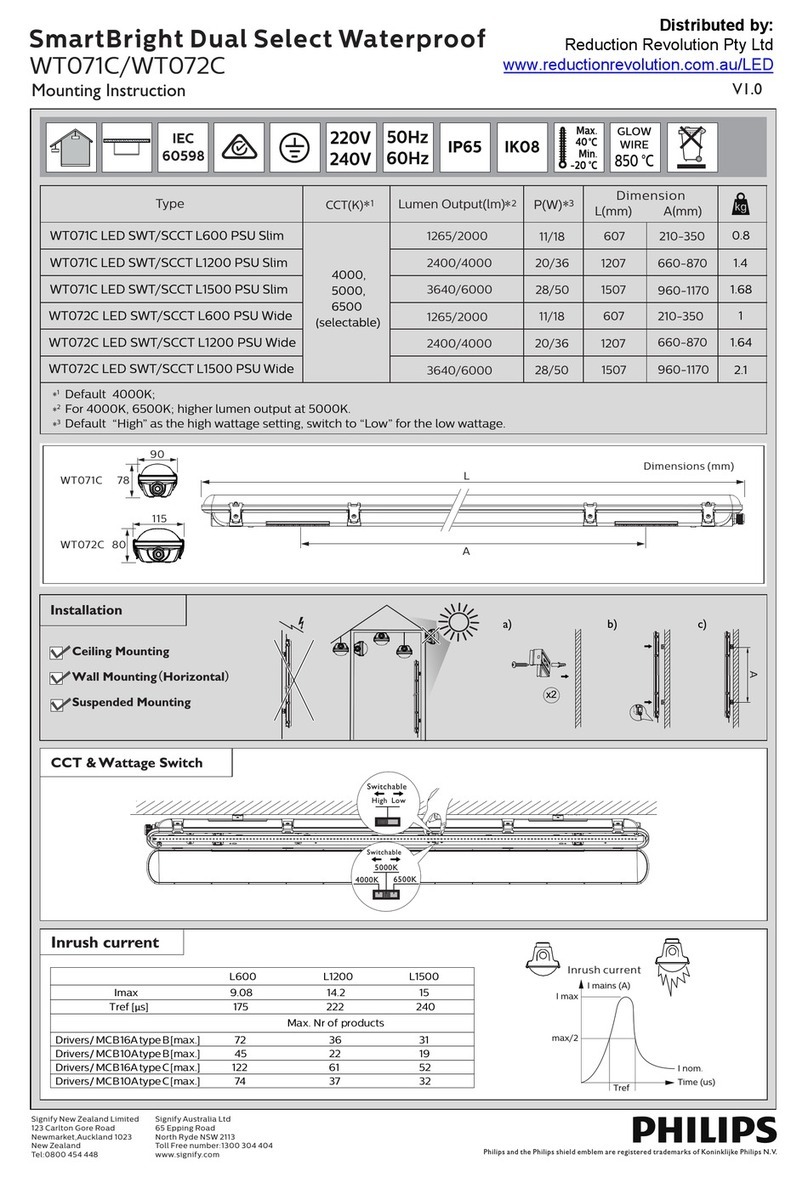
Philips
Philips SmartBright Dual Select Waterproof Mounting instruction
Philips
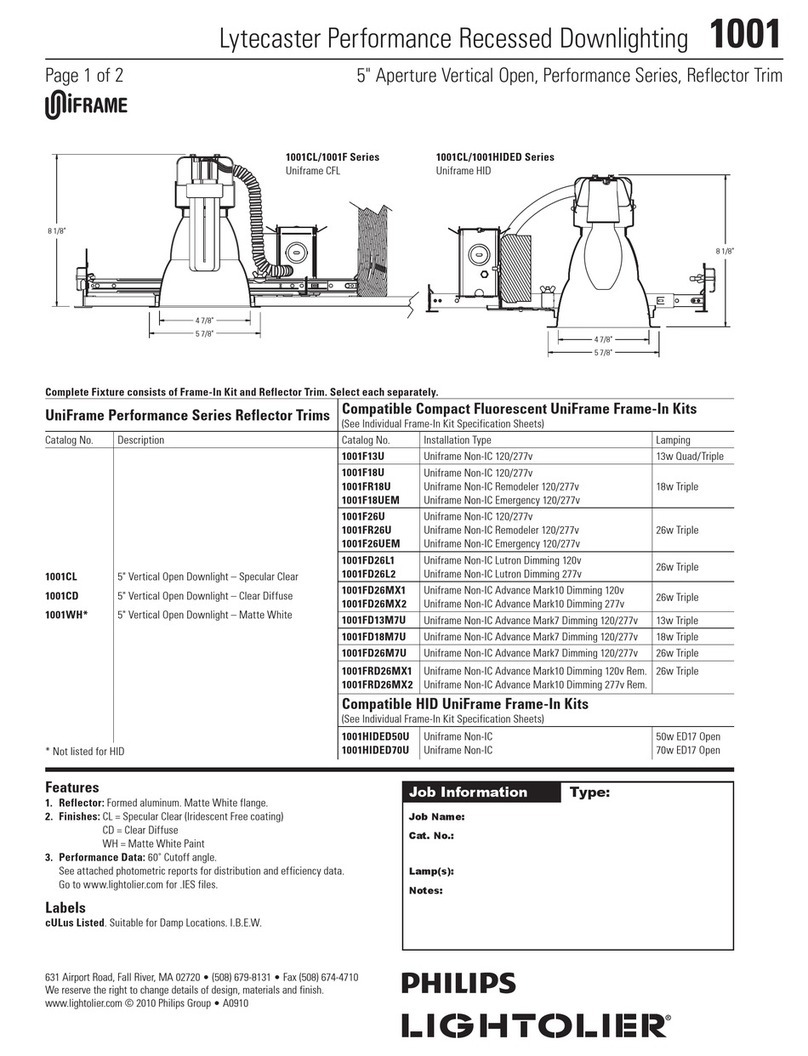
Philips Lytecaster 1001 specification

Ignition
Ignition Studio Par Zoom Platinum user manual

Coloronix
Coloronix SS2 user manual
Designplan
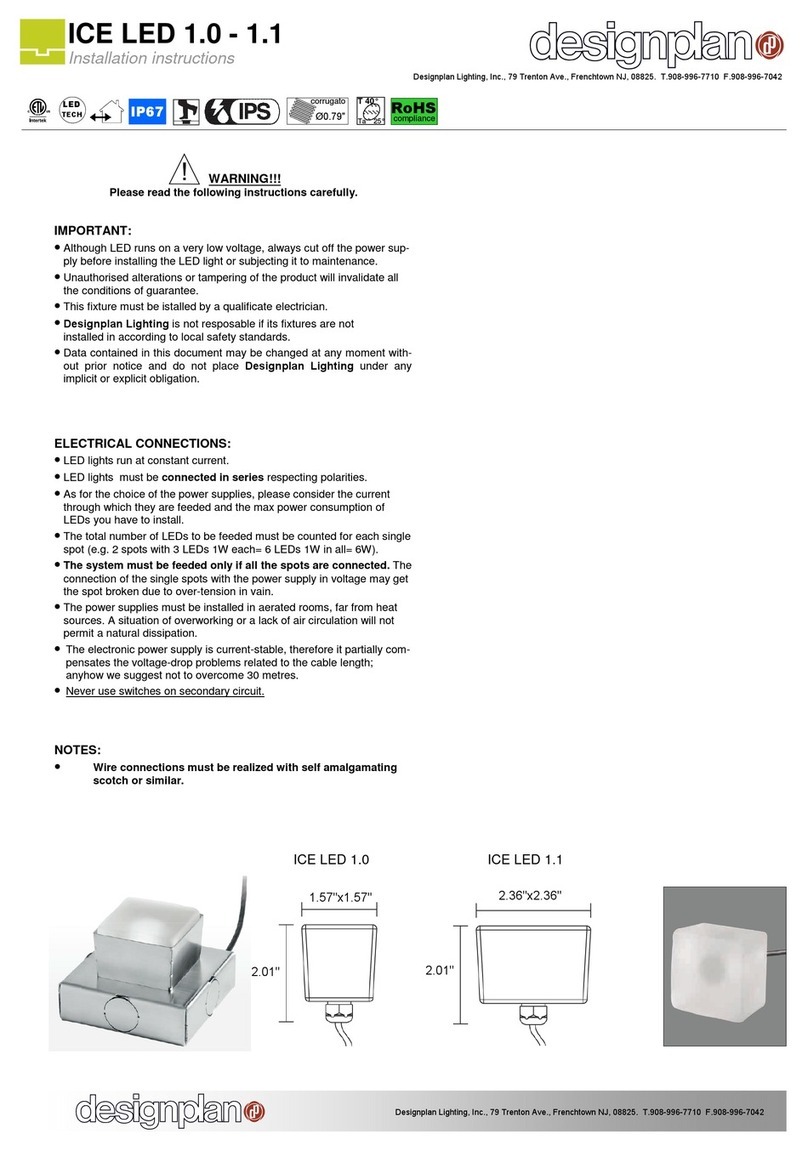
Designplan ICE LED 1.0 installation instructions
