manuals.online logo
Brands
  1. Home
  2. •
  3. Brands
  4. •
  5. Trilux
  6. •
  7. Outdoor Light
  8. •
  9. Trilux 908 Series User manual

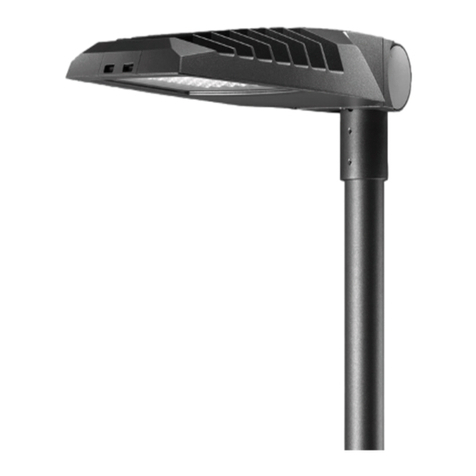
Trilux 908 Series User manual

Montageanleitung
Mounting instructions
Instructions de montage
Istruzioni di montaggio
Instrucciones de montaje
Montagehandleiding
908...
00083242 / VIII 14
TRILUX mbH & o K
Postfach 1960 . D-59753 Arnsberg
Tel. +49 (0) 29 32.301-0
Fax +49 (0) 29 32.301-375
[email protected] . www.trilux.de
DBewahren Sie diese Anleitung auf für zukünftige
Wartungsarbeiten oder Demontage. Wichtige Informationen
zur Energieeffizienz von TRILUX-
Leuchten sowie zur
Leuchtenwartung und -entsorgung finden Sie im Internet:
www.trilux.com/eg245
EKeep these instructions for future maintenance work or dismant-
ling. For important information on the energy efficiency of TRILUX
luminaires and on maintaining and disposing of luminaires, please
visit our webpage at:
www.trilux.com/ec245
FVeuillez conserver ce manuel d'utilisation pour le démontage
ou pour les travaux de maintenance ultérieurs. Vous avez la
possibilité de consulter des informations importantes concernant
l'efficacité énergétique des luminaires TRILUX ainsi que l'entretien
et l'élimination des luminaires sur le site Internet:
www.trilux.com/ec245
IConservare le presenti istruzioni per i futuri lavori di manutenzi-
one o per lo smontaggio. Per informazioni importanti sull'efficienza
energetica degli apparecchi TRILUX e sulla manutenzione e smalti-
mento degli apparecchi consultate la pagina:
www.trilux.com/ec245
SConserve estas instrucciones por si tiene que llevar a cabo
trabajos de mantenimiento o desmontaje más adelante. En
www.trilux.com/ec245 encontrará información sobre la eficiencia
energética de las luminarias de TRILUX y sobre su mantenimiento
y eliminación.
NBewaar deze gebruiksaanwijzing voor onderhoudswerkzaamhe-
den of demontage in de toekomst. Belangrijke informatie over de
energie-efficiëntie van TRILUX-armaturen evenals informatie over
onderhoud en afvoer van armaturen vindt u terug op het internet:
www.trilux.com/ec245
2 3
DSicherheitshinweise
Der elektrische Anschluss darf nur von fachkundigem Personal
durchgeführt werden, das hierfür ausgebildet und befugt ist.
• Arbeiten Sie niemals bei anliegender Spannung an der Leuchte.
Vorsicht - Lebensgefahr!
ESafety notes
The electrical connection may be set up by suitably trained and qualified,
authorised personnel only.
• Never work when voltage is present on the luminaire.
Caution - Risk of fatal injury!
FConsignes de sécurité
Le raccordement électrique ne doit être effectué que par du personnel
compétent, dûment formé et autorisé à effectuer de telles opérations.
• Ne travaillez jamais sur le luminaire lorsque celui-ci est sous tension.
Prudence - danger de mort!
IAvvertenze di sicurezza
esperto, addestrato e autorizzato allo scopo.
• Non eseguire mai i lavori sugli apparecchi con la tensione inserita.
Attenzione - Pericolo di morte!
SIndicaciones de seguridad
La conexión eléctrica debe ser realizado por personal especializado,
cualificado y autorizado para ello.
• No trabaje nunca con la luminaria conectada a la tensión.
Precaución: peligro de muerte!
NVeiligheidsaanwijzingen
De elektrische aansluiting mag alleen worden uitgevoerd door deskundig personeel,
dat hiertoe opgeleid en bevoegd is.
• Voer nooit werkzaamheden uit als er spanning op de armatuur staat.
Pas op - levensgevaar!
DSchutzklasse II
Schutzart Lampenraum IP 54
Schutzart Anschlussraum IP 23
ESafety class II
Degree of protection lamp housing IP 54
Degree of protection connection housing IP 23
FClasse électrique II
Indice de protection Compartiment lampe IP 54
Indice de protection Compartiment appareillage IP 23
IClasse di isolamento II
Grado di protezione vano lampada IP 54
Grado di protezione vano cablaggi IP 23
SClase de aislamiento II
Grado de protección Compartimento de lámpara IP 54
Grado de protección Compartimento de conexiones IP 23
NBeschermcategorie II
Beschermklasse lampbehuizing IP 54
Beschermklasse aansluitruimte IP 23
Fw
ca. kgTyp
7,8
6,7
5,4
9081/50-80HME-II
9082/TCL18-24-II
9082/TCL18-24-II E
0,135
0,135
0,135
7,8
7,8
6,7
5,4
9081 S/50-80HME-II
9081 S/50-70HSE-E-II
9082 S/TCL18-24-II
9082 S/TCL18-24-II E
0,135
0,135
0,135
0,135
4 m*
5 m*
6 m*
8 m*
max.
Ø76
325
560
9,5°
100
Ø 450
4 5
*= DEmpfohlene Lichtpunkthöhen
ERecommended light point heights
FHauteur recommandée du point lumineux
IAltezza consigliate punti luce
SAlturas del punto de luz recomendadas.
NAanbevolen lichtpunthoogtes
DWindangriffsfläche (m2)
EWindage area (m2)
FSurface exposée au vent (m2)
ISuperficie esposta al vento (m2)
SLado expuesto al viento (m2)
NWindoppervlak (m2)
Fw=
ca. kgTyp
13,4
13,2
10,5
9081 M2/50-80HME-II
9082 M2/TCL18-24-II
9082 M2/TCL18-24-II E
13,4
13.4
13,2
10,5
9081 M2-S/50-80HME-II
9081 M2-S/50-70HSE-E-II
9082 M2-S/TCL18-24-II
9082 M2-S/TCL18-24-II E
max.
5 m*
6 m*
4 m*
8 m*
1060
100
76
325
9,5°
450
1
8
4
2*
3
DBei Mastzopf Ø 60mm:
Reduzierstück 0935 verwenden (nur bei Einzelleuchte)
EFor pole top Ø 60mm:
Use reduction piece 0935 (only for individual luminaires)
FPour tête de candélabre Ø 60mm :
utiliser le réducteur 0935 (uniquement pour un luminaire seul)
ICon testa palo Ø 60mm:
utilizzare il riduttore 0935 (solo con apparecchi singoli)
SEn terminal de columna de Ø 60mm:
utilizar la pieza reductora 0935 (sólo en luminaria individual)
NVoor masttop Ø 60mm:
Gebruik reductiestuk 0935 (enkel voor individuele armaturen)
*=
Fw
0,245
0,245
0,245
0,245
0,245
0,245
0,245
6 7
8
L1 L2 N
N
L1
6
L2
7
L1 L2 N
5
8
DLeuchte ist nicht zur Netzweiterleitung geeignet.
ELuminaire is not suitable for further wiring.
FLe luminaire n’est pas équipé pour le repiquage.
IL’apparecchio non è predisposto per il passaggio della rete.
SLuminaria no apta para cableado suplementario.
NArmatuur is niet geschikt voor verdere bedrading.
min. 18 Nm
9
DBei Mastzopf Ø 60mm: Vorher kurzen Innensechskantgewindestift durch
beiliegenden langen ersetzen.
EFor pole top Ø 60mm: replace short hex-socket set screw by the
enclosed long one.
FPour tête de candélabre Ø 60mm, remplacer la vis sans tête à six-pans creux
courte par celle plus longue, fournie avec le luminaire.
ICon testa palo Ø 60mm sostituire chiave a brugola corta con quella lunga allegata.
SEn terminal de columna de Ø 60mm: Sustituir el tornillo sixavado interior
corto por el tornillo sixavado interior largo adjunto.
NVoor masttop Ø 60mm: vooraf korte binnenzeskant-stifttap door de
bijgevoegde lange vervangen.
8 9
2
A
A
DWartung und Bestückungsänderung
EMaintenance and equipment modification
FMaintenance et modification de l'équipement
IManutenzione e sostituzione delle lampade
SMantenimiento y cambio de potencia
NOnderhoud en uitrustingswijziging
B
C
1
2
DAbschlusswanne durch
Linksdrehung abnehmen.
ERemove diffuser by left-
hand rotation.
FDémonter la vasque en
la tournant vers la gauche.
ISmontare la coppa di chiu-
sura ruotandola verso
sinistra.
SRetirar el difusor de cierre
girando a la izquierda.
NKap afnemen door naar
links te draaien.
DZur Wartung oder Bestückungsänderung kann der separat herausnehmbare
Geräteträger mit Hilfe einer elektrischen Steckverbindung von der Leuchte
getrennt werden.
EFor maintenance or equipment modification the removeable gear tray can be
separated from the luminaire by means of electrical plug connection.
FPour la maintenance ou une modification de l'équipement, la platine amovible
peut être séparée du luminaire grâce à une fiche électrique.
IPer la manutenzione o la sostituzione delle lampade è possible estrarre l'unità
elettrica dall'armatura semplicemente staccando la spina.
SPara el mantenimiento o cambio de potencia, el portaequipo puede retirarse de
la luminaria mediante el conector. previa deconexión del connector enchufable.
NVoor onderhoud of uitrustingswijziging kan de apart uitneembare apparaten
drager met behulp van een elektrische steekverbinding van het armatuur worden
gescheiden.
10 11
45
3
DAlle demontierten Teile in umgekehrter Reihenfolge wieder montieren.
EReinstall all the removed parts in reverse order.
FRemonter toutes les pièces démontaées dans l‘ordre inverse.
IRimontare tutti i pezzi smontati nella sequenza inversa.
SVuelva a montar todas las piezas desmontadas siguiendo los pasos de desmontaje
em orden inverso.
NAlle gedemonteerde onderdelen in omgekeerde volgorde weer remonteren.
DVor dem Einsetzen der Abschlusswanne entsprechendes Leuchtmittel einsetzen.
EInsert the corresponding lamp before inserting the diffuser.
FInsérer la lampe correspondante avant la mise en place de la vasque.
IPrima di chiudere l'apparecchio inserire idonee lampade.
SAntes de colocar el difusor, insertar la lámparacorrespondiente.
NVoor het inzetten van de afsluitkap eerst de overeenkomstige lamp inzetten

This manual suits for next models

7

Other Trilux Outdoor Light manuals

Trilux 98 MLT LED Series User manual

Trilux

Trilux 98 MLT LED Series User manual
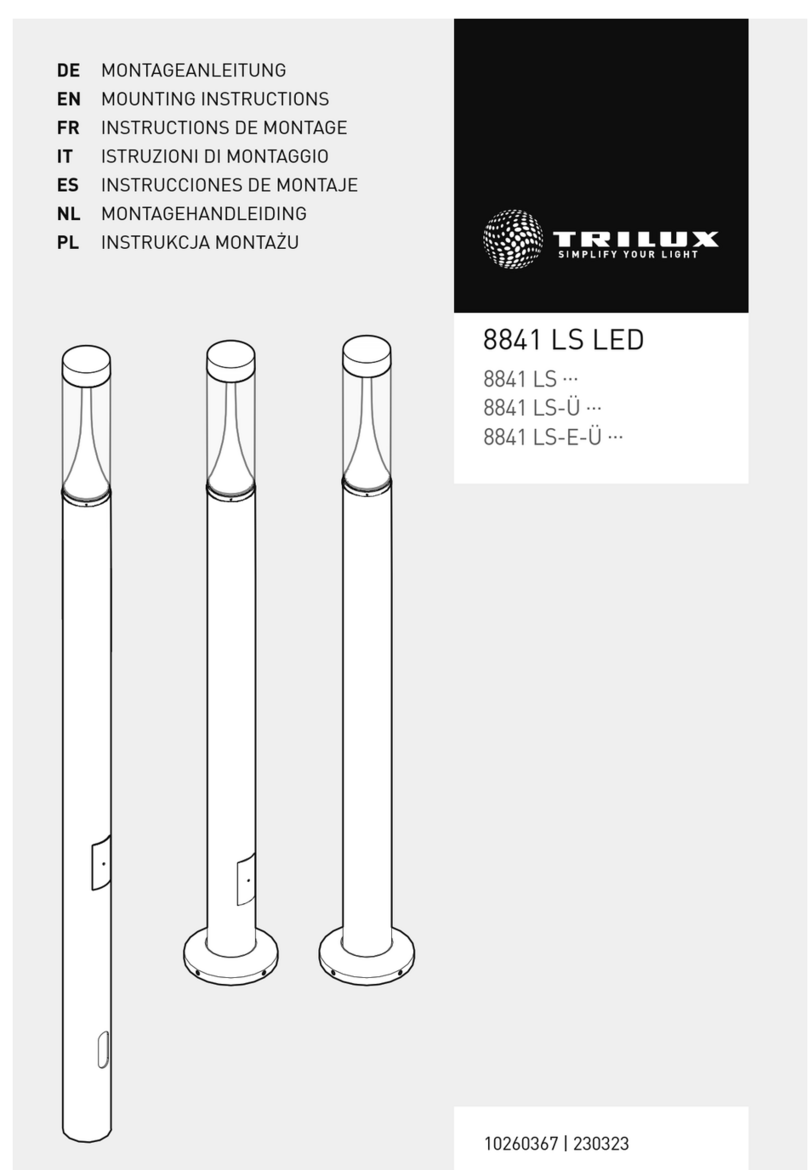
Trilux 8841 LS Series User manual

Trilux

Trilux 8841 LS Series User manual
Trilux PUBLISCA P3 LED User manual

Trilux

Trilux PUBLISCA P3 LED User manual
Trilux TAGO LED User manual

Trilux

Trilux TAGO LED User manual
Trilux Deca LED Future Series User manual
Trilux

Trilux Deca LED Future Series User manual

Trilux LUMENA FIT 80 LED User manual

Trilux

Trilux LUMENA FIT 80 LED User manual
Trilux LIQ N 50 Series User manual

Trilux

Trilux LIQ N 50 Series User manual

Trilux 98 LED Series User manual

Trilux

Trilux 98 LED Series User manual

Trilux LUMEGA 600 LED User manual

Trilux

Trilux LUMEGA 600 LED User manual

Trilux SYMBOL I User manual

Trilux

Trilux SYMBOL I User manual

Trilux 9311 LED User manual

Trilux

Trilux 9311 LED User manual
Trilux Energy Tech HE User manual

Trilux

Trilux Energy Tech HE User manual

Trilux 8841 Series User manual

Trilux

Trilux 8841 Series User manual

Trilux 885 Series User manual

Trilux

Trilux 885 Series User manual

Trilux 9792 Series User manual

Trilux

Trilux 9792 Series User manual
Trilux Lumantix LTX Z Series User manual
Trilux

Trilux Lumantix LTX Z Series User manual

Trilux VIATANA LED Series User manual

Trilux

Trilux VIATANA LED Series User manual
Trilux LIQ 50 Series User manual

Trilux

Trilux LIQ 50 Series User manual
Trilux 932 Series User manual

Trilux

Trilux 932 Series User manual
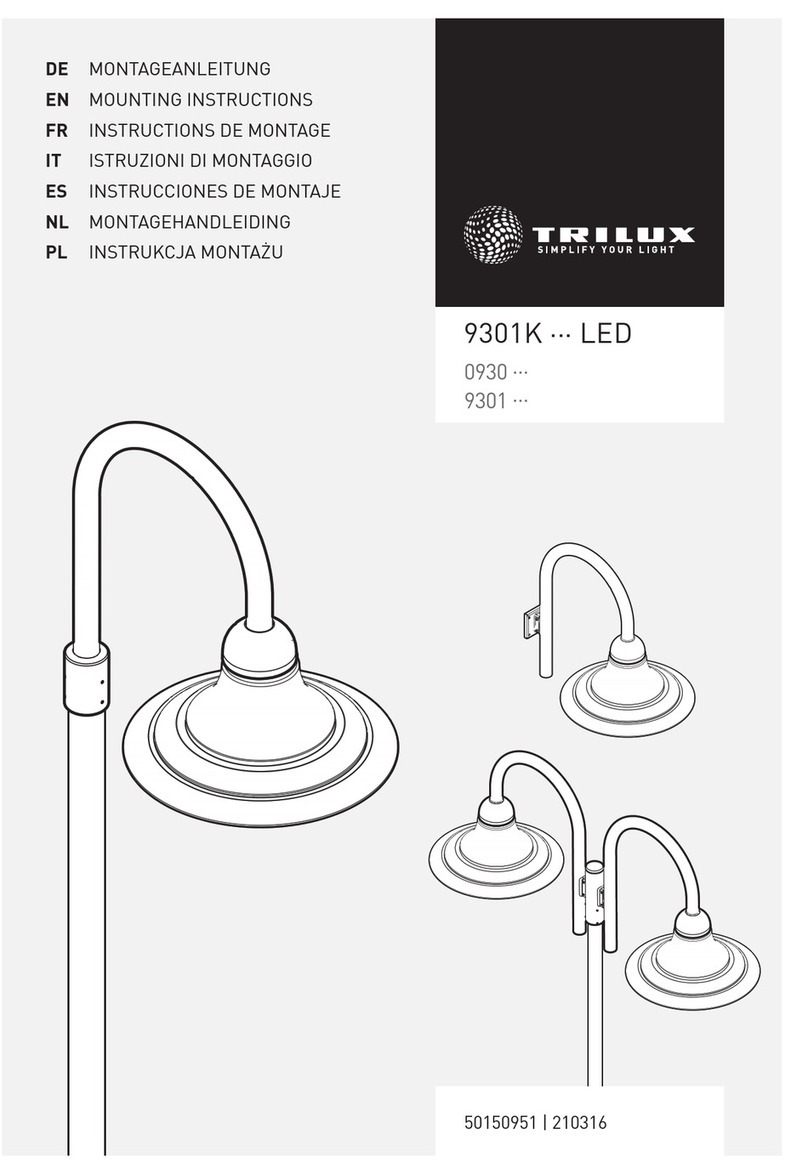
Trilux 9301K LED Series User manual

Trilux

Trilux 9301K LED Series User manual

Trilux 8841 LED User manual

Trilux

Trilux 8841 LED User manual

Trilux 8841 LS Series User guide

Trilux

Trilux 8841 LS Series User guide

Trilux LUMEGA IQ 70 LED User manual

Trilux

Trilux LUMEGA IQ 70 LED User manual

Trilux 8814 Series User manual

Trilux

Trilux 8814 Series User manual

Popular Outdoor Light manuals by other brands

LUG eBLOC-Z Installation instruction

LUG

LUG eBLOC-Z Installation instruction

GINGKO Mini Alice Mushroom Lamp Quick user manual

GINGKO

GINGKO Mini Alice Mushroom Lamp Quick user manual

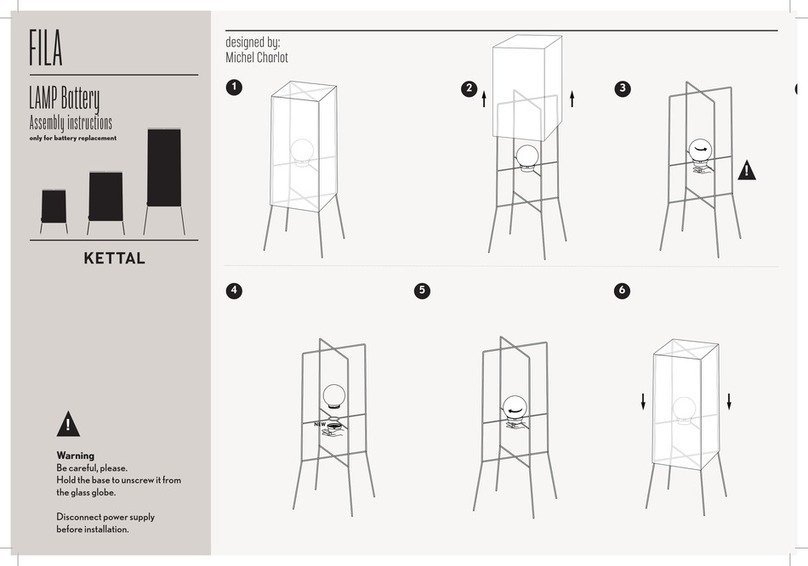
Kettal FILA LAMP Battery Assembly instructions

Kettal

Kettal FILA LAMP Battery Assembly instructions

Konstsmide 3773 technical information

Konstsmide

Konstsmide 3773 technical information

tiki Island King Instruction and use manual

tiki

tiki Island King Instruction and use manual

Trio 4035011-04 quick start guide

Trio

Trio 4035011-04 quick start guide

Tupex MEZZO Use and care guide

Tupex

Tupex MEZZO Use and care guide

SLV 232101 instruction manual

SLV

SLV 232101 instruction manual

LIGMAN VK-30004 installation manual

LIGMAN

LIGMAN VK-30004 installation manual
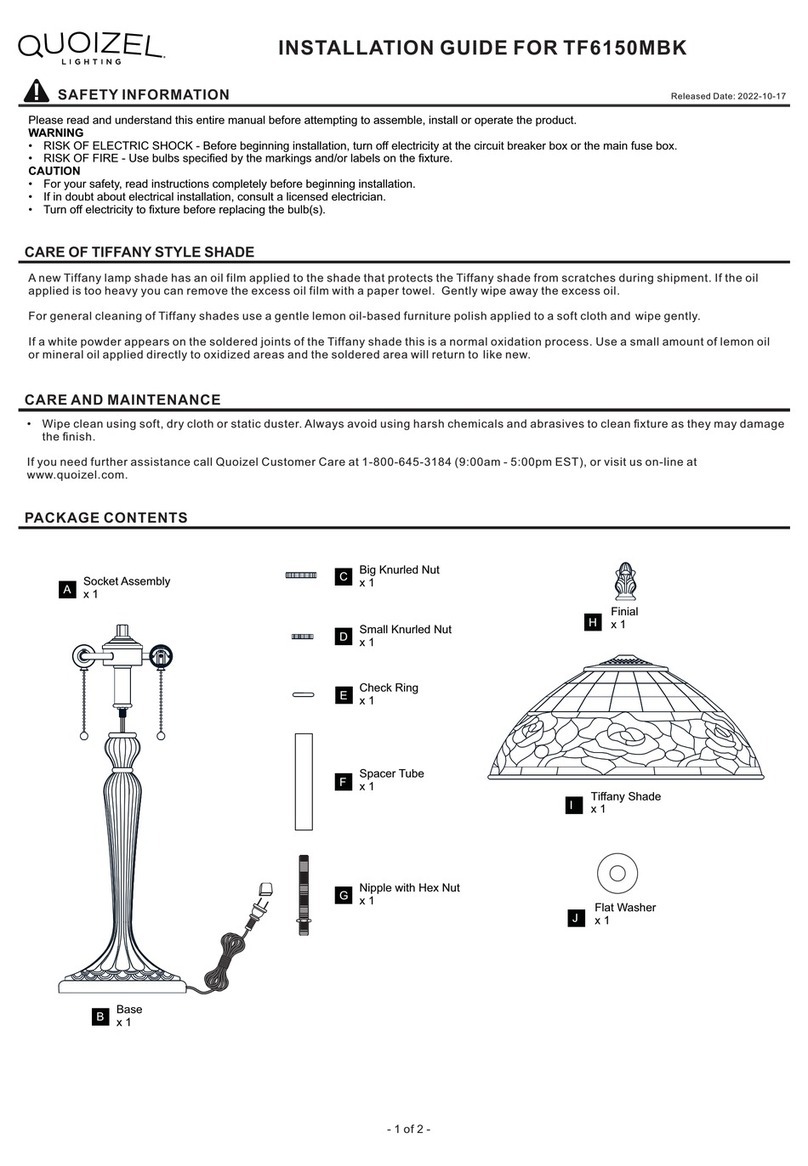
Quoizel TF6150MBK installation guide

Quoizel

Quoizel TF6150MBK installation guide

edishine HLFL02P instruction manual

edishine

edishine HLFL02P instruction manual
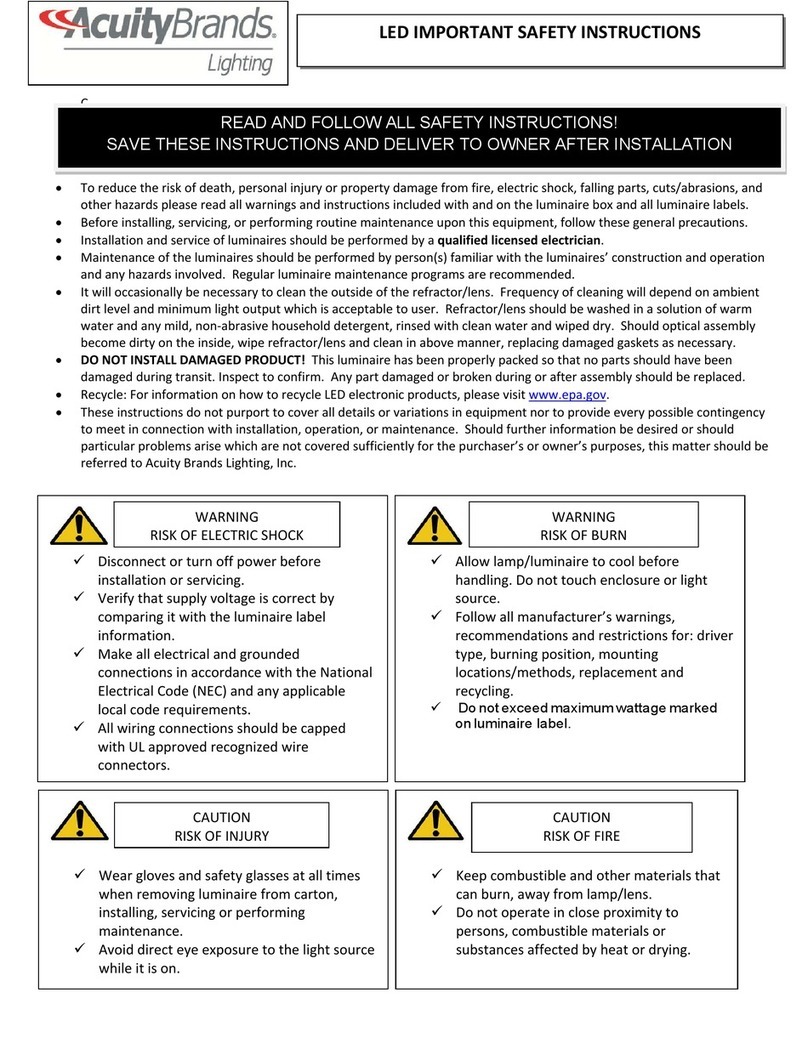
Acuity Brands Lighting Holophane Wallpack HLWCP2 Installation and maintenance manual

Acuity Brands Lighting

Acuity Brands Lighting Holophane Wallpack HLWCP2 Installation and maintenance manual

LIGMAN LADOR 41 installation manual

LIGMAN

LIGMAN LADOR 41 installation manual

Eglo COSSANO Installation and assembly guide

Eglo

Eglo COSSANO Installation and assembly guide

LIGMAN FRAME 1 installation manual

LIGMAN

LIGMAN FRAME 1 installation manual

GTV GRANDE Assembly instruction

GTV

GTV GRANDE Assembly instruction

Westinghouse W-706 owner's manual

Westinghouse

Westinghouse W-706 owner's manual

Philips 168578716 user manual

Philips

Philips 168578716 user manual

manuals.online logo
manuals.online logoBrands
  • About & Mission
  • Contact us
  • Privacy Policy
  • Terms and Conditions

Copyright 2025 Manuals.Online. All Rights Reserved.