WARNING! For the safe operation of this machine
follow the instructions given in this booklet and
the training given by your supervisor. Failure to
do so can result in personal injury and/or damage
to machine and property!
DONOTOPERATE MACHINE INANEXPLOSIVE EN-
VIRONMENT!
Themodelsshowninthis manual areintendedforcom-
mercial use.
PREPARATION
Topreparethemachine foroperation,make sureitis of
correct voltage and properly assembled. If in doubt,
askyoursupervisor.
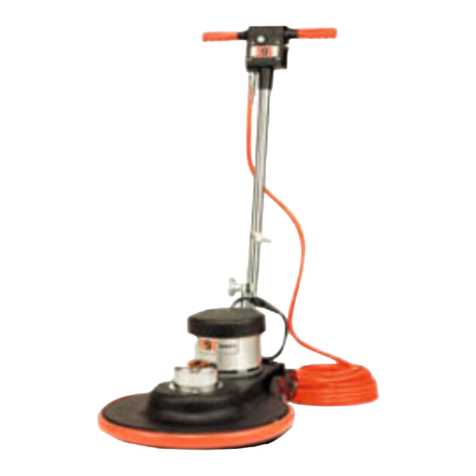
Your new floor machine operates in a straight-line for-
wardmotion,rather than thenormalside tosidemotion
ofa conventional singledisc machine. Beprepared by
having your floor area cleared and ready for the fast
actionof a burnisher.
Preparethefloorareabysweeping,dusting or mopping
as needed. Check the proper application recommen-
dationsandproceduresfoundon the labelofyourfinish
container. IFIN DOUBT,CALLYOURSUPERVISOR.
WARNING! NEVERUSETHISMACHINEWITHFLAM-
MABLEOREXPLOSIVE MATERIAL!
For Burnishing: Select the correct clean floor pad
(yoursuppliercanhelpyou).The lighter color floorpads
(bufforwhite) arenormallyused fortheburnishing pro-
cedure.
NEVER OPERATE THE MACHINE WITHOUT THE
FLOORPADINSTALLED!
It is very important to select clean, dry pads of uniform
thickness. Pads with high or low sections, or hard or
soft spots are unacceptable. Pads of open weave are
recommended;because closeweaves tend to load up
fast, bog down the machines, cause circuits to over-
loadand generally givepoor results.
Unplugthemachinefromthe wall outletandthentipthe
machine back to expose the pad driver. Remove the
padcenter lock ring. Carefullycenter the padonto the
pad driver and secure with the locking ring. Check for
level,centering and flatness.
OPERATION
Set the machine upright onto the pad. Plug the
machine’spower cableinto aproperly grounded outlet
(see Safety Instructions). Next, release the handle by
unlockingthe knob and allow thehandle tolower into a
comfortable position. THEN ALWAYS SECURE THE
HANDLELOCKINGKNOB. Thiswillallowthe operator
to easily control the pad pressure.
Depressthe handleslightly to elevate the padfrom the
floor. This istoavoid burning thefloor on initialstartup,
before the operator is ready to move forward. Pull out
on the “Watch Dog” Safety Lock button and start the
machine by depressing either the left or right switch
levers.
Whenyou’rereadyto move forward, lowerthemachine
headandpadtothefloorandproceedforwardinastraight
line, at a steady pace.
MAINTENANCE
AFTER EACH USE: Store the machine in a clean dry
area. Wipe the entire machine and cord down with a
cleancloth.Removethepadandcleanthoroughly. Wrap
the machine’s electrical cord onto the handles and the
cordhookprovided.CHECKthecordandplugfornicks,
cuts or damage. Report these to your supervisor for
correction.
WARNING! Always disconnect the machine’s elec-
trical plug from the electrical outlet before per-
forming any service, maintenance, pad changing
or inspection of the machine.
MOTOR: The motor is lubricated for life under normal
use. Nooilingorgreasingis necessary. However, if the
machine is used in dusty areas the motor should be
cleaned.Blowing themotor outwith compressedair or
withthe exhaust froma vacuum issuggested. Keeping
the motor clean will allow the clear passage of air for
ventilationandpreventoverheating.
BELT TENSION: Proper belt tension is important for
smooth operation and belt life. Check the belt tension
andhave nomore thana 1/8-inchdeflection. If adjust-
ment is needed, loosen the four (4) motor mounting
bolts. Then move the motor and retighten the four (4)
motormounting bolts.
CARBON BRUSH INSPECTION: Long life3000-hour
carbonbrushesareinstalledinthemotor. Themachine
isalsoequippedwithacarbonbrushwearindicatorlight
tosignal whena carbonbrush changeis required.
OPERATINGPROCEDURES
3
