Triplett EPC600 User manual

User Manual
EPC600
Environmental Particle Counter
Introduction
Thank you for selecting the Triplett Model EPC600 Particle Counter with Camera.
The EPC600 has a Color TFT LCD display, a 74MB internal data storage bank, a micro-SD memory
card slot for capturing images and video for viewing on a PC, and a built-in 320x240 pixel camera
for capturing stills/video oftest locations. The EPC600 offers quick and accuratereadings for particle
count, air temperature, most surface temperatures, and relative humidity. The EPC600 also offers a
Dew Point and Wet Bulb temperature calculation geared for energy efficiency and environmental
protection applications. Supplied PC software allows the user to generate reports based on records
data, images, and video.
This device is shipped fully tested and calibrated and, with proper use, will provide years of reliable
service.
www.GlobalTestSupply.com
Find Quality Products Online at: sales@GlobalTestSupply.com

Features
2.8” TFT Color LCD display
Convenient keystroke menu structure for measurements, setup, and other programming
320 x 240 pixel built-in camera for still and video imaging
JPEG images and 3GP video
Meter’s internal memory 74MB.
Meter can store 5000 records (date, time, counts, humidity, temperature, sample volumes)
and 20 minutes of video to internal memory.
Micro-SD memory card slot (8GB maximum); card not included.
Selectable Test sample time, count data, and programmable delay
Simultaneously measure and display 6 channels of particle sizes (down to
0.3μm) Air temperature and relative humidity
Dew point and Wet bulb temperature
calculations MIN/MAX/AVG/DIF record with
date/time stamp Auto power off
Language selection for English, French, German, and
Spanish Meter is shipped NIST calibrated with calibration
certificate Tripod mounting option
Includes universal AC adaptor/charger with a variety of plug options, USB cable, PC
software, tripod, Zero count filter, 7.4V Lithium-ion polymer rechargeable battery, and
protective case
Meter Description
1. Isokinetic probe
2. Temperature and RH Sensor (note its
protective cover that slides up and down)
3. Color TFT LCD
4. Compartment for USB interface port and
AC Adaptor/Charger
5. Function F1, F2, F3 buttons
6. Control buttons: Page Up/Down, Enter,
Run/Stop, and ESC
7. ON/OFF button
8. Battery and Micro-SD card compartment
(SD card slot underneath battery)
9. Tripod mount
10. Camera lens
Operation
Power ON-OFF
Press and hold the power button to switch the instrument ON
or OFF.
Important Notes
Note: Operating the particle counter with the isokinetic probe cap
in place will damage the pump and other internal components.
www.GlobalTestSupply.com
Find Quality Products Online at: sales@GlobalTestSupply.com

Note: Electrical noise, sensor leakage, or other interference may
cause the EPC600 to show incorrect particle count data.
Getting Started
When the meter powers ON, the Particle Counter icon is displayed at the center of the LCD
and the date, time, and battery status can be observed on the top row of the LCD. Three
bottom row options are also displayed and can be selected using the Function keys (F1, F2,
and F3) as shown below. These are explained in greater detail later in this user guide:
Memory (where data, images, and video are located)
System Setup Parameters
Help File
Symbol Glossary
Sequence of Operation
To ensure that you measure the amount of particles accurately, perform this sequence of operation.
Zero the particle count sensor
Setup your counter for proper operation. Sample time, mode, cycle, and interval.
Run your test cycles and evaluate the results.
Basic Operation
Press and hold the ON/OFF button for 3 to 5 seconds until the display illuminates to power on the
meter.
www.GlobalTestSupply.com
Find Quality Products Online at: sales@GlobalTestSupply.com

Press the enter button ( ) to get to setup mode.
Press F3 to enter settings mode.
Set each parameter to your preferred setting by pressing ENTER to enter each parameter. Then
press ENTER to enable editing of each parameter. Press ESC to exit parameter setup.
Sample Time: Length of time each test runs (3 to 60 seconds)
Start Delay: Duration of time from RUN to actual start of test. (3 to 100 seconds)
Channel Display: Particle sizes displayed during test.
Ambient Temp/RH: Allows the display of the air temp and %RH values
Sample Cycle: Number of test cycles to run (1 to 100)
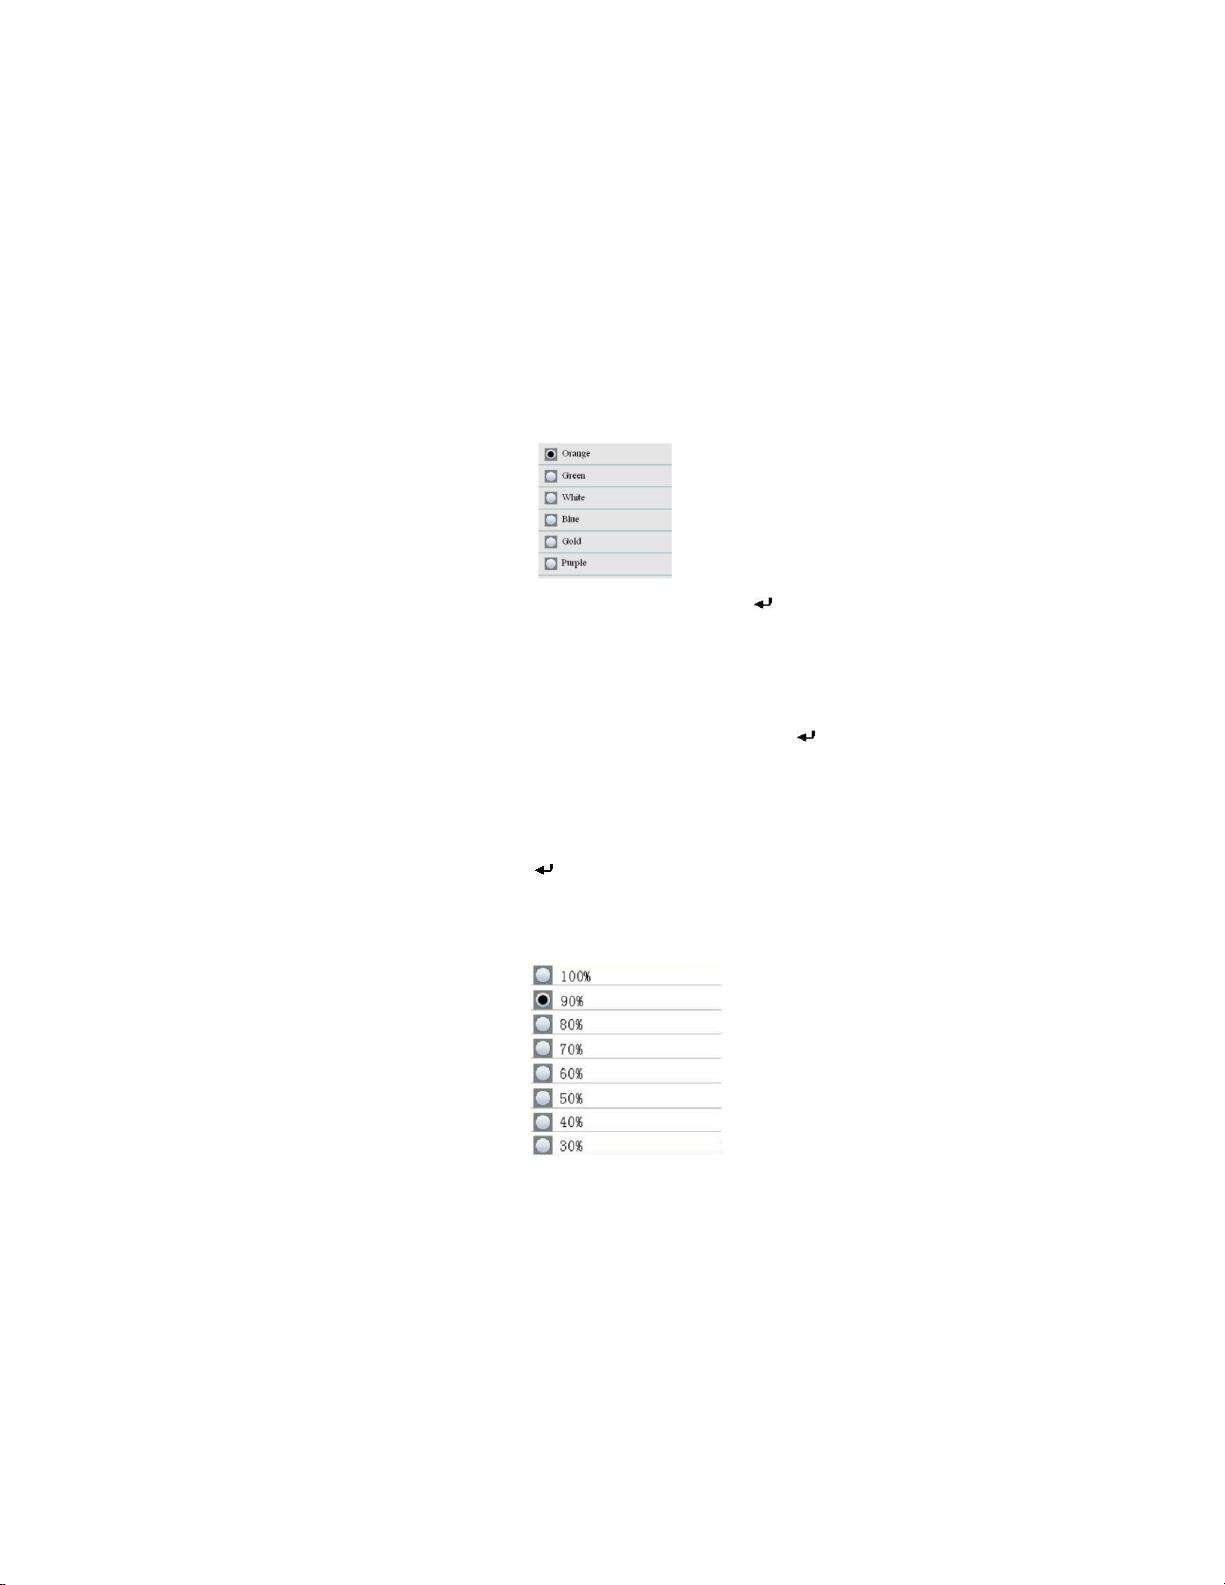
Sample Mode: Cumulative, differential, concentration
Interval: Test cycle delay measured in seconds.
Level Indication: Particle level selection (highlighted on display)
Press ESC to return to testing screen
Press RUN/STOP to start the automated test sequence.
Taking Measurements
After powering the meter, press the Enter
() button to access the Particle
Measurement screen. Then open the
temperature/RH sensor by sliding its
protective cover downward.
When measuring particle counts, these
icons correspond to the function keys
(F1,F2,F3).
F1 is to enter Camera and video mode, F2
is to view your saved data, and F3 is for
Setup mode.
The display will show the particle count channels with
readings, air temperature (AT), Dew point temperature (DP),
Wet bulb temperature (WB), and Relative Humidity (%RH) as
shown in accompanying diagram.
Press the RUN/STOP button to start the air pump and the particle count measurement
process. When the programmed sampling time has elapsed, the particle measurement cycle
will automatically end and the measurement data will be automatically stored. To set the
sampling time, refer to the Particle Count SETUP MODE section. If desired, press the
RUN/STOP button and stop the session manually.
When measuring particle counts, these icons correspond to the function keys
(F1,F2,F3). F1 is to enter Camera and video mode, F2 is to view your saved data, and F3 is for
Setup mode.
Capturing Images
While measuring particle counts, press F1 to enter the camera mode. Press F1 to capture a Still
image. Then press F1 to Save the image or F3 to delete it. Press ESC to get back to exit this
mode.
Capturing Video
While measuring particle counts, press F1 to enter the camera mode. Press F3 to enter the
www.GlobalTestSupply.com
Find Quality Products Online at: sales@GlobalTestSupply.com

video mode. The LCD will show . Now press F2 to capure video and press
F2 again to stop the video capture. The video file will be automatically stored. The System Setup
mode section allows the user to store video to the meter’s internal memory or to an installed
Micro-SD card. Press ESC to exit this mode.
Particle Counter Setup Mode
When measuring, these display icons are visible. Press
F3 to enter the Setup mode. Use the up and down arrow keys to select
an option to edit and press ENTER ( ) to access the selection.
SAMPLE TIME (Test Cycle Time)
Select Sample Time. Press the Enter ( ) button to enter the option
and Press Enter again to activate the setting for editing. Use the arrow buttons to set the
sampling time/gas volume (3 to 60 seconds).
Use the Esc button to save and return to the menu.
START DELAY
The test start delay time is adjustable (3 to 100 seconds). From the Particle setup menu, use the
Up and Down arrows to select Start Delay. Press the Enter ( ) button to enter the option and
Press Enter again to activate the setting for editing. Use the arrow keys to select the desire delay
time. The test will not start until the programmed delay time has elapsed. Use the Esc button to save
the setting and to return to the menu.
CHANNEL DISPLAY
Select channels that are to be displayed. From the Particle setup menu, use the Up and Down
arrows to select Channel Display. Press the Enter ( ) button to enter the option. Use the arrow
keys to select the channel and press the Enter key to select or de-select the channel. Use the Esc
key to save the setting and to return to the menu.
AMBIENT TEMPERAURE / %RH
Enable or Disable the ambient temperature and relative humidity displays. From the Particle setup
menu, use the Up and Down arrows to select Ambient Temp/RH. Press the Enter ( ) button to
www.GlobalTestSupply.com
Find Quality Products Online at: sales@GlobalTestSupply.com
Table of contents