Trojan Telecom DBT3000 User manual

REF: DBT3000230908
Ist Floor
Amphenol Complex
Thanet Way
Whitstable
Kent
CT5 3JF
ENGLAND
Tel: (+44) (0)1227 275357 Fax: (+44) (0)1227 272932
e-mail: [email protected]
USER GUIDE
DBT 3000
ww r ntel.c.w .t ojao uk

1. INSTALLATION
2. SETUP
2.1 Setting The Time
2.2 Set Time to 12/24 Hour Mode
2.3 Setting The LCD Contrast
2.4 Setting The Recall Timing
2.5 Setting Message Waiting
2.6 Setting The Area Code
3. OPERATION
3.1 Speakerphone
3.2 Headset Facility
3.3 Receiver Volume Control
3.4 Redial Button
3.5 Ringer Volume & Pitch Setup
3.6 Mute Button
3.7 Modem Socket
3.8 Pause Button
3.9 Recall Button
3.10 Memory Buttons
3.11 Phonebook Memory
3.12 Caller Display
3.13 Hear-aid compatibility
4. APPROVEDUSE
5. CE APPROVED
6. NUMBER OF PHONES THAT CAN BE CONNECTED
6. WARRANTY
Contents
The layout of your DBT 3000
1
Park Hook
Pause Button
Recall Button
Redial Button
Volume Control Buttons
Mute Button
Ring Indicator/
Message Waiting
Indication
Wall Mount
Tab
Speakerphone/
Headset Button
Menu Button
Memory Buttons
Scroll Keys
Shift Button
Delete
Cancel
Select

3
1. INSTALLATION
Connect one end of the coil cord to the handset and the
other end to the handset socket located on the left hand
side of the phone. Replace the handset to the cradle.
Connect the small plug of the telephone line cord to the
socket at the back of the unit and the other plug to the
telephone socket at the wall.
Connect the power adaptor lead to the back of the phone
and then plug the adaptor into a main socket and turn on.
Lift the handset to check dial tone is being received.
The DBT 3000 telephone is supplied with the mounting
bracket fixed in the wall mount position. For desk
purposes, you should remove the bracket and then replace
in the reverse position.
2. SETUP
2.1 Setting The Time
- Press the MENU button twice. 'System' is displayed.
- Press the SELECT key. 'Set Time' is displayed.
- Press the SELECT key again.
Installation & Setup
2
Setup
- The two digits for the hour will flash. Adjust using the
scroll keys then press SELECT again.
- The two digits for the minutes will flash. Adjust using
the scroll keys then press SELECT again.
- The two digits for the date will flash. Adjust using the
scroll keys then press SELECT again.
- The two digits for the month will flash. Adjust using the
scroll keys then press SELECT again.
- Press the CANCEL key twice to return to standby mode.
2.2 Set Time to 12/24 Hour Mode
- Press the MENU button twice. 'System' is displayed.
- Press the SELECT key.
- Scroll to 'Time Mode' in the system menu and press
SELECT key.
- Use the scroll keys to select 12/24 hours.
- Press SELECT key again.
- Press the CANCEL key twice to return to standby mode.
NOTE: By default the telephone is set to 24 hour mode.
2.3 Setting The LCD Contrast
- Press the MENU button twice. 'System' is displayed.
- Press the SELECT key.
- Scroll to 'LCD Contrast' in the system menu and press
the SELECT key.
- Use the scroll keys to adjust the contrast as required.
- Press the CANCEL key twice to return to standby mode.
2.4 Setting The Recall Timing
- Press the MENU button twice. 'System' is displayed.
- Press the SELECT key.
- Scroll to 'Set Recall' in the system menu and press
SELECT key.
- TBR is displayed. Press SELECT again.
- Use the scroll keys to the TBR timing required.
- Press SELECT key again.
- Press the CANCEL key twice to return to standby mode.
2.5 Setting Message Waiting
- Press the MENU button twice. 'System' is displayed.
- Press the SELECT key.
- Scroll to 'Message Waiting' in the system menu and press
SELECT key.
- Use the scroll keys to select 90V DC or Line Reversal.
- If 90V DC is selected, you can then select 'On' or 'Off'
- If Line Reversal is selected , you can then select 'Off',
'Polarity Normal' or 'Polarity Reversed'.
- Press SELECT key again.
- Press the CANCEL key twice to return to standby mode.

5
2.6 Setting TheArea Code
- Press the MENU button twice. 'System' is displayed.
- Press the SELECT key.
- Scroll to 'Area Code' in the system menu and press
SELECT key.
- Enter your telephone area code.
- Press SELECT key again.
- Press the CANCEL key twice to return to standby mode.
3. OPERATION
3.1 Speakerphone
The 'SPEAKER/HEADSET' button allows the user to
operate the telephone without lifting the handset. Press the
'SPEAKER/HEADSET’ button once, then operate the
telephone as normal. Communication with the party at the
other end of the telephone line is possible using the built in
Microphone and Speaker. It is possible to switch from
Handset to Speaker during a call, by pressing the
'SPEAKER/HEADSET'buttonthenreplacingthehandset.
3.2 Headset Facility
The ‘HEADSET’ button on the DBT 3000 enables you to
use the telephone without lifting the handset. Connect a
Setup & Operation
4
Operation & Approved Use
3.5RingerVolume&PitchSetup
Two switches on the side of the DBT 3000 can be used to
adjust the ringer volume and pitch.
- Ringer Volume
Set the switch to either High, Low or OFF.
NOTE: When the ringer volume is set to OFF, the ringer
indication will still flash to show that the phone is ringing.
- Ringer Pitch
Set the switch to either 'High' or 'Low'.
headsetandsimplypressthe‘SPEAKER/HEADSET’button
once to connect to the line. Pressing the ‘SPEAKER/
HEADSET’ button again will disconnect the telephone line
andterminatethecall.
During a headset (handsfree) conversation, lifting the
handsetwillswitchtheunittothehandsetmode. Theheadset
will be disabled and the handset should be used for
conversation instead. The headset mode will be activated
again by pressing the ‘SPEAKER/HEADSET’ button and
replacingthehandset.
3.3ReceiverVolumeControl
The receive volume can be adjusted UPor Down by pressing
the two volume control buttons. The phone will remember
thelastvolumesettingwhenmakinganewcall.
3.4 Redial Button
Ifyou dialanumber andfinditisengagedorthereis noreply,
replace the handset. The number will be retained in the
memoryuntilyoudialadifferentnumber.
Whattodo: Liftthehandset
Pressthe'REDIAL’button
PITCH
HI LOW
VOLUME
OFFLOWHI
Ringer
Pitch Ringer
Volume
Headset
Socket
MODEM LINE
Modem
Socket Line
Socket
Line
Socket Power Adapter
Socket
3.6 Mute Button
TheDBT3000hastwomutebuttons:
-Onthehandsetthere is a 'PushTo Mute' button which mutes
themicrophoneaslongasitisdepressed.
- On the telephone base there is a latchable MUTE button.
Pressing this button once will mute the microphone and
display the mute symbol on the LCD. To turn the mute off,
pressthebuttonagain.
3.7ModemSocket
On the rear of the telephone there is a modem socket which
allows the connection of a PC Modem, Fax machine or other
telephone device. The phone handset needs to be in the
cradleforthePCModemorFaxmachinetousethissocket.

7
3.8 Pause Button
Pressing the 'PAUSE' button during dialling will put a 2
second pause in the dialling sequence. This is needed on
some telephone systems where you may be required to dial
anaccesscodetoobtainalinebeforediallingyournumber.
3.9RecallButton
If you are connected to a telephone system the 'RECALL'
button is used for transferring calls or accessing other
systemfeatures.
On a normal telephone line the 'RECALL' button may be
used for select services supplied by the telephone line
provider.
3.10MemoryButtons
Tostorenumbersintothememorylocations:
1.PresstheSELECT
2.Enterthenum,bertobestoredonthekeypad
3.PrestheSELECTbutton
4.Usethekeypad to enter the name (i.eTo enteraJpressthe
number5keyonce,toenteraOpressthe6keythreetimes)
5. Press the memory location key where you wish to store
the memory. Use the shift button to access the two-touch
Warranty
6
locations.
3.11Phonebookmemory
The DBT 3000 can store up to 200 names and phone
numbers. In the event of power failure or unplugging the
unit,thesememoriesaresaved.
Tostoreanameandnumber:
1. Press the MENU button once, 'Phonebook' will be
displayed
2. Press the SELECT button. 'Add Contacts ?' will be
displayed
3.Enterthenumberyouwishtostore.PressSELECTbutton
4. Enter name to store using the keypad. (i.e To enter a J
press the number 5 key once, to enter a O press the 6 key
threetimes)
5.PresstheSELECTbuttontocomplete
6. You may now enter another contact or press CANCEL
buttontoreturntonormalmode
NOTE: While you are entering the name and number,
pressing the DELETE button will remove the last digit or
letterentered.
When you enter the phonebook mode, the number of
phonebookrecordsisindicatedonthedisplay.
Tostorethelastnumberdialledintothephonebook:
1. Press the REDIAL button and the last number that was
dialledwillbedisplayedonthedisplay
2. Press the SELECT key and the number will be displayed
again
3.PresstheSELECTbutton
4. Enter the name you wish to assign to the phonebook
record
5.PresstheSELECTbutton
Tocheckthephonebookrecords:
1. Press the MENU button, the 'Phonebook' will be
displayedwiththenumberofrecords
2.Usethescrollkeystomovethroughtherecords
Tofastsearchforaspecificname&number:
1. Press the MENU button, the 'Phonebook' will be
displayedwiththenumberofrecords
2.Usethekeypadtoenterthefirstletterofthename
3. Press the SELECT button to jump to the first record that
startswiththisletter
4.Usethescrollkeystonavigatetherecords
Todialaphonebookrecord:
Once you have navigated to the record you want to dial, lift
thehandsetorpresstheSPEAKER/HEADSETbutton.
Todeleteaphonebookrecord:
1.Navigatetotherecordyouwanttodelete
2.PresstheDELETEbutton,'Delete?'willbedisplayed
3. Press the SELECT button to confirm or CANCEL to not
proceed
3.12CallerDisplay
The caller ID facility on your DBT 3000 is subject to your
network connection. Contact you line provider to activate
thisservice.
When the telephone rings, the incoming number will be
displayed (Unless it is withheld) and stored in the phones
memory. TheDBT3000hasacallerrecordcapacityof 99.
Toreviewcallsinthecallerdisplaylog:
1. When new calls have been received, the RED LED will
flashandthenumberofnewcallsdisplayed
2.Thecallerdisplaylogwillshowthenumberofnewcalls

9
logged and the total number of caller records stored. When
this has reached 99 records, new calls will delete the oldest
callsstoredbythephone.
3.Pressthedownscrollkeytoreviewthenewrecords
4. The number and date/time will be displayed for each
record
5. Once all new records have been viewed the New Call
LEDwillstopflashing
Tocallanumberinthecalllog:
Scrolltothecallerrecordtowanttodialthenliftthehandset
orpresstheSPEAKER/HEADSETbutton.
Todeleteacallerrecord:
Scroll to the caller record you want to delete then press the
DELETEbutton.
3.13 Hear-aidcompatibility
Thehandsetreceiverishearingaidcompatible.
4. APPROVEDUSE
The DBT 3000 can be connected to the Public Switched
Telephone Network (PSTN) and compatible to PABX's
Warranty
8
but not connected in the following manner: -
1. As an extension to a payphone.
2. On shared service line or 1+1 carrier system.
NetworkCompatibility
The DBT 3000 has been approved persuant to
European harmonized standards:
Health & Safety:
EN60950-1:2001 (+A11:2004)
EN50371:2002
Electromagnetic Compatibility:
EN55022:2006 emissions
EN55024:1998 + A1:2001 immunity.
Telecom:
ES 203021 Parts 1, 2 & 3
TBR38
5. THE NUMBER OF TELEPHONES THAT MAY
BE CONNECTED
If you connect too many telephones to your line they may
not ring correctly. To determine the number of telephones
that can be satisfactorily connected to your line, add
together the ringer equivalent numbers (RENs) of all the
equipment you wish to connect. If this number exceeds
four, your telephones may not ring. Your DBT 3000
telephone has an REN of one (1). BT telephones have an
REN of one unless otherwise marked.
6. WARRANTY
Trojan Telecom has built the DBT 3000 telephone to a high
standard. Our warranty reflects our belief that during it’s
working life you should not experience any mechanical
failures.
Trojan Telecom will at all times use a sensible and
supportive attitude towards warrantable returns, working
with you in identifying ‘no fault found’.
The following terms and conditions apply:
1) Where we find a genuine warranty failure, Trojan
Telecom will replace the faulty instrument with a one-for-
one replacement.
2) It is the responsibility of the user to return the faulty
telephone to Trojan Telecom. We ask you to cover this
cost and we will return your replacement telephone at our
expense.
3) We reserve the right to repair the faulty item or replace
it with a similar telephone of the same make.
4) Discontinued models under warranty will be replaced
with a similar or more featured telephone.
5) We reserve the right to charge for items considered to
be chargeable under fair wear and tear.
6) User misuse or any modification carried out to the DBT
telephone by the customer is not considered a
manufacturing fault or component defect. Therefore it is
not covered by the warranty.
7) Accidental damage such as liquid spillage or user
damage will not be covered under the terms of the
warranty.
8) When returning the telephone please ensure you fully
complete the returns authorisation form, failure to do so
could cause you unnecessary delay.
The terms of this warranty do not effect your statutory
rights.
Warranty applies to UK customers only.
Faulty units should be returned to our service centre at the
following address, together with the completed return
form on the opposite page.
SERVISCOMM
UNIT 2, RED BARNES WAY
McMullen Road, Darlington
DL1 2RR UK
Table of contents
Other Trojan Telecom Telephone manuals
Trojan Telecom
Trojan Telecom NRX 4 User manual
Trojan Telecom
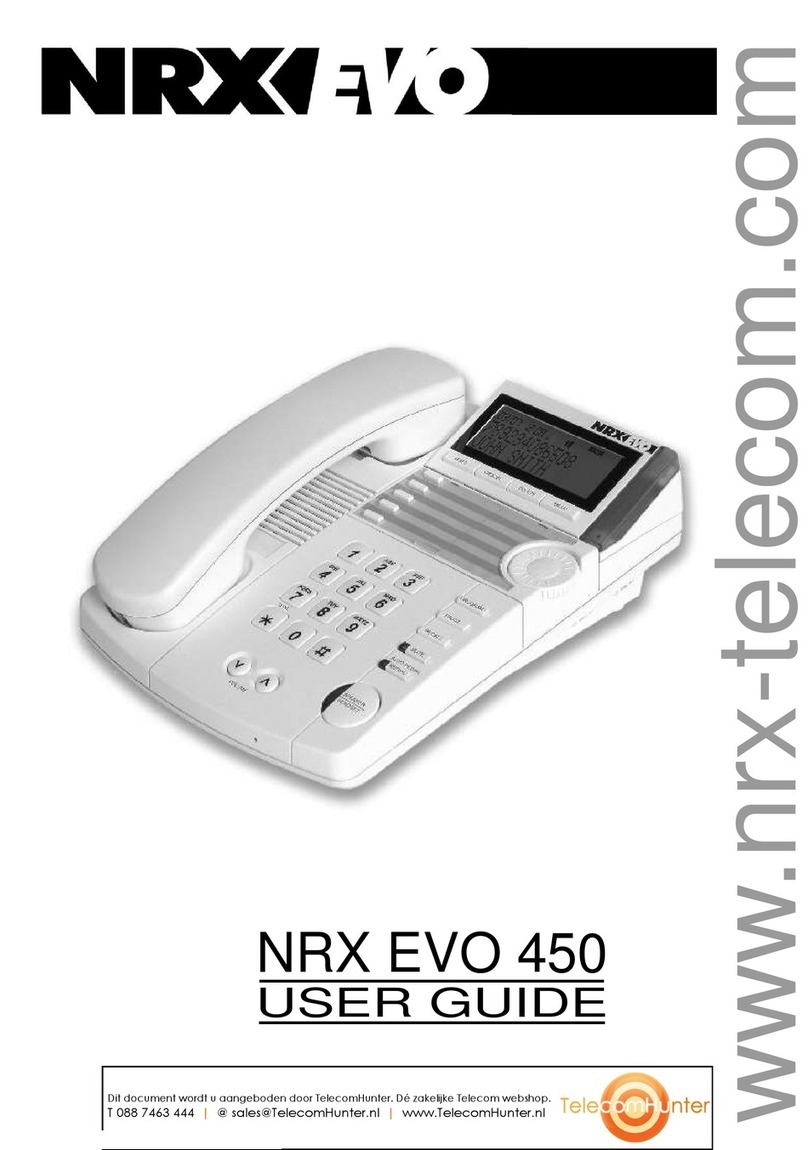
Trojan Telecom NRX EVO 450 User manual
Trojan Telecom
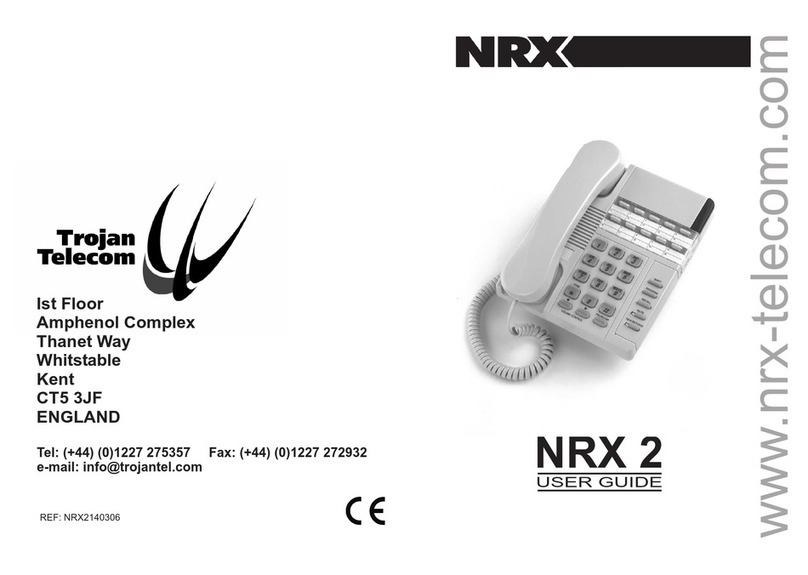
Trojan Telecom NRX 2 User manual
Trojan Telecom
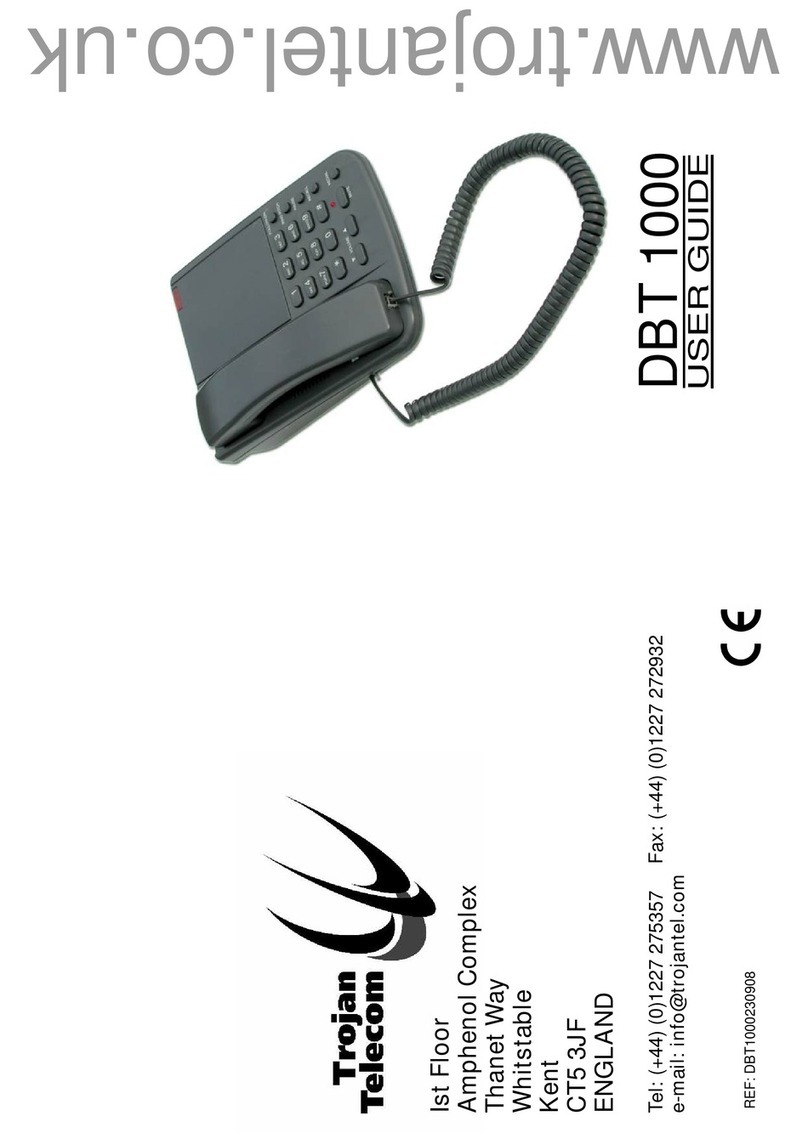
Trojan Telecom DBT 1000 User manual

Trojan Telecom
Trojan Telecom NRX 3 User manual
Trojan Telecom
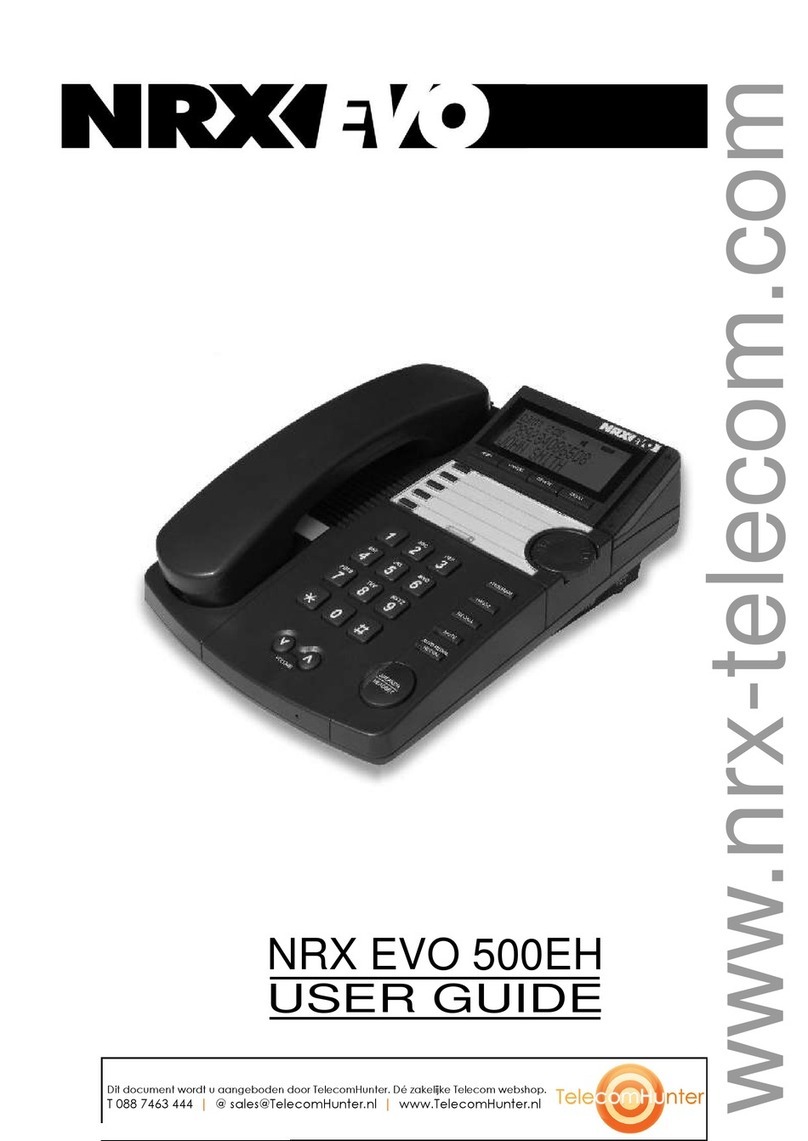
Trojan Telecom NRX EVO 500EH User manual

Trojan Telecom
Trojan Telecom NRX Flatphone User manual
Trojan Telecom
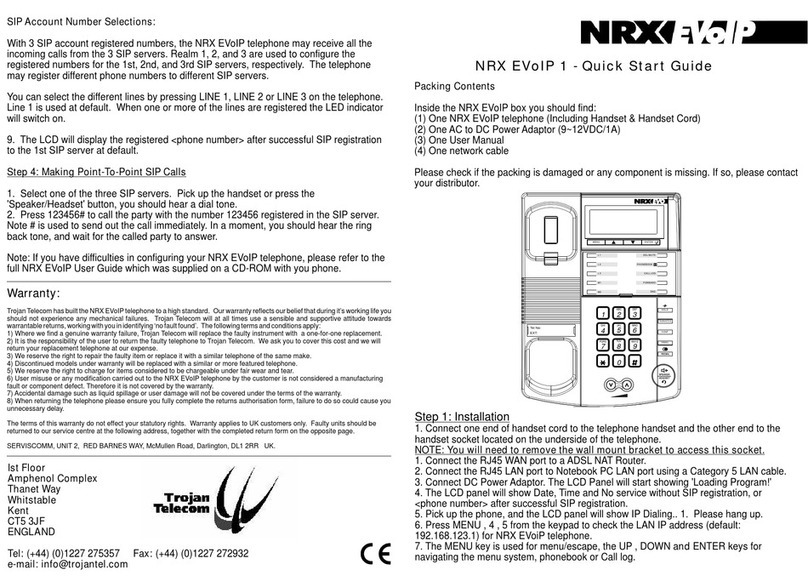
Trojan Telecom NRX EVoIP 1 User manual
Trojan Telecom
Trojan Telecom NRX EVO 250 User manual
Trojan Telecom
Trojan Telecom NRX EVoIP 1 User manual
