Trojan Telecom NRX EVO 500EH User manual
USER GUIDE
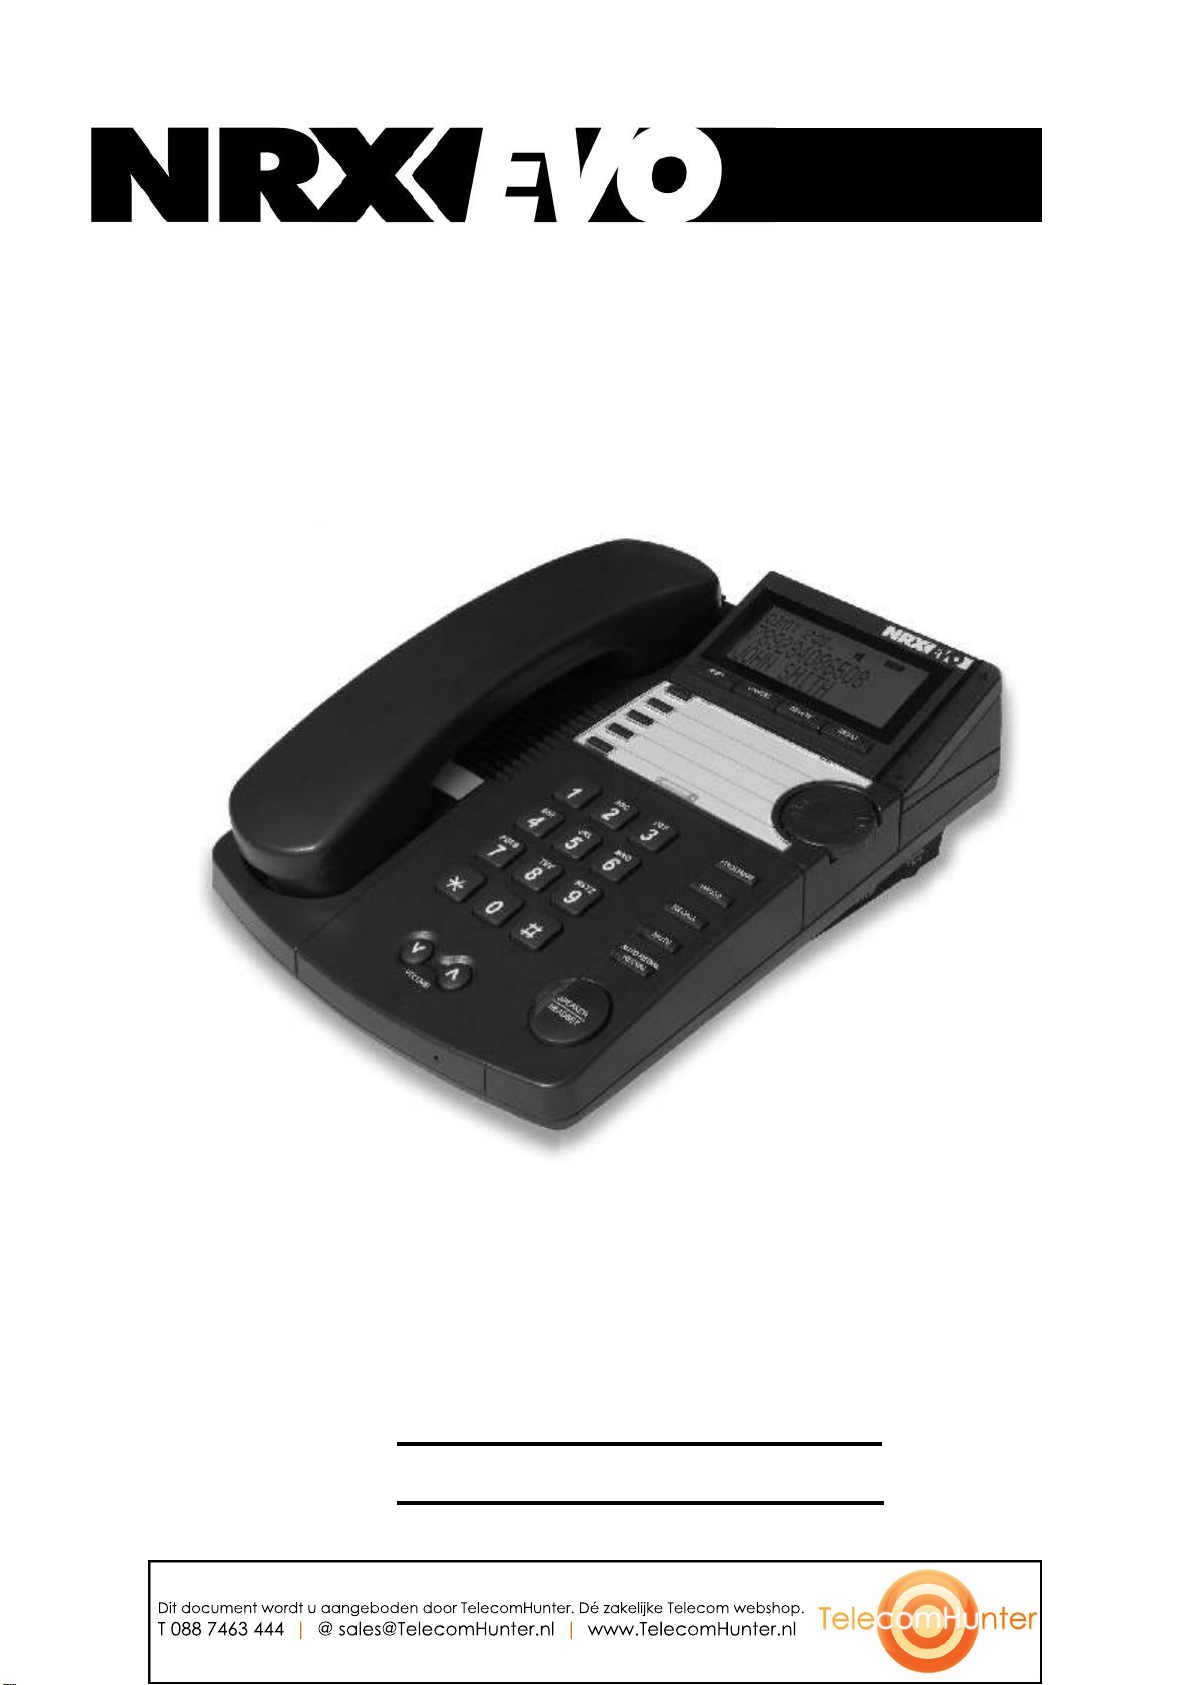
NRX EVO 500EH
.www.nrx-telecom com
Dit document wordt u aangeboden door TelecomHunter. Dé zakelijke Telecom webshop.
T 088 7463 444 | @ sales@TelecomHunter.nl | www.TelecomHunter.nl

1. INSTALLATION
1.1 TelephoneConnection
1.2 ConnectingAWirelessHeadset
1.3 TelephoneSet-Up
2. OPERATION
2.1 Dialling
2.2 VolumeControl
2.3 TelephoneRinger
2.4 DirectMemoryButtons
2.5 Phonebook
2.6 CallerID
2.7 Privacy(MutingtheMicrophoneduringConversation)
2.8 Redial/AutoRedial
2.9 PauseButton
2.10 RecallFacility
2.11 DualHeadsetFacility
2.12 Speakerphone/On-HookDialling
2.13 ReceiverVolume
2.14 HeadsetStand(Option)
2.15 HearingAidCompatibility
3. WALLMOUNTINGTHEUNIT
4. APPROVEDUSE
5. NUMBEROFPHONESTHATCANBECONNECTED
Contents
The layout of your NRX EVO 500EH
1
Number Keypad
Recall Button
Mute Button
Message Waiting/
Ring Indicator
Wall Mount Tab
Tone Button
Volume Step Up/Step Down
Control Buttons
Redial/Auto Redial
Button
Speaker/Headset
Button
Jog Wheel
(Press To Enter)
Pause Button
Delete Button
Cancel Button
Shift Button
Menu Button
Program Button
Memory Buttons Headset Mic
TX Volume
HEADSET MIC
TX VOLUME
HICOM SENS IMPEDANCE
HIGH
LOW
SW1 SW2 SW3
600
900
COMPLEX
SP/OHD
SP
OHD
Handset
Socket
12
ABC 3
DEF
6
MNO
5
JKL
4
GHI
8
TUV
7
PQRS 9
WXYZ
0
R
P
C
Dit document wordt u aangeboden door TelecomHunter. Dé zakelijke Telecom webshop.
T 088 7463 444 | @ sales@TelecomHunter.nl | www.TelecomHunter.nl

3
1. INSTALLATION
1.1TelephoneConnection
•
otherend tothe socketlocated inthe bottomof thephone.
Replacethehandsettothecradle.
NOTE: You will need to remove the wall mount
brackettoaccessthissocket.
•Connect the small plug (RJ-11) of the telephone line
cordtothesocketatthebackoftheunitandtheotherplug
tothetelephonesocketatthewall.
NOTE: If the RJ-11 to RJ-11 line cord is used, please
ensurethattheBlueplugisconnectedtothewallsocket.
•Connect the AC adaptor into a standard 220-240VAC
mainssocketandthepowersocketatthebackoftheNRX
EVO500EH.
•The display will show 00-00-00.After about 4 seconds
thedisplaywillshowTOTAL:00 NEW:00
•If you have subscribed to a Caller ID Service, the time
Connect one end of the coil cord to the handset and the
Installation & Telephone Set-Up
and date will be automatically updated when the first
callisreceived.Otherwise,itisnecessarytosetthetime
and date manually, please refer to the Telephone Setup
Menu.
•
In caseofpowerfailureoraccidentalunpluggingofthe
AC adaptor, the built-in EEPROM will retain all the
telephone's memory including phone book and CID
records.
1.2ConnectingAWirelessHeadset
The NRX EVO 500EH has an electronic hookswitch
interface, located at the rear of the telephone. This
allows wireless headset products from Plantronics, GN
Netcom(Jabra)andSennheisertobeconnectedtothe
telephone and control the line without the need for a
handsetlifterproduct.
•Plantronics
UsingthePlantroniccablesuppliedwiththeNRXEVO
500EH, plug the round plug into the 'Handset Lifter'
port located at the bottom of your Plantronics headset
base and the RJ45 plug into the 'E.H.S' port on the back
ofthetelephone.
2
Telephone Set-Up
Connect the 'Telephone Cable Port' on the headset base
to one of the headset ports located on the left side of the
telephone using the cable provided with your headset
product.
For operation of your Plantronics headset, please refer
totheuserguidethatwassuppliedwiththeproduct.
The NRX EVO 500EH replicates the operation of the
handset lifter allowing control of a phone call by the
'CallControlButton'locatedontheheadset.
You can also control the headset with the
'Speaker/Headset' button on the telephone. i.e If you
have answered an incoming call using the 'Call Control
Button' on the headset, you can press the
'Speaker/Headset' button on the telephone to end the
callandturnofftheheadset.
•GNNetcom(Jabra)
Using the GN cable supplied with the NRX EVO
500EH, plug the end with a white band close to the
plastic plug into the 'RHL/AUX' port located at the
bottom of your GN headset base and other end plugs
intothe'E.H.S'portonthebackofthetelephone.
Connect the 'Telephone Port' on the headset base to one
of the headset ports located on the left side of the
telephone using the cable provided with your headset
product.
NOTE: If your GN headset model has multiple
hookswitch modes, please ensure the base is set to 'GN
RHL'-Refertotheuserguidesuppliedwithyourheadset.
The NRX EVO 500EH replicates the operation of the
handset lifter allowing control of a phone call by the 'Talk
Button' located on the headset. Once the line has been
seized by the headset, the 'Speaker/Headset' button on the
telephone is disabled until the call is completed by
pressingthe'TalkButton'ontheheadset again.
•Sennheiser
To connect a Sennheiser wireless headset to the NRX
EVO 500EH, the Sennheiser TCI-01 connection box is
required.
Connect the TCI-01 to the Sennheiser headset base with
the cable supplied using the DW Com port, then connect
to the telephone using the GN cable supplied with the
phone. Theendwithawhitebandclosetotheplasticplug
connects to the 'HL1 port' on the TCI-01 and other end
plugsintothe'E.H.S'portonthebackofthetelephone.
5
The NRX EVO 500EH replicates the operation of the
handsetlifterallowingcontrolofaphone callbythe'Talk
Button' located on the headset. Once the line has been
seizedby theheadset,the'Speaker/Headset'buttononthe
telephone is disabled until the call is completed by
pressingthe'TalkButton'ontheheadset again.
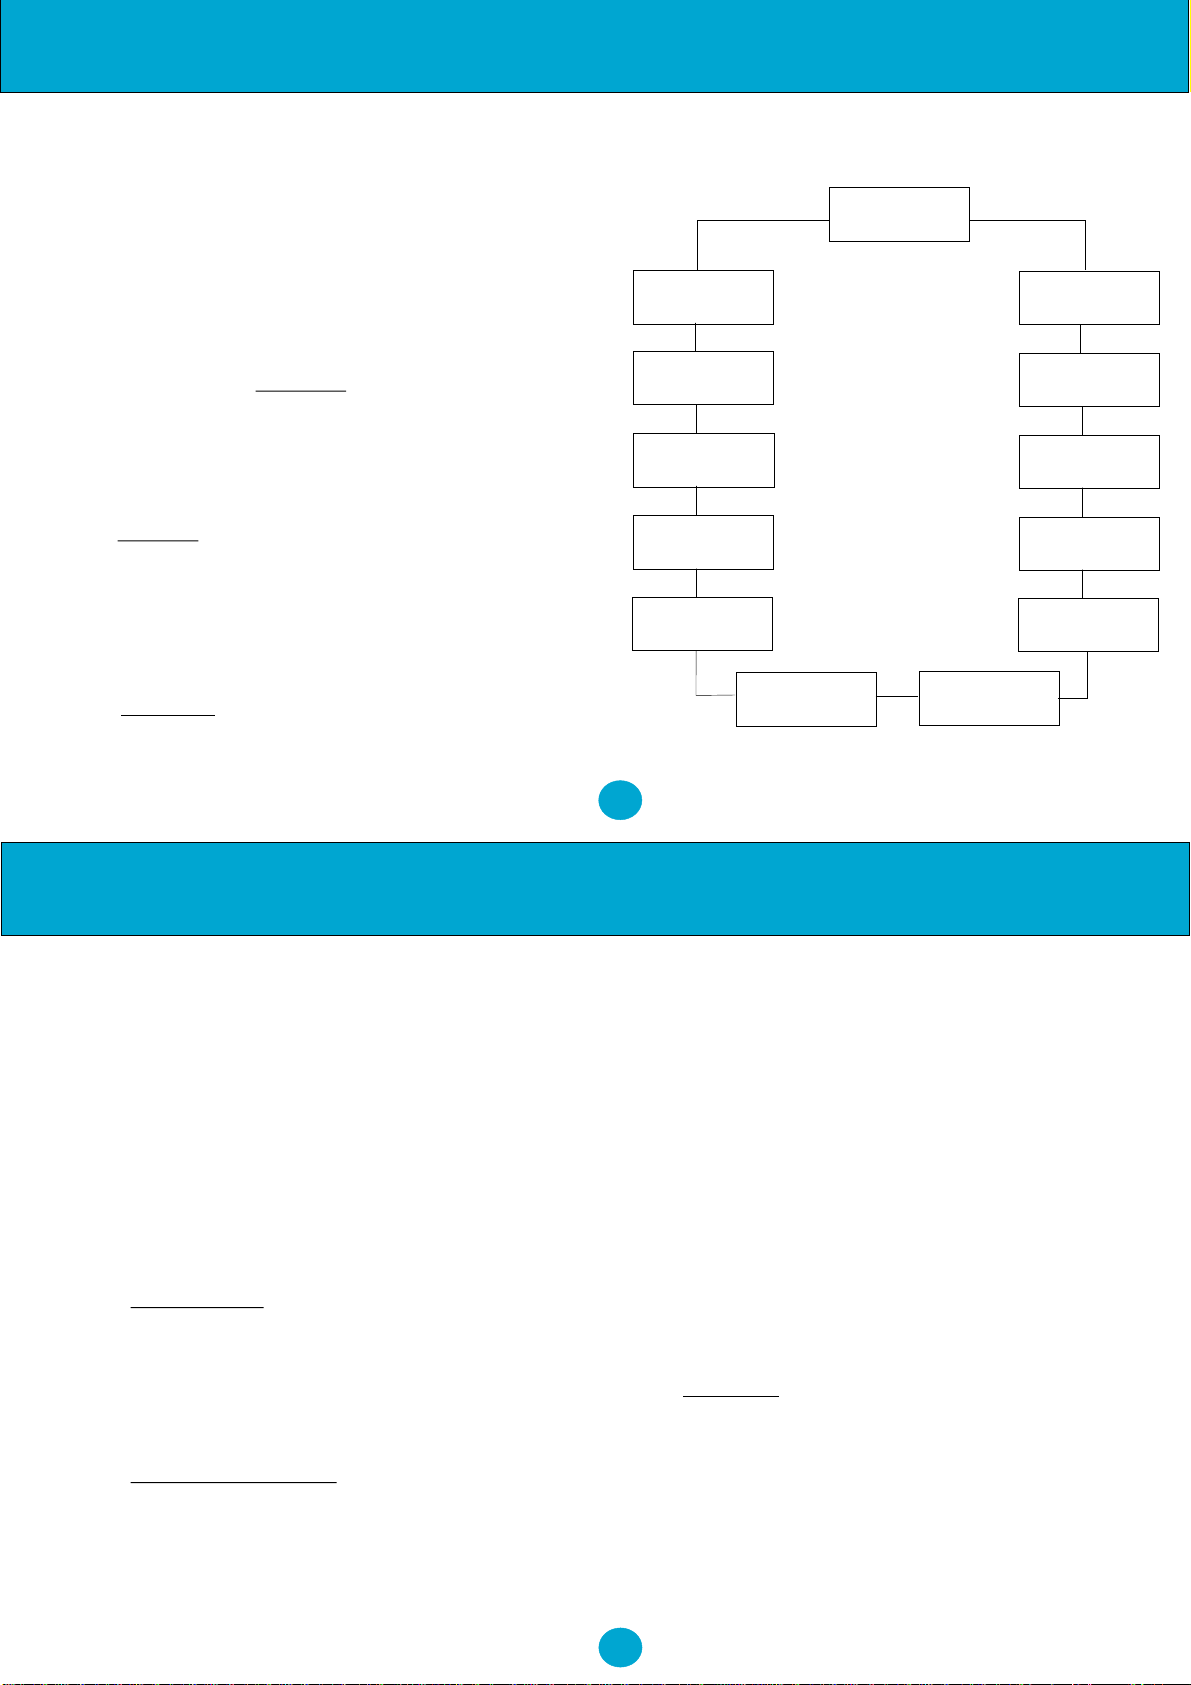
1.3 TelephoneSet-Up
In standby mode, press the MENU button twice, the
displaywillshowSYSTEM.
Turning the jog wheel will switch among the various
setting modes of the Main System Menu loop as shown
below:
•SetTime
Scroll to 'SETTIME' on the System Menu and then press
the Jog Wheel. Turn the Jog Wheel to the desired time
and date pressing the wheel for confirmation after setting
HOUR,MINUTE,DATE&MONTH.
•Set Recall
Scroll to 'SET RECALL' on the System Menu and then
Installation & Telephone Set-Up
4
Telephone Set-Up
press the Jog Wheel. Scroll to TBR (Timed Break
Recall) or EARTH (Earth Recall) then press the Jog
Wheeltoconfirm.
IfTBRisselected,afterpressingtheJogWheelyouwill
need to select the TBR timing (100ms to 1200ms).
Once again press the Jog Wheel to confirm your
selection. The standard setting for the UK is normally
100ms.
NOTE: By default your NRX EVO 500EH is factory
setatTBR100ms.
•LCDContrast
Scroll to 'LCD CONTRAST' on the System Menu and
then press the Jog Wheel. Select the desired LCD
contrast then press the Jog Wheel again. The default
settingis3.
•MessageWaitingType
Scroll to 'MESSAGE WAITING' on the System Menu
options and then press the Jog Wheel. Scroll to one of
theFollowingoptionsthenpresstheJogWheel:
?LINEREVERSAL
?90VDC
?HIPATH
?AT&T/ALCATEL
?ERICSSONMD-110
?FSKMWI
If Line Reversal is selected - Select Polarity Normal,
Polarity Reversal or OFF and then press the Jog Wheel
again. This should be set to OFF if Line Reversal is not
required.
For the other message waiting options - Select ON or
OFFandthen press theJogWheel. Theyshouldbeset to
OFF if not required. If Siemens Hipath or Ericsson MD-
110 is selected the Ringer Sensitivity switch (SW1) on
the base of the telephone should be set ‘Low’. At all
othertimesthisshouldbeswitchto‘High’.
•DialMode
Scroll to 'DIAL MODE' on the System Menu and then
press the Jog Wheel. Select either Tone or Pulse
dialling then press the Jog Wheel again.
The default setting for the telephone is Tone dialling.
DIAL MODE
SET RECALL
LCD CONTRAST
SECURITY
MODE
SET TIME
MESSAGE
WAITING
AREA CODE TIME MODE
PABX PREFIX
AUTOREDIAL
MODE
CLIP MODE
NEW ZEALAND
CLID
HS Auto Answer

7
•Time Mode
Scroll to 'TIME MODE' on the System Menu and then
press the Jog Wheel. Select either 24 Hour or 12 Hour
time format and then press the Jog Wheel again.
The default setting for the telephone is 24 Hour format.
•Area Code
1. Scroll to 'Area Code' on the System Menu and then
press the Jog Wheel.
2. If no area code is programmed into the unit then
'ADD AREA CODE ?' will be displayed on the screen.
3. Press the Jog Wheel again.
4. You will now be prompted to 'ENTER AREA
CODE'.
5. Enter using the keypad then press Jog Wheel.
If you select 'Area Code' from the system menu when
an area code has already been programmed into the unit
then 'CHG AREA CODE' appears on the display
together with the area code already entered.
- To change the code press the Jog Wheel, enter new
code using the keypad then press the Jog Wheel again.
- To delete the code press the Jog Wheel twice.
Telephone Set-Up & Operation
?PABX Prefix - To allow Caller ID numbers to be
stored into the Phonebook with the correct prefix to
allow direct dialling
1. Scroll to 'PABX Prefix' on the System Menu and
then press the SELECT button.
2. If no PABX Prefix is programmed into the unit then
'ADD PABX CODE ?' will be displayed on the screen.
3. Press the Jog Wheel again.
4. You will now be prompted to 'ENTER PABX
CODE'.
5. Enter using the keypad then press the Jog Wheel.
If you select 'PABX Prefix' from the system menu
when a PABX Prefix has already been programmed
into the unit then 'CHG PABX CODE' appears on the
display together with the code already entered.
- To change the code press the Jog Wheel, enter the
new code using the keypad then press the Jog Wheel
again.
- To delete the code press the Jog Wheel twice.
•New Zealand CLID - This will automatically add
a Zero to the Caller ID number when the number is
8 digits or more.
Scroll to 'New Zealand CLID' on the System Menu
And then press the Jog Wheel. Turn to the desired
6
Operation
setting'ON'or'OFF'thenpresstheJogWheeltoconfirm.
•ClipMode
Scroll to 'CLIP MODE' on the System Menu and then
press the Jog Wheel. Turn the Jog Wheel to the desired
setting 'FSK MODE' or 'DTMF MODE' and press the
wheeltoconfirm.
•AutoredialMode
To set the Autoredial parameters, scroll to 'Autoredial
Mode' on the System Menu and then press the Jog wheel
to set the number of times the telephone will autoredial
and the frequency of the redials, pressing the wheel to
selecteachtime.
•SecurityMode
The NRX EVO 500EH can be put into a security mode
that is designed to protect the user if using telephone
banking or other similar services. After the initial
number has been dialled, if there is a delay of more than 5
seconds then further numbers are entered e.g Your
banking password, then a will appear on the screen
instead of the number. The additional numbers will also
notbestoredintheLastNumberRedialmemory.
To set the security mode, scroll to 'Security Mode' on the
System Menu and then press the Jog Wheel. Select
'Security ON' or 'Security OFF' and press the Jog Wheel
again.
•HSAutoAnswerMode
The NRX EVO 500EH has a headset auto answer
facility. Scroll to 'HSAutoAnswer' on the system menu
then press the Jog Wheel. Select the desired setting
'ON'or'OFF'then presstheJogWheelagain. When this
facilityisturnedonandaheadsetisconnected,thephone
will automatically answer any new calls and connect
themtotheheadset.
2. OPERATION
2.1 Dialling
Liftthehandsetanddialthenumber.
Toterminateaphonecall,simplyreplacethehandset.
2.2VolumeControl
HandsetorHeadsetmode:
Duringthecall,pressingvolumebuttonsoncewill
*
Table of contents
Other Trojan Telecom Telephone manuals

Trojan Telecom
Trojan Telecom NRX 4 User manual

Trojan Telecom
Trojan Telecom NRX 2 User manual

Trojan Telecom
Trojan Telecom DBT3000 User manual

Trojan Telecom
Trojan Telecom NRX EVO 450 User manual

Trojan Telecom
Trojan Telecom DBT 1000 User manual

Trojan Telecom
Trojan Telecom NRX Flatphone User manual

Trojan Telecom
Trojan Telecom NRX EVoIP 1 User manual

Trojan Telecom
Trojan Telecom NRX EVoIP 1 User manual

Trojan Telecom
Trojan Telecom NRX 3 User manual

Trojan Telecom
Trojan Telecom NRX EVO 250 User manual


