manuals.online logo
Brands
  1. Home
  2. •
  3. Brands
  4. •
  5. TRU Audio
  6. •
  7. Speakers
  8. •
  9. TRU Audio Thin-Ceiling-P User manual

TRU Audio Thin-Ceiling-P User manual

User Manual - THIN Series
Thin-Ceiling Architectural Speaker
Thank you for purchasing this Thin-Ceiling
TruAudio product. This series of speakers way
specifically designed for shallow and concrete
installations. Like all of our products, if installed
correctly, these speakers will bring you years of
outstanding audio and video listening. Please
make sure you take the time to read the complete
instruction manual before starting the installation
Features
• Shallow full range speaker (2 3/8", 60mm with
backbox)
• Backbox included
• Frameless Ghost style grill
• Designed to install into conduit boxes like
Spelsberg IBTronicsXL
Unpacking and Inspection
These in-ceiling loudspeakers are packaged
extremely well to make sure no damage occurs
during shipping. Carefully open the box and
remove the speakers. Inspect them immediately
for any kind of damage. The speakers should have
left our warehouse in perfect condition so any
damage must be reported to your dealer or to
TruAudio right away.
Choosing the Speaker Location
Before you install your speakers you should take
careful consideration their location. Make sure to
note location of lighting fixtures, electrical, plumbing
and any other obstructions. If the house was
pre-wired at construction time, make sure you know
where the speaker cable is located in the wall or
ceiling.
Preparation before Speaker Installation
If your installation was pre-wired for speakers at
construction time. After the drywall is installed and
the hole is cut, the speaker is then easily installed.
Once the hole is cut in the drywall or concrete
conduit box the pre-wired speaker cable should be
somewhere near the hole.
If the speaker hole has not been cut from the
drywall please read the following instructions:
If the house is at the point of actual “Speaker
installation”, speaker cable should already be run to
each speaker location even if the hole is not cut.
Find the location to where the speaker wire was
pre-wired to. Check the area for obstructions such
as plumbing, heating ducts or electrical wiring.
Locate the wood studs or joists nearest the desired
location and make sure they will not interfere with
speaker location. Use the supplied speaker cutout
Thin-Ceiling-P
to get the recommended dimension of the hole
needed for that particular speaker. Position the
cutout in the desired location and outline the
speaker opening to be cut. If you are not sure of
possible obstructions, cut a small hole in the center
of your outline. This will allow you to check for
obstructions. If there are no problems with your
mounting location, proceed and cutout the outlined
hole. At this point, you should be able to see or find
the speaker cable. Pull the cable through the hole.
Speaker Installation
These speakers are mono so you will need two
speakers for stereo sound, one for the right channel
and one for the left. There should be a two
conductor speaker cable pre-wire to each of the
speaker locations. Make sure you find each of the
speaker cables and pull them though the cut
speaker holes.
Preparing the speaker cable: You should have
located the speaker cable by now, so it’s time to
prep it for connection to the speaker. Strip back the
outside insulation so the individual conductors are
showing. Depending on the cable, there should be
two or four separate conductors. Strip back the
insulation on each conductor to show the bare
copper wire. We suggest stripping enough so that
3/8” of copper wire is showing. Push down each
post and insert the speaker cable. The posts will
be located on the back of the speaker on the
crossover. Make sure that only BARE wire is
touching the speaker post once it slides back into
place. All TruAudio products feature gold push
binding posts which are quick and simple to use
and also are great for conducting speaker signal.
Caution: Make sure to observe polarity, R +
(positive) from the amp or volume control to
speaker R + and R – (negative) to
R –. Make sure to do the same for the left
channel.
When connecting the other end of the speaker
cable to the amplifier or receiver make sure to
observe the same polarity as you did at the speaker
connection.
To prepare the speaker for the actual installation,
turn all the mounting toggles (dog ears) in toward
the speaker frame. This will allow the speaker to
easily fit into the precut hole. Put the speaker into
the hole (the speaker cable should be connected)
and make sure the speaker cable stays connected
to the speaker. Carefully tuck the speaker cable
up into the hole as you put the speaker into place.
Hold it in place with one hand and with your other
hand carefully tighten the mounting screws evenly
to secure the speaker. As you tighten the screws,
the dog ears will flip into position to grip into the
drywall. DO NOT over tighten the mounting
screws. This will cause damage to the mounting
toggle and the speaker will not stay in place.
Grill installation: Remove the grill from the box and
install it onto the speaker. Align the grills edges to
the outer edge of speaker and allow magnets to
attach grill to speaker, carefully push the grill on.
Make sure to check all the way around the grill to
ensure its sitting on the speaker evenly.
Painting the Speaker
If you are going to paint your speakers, we suggest
painting the grills before Installation. This is one of
the advantages of the Ghost series speakers, that
the speaker itself does not need to be painted, only
the grill. The Thin-Ceiling series is a frameless
speaker and will save time on labor since the grill
can be painted before hand and be ready for install
that the same time as the installation of the
speakers.
When painting the grills, it is very IMPORTANT that
you remove the cloth like material (Dacron) from
the grill before painting, and then you can paint the
grills lightly and be careful not to clog the holes.
Depending on the thickness of the paint, you may
want to thin it slightly. This will help prevent
clogging the grill holes. Another suggestion is
finding a spray paint that will match and paint the
grill with that. Your local hardware store should
have as good selection of spray paints. Do not
paint the grill while it’s still on the speaker, paint
them separately.
An example of the THIN-CEILING-P installed in a Spelsberg IBTronicsXL.
SoundVision Technologies dba TRUAUDIO
PRODUCT WARRANTY
All in-wall, in-ceiling, outdoor speakers, volume controls and freestanding loudspeakers have a limited lifetime warranty.
This warranty includes lifetime parts and repair labor on all components. Powered subwoofers and active electronics
have a one (1) year limited warranty. This warranty includes one (1) year parts and repair labor on all components.
TRUAUDIO’s obligation under these warrantees is limited to repairing or replacing any component found defective in
material or workmanship under normal conditions of use. These warrantees shall not apply to products which have
been abused, modified, disassembled, or repaired by anyone other than TRUAUDIO or one of its appointed service
centers. Products to be repaired under this warranty must be returned to the factory or designated service center with
all transportation and insurance charges pre-paid.
It is the policy of TRUAUDIO to continuously incorporate improvements into our products. All specications are subject to change
without notice. If you have any questions regarding this or any other TRUAUDIO products, please call 1-888-858-1555, Monday –
Friday, 7:00 am – 5:00 pm MST.
TRUAUDIO Speaker Systems, St. George, Utah, 84790
Oce: 435.986.1574 Fax: 435.251.9815
Speaker Type: In-Ceiling
Woofer: 5" Polypropylene
Tweeter: 1” Aluminum
Power: 5-75 watts
Impedance: 8 ohms
Frequency Response: 65 - 20kHz
Sensitivity: 90 dB
Grill Type: Frameless Steel
Finish Dimensions: 6 3/4" (171mm)
Cutout Dimensions: 5 1/2" (140mm)
THIN-CEILING-P

Other TRU Audio Speakers manuals

TRU Audio BeatDrop 8 Series User manual

TRU Audio

TRU Audio BeatDrop 8 Series User manual

TRU Audio Ghost HT Series User manual

TRU Audio

TRU Audio Ghost HT Series User manual

TRU Audio GPW-6 User manual

TRU Audio

TRU Audio GPW-6 User manual

TRU Audio Ghost Series User manual

TRU Audio

TRU Audio Ghost Series User manual

TRU Audio REV6-LCR.1 User manual

TRU Audio

TRU Audio REV6-LCR.1 User manual

TRU Audio GP-4 User manual

TRU Audio

TRU Audio GP-4 User manual

TRU Audio ULTRASCAPE PRO User manual

TRU Audio

TRU Audio ULTRASCAPE PRO User manual

TRU Audio B23 series User manual

TRU Audio

TRU Audio B23 series User manual

TRU Audio Acoustiscape AS-1 User manual

TRU Audio

TRU Audio Acoustiscape AS-1 User manual

TRU Audio Wraith Series User manual

TRU Audio

TRU Audio Wraith Series User manual

TRU Audio CP-6 User manual

TRU Audio

TRU Audio CP-6 User manual

TRU Audio XP-5 User manual

TRU Audio

TRU Audio XP-5 User manual

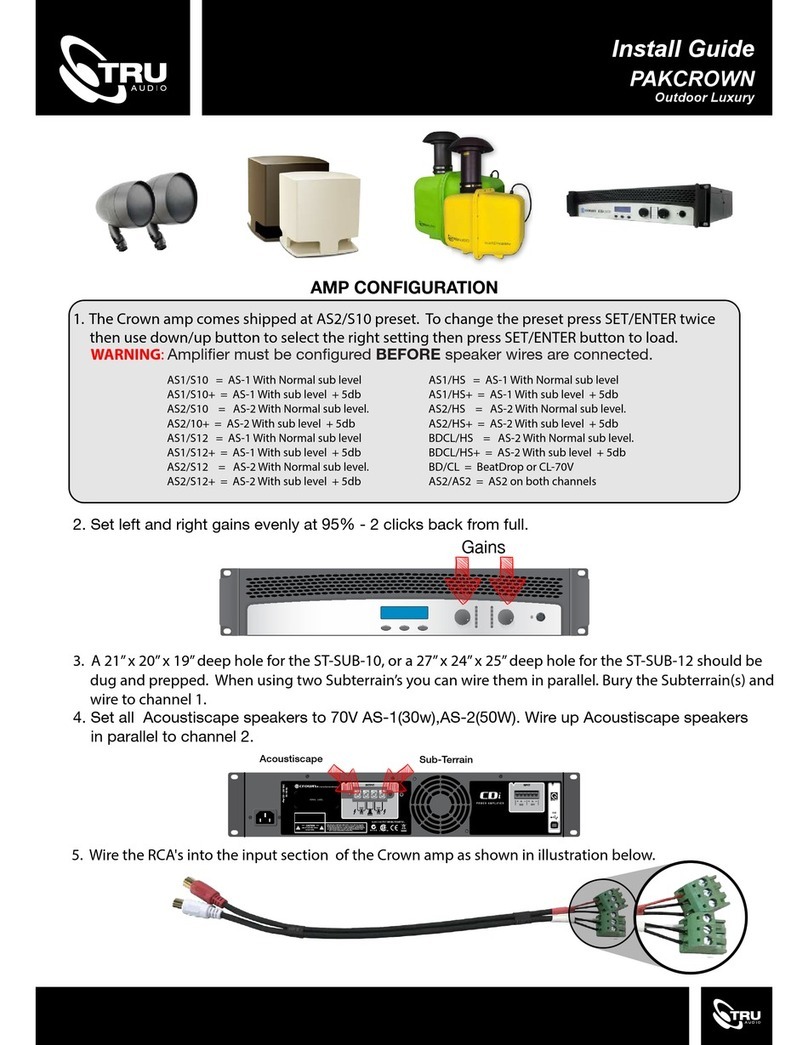
TRU Audio PAKCROWN User manual

TRU Audio

TRU Audio PAKCROWN User manual

TRU Audio SB-CUSTOM-LC User manual

TRU Audio

TRU Audio SB-CUSTOM-LC User manual

TRU Audio SAT3 User manual

TRU Audio

TRU Audio SAT3 User manual

TRU Audio HARDSCAPE Technical manual

TRU Audio

TRU Audio HARDSCAPE Technical manual

TRU Audio OP-5.2 User manual

TRU Audio

TRU Audio OP-5.2 User manual

TRU Audio AS-1 User manual

TRU Audio

TRU Audio AS-1 User manual

TRU Audio HARDSCAPE User manual

TRU Audio

TRU Audio HARDSCAPE User manual

TRU Audio Ghost GP-4 User manual

TRU Audio

TRU Audio Ghost GP-4 User manual

TRU Audio AS-1 User manual

TRU Audio

TRU Audio AS-1 User manual

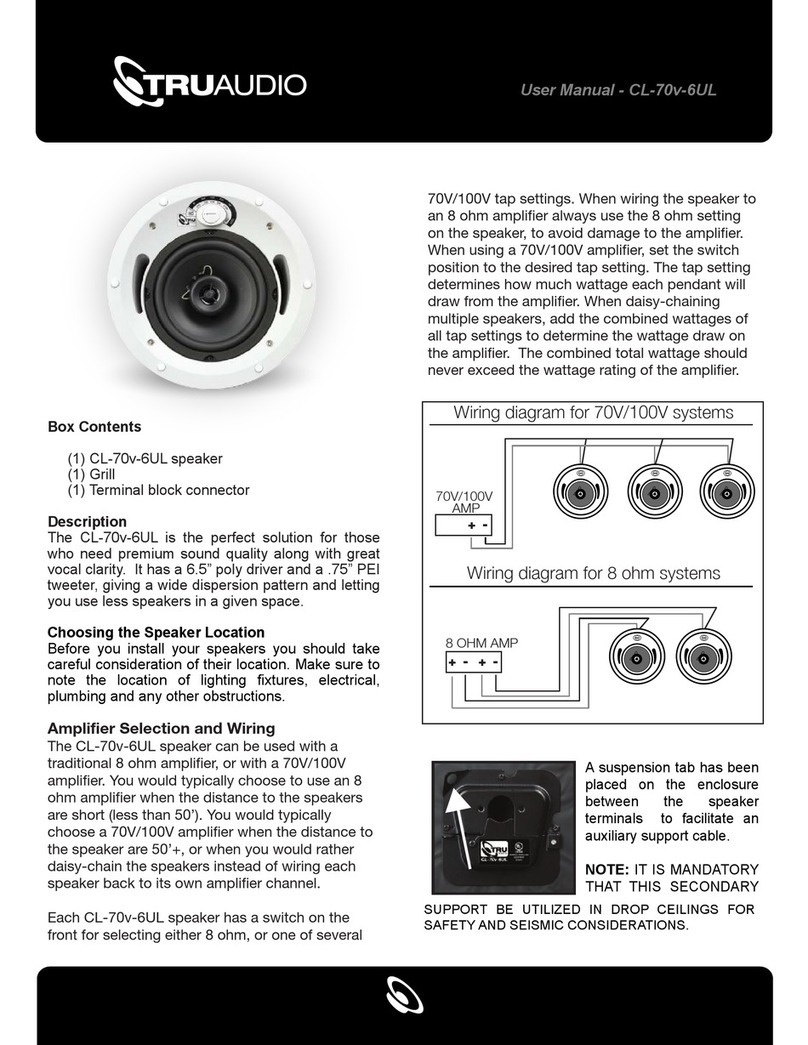
TRU Audio CL-70v-6UL User manual

TRU Audio

TRU Audio CL-70v-6UL User manual

TRU Audio CP-5 User manual

TRU Audio

TRU Audio CP-5 User manual

TRU Audio IWP-6 User manual

TRU Audio

TRU Audio IWP-6 User manual

Popular Speakers manuals by other brands

Muse M-1958 DJ user manual

Muse

Muse M-1958 DJ user manual

ION Party Boat quick start guide

ION

ION Party Boat quick start guide

Blackweb BWA18AA009 user manual

Blackweb

Blackweb BWA18AA009 user manual

auna Pro PW1022 manual

auna

auna Pro PW1022 manual

Streetz CM753 manual

Streetz

Streetz CM753 manual

Pure Acoustics EX650 Series EX650C user manual

Pure Acoustics

Pure Acoustics EX650 Series EX650C user manual

Sprout Nomad 3+ user manual

Sprout

Sprout Nomad 3+ user manual

Samsung HW-J7511 user manual

Samsung

Samsung HW-J7511 user manual

Totem KINPlay Tower II owner's manual

Totem

Totem KINPlay Tower II owner's manual

CABASSE Minorca MC40 Specifications

CABASSE

CABASSE Minorca MC40 Specifications

Focal Center UTOPIA BE manual

Focal

Focal Center UTOPIA BE manual

DAPAudio DRX Active Series manual

DAPAudio

DAPAudio DRX Active Series manual

Exibel BNX100 instruction manual

Exibel

Exibel BNX100 instruction manual

Genius SP-HF1200B user manual

Genius

Genius SP-HF1200B user manual

ROKFORM G-ROK owner's guide

ROKFORM

ROKFORM G-ROK owner's guide

DAPAudio PSS-10 manual

DAPAudio

DAPAudio PSS-10 manual

Lynx Ionic Series user manual

Lynx

Lynx Ionic Series user manual

Sony WS-WV10C operating instructions

Sony

Sony WS-WV10C operating instructions

manuals.online logo
manuals.online logoBrands
  • About & Mission
  • Contact us
  • Privacy Policy
  • Terms and Conditions

Copyright 2025 Manuals.Online. All Rights Reserved.