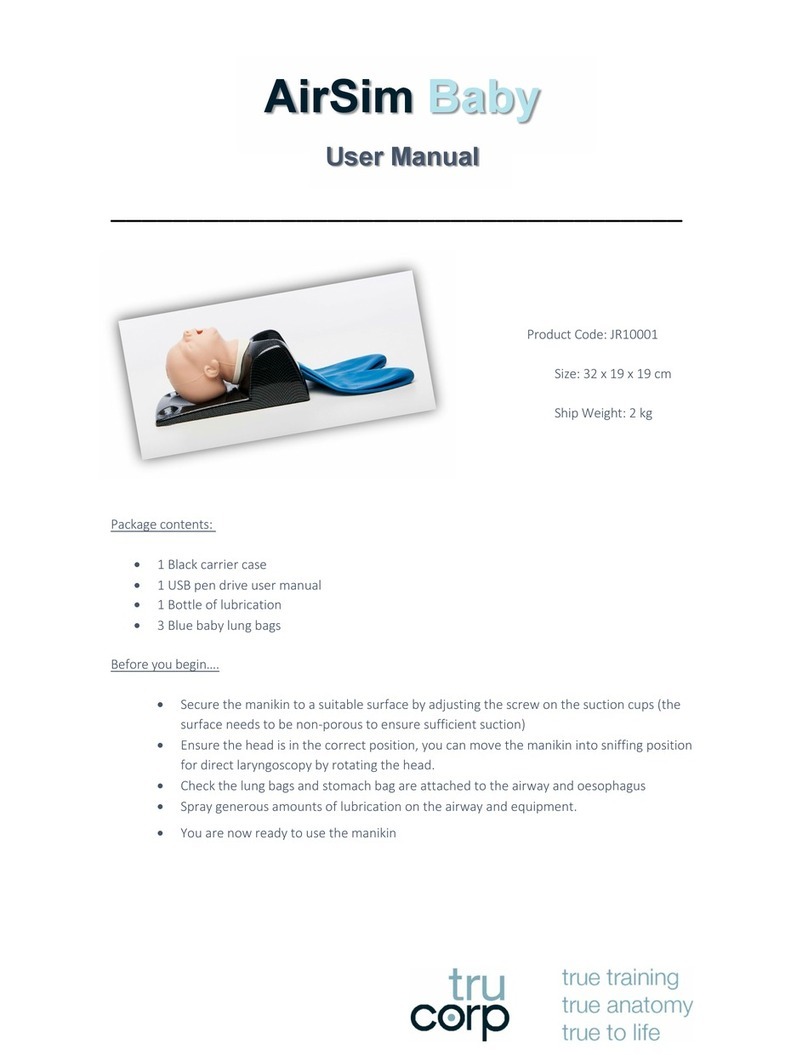
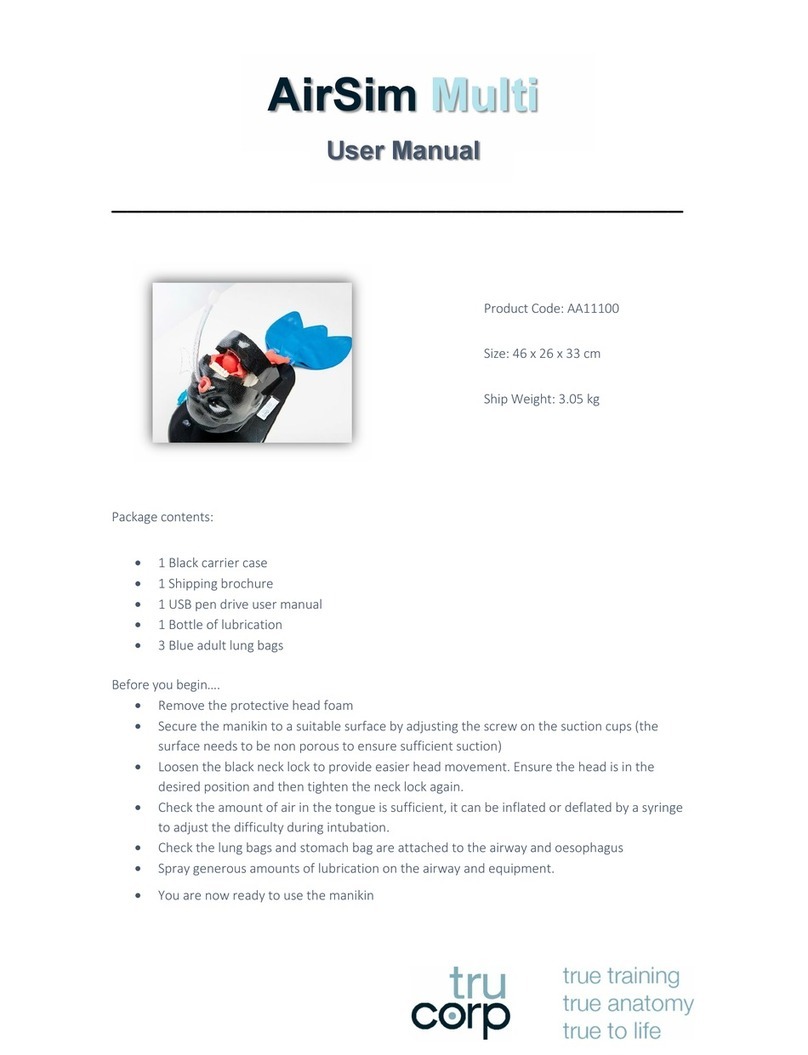
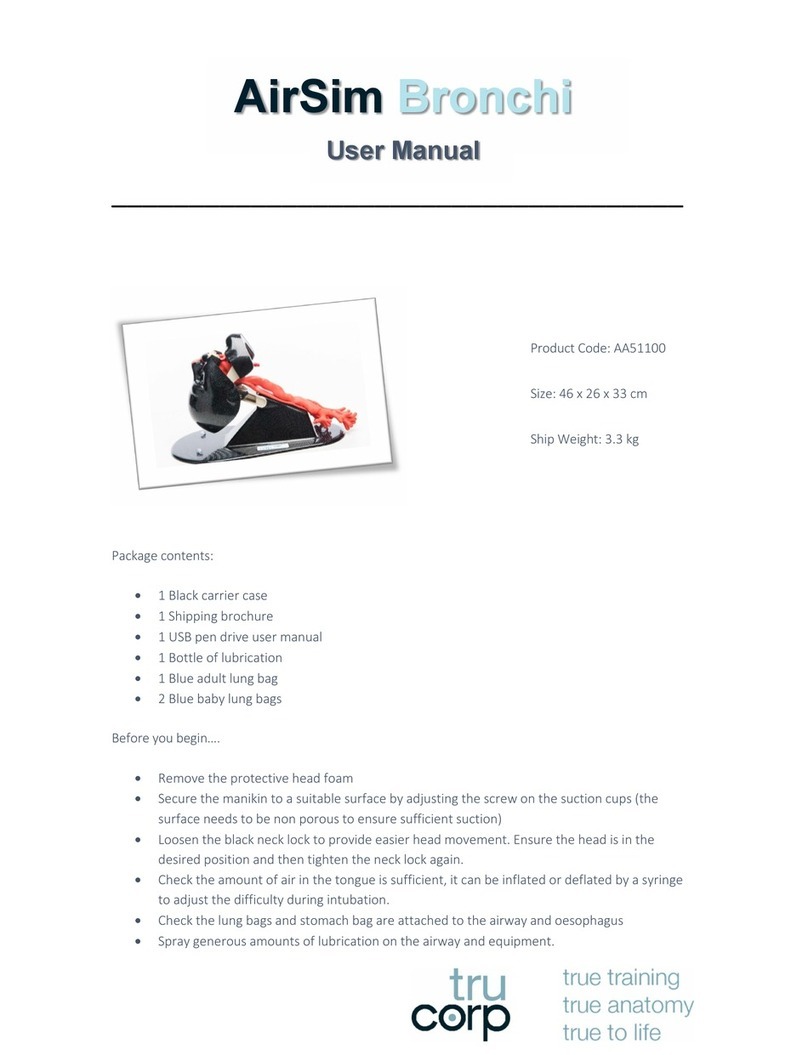
TruCorp AirSim Difficult Airway User manual


1
Contents
Product specifications .................................................................................................................... 1
Package contents.............................................................................................................................2
Recommended equipment sizes ..................................................................................................2
Initial set-up information ................................................................................................................2
List of procedures facilitated by the AirSim Combo X..........................................................3
Replacement of consumables ......................................................................................................7
Care and maintenance .................................................................................................................. 9
Warranty........................................................................................................................................... 10
Product specifications

2
Product Code: DA91100
AirSim Difficult Airway weight: Approx. 4kg
Full shipment weight: 6kg
Full shipment dimensions: 47 x 27 x 34cm
Package contents
•1 AirSim Difficult Airway ready-to-use (DA91100)
•1 AirSim Difficult Airway carrier case (ABAG01)
•100ml bottle of lubrication (TL001)
•5 Larynx inserts (NLX050 –1 supplied on the manikin and 4 spare)
•1 wraparound neck skin (RSN1005 –supplied on manikin)
•2 sets of adhesive pads (attachable to suction cups for increased stability if
required)
Recommended equipment sizes
•7.0-7.5mm ID for nasal intubation
•8.0-9.0mm ID for oral intubation
•Sizes 3-5 for LMA laryngeal masks
•Similar respective sizes for other supraglottic devices
Initial set-up information
•Gently remove the model from the carrier case
•Secure the manikin to a suitable surface by adjusting the screw on the suction
cups (surface must be non-porous to ensure sufficient suction)
•Optional: Adhesive pads are provided with the model for increased stability if
required. This is particularly useful when the product is not on an ideal surface

3
for suction cups to be effective. Simply peel
the cover from the pad to locate the adhesive area and attach to the suction
cups.
•The head can be placed in a neutral or sniffing position by rotating the head, if
required for direct laryngoscopy
•Please ensure two lung bags and one stomach bag are attached to the airway
and oesophagus respectively
•Spray generous amounts of lubrication provided with the model (TL001) on the
airway and equipment prior to use
List of procedures facilitated by the AirSim Difficult Airway
•Laryngospasm
•Displaced larynx
•Tongue Edema
•Receding / protruding Mandible
•Trismus
•Needle and surgical cricothyroidotomy
•Percutaneous tracheostomy
•Double naso-tracheal intubation
•Bag valve mask (BVM) ventilation techniques
•Full range of supraglottic devices
•Direct laryngoscopy
•Endotracheal tube insertion
•Awake fibre optic examination
•Combi tube insertion
•Video laryngoscopy (including Sellick Manoeuvre)
•Naso-gastric tube insertion techniques
Airway Features Overview
The Airsim Difficult Airway allows the user to activate features with varying degrees
of difficulty quickly and easily, these include Laryngospasm, Tongue Edema and a
Displaced Larynx.
The Airsim Difficult Airway has a built in pump and extendable hose to supply air to
each feature. A control toggle situated on the base interface belongs to each of the

4
airway features and is used for activation and
deactivation. For specific features, please see below;
Laryngospasm
1. On the base’s interface, switch the laryngospasm control toggle from ‘off’ to
‘on.’ This opens up the system to allow air to travel to the mechanism.
2. Pull out the pump’s hose and attach the hose’s spin luer lock to the
corresponding luer lock on the base.
3. When connected, use the pump to activate the mechanism - 3 repetitions fills
the mechanism fully.
4. Remove the hose and return it to its retracted position.
5. With the hose retracted fully, the feature will remain activated as long as the
control toggle remains in the ‘on’ position.
6. When finished, switch the control toggle to ‘off,’ this will release the air from
the mechanism and it will return to its inactivated state.
Displaced Larynx
1. Place the head in your desired position, for best results we recommend
placing a pillow under the head or rotating the head into the sniffing position.
2. On the base’s interface, switch the Displaced Larynx control toggle from ‘off’
to ‘on.’
3. Pull out the pump’s hose and attach the hose’s spin luer lock to the
corresponding luer lock on the base.

5
4. When connected, use the pump to activate the mechanism until partially
displaced or fully displaced.
5. Remove the hose and return it to its retracted position.
6. With the hose retracted fully, the feature will remain activated as long as the
control toggle remains in the ‘on’ position.
7. When finished, switch the control toggle to ‘off,’ this will release the air from
the mechanism and it will return to its inactivated state.
Tongue Edema
The Tongue Edema feature can be adjusted using the ‘air in’ and ‘reset’ toggle.
1. On the base’s interface, switch the Tongue Edema control toggle from ‘reset’
to ‘air in.’
2. Pull out the pump’s hose and attach the hose’s spin luer lock to the
corresponding luer lock on the base.
3. When connected, use the pump to activate the mechanism until Tongue
Edema is partially or fully inflated.
4. Remove the hose and return it to its retracted position.

6
5. With the hose retracted fully, the feature
will remain activated as long as the control toggle remains in the ‘air in’ position.
6. When finished, switch the control toggle to ‘reset,’ this will release the air from
the mechanism and it will return to its inactivated state.
Mechanical Features Overview
The Airsim Difficult Airway has the ability to adjust the; Lock jaw, Jaw position and
head rotation.
The lockjaw and jaw positions are activated by pin plunger components that have
two positions; engaged and disengaged. To disengage the pin plunger, pull the top
of the plunger back and twist so that the plungers triangular walls rests on top of
the plunger body. To engage, twist the plunger head so that the triangular walls align
with the plunger body, the spring will naturally draw the plunger to an engaged
position. A click will be heard when the plunger becomes engaged.
Lockjaw
The lockjaw feature on the model allows the user to lock the jaw in one set position.
1. To activate the Lock Jaw feature, locate the Lock Jaw plunger on the side of
the head, twist the plunger head and rotate it, aligning the triangular walls with the
plunger body and then release.
2. With the plunger released, push the jaw to a closed position, and audible click
will be heard when the plunger engages.
3. To release the lockjaw mechanism, push the jaw to a closed position again,
pull the plungers head back and twist until the triangular walls rest on the plunger
body.
4. Troubleshooting –if the pin does not engage by itself when pushing the jaw
closed, push the jaw closed and the pin plunger at the same time to engage the lock.
Jaw Position
7
The Airsim Difficult Airway has the ability to allow
the jaw to be free moving, to replicate jaw thrust, but also be able to lock the jaw at
multiple distances to create overbite and underbite scenarios.
1. To have the jaw free moving, simply disengage the pin plunger located on the
side of the head that reads ‘jaw position.’ Pull the plungers head back and twist until
the triangular walls rest on the plunger body.
2. Move the jaw forward or backward to create the desired overbite or
underbite required.
3. Twist the plunger head and rotate it, aligning the triangular walls with the
plunger body and then release.
4. An audible click will be heard when the plunger engages with one of the slots
and the jaw will be locked out at that position.
5. To move and lock out at a different position, repeat steps 1-4.
Rotational Lock
The Airsim Difficult Airway as standard allows for head rotation, this can be locked
making head rotation impossible. To do this, follow the steps below;
1. Rotate the head forward slightly or lift the head slightly.
2. Locate the rotation lock mechanism on the back of the head.
3. Push the bar down the towards the base of the head.
4. The head rotation will then be locked.
5. To release the mechanism, repeat steps 1-3 but this time pull the bar towards
the top of the head instead.
6. The head rotation will then be unlocked.
Replacement of consumables

8
The larynx insert is designed to be replaced for
each student to provide a unique training experience. This is a very quick and easy
process, perfect for a busy teaching environment.
1. Please ensure the manikin head is placed in a neutral position
2. Remove the wraparound neck skin to provide access to the larynx insert
3. Remove the larynx insert and discard:
4. Align a new insert into position and press into place. Please ensure the ridges at
all corners of the insert (yellow areas circled below) are tightly aligned with the
larynx insert frame:

9
Care and maintenance
Store in clean, dry conditions away from heat and direct sunlight; avoid contact with
metals, solvents, oils or greases and strong detergents. When the product is not in
use please store in the black carrier case provided.
Thoroughly wash the AirSim X airway in warm water. Please use warm soapy water
or something similar until all visible foreign matter and residue is removed.
Mild detergents or enzymatic cleaning agents may be used on the airway in
accordance with the manufacturer's instructions and at the proper dilution. The
detergent must not contain skin or mucous membrane irritants.
Please do not use any of the following when cleaning the AirSim product range
•Germicides, disinfectants, or chemical agents such as glutaraldehyde (e.g.
Cidex®),
•Ethylene oxide, phenol-based cleaners or iodine-containing cleaners
In response to the recent COVID-19 pandemic, we recommend this additional step to
ensure the product is fully sanitised:
Use alcohol spray (minimum 75%) and wipe off. Repeat this for 3-4 times to ensure
to kill the virus completely. This method can be used on both the silicone skin and the
latex airway.

10
Warranty
TruCorp warrants this unit to be free of defects in materials and workmanship and
to give satisfactory service for a period of 1-year from the date of delivery. This
ensures that our customers receive maximum coverage on each product. If the unit
should malfunction it must be returned to the factory for evaluation. Upon
examination by TruCorp, if the unit is found to be defective it will be repaired or
replaced at no charge.
However, these warranties are VOID, if; the unit shows evidence of having been
tampered with or shows evidence of having been damaged by excessive heat, the
use of sharp instruments, misapplication, misuse or other operating conditions
outside of TruCorp’s control. Components which wear or are damaged by misuse are
not warranted and will be charged for if repair has been approved. Warranty is void
if third party products are seen to have damaged or caused failure of the TruCorp
models.
Please direct all warranty and repair inquiries to:
TruCorp Ltd
33 Waringstown Road
Lurgan, Co. Armagh
BT66 7HH
Northern Ireland
Tel: +44 (0) 28 3888 2714
Table of contents
Other TruCorp Educational Equipment manuals

TruCorp
TruCorp AirSim Child Bronchi User manual

TruCorp
TruCorp AirSim Baby User manual

TruCorp
TruCorp AirSim Series User manual

TruCorp
TruCorp AirSim Advance User manual

TruCorp
TruCorp Trulnfant IO Leg User manual

TruCorp
TruCorp AirSim Bronchi User manual

TruCorp
TruCorp AirSim User manual

TruCorp
TruCorp AirSim Advance User manual
Popular Educational Equipment manuals by other brands

Prestan
Prestan AED UltraTrainer instructions

LEXIBOOK
LEXIBOOK CR550 Series instruction manual

Pakronics
Pakronics PAKR-A0458 quick start guide

Pitsco Education
Pitsco Education Wind Gen Plus Kit user guide

Ambu
Ambu Airway Management Trainer Directions for use

Saltillo
Saltillo ALT-Chat Quick reference guide