TruVision 7 Series Instruction sheet

TruVision Series 7 IP
Camera Configuration
Manual
P/N 1018-EN • REV A • ISS 29SEP20

Cop
yright
©
2020 Carrier. All rights reserved.
Trademarks and
patents
Trade names used in this document may be trademarks or registered
trademarks of the manufacturers or vendors of the respective products.
Discl
aimer
Information in this document is subject to change without notice. No part of
this document may be reproduced or transmitted in any form or by any
means, electronic or mecha
nical, for any purpose, without the express
written permission of Carrier Glo
bal Corporation or its affiliate companies.
Manufacturer
Carrier
Fire & Security B.V.
Kelvinstraat 7, 6003 DH Weert, The Netherlands
FCC compliance
Class A:
This equipment has been tested and found to comply with the
limits for a Class A digital devic
e, pursuant to part 15 of the FCC Rules.
These limits are designed to provide reasonable protection against harmful
interference when the equipment is operated i
n a commercial environment.
This equipment generates, uses, and can radiate radio frequency ene
rgy
and, if not installed and used in accordance with the instruction manual,
may cause harmful interference to radio communications. Operation of this
equipment
in a residential area is likely to cause harmful interference in
which case the user will be r
equired to correct the interference at his own
expense.
FCC conditions
This device complies with Part 15 of the FCC Rules. Operation is subject to
the followin
g two conditions:
(1) This device may not cause harmful interference.
(2) This Device must acc
ept any interference received, including
interference that may cause undesired operation.
Canada
This Class A digital apparatus complies with CAN ICES
-003 (A)/NMB-
3 (A).
Cet appareil numérique de la classe A est conforme à la norme CAN ICES
-
003 (A)/NMB
-3 (A).
cUL
Safety Instructions:
Improper use or replacement of the battery may result in explosio
n hazard.
Replace with the same or equivalent type only. Dispose of used batteries in
conformance with the local codes.
Instructions de sécurité
:
L’utilisat
ion ou le remplacement inadéquats de la pile peuvent entraîner un
risque d’explosion.
Remplacez-la par le même type ou l’équivalent du
même type seulement. Jetez les piles usagées conformément aux
directives fournies par le fabricant de la pile.
ACMA comp
liance
Notice!
This is a Class A product. In a domestic environment this product
may
cause radio interference in which case the user may be required to
take adequate measures.
Certification
EU directives
This product and
- if applicable - the supplied accessories too are marked
with "CE" and comply therefore with the
applicable harmonized European
standards listed under the EMC Directive 2014/30/EU, the RoHS Directive
2011/65/EU.
2012/19/EU (WEEE directive)
: Products marked with this symbol cannot
be disposed of as unsorted municipal waste in the European
Union. For
proper recycling, return this product to your local supplier upon the
purchase of equivalent new equipment, or dispose of it at designated
collection points. For more information
see: www.recyclethis.info.

2013/56/EU & 2006/66/EC (battery di
rective): This product contains a
battery that cannot be disposed of as unsorted municipal waste in the
European Union. See the product documentation for specific battery
information. The b
attery is marked with this symbol, which may include
lettering to i
ndicate cadmium (Cd), lead (Pb), or mercury (Hg). For proper
recycling, return the battery to your supplier or to a designated collection
point. For more information see: www.recyclethis.in
fo.
Product warnings and
disclaimers
THESE PRODUCTS ARE INTENDED FOR SALE TO AND
INSTALLATION BY QUALIFIED PROFESSIONALS.
CARRIER FIRE &
SECURITY CANNOT PROVIDE ANY ASSURANCE THAT ANY PERSON
OR ENTITY BUYING ITS PRODUCTS, INCLUDING ANY “AUTHORIZED
DEALER
” OR “AUTHORIZED RESELLER”, IS PROPERLY TRAINED OR
EXPERIENCED TO CORRECTLY INSTALL FIRE AND SECURITY
RELATED PRODUCTS.
For more information on warranty disclaimers and product safety
information, please check www.firesecurityproducts.com/policy/product
-
wa
rning/ or scan the following code:


TruVision Series 7 IP Camera Configuration Manual i
Content
Introduction 3
Contact information and manuals /tools /firmware 4
Network access 5
Access with browsers other than Microsoft Internet Explorer 5
Checking your web browser security level 6
Activating the camera 7
Overview of the camera web browser 9
Camera configuration 11
Local configuration 11
Configuration 12
Basic information 14
Time settings 14
RS-485 16
Metadata Settings 16
Housing settings 17
Open source software available 17
Maintenance 18
Security 19
Authentication 19
IP address filter 20
Security service 21
Advanced security 22
Certificate management 24
Security audit log 27
Users 29
Online users 32
Network 33
Video and Audio 48
Image 53
OSD (On Screen Display) 56
Privacy masks 58
Picture overlay 59
Image parameters switch 59
Motion detection alarms 60
Video tampering 66
Alarm inputs and outputs 68
Exception alarms 69
Audio exception detection 70
Defocus detection 72
Scene change detection 73
Face detection 74
Intrusion detection 76

ii TruVision Series 7 IP Camera Configuration Manual
Cross line detection 78
Region entry detection 80
Region exit detection 82
Unattended baggage detection 83
Object removal detection 85
Recording schedule 86
Scheduled snapshots 89
HDD management 91
NAS management 93
Object counting 94
e-PTZ 95
Camera management 98
Restore default settings 98
Import/export a configuration file 98
Upgrade firmware 99
Reboot camera 100
Camera operation 101
Logging on and off 101
Live view mode 101
Playing back recorded video 101
Search snapshots 104
Search application statistics 105
Search event logs 106
PTZ and General control panels 107
Index 111

TruVision Series 7 IP Camera Configuration Manual 3
Introduction
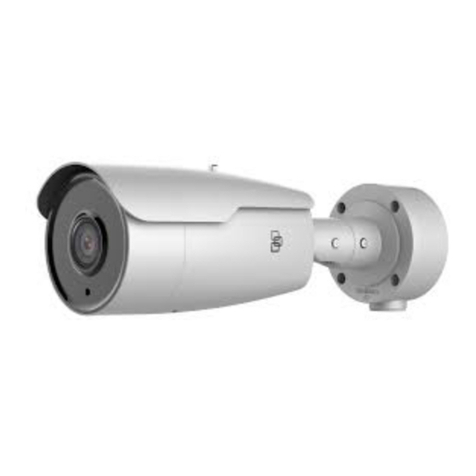
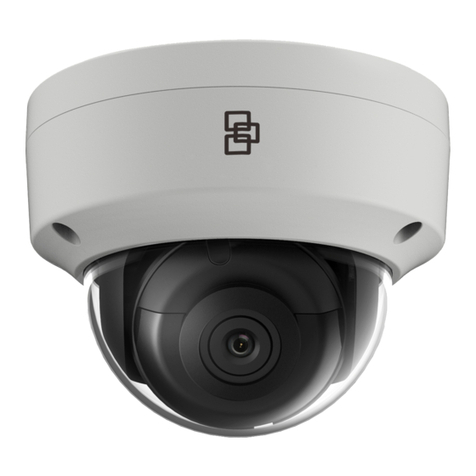
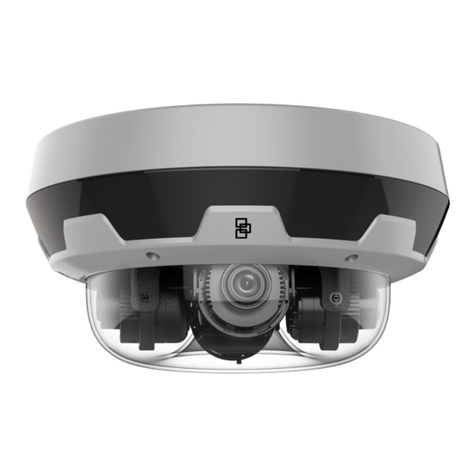
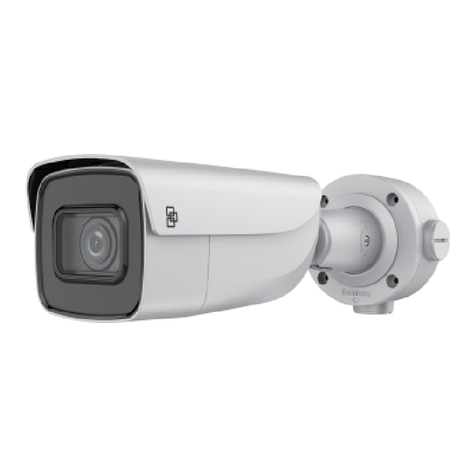
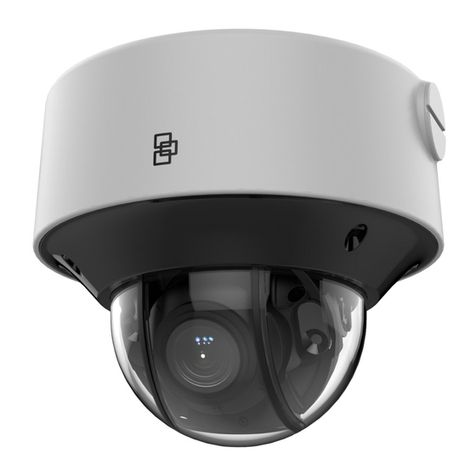
This is the configuration manual for the following TruVision IP camera models:
TVC-5711 (2MP IP box camera)
TVC-5712 (4MP IP box camera)
TVC-5713 (8MP IP box camera)
TVC-5714 (12MP IP box camera)
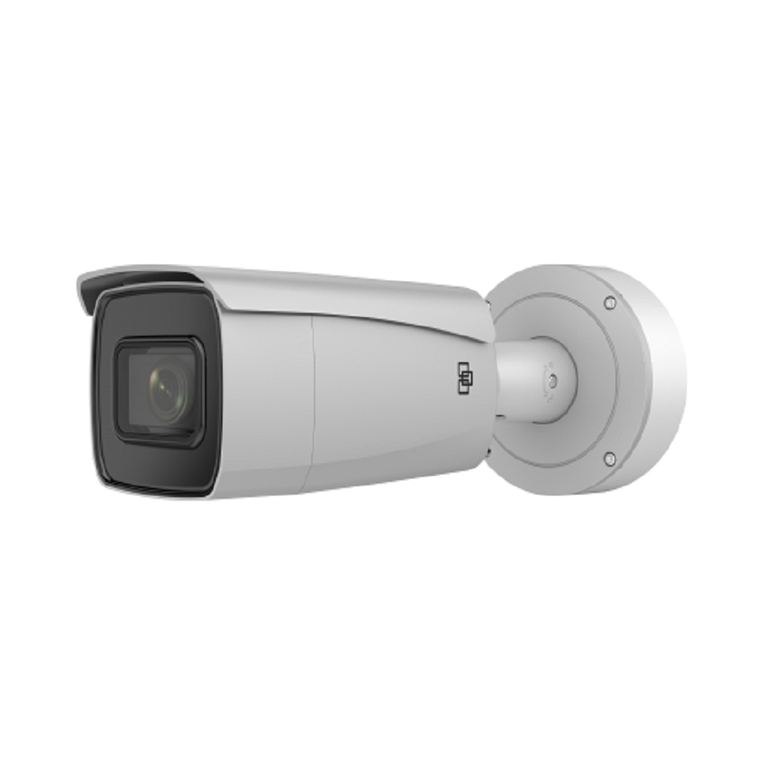
TVB-5711 (2MP IP bullet camera, 2.8 to 12 mm)
TVB-5712 (2MP IP bullet camera, 8 to 32 mm)
TVB-5713 (4MP IP bullet camera, 2.8 to 12 mm)
TVB-5714 (4MP IP bullet camera, 8 to 32 mm)
TVB-5715 (8MP IP bullet camera, 2.8 to 12 mm)
TVB-5716 (8MP IP bullet camera, 8 to 32 mm)
TVB-5717 (12MP IP bullet camera, 2.8 to 12 mm)
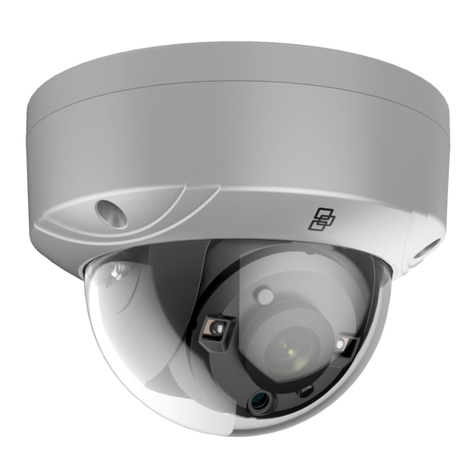
TVD-5711 (2MP IP indoor dome, 2.8 to 12 mm)
TVD-5712 (4MP IP indoor dome, 2.8 to 12 mm)
TVD-5713 (8MP IP indoor dome, 2.8 to 12 mm)
TVD-5714 (12MP IP indoor dome, 2.8 to 12 mm)
TVD-5715 (2MP IP outdoor dome, 2.8 to 12 mm)
TVD-5716 (2MP IP outdoor dome, 8 to 32 mm)
TVD-5717 (4MP IP outdoor dome, 2.8 to 12 mm)
TVD-5718 (4MP IP outdoor dome, 8 to 32 mm)
TVD-5719 (8MP IP outdoor dome, 2.8 to 12 mm)
TVD-5720 (8MP IP outdoor dome, 8 to 32 mm)
TVD-5721 (12MP IP outdoor dome, 2.8 to 12 mm)
You can download the following manuals from our web site:
• TruVision Series 7 IP Camera Installation Guide
• TruVision Series 7 IP Camera Configuration Manual
The manuals are available in several languages on the EMEA web site.

4 TruVision Series 7 IP Camera Configuration Manual
Contact information and manuals /tools /firmware
For contact information and to download the latest manuals, tools, and firmware, go to
the web site of your region:
EMEA: firesecurityproducts.com
Manuals are available in several languages.
Australia/New Zealand: utcfs.com.au

TruVision Series 7 IP Camera Configuration Manual 5
Network access
This manual explains how to configure the camera over the network with a web
browser.
TruVision IP cameras can be configured and fully controlled using Microsoft Internet
Explorer (IE) and other browsers. The procedures described in this manual are based
on Microsoft Internet Explorer (IE) web browser.
Access with browsers other than Microsoft Internet Explorer
In addition to Microsoft Internet Explorer the camera can also be accessed using other
browsers like Google Chrome (from version 45), Apple Safari (from version 12) and
Firefox (from version 52). These additional browsers don’t support ActiveX plugins like
Internet Explorer and therefore some limitations apply.
When using Chrome, Safari or Firefox, the maximum supported resolution is 1080p.
Table 1: Comparison between the different browsers
Model Function Chrome, Safari &
Firefox MS Internet Explorer
Live View Live view Resolution <= 1080P
Bit rate <= 2048 Kbps
Audio
Capture
Digital zoom
Window division
Full screen
Record (Chrome only)
Audio on
Playback Playback
Download video
Picture Picture
Counting Statistics Counting Statistics
Configuration Export device
parameters
Import device
parameters
Upgrade (Only the dav format
file supported)
Draw area

6 TruVision Series 7 IP Camera Configuration Manual
Model Function Chrome, Safari &
Firefox MS Internet Explorer
Counting Only supports drawing
detection line. OSD
display is not
supported.
Export log
Local
File path setting
We always recommend using the latest browser versions.
Checking your web browser security level
When using the web browser interface, you can install ActiveX controls to connect and
view video using Internet Explorer. However, you cannot download data, such as video
and images due to the increased security measure. Consequently, you should check
the security level of your PC so that you are able to interact with the cameras over the
web and, if necessary, modify the Active X settings.
Configuring IE ActiveX controls
You should confirm the ActiveX settings of your web browser.
To change the web browser’s security level:
1. In Internet Explorer click Internet Options on the Tools menu.
2. On the Security tab, click the zone to which you want to assign a web site under
“Select a web content zone to specify its security settings”.
3. Click Custom Level.
4. Change the ActiveX controls and plug-ins options that are signed or marked as
safe to Enable. Change the ActiveX controls and plug-ins options that are
unsigned to Prompt or Disable. Click OK.
- Or -
Under Reset Custom Settings, click the security level for the whole zone in the
Reset To box, and select Medium. Click Reset.
Then click OK to the Internet Options Security tab window.
5. Click Apply in the Internet Options Security tab window.
Windows users
Internet Explorer operating systems have increased security measures to protect your
PC from any malicious software being installed.
To have complete functionality of the web browser interface with Windows 7, 8 and 10,
do the following:
• Run the Browser interface as an administrator in your workstation

TruVision Series 7 IP Camera Configuration Manual 7
• Add the camera’s IP address to your browser’s list of trusted sites
To add the camera’s IP address to Internet Explorer’s list of trusted sites:
1. Open Internet Explorer.
2. Click Tools, and then Internet Options.
3. Click the Security tab and then select the Trusted sites icon.
4. Click the Sites button.
5. Clear the “Require server verification (https:) for all sites in this zone” check box.
6. Enter the IP address in the “Add this website to the zone” field.
7. Click Add, and then click Close.
8. Click OK in the Internet Options dialog window.
9. Connect to the camera for full browser functionality.
Activating the camera
When you first start up the camera, the Activation window appears. You must define a
high-security admin password before you can access the camera. There is no default
password provided.
You can activate a password via a web browser and via TruVision Device Manager.
Activation via the web browser:
1. Power on the camera and connect the camera to the network.
2. Input the IP address into the address bar of the web browser and click Enter to
enter the activation interface.
Note:
• The default IP address of the camera is 192.168.1.70.
• For the camera to enable DHCP by default, you must activate the camera via
TruVision Device Manager. Please refer to the following section, “Activation via
TruVision Device Manager”.

8 TruVision Series 7 IP Camera Configuration Manual
3. Enter the password in the password field.
Note: A valid password range must be between 8 and 16 characters. You can use a
combination of numbers, lower and upper case letters, and special characters : _ - ,
. * & @ / $ ? Space. The password must contain characters from at least two of
these groups. We also recommend that you reset your password regularly. For high
security systems, it is particularly recommended to reset the password monthly or
weekly for better protection.
4. Confirm the password.
5. Click OK to save the password and enter the live view interface.
Activation via TruVision Device Manager:
1. Run the TruVision Device Manager to search for online devices.
2. Select the device status from the device list and select the inactive device.
3. Enter the password in the password field and confirm it.
Note: A valid password range must be between 8 and 16 characters. You can use a
combination of numbers, lower and upper case letters, and special characters : _ - ,
. * & @ / $ ? Space. The password must contain characters from at least two of
these groups. We also recommend that you reset your password regularly. For high
security systems, it is particularly recommended to reset the password monthly or
weekly for better protection.
4. Click OK to save the password.
A pop-up window appears to confirm activation. If activation fails, confirm that the
password meets the requirements and try again.
5. Change the device IP address to the same subnet with your computer by either
modifying the IP address manually or selecting the check box of Enable DHCP.

TruVision Series 7 IP Camera Configuration Manual 9
6. Input the password and click the Save button to activate your IP address
modification.
Overview of the camera web browser
Use the camera web browser to view, record, and play back recorded videos as well as
manage the camera from any PC with access to the same network as the camera. The
browser’s easy-to-use controls provide quick access to all camera functions.
If there is more than one camera connected over the network, open a separate web
browser window for each individual camera.
Figure 1: Browser interface (Live view shown)
Name
Description
Live view Click to view live video.
Playback Click to play back video.
Picture Click to search snapshots.
Application Click to search, view, download the counting data stored in the local storage or
network storage.
Log Click to search for event logs.

10 TruVision Series 7 IP Camera Configuration Manual
Name
Description
Configuration Click to configuration the camera.
Admin Displays current user logged on.
Help Click to open the camera help pages.
Logout Click to log out from the system.
In the live view window, click the toolbar to start the live view of the camera.
Icon
Description
Manually start/stop live view
Take a snapshot of selected camera channel (Run browser as administrator)
Manually start/stop recording (Run browser as administrator)
Start/stop digital zoom function
Turn on/off microphone
Switch between live main stream and substream
Audio on and adjust volume or make mute
Count pixels in the image
Manual alarm output control
Aspect ratio of 4:3
Aspect ratio of 16:9
The original size
Original ratio in the adapted window
Self-adaptive aspect ratio
PTZ and General control panels
On the live view page, you can click to show the PTZ/General control panels and click
to hide. See “PTZ and General control panels” on page 107 for further information on
using these panels.

TruVision Series 7 IP Camera Configuration Manual 11
Camera configuration
This chapter explains how to configure the cameras through a web browser.
Once the camera hardware has been installed, configure the camera’s settings through
the web browser. You must have administrator rights in order to configure the cameras
over the internet.
The camera web browser lets you configure the camera remotely using your PC. Web
browser options may vary depending on camera model.
There are two main folders in the configuration panel:
Local configuration
Configuration
Local configuration
Use the Local Configuration menu to manage the protocol type, live view performance
and local storage paths. In the Configuration panel, click Local Configuration to
display the local configuration window. See Figure 2 below for descriptions of the
different menu parameters.
Figure 2: Local Configuration window
Parameters Description
1.
Live View
Parameters
Protocol
Specifies the network protocol used.
Options include TCP, UDP, MULTICAST and HTTP.

12 TruVision Series 7 IP Camera Configuration Manual
Parameters Description
TCP: Ensures complete delivery of streaming data and better
video quality. However real-time transmission will be affected.
UDP: Provides real-time audio and video streams.
HTTP: Allows the same quality as of TCP without setting
specific ports for streaming under some network environments.
MULTICAST: It is recommended to select MCAST type when
using the Multicast function.
La
tency Set the live view performance to Shortest Delay, Auto, Fluent
or Custom. For Custom, you can set the frame rate for live
view.
Enable Meta Data Overlay
Enabling this function will dynamically display (detected)
targets/ objects/ movements in the live image.
Display POS Information
Enable the function, feature information of the detected target
is dynamically displayed near the target in the live image.
Snapshot
Image Format Specifies the snapshot format as JPEG or BMP.
2.
Record
File Settings
Record F
ile Size Specifies the maximum file size for manually recorded video
Options include: 256 MB, 512 MB, and 1 G.
Save
Record Files to Specifies the directory for recorded files.
Save
Downloaded Files to Specifies the directory for downloaded files.
3.
Snapshot
and Clip Settings
Save
Snapshots In Live
View To
Specifies the directory for saving snapshots in live view mode.
Save
Snapshots When Playback
To
Specifies the directory for saving snapshots in playback mode
.
Save Clips To
Specifies the directory for saving video clips in playback mode.
Configuration
Use the Configuration window to configure the camera system, network, video audio,
alarms, users, transactions and other parameters such as upgrading the firmware. See
Figure 3 on page 13 for descriptions of the configuration folders available.

TruVision Series 7 IP Camera Configuration Manual 13
Figure 3: Configuration window (Basic Information window selected)
Parameters Description
1.
System
Displays the basic device information including device number and the
current firmware version, maintenance, security settings and user settings.
See “Basic information” on page 14 for further information.
2.
Network
Defines the network parameters required to access the camera over the
internet. See page 19 for further information.
3.
Video/Audio
Defines the recording parameters. See page 33 for further information.
4.
Image
Defines the image parameters, OSD settings, overlay text, and privacy
masking. See page 48 for further information.
5.
Event
Defines motion detection, tamper-proof, alarm input/output, exception
settings, audio exception, defocus detection, scene change detection, face
detection, intrusion detection, cross line detection, region entrance detection,
region exiting detection, unattended baggage detection, object removal
detection. See pages 60 to 85 for further information on the different event
types.
6.
Storage
Defines recording schedule, storage management and NAS configuration.
See pages 86 to 93 for further information.
7.
Counting
Defines the calculations of the number of objects crossing line configured in
the camera view. It is and is widely used for entrances or exits. See “Object
counting” on page 94 for more information.
8.
e
-PTZ Defines the PTZ style application in the field of non-PTZ camera. Only
available via the fourth stream. See “e-PTZ” on page 95
for more information.

14 TruVision Series 7 IP Camera Configuration Manual
Basic information
This menu under Configuration > System > Basic Information displays the following
information:
Device name Plugin version
Device number Number of channels
Model Number of HDDs
Serial number Number of alarm inputs
Firmware version Number of alarm outputs
Encoding version Firmware version property
Web version
Only the device name and device number can be changed (see “Configuration” on
page 12). All other information is read-only.
Time settings
NTP (Network Time Protocol) is a protocol for synchronizing the clocks of network
devices, such as IP cameras and computers. Connecting network devices to a
dedicated NTP time server ensures that they are all synchronized.
To define the system time and date:
1. Click Configuration > System > System Settings > Time Settings.

TruVision Series 7 IP Camera Configuration Manual 15
2. From the Time Zone drop-down menu, select the time zone that is the closest to the
camera’s location.
3. Under Time Sync, select one of the options for setting the time and date:
Synchronize with an NTP server: Select the NTP enable check box and enter the
server NTP address. The time interval can be set from 1 to 10080 minutes.
- Or -
Set manually: Enable the Manual Time Sync function and then click to set the
system time from the pop-up calendar.
Note: You can also select the Sync with computer time check box to synchronize
the time of the camera with the time of your computer.
4. Select Enable DST to enable the DST function, and set the start and end dates of
the DST period.
5. Click Save to save changes.

16 TruVision Series 7 IP Camera Configuration Manual
RS-485
The RS-485 serial port is used to control extra devices that support the 485 protocol
(Pelco D or Pelco P), such as PTZ devices, lighting devices or other devices. You can
also connect it to an analog PTZ camera to control PTZ movement.
You need to configure these parameters before connecting the camera to any devices.
To set up RS-485 settings:
1. Click Configuration > System > System Settings > RS485.
2. Select the RS-485 port parameters.
Note: The Baud Rate, PTZ Protocol, and PTZ Address parameters should be
identical to the PTZ camera parameters.
3. Click Save to save changes.
Metadata Settings
Metadata is the raw data the camera collects before algorithm processing. The
metadata of intrusion detection, line crossing detection, region entrance detection,
region exiting detection, unattended baggage detection, object removal and face
capture can be uploaded. If enabled, the metadata of the corresponding event are
available for users to explore the possibility of various data usage.
To set up metadata settings:
1. Click Configuration > System > Metadata Settings.
Other manuals for 7 Series
1
This manual suits for next models
22
Table of contents
Other TruVision Security Camera manuals

TruVision
TruVision 7 Series User manual

TruVision
TruVision TVD-5711 User manual

TruVision
TruVision M Series User manual

TruVision
TruVision M Series User manual

TruVision
TruVision TVD-6102 User manual

TruVision
TruVision TVB-5412 User manual

TruVision
TruVision M Series User manual

TruVision
TruVision TVGP-P01-0401-PTZ-G User manual

TruVision
TruVision TVB-5412 Instruction sheet

TruVision
TruVision M Series User manual