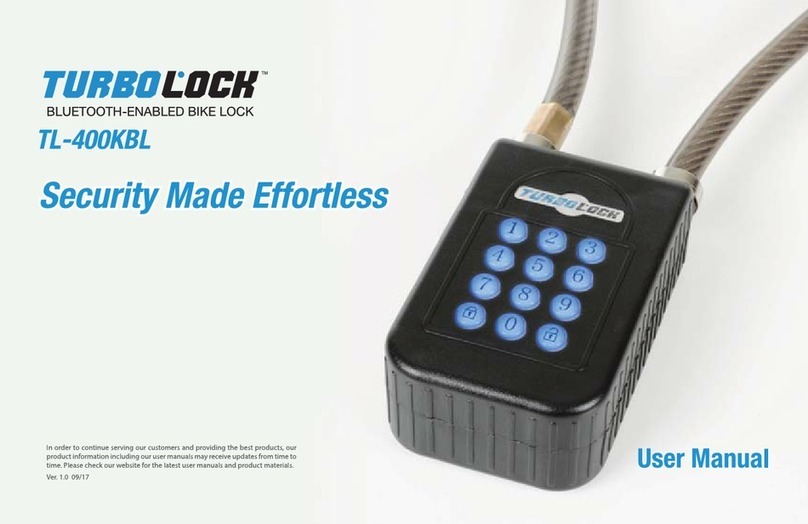
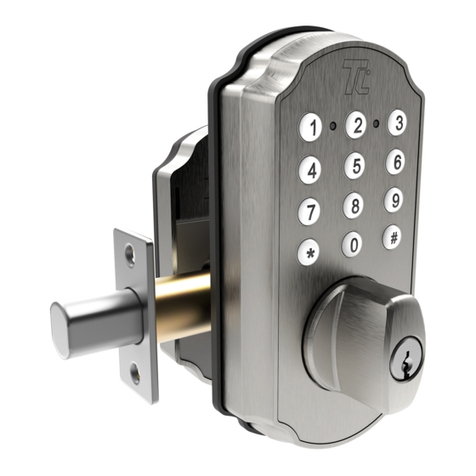
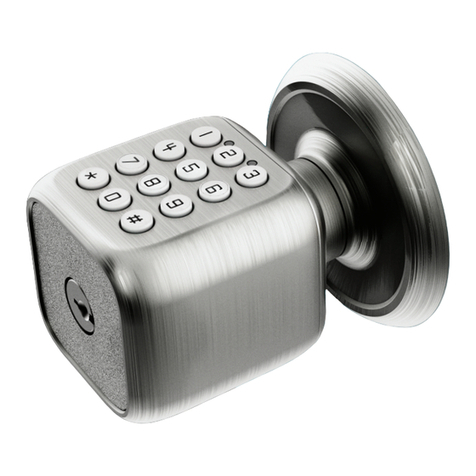
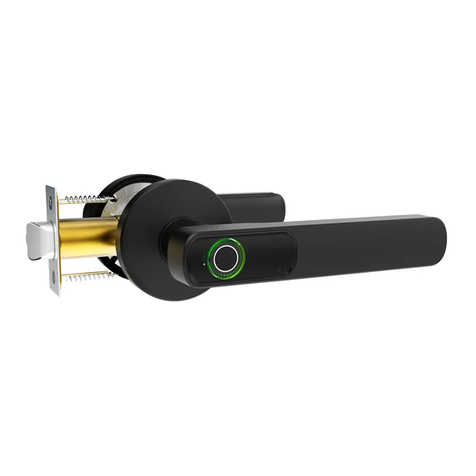
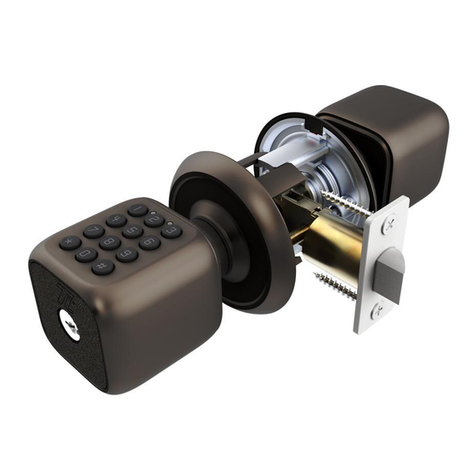
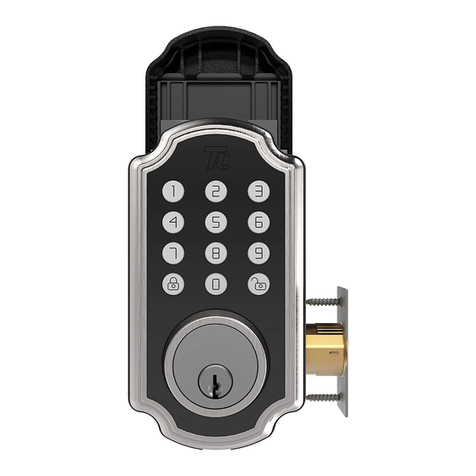
Turbolock TL-100 User manual

In order to continue serving our customers and providing the best products, our
product information including our user manuals may receive updates from time to
time. Please check our website for the latest user manuals and product materials. Ver. 1.0 6/15/17

www.turbolock.com
Customer Service: 855-850-8031
TM

Section 1
Information & Safety Warnings 4
1.1 Introduction 4
1.2 Safety Warnings 4
1.3 Disposal at End-of-Life 5
Section 2
Package Contents & Overview 6
2.1 Contents 6
2.2 Overview 7
Section 3
Installation 8
3.1 Step by Step 8
3.2 Battery Information 14
Section 4
How to Use the TurboLock 14
Using the Admin Password 14
Using the Micro USB Port 14
Using a MIFI Card 15
Using a User Password 15
Passive Function 15
Section 5
Using the Admin Password 15
5.1 Information 15
5.2 Changing the Admin Password 15
Section 6
Using the MIFI Cards 16
Adding a Card 16
Deleting a Card 17
Deleting all Cards 17
Section 7
Using Passive Function 18
Turning on the Passive Function 18
Turning o the Passive Function 18
Section 8
Using the Mute Function 18
Muting 18
Un-muting 19
Section 9
The Turbolock App 19
9.1 Installation 19
9.2 Pairing 20
Section 10
Resetting the Lock 21
Section 11
Maintenance 22
Section 12
Troubleshooting 23
Section 13
Warranty 25
13.1 Violation 25
13.2 Information 26
Table of Contents

4TurboLock TL - 100
Section 1
Information & Safety Warnings
1.1 Introduction
This user manual will guide you through the functions and usage of your TurboLock TL-100 Smartlock. It is important that you follow
all instructions and regard all notes that appear throughout this manual. Consult this manual before you attempt to use your lock. If
you have questions not answered by this manual or are in need of repair or non-routine service, contact customer service at 855-
850-8031. Before contacting customer service, please have your purchase information ready as this may be needed during the call.
This information may be recorded below.
Date of Purchase:
Place of Purchase:
1.2 Safety Warnings
When reading this manual, note these icons:
Notes with this icon MUST be read, understood, and obeyed to prevent injury or damage etc.
Notes with this icon include relevant information.
Overall Usage
• Never insert objects into the lock other than batteries as described in this manual.
• The lock is not a toy. Do not leave children unsupervised around the lock.
• Verify that all parts of the lock are accounted for. If any part is missing, contact customer service.
• The lock is best suited for standard doors made for buildings within the US.
• Use only the parts included in the original packaging or received from TurboLock.

TurboLock TL - 100 5
• Replace the batteries after receiving the lock’s low battery notication.
• Only use clean water, mild cleaner, and soft, non-abrasive cloth when cleaning.
• Never submerge the lock or any of the lock’s components.
• Never apply any cleaner directly to any part of the lock.
• Do not let water and liquids get into the lock’s electric parts or battery compartment.
• Objects should not be hung from the lock’s handles at any time.
• Installation surfaces must be level. Do not install on doors or surfaces with any type of deformity as gaps or warping may cause
the lock to malfunction or fail to operate entirely.
• Old and new batteries as well as batteries from dierent brands may not be mixed.
• Use only four alkaline AA batteries.
• Use the lock only as described in this user manual.
• If the battery compartment or surrounding parts are damaged, do not use the lock.
1.3 Disposal at End-of-Life
This product must not be disposed of by incineration, landlling, or mixing with household trash. Improper disposal of the battery
contained within this product may result in the battery heating up, rupturing, or igniting which may cause serious injury. The
substances contained inside the battery present chemical risks to the environment. The recommended disposal for any TurboLock
TL-100 Smartlock at its end-of-life is to dispose of the entire unit at or through an e-waste recycling center, program, or facility.
Local regulations and laws pertaining to the recycling and disposal of lithium ion batteries and/or products containing them will
vary according to country, state, and local governments. You must check laws and regulations corresponding to where you live in
order to properly dispose of the battery and/or unit. It is the user’s responsibility to dispose of their waste equipment properly with
accordance with local regulations and laws.
For additional information about where you should drop o your batteries and electrical or electronic waste, please contact your local
or regional waste-management oce, your household waste disposal service, or your point-of-sale.
6TurboLock TL - 100
Section 2
Package Contents & Overview
2.1 Contents
Inside Section 1x
Outside Section 1x
BMHA Latch 1x
Adjustable Latch 1x
MIFI Cards 2x
Latch Screws 2x
Strike Screws 2x
Inside Screws 4x
Pegs 4x
Back Screws 3x
Spring 1x
Latch Pin 2x
To purchase additional keycards,
visit www.turbolock.com.
Latch & Strike Plates
Battery Compartment
(Batteries not included.)
Reset Button
Battery Cover
Outside Section Inside Section
MIFI Cards
Inside Screws
Latch Pin
Spring
Back Screws
Latch Screws Strike ScrewsPegsLatch Assembly

TurboLock TL - 100 7
2.2 Overview
See the next section for installation information.
Keypad
Outside Section
(Front View)
Outside Section
(Back View)
Micro USB Port
Handles
Button
Peg Openings

8TurboLock TL - 100
Section 3
Installation
3.1 Step by Step
• The following installation instructions were made in reference to a door which did not already have a handle opening. If
switching out an existing handle, it may be possible to skip some steps.
• For ease of installation, it is recommended to perform installation with the assistance of another person.
• After nishing installation, be sure to use the door at least once to make sure all parts of the lock function correctly.
KEEP DOOR AJAR. At all times during, before, and shortly after installation, keep the door open. If the lock is incomplete or
improperly installed, and the door is then closed, the lock and/or door may become stuck.
Pre-Installation
If installing the TL-100 on a new door without a hole cut for the door handle, follow the instructions below. If retrotting the TL-
100 to an existing hole, measure the diameter and continue to Part 2.
Part 1
Step 1. Marking the Door
Using the template, mark a hole on both sides of
the door at required backset, then mark the latch
hole on door edge.
Step 2. Drilling Holes
Bore a 54mm hole on door face, then drill a
25mm hole in the door edge to intersect with center of 54mm hole.
Drill a 54mm hole from both sides of door to stop wood splintering.

TurboLock TL - 100 9
Step 3. Installing the Latch
• Insert the latch into the hole, mark a line around edge of latch plate to use as a guide, and remove latch. (Fig. 3a)
• Chisel approx. 3mm deep or until latch plate sits ush with door edge. (Fig. 3b)
• Insert the latch ensuring the rounded side faces out towards the front of door, drill 2x 3mm holes for and fasten the
latch with the 2x latch screws. (Fig. 3c)
Step 4. Installing the Strike
• Push the door until nearly closed and mark the horizontal center of the latch on the
door frame. Mark the vertical line where the door edge meets the frame and measure
in half of the door’s thickness to nd the vertical center. (Fig. 4a)
• Extend both lines until they intersect and drill a 25mm hole to 15mm depth.
• Position the strike plate and mark around the edge.
• Chisel the frame to approx. 1.5mm depth or until the strike sits ush.
• Drill 2x 3mm screw holes and x the strike to the frame with the 2x strike screws.
(Fig. 4b)
(Fig. 3a)
(Fig. 4a)
(Fig. 4b)
(Fig. 3b) (Fig. 3c)

10 TurboLock TL - 100
Part 2
Step 5. Installing the Pegs (Fig. 5a)
• Retrieve the outside section of the lock and look at the back.
• Locate the four holes around the interior of the lock and
screw in the 4x pegs.
Step 6. Outside Handle Positioning
• Retrieve the outside section of the lock and look for the
arrow engraving on the back. (Fig. 6a)
• Push the button on the bottom and turn the handle to the
desired orientation. (Fig. 6b)
• Use the square latch pin to turn the center so that the arrow
is pointing up. (Fig. 6c)
• Remove the latch pin.
(Fig. 6a) (Fig. 6b) (Fig. 6c)
(Fig. 5a)
Button
Latch Pin

TurboLock TL - 100 11
Step 7. Inside Handle Positioning
• Retrieve the inside section of the lock and look at the back.
• Push the button on the bottom and turn the handle to the
desired orientation. (Fig. 7a)
Main Installation
Step 8. Installing the Latch
• Select a latch assembly and its coordinating pin
according to the diameter of the door hole. Adjust as
needed. (Fig. 8a)
• Insert the latch ensuring the rounded side faces out
towards the front of door and fasten it with the 2x
latch screws. (Fig.8b)
Step 9. Installing the Strike
• Attach the strike to the frame with the 2x strike
screws. (Fig. 9a)
(Fig. 7a)
Button
(Fig. 8a)
(Fig. 9a)
(Fig. 8b)

12 TurboLock TL - 100
Step 10. Adding the Outside Section
• Feed the power cable around the latch and guide
the pegs through until the outside section sits ush
against the front of the door. (Fig. 10a)
• Have someone hold the section against the door.
Step 11. Installing the Plate (Fig. 11a)
• Make sure the bolts in the plate face outwards,
away from the door, and place the silicone backing
on the other side.
• Align the silicone and plate on the back of the door.
• Fasten the outside section, silicone backing, and
plate to each side of the door using 1x inside screw.
• Use a level on the outside section of the lock to
ensure it’s balanced. Have someone hold the
section against the door.
• Add the 3x remaining inside screws. Make sure all
4x screws are tightened.
(Fig. 10a)
(Fig. 11a)
Bolts
Silicone

TurboLock TL - 100 13
Step 12. Adding the Latch Pin
• Insert the spring into the back of the lock. (Fig. 12a)
• Insert the square latch pin. (Fig. 12b)
Step 13. Adding the Inside Section
• Attach the lock back using the 3x back screws.
(Fig. 13a)
• Make sure all screws are tightened.
Step 14. Adding Batteries (Fig 14a)
• Add batteries to the battery compartment in the
back of the lock.
• Add the cover.
(Fig. 13a) (Fig. 14a)
(Fig. 12a) (Fig. 12b)

14 TurboLock TL - 100
3.2 Battery Information
The lock requires four standard or rechargeable alkaline ‘AA’ batteries which will be stored inside the back of the lock. New batteries
should be installed as soon as possible after receiving any low battery indication. When the notication begins, the lock will only
have enough power for approximately 50 times before the batteries are fully depleted. This indication can be received from the app
or the lock itself; the lock will beep after being unlocked. Expected battery life is approximately 365 days. If needed, use a power
bank and a micro USB cable with the lock’s micro USB port. See the following section for more information.
Micro USB cable and power bank are not included.
Section 4
How to Use the TurboLock
The TL-100 provides a variety of ways to open your door. Each time the lock engages and unlocks the door, regardless of entry
method, the door can only be opened while the backlight is still on. This light remains on for approximately 10 seconds. After it turns
o, the lock will automatically engage again and lock the door.
Using the Admin Password
Touch any key so that the keypad lights up, enter the Admin Password, and then press ‘#’ to unlock the door. Note, the Admin
Password must be changed from the manufacturer’s default. See Section 5.
Using the Micro USB Port
Use a micro USB cable to connect a power bank via the port on the bottom of the lock. The backlight will turn on indicating the lock
is receiving power. Enter a password and then press ‘#’ to unlock the door as usual.
Micro USB cable and power bank are not included.

TurboLock TL - 100 15
Using a MIFI Card
Touch any key so that the keypad lights up then move the card in front of the keypad to unlock the door. See Section 6.
The remaining unlock methods in this section are available through the TurboLock app. Note, the TurboLock Smartlock can be used
without the app. However, the app is needed to use the lock’s full range of features.
Using a User Password
Touch any key so that the keypad lights up, enter the password received from the app’s admin, and then press ‘#’ to unlock the door.
Note, User Passwords may have restricted access according to the app admin’s discretion.
Passive Function
After turning the function on, touch any key so that the keypad lights up then open the door. No password is needed.
• The TL-100 features a Mute Function. See Section 8.
• If a password has been entered wrong 3x in a row, regardless of the entry method, the lock will go into a 15-minute period of
inactivity where it cannot be used. This is a security feature designed to prevent unwanted parties from using the lock.
Section 5
Using the Admin Password
5.1 Information
• The Admin Password must always be at least 6 digits long.
• The default Admin Password is ‘123456’.
• Remember, the door should always be ajar when adding and/or changing passwords.
5.2 Changing the Admin Password
For security, it is highly recommended that you change the Admin Password from the manufacturer default.

16 TurboLock TL - 100
Step 1. Use the keypad to enter the default (‘123456’) or the current Admin Password then enter ‘#’.
Step 2. Enter ‘1’ then enter ‘#’.
Step 3. Enter the new Admin Password then press ‘#’.
Step 4. Re-enter the new Admin Password then press ‘#’.
Step 5. Wait for the backlight to go out so that the new password successfully saves.
Step 6. If desired, test the new password to conrm the modication was successful.
• The password must be entered while the blue backlight is on. If it goes out, begin again at Step 1.
• The Admin Password can also be changed via the app. For app information, see the Section 9.
• If the Admin Password is lost or forgotten, it may be reset via a reset. Refer to Section 10.
Section 6
Using the MIFI Cards
Adding a Card
Step 1. Use the keypad to enter the Admin Password then enter ‘#’.
Step 2. Enter ‘7’ then enter ‘#’.
Step 3. Move the card in front of the keypad. The lock will emit sound when it detects the card. More cards (up to 20 at a time)
can be added as desired.
Step 4. Wait for the backlight to go out so that the new card successfully saves.
Step 5. If desired, test the card to conrm it was added.

TurboLock TL - 100 17
Step 6. Repeat the above steps to add additional cards if needed.
Deleting a Card
Step 1. Use the keypad to enter the Admin Password then enter ‘#’.
Step 2. Enter ‘8’ then enter ‘#’.
Step 3. Move the card in front of the keypad. The lock will emit sound when it detects the card. Additional cards (up to 20 at a
time) can be deleted as desired.
Step 4. Wait for the backlight to go out so that the new card is successfully deleted.
Step 5. If desired, test the card to conrm it was deleted.
Step 6. Repeat the above steps to add additional cards if needed.
A single card cannot be deleted if it has been lost or misplaced. If lost or misplaced cards need to be deleted, they may only be
deleted by deleting all cards.
Deleting all Cards
Step 1. Use the keypad to enter the Admin Password then enter ‘#’.
Step 2. Enter ‘9’ then enter ‘#’.
Step 3. Wait for the backlight to go out to conrm all cards were successfully deleted.
Step 4. If desired, test a card to conrm it was deleted.
Step 5. Repeat the above steps to add additional cards if needed.
The card must be added while the blue backlight is on. If it goes out, begin again at Step 1.

18 TurboLock TL - 100
Section 7
Using Passive Function
With this function active, the TL-100 can be used to open the door without requiring a password or card etc.
USE WITH CAUTION. Remember to turn o the function when it is no longer needed. Do not leave this function on for extended
periods of time.
Turning On the Passive Function
Step 1. Use the keypad to enter the current Admin Password, then ‘#’. The lock will engage.
Step 2. Press ‘6’ and then ‘#’.
Turning O the Passive Function
Use a standard password or method to unlock the door. When the lock engages, the Passive Function will turn o automatically.
Section 8
Using the Mute Function
The TL-100’s sounds can be used or muted according to preference.
USE WITH CAUTION. Remember to turn o the function when it is no longer needed. Do not leave this function on for extended
periods of time.
Muting
Step 1. Use the keypad to enter the current Admin Password, then ‘#’. The lock will engage.
Step 1. Press ‘5’ then ‘#’. The lock will stop emitting sound.

TurboLock TL - 100 19
Un-muting
Step 1. Use the keypad to enter the current Admin Password, then ‘#’. The lock will engage.
Step 2. Press ‘5’ then ‘#’. The lock will then begin to emit sound.
Section 9
The Turbolock App
For your convenience, there is a TurboLock app that uses Bluetooth technology to interact with the lock. The Turbo Lock app is
compatible with most Android and iOS smartphones and grants full access to all of the lock’s features. The app oers features such
as additional ways to unlock your door, decide who and when passwords can be used, keep record of times when the lock is used,
set preferences for real-time unlock notications, and more. To get the app, follow the instructions below.
9.1 Installation
Step 1. Use your smartphone to search the Play or App Store for the “TurboLock” application.
Step 2. Download and install the app according to your operating system.
Step 3. Turn on Bluetooth and open the app.
Step 4. Register for an account and return to the app.
• For instructions and/or information on how to use the app, register for an account and refer to the in-app instructions
or contact customer service.
• In order to use the app with the TL-100, the two must be paired.
• When using the app to unlock the door via Bluetooth, delays may be caused due to signal interference. Signals from
other including but not limited to wireless devices, Bluetooth devices, and some household appliances including
microwaves etc. can interfere with the lock’s signals. To minimize interference possibility, do not keep these devices in
close proximity to the lock.

20 TurboLock TL - 100
9.2 Pairing
In order to connect the app and the lock, Pairing Mode must be turned on.
Step 1. Use the keypad to enter the current Admin Password, then ‘#’. The lock will engage.
Step 2. Press ‘2’ then ‘#’. The lock will emit sound and the light will ash to indicate the lock is ready to pair.
• Images for illustrative purposes only. Actual images may vary.
• App content subject to change without notication.
*Due to the wide variety of Android devices and Bluetooth®technology on the market, the
TL-100 may experience some delays when used with older Android smartphones.
a. Send keys to others via email
b. Touch to reset/erase temporary keypad codes
c. Touch to view and manage user(s) lock access
d. Touch to manage admin password or generate
temporary access codes
e. Touch to view unlock records and details
f. Touch to view temporary access records and details
g. Toggle the in-app unlock sound on/o
h. Toggle to turn notications on/o
i. Touch to view information about the lock
j. Toggle the in-app unlock sound on/o
k. Touch to view information about the lock
a.
b.
c.
d.
e.
f.
g.
h.
i.
j.
k.
Main Interface (Admin View) Main Interface (User View)
Other manuals for TL-100
1
Table of contents
Other Turbolock Lock manuals

Turbolock
Turbolock tl-200 User manual

Turbolock
Turbolock TL-400KBL User manual

Turbolock
Turbolock TL116 User manual

Turbolock
Turbolock TL117 User manual

Turbolock
Turbolock TL88 User manual

Turbolock
Turbolock SmartLOCK TL111WM User manual

Turbolock
Turbolock TL114 User manual

Turbolock
Turbolock TL117 User manual

Turbolock
Turbolock TurboSafe User manual

Turbolock
Turbolock TL-400KBL User manual