TurboTronic TURBOWAVE bio User manual

INSTRUCTION MANUAL
FOOD DEHYDRATOR
TT-FD50
EN

Thank you for buying TurboWave – Digital Food Dehydrator by TurboTronic®.
Enjoy easy home cooking, TT-FD50 equipped with digital touchscreen buttons with fingerprint-resistant control
panel and BPA-FREE material & food-grade stainless steel, safe & durable material.
The dehydrator unit has an accurate temperature setting between 30°C – 75°C and dehydrates food to perfect at
optimal temperature and time duration to ensure you have your delicious food.
ITEM NUNBER:
TT-FD50
BRAND: TurboTronic
PRODUCT SIZE
340x405x310mm
QTY.: 1 PCS/CTN
GB PACKAGE SIZE
440x385x383mm
N.W: 7.6kg
SM PACKAGING SIZE:
460x400x400mm
G.W: 9.6kg
DESCRIPTION:
Digital Food Dehydrator Machine
COLOR: Black
POWER & VOLTAGE
230V~ 50-60Hz, 600W
CAPACITY: 7.6L
EAN:
4260563038902
TEMPERATURE: 30°C – 75°C
POWER:
600W
DIGITAL
TOUCH CONTROL
360° HOT AIR
CIRCULATION
TEMPERATURE:
30°C TO 75°C
BPA
FREE

IMPORTANT
:
Before using this product, please read and understand this instruction manual carefully, and keep
it in a safe place; this product is only for use in homes or similar places.
Danger:
Do not immerse the base in water or any other liquid, and do not rinse under the tap.
Do not use this product to dry liquid foods.
WARNINGS:
- Before connecting the product to the power supply, please check whether the voltage marked on the product is
consistent with the local power supply voltage, and all components are installed correctly.
- Do not allow children or persons with intellectual disabilities to use this product unattended.
- This product should be used on a stable table, not on an inclined or blanketed table.
- When going out or not in use for a long time, please be sure to unplug the power plug from the socket.
- After the first power-on, there is a smell, please continue to use it if it is not abnormal.
- Do not operate or plug in or out the power plug with wet hands to prevent electric shock.
- Do not use this product to dry liquid foods.
- Do not use bleach or chemical disinfectant solutions/tablets in this product.
- Do not use steel wool, abrasive cleaners, or corrosive liquids (such as acetone or alcohol) to clean the product.
- The longest continuous use time should not exceed 72 hours each time, so as not to affect the service life of the
dryer.
- Do not use this product if the power cord, plug or other accessories are damaged.
- If the power cord is damaged, in order to avoid danger, it must be replaced by professionals from the manufacturer,
its maintenance department or similar departments.
- Please do not use accessories or components made by other manufacturers or other manufacturers that are not
recommended.
- It is forbidden to modify or lengthen the power cord of this product in any way.
- It is forbidden to use this product outdoors, or to use this product for other purposes.
- All accessories are only suitable for the use of this product. It is forbidden to be used for other purposes or on
other similar products to avoid danger.
- It is forbidden to yank the power cord of the product or tie the power cord to an object at a favorable angle.
- Non-professionals are not allowed to disassemble any internal components to avoid danger.
- It is forbidden to move this product when it is plugged in. You can turn it off, when necessary, unplug the power
plug, and move it to a suitable location.
- If you have any questions, please contact the relevant service center or dealer for help.
- Before cleaning the product, you must first unplug the power plug and let it cool down.
- Do not place any food (including water and seasonings and food) on the saucepan
- Do not put any objects into the hot air outlet hole.
- Never use a microwave oven to heat any other parts of the product.
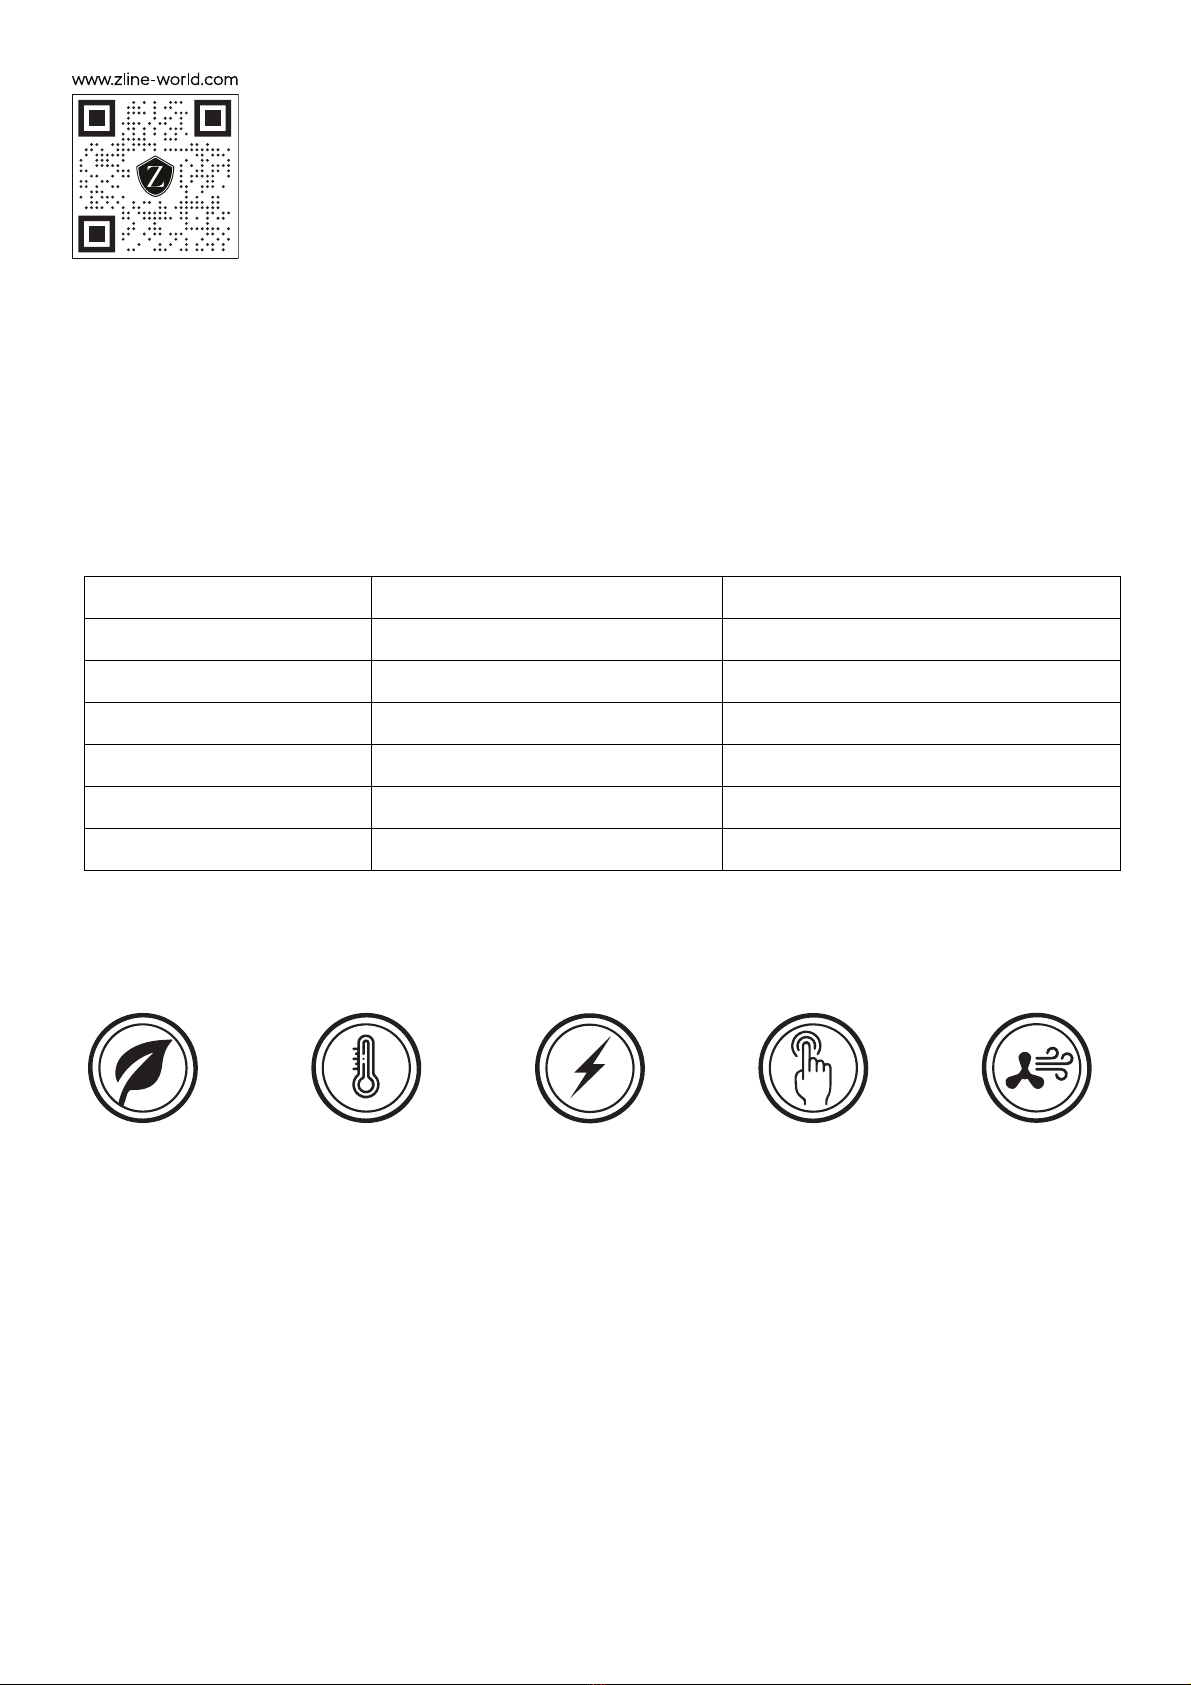
Indicates to read and review instructions to understand operation and use of product.
Indicates the presence of a hazard that can cause personal injury, death or substantial
property damage if the warning included with this symbol is ignored.
Tak e ca re t o av oi d c o n t a ct w it h ho t su rf ac e. Alw ay s us e ha nd protection to avoid burns.
For indoor and household use only.

PRODUCT DESCRIPTION:
Control panel: touch button operation
●Turn on:After the power is turned on, all the indicator lights flash once and then go out, and at the
same time a short "Di" sound, then only the power button indicator light keeps on, all other patterns
and digital tube lights are off, and it enters the "standby state". If there is no operation, the "standby
state" will be kept continuously.
●Under the "standby” state, short press the " " key to enter the "wake-up” state. Short press the "
" key again to enter the "working” state.
●When under "working” status, the digital tube countdown will display the countdown in real time, and
the corresponding function key can be touched during the process, and at the same time, the
corresponding function adjustment will be entered (the function indicator light is always on and the
digital tube is flashing) at the same time. The corresponding function continues to operate, and
automatically enters the "working” state 3 seconds after the setting is completed.
●During the "working” state, short press the " " key to enter the "standby” state.
●In the "wake-up” state, if there is no operation, it will enter the "standby” state after 5 minutes; if there
are other operations, the time will be delayed for 5 minutes and enter the "standby” state.
●In any state, as long as the " " icon is always on, short press " " to switch the lamp on and off.
●This machine has a memory function.
●Long press " " to quickly increase the time or temperature preset value.
●Long press " " to quickly decrease the time or temperature preset value.
●In any state, as long as "TEMP" is always on, press and hold the "TEMP" key for 3 seconds, and the
displayed temperature will switch between "°F" and "°C"; if you want to switch again, you need to press
and hold again "TEMP" key for 3 seconds.
When the display is "°C ", it can be customized between 30°C to 75°C. The temperature variable unit is
5°C.
When “°C” is displayed, it can be customized from 30°C to 75°C. The temperature variable unit is 5°C.

FAULT PROTECTION:
If an NTC failure is detected during the "working” state, the heating must be stopped immediately,
and the display shows "E1" with three short "Di" beeps, the motor will stop after a delay of 10
seconds; then it will enter the "wake-up” state.
If an NTC failure is detected during the "wake-up” state, the display shows "E1" with three short
beeps. After 5 minutes, it enters the "standby” state and keep it.
In any states, if NTC detects the temperature ≥ "85" degrees (no need to compensate), it must
stop heating immediately, and the display shows "E2" with three short beeps; the motor will stop
after a delay of 10 seconds, Enter the "standby” state after 5 minutes.
ACCESSORIES AND INSTRUCTIONS:
A. Mesh sheet: It is used to hold small foods that need to be dried and dehydrated.
B. Drying Trays: It is used to hold food that needs to be dried and dehydrated.
C. Drip Tray: Used to support the fines and fallen juice of the upper layer of food.
D. Door: It is used to seal the outlet of hot air and bottom air.
E. Glass door: Used for sealing hot air and observing the state of food inside.
F. Control Panel: Used to control the work of the machine.
G. Inner chamber: Used to place the shelf to hold the food that needs to be dried and dehydrated.
H. Housing: Metal material.
I. Fan
1
I

ACCESSORY DISASSEMBLY METHOD:
A. Tak e ou t th e ma ch i n e .
B. Open the door.
C. Tak e ou t th e d r y in g tr ay s or m es h sh ee t.
D. Put the food drying trays (if you need to use mesh sheet, please put the mesh sheet on the empty trays)
back to the machine.
E. Close the door.
F. Insert the plug into the socket.
G. Operate the control panel and select functions
HOW TO USE THE FUNCTION:
1. Drying function:
1.1 The time can only be adjusted within 1 hour to 24 hours. The single adjustment time is "30
minutes", and the time or temperature is increased rapidly when long-pressing.
1.2The temperature can only be adjusted within 30~75℃. The single-time adjustment
temperature is "5°C" (US standard 5°F), and the time or temperature is increased rapidly when long-
pressing.
1.3 Turn on: After the power is turned on, all the indicator lights flash once and then go out, and at the same
time, there is a short "Di" sound, then only the power button indicator light keeps on, all other patterns and digital
tube lights are off, and it enters the "standby state" . If there is no operation, the "standby state" will be kept
continuously.
Under the "standby” state, short press the " " key to enter the "wake-up state". Short press the " " key
again to enter the "working state". When the "working status" is in progress, the digital tube countdown will display
the countdown in real time, and the corresponding function key can be touched during the process, and at the
same time, the corresponding function adjustment will be entered (the function indicator light is always on and the
digital tube is flashing) at the same time. The corresponding function continues to operate, and automatically
enters the "working state" 3 seconds after the setting is completed.
Under the "working state", short press the " " key to enter the "standby state".
Under the "wake-up state", if there is no operation, it will enter the "standby state" after 5 minutes; if there are
other operations, the time will be delayed for 5 minutes and enter the "standby state".
Under any states, as long as the " " icon is always on, short press " " to switch the lamp on and off.
CLEANING AND MAINTENANCE:
1. Please turn off the machine before cleaning, unplug the power plug, and it must be dry before the next use.
2. Please take out the accessories according to the method of assembly and disassembly, and clean them
separately.
3. The product should be cleaned immediately after each use of the product.
4. Do not immerse the host in water or other liquids, and do not rinse the host under the tap.
5. Do not use bleach or chemical disinfectant solutions/tablets in this product.
6. Do not use steel wire balls, abrasive cleaners or corrosive liquids (such as gasoline, acetone or alcohol) to clean
the product.
7. After cleaning, dry the host and all accessories.
8. Please clean relevant accessories in time after use.

COMMON PROBLEM ANALYSIS:
1. The drier does not work / does not heat up?
1.1 Check whether the socket and the power cord plug are well connected.
1.2 Check whether the power cord is in good condition. If the power cord is damaged, it must be replaced by
the manufacturer or its maintenance department or similar professionals to avoid danger.
2. The indicator light does not light up:
2.1 Is there a power outage?
2.2 Is the power cord plugged into the socket? Is the power outlet turned off?
Remark:
After analyzing the above phenomena, the fault still cannot be eliminated, please contact the company's
maintenance point or the dealer. It is strictly forbidden for non-professionals to disassemble the machine by
themselves.
1. FRUIT
1) Fruit Pretreatment:
Dilute the juice (1/4 cup of juice and 2 cups of water), and soak the food to be dried for about 2 minutes. (Note:
Fruit juice is matched with food, such as apple juice for dried apples.)
2) Recommended Cooking Time and Temperature:
FOOD NAME
INGREDIENT SPECIFICATIONS
TEMP °C
DRY STATE
TIME / HOUR
APRICOT
Cut in half and remove the pits. Cut in
half with the dry side facing down
60-65
Soft
18-20
BANANA
Peel and cut into 3 mm slices
65-70
Crispy
12-14
FIG
Wash, remove stains, and cut into
quarters. Dry side down
60-65
Soft
18-20
KIWI
Wash and cut into 6mm slices
60-65
Soft
8-11
PEACH
Wash, core and peel and cut into halves
or slices
60-65
Soft
8-17
PEAR
Wash, core and peel and cut into circles
60-65
Soft
4-8
PINEAPPLE
Peel, remove the fiber part, and remove
the core. Cut into 6mm slices
60-65
Soft
11-18
RHUBARB
Wash and cut into a length of 25 mm
60-65
Soft
6-10
STRAWBERRY
Wash and cut into 6mm slices
60-65
Soft
7-15
WATERMELON
Peel, cut into wedges, and remove
seeds. Cut into 10 mm pieces.
60-65
Soft and
sticky
8-10
PITAYA
Peel and cut into 3 mm slices
65-70
Crispy
10-14
APPLE
Wash, core and peel and cut into circles
60-65
Crispy
7-15
2. VEGETABLE

1) Vegetable Pretreatment:
Treat with steam, boiling water or oil. Recommended for green legumes, cauliflower, broccoli, asparagus and
potatoes.
Put the prepared vegetables in boiling water for about 3-5 minutes, drain them and put them in a shelf.
Soak the vegetables in lemon juice for about 2 minutes.
2) Recommended Cooking Time and Temperature:
FOOD NAME
INGREDIENT SPECIFICATIONS
TEMP °C
DRY STATE
TIME / HOUR
ARTICHOKE
Cut into 8mm strips and cook for about 10
minutes
50-55
Fragile
6-14
LEGUMINOSAE
Cut and steam until translucent and even
spread on a fine mesh dish
45-55
Hard/Fragile
10-18
BRUSSELS
LEAF
Pure leaves without rhizomes
50-55
Fragile
8-24
CAULIFLOWER
Steamed softly, cut
50-55
Fragile
6-16
CELERY
Cut 7mm thick slices
50-55
Fragile
6-14
CHINESE
CHIVES
cut
50-55
Fragile
6-10
GARLIC
Peeled and sliced
50-55
Fragile
6-16
BLACK PEPPER
Entire
65-70
Fragile
8-14
ONION
slice
50-55
Fragile
8-14
PEA
Steam for 3-5 minutes
65-70
Fragile
8-14
SPINACH
Steamed till withered
50-55
Fragile
6-16
ASPARAGUS
After washing, cut into 25mm pieces
50-55
Crispy
4-6
BEET
Steam, cool, remove roots and heads; cut
into 25 mm pieces
50-55
Crispy
9-12
BEETROOT
Tak e o u t th e 1 0 mm to p , pre fe r ab l y pee l i t
thoroughly, and then cut into 5mm slices
50-55
Soft
9-12
BROCOLI
Cut open and boil soft, cut into 10mm
pieces
50-55
Crispy
10-14
CABBAGE
Wash and cut into 3 mm long strips
50-55
Crispy
8-11

FOOD NAME
INGREDIENT SPECIFICATIONS
TEMP °C
DRY STATE
TIME / HOUR
CARROT
Trim the top and bottom and shave the
skin clean. Steamed softly and cut
into3mm thick slices.
50-55
Flexible
7-11
CORN
Cut the corn kernels from the corncob and
spread them on the mesh sheet.
50-55
Crispy
7-10
CUCUMBER
Wash and cut into 3mm slices.
50-55
Flexible
4-8
EGGPLANT
Wash and peel, cut into 6mm slices.
50-55
Flexible
4-8
MUSHROOM
Wash and cut into 8mm slices.
50-55
Flexible
4-7
RADISH
Scrub and steam blanch (if needed) and
cut into 8mm slices.
50-55
Soft/Flexible
7-11
CHILI
Wash and remove the seeds and white
parts. Cut into 6mm long strips or rings.
50-55
Flexible
4-8
POTATO
Wash and peel. Steam for about 4-6
minutes until soft. Cut into 6mm slices.
50-55
Crispy/soft
7-13
PUMPKIN
Wash and cut into 6mm slices.
50-55
Flexible
10-14
TOMATO
After washing, cut into 6mm rounds.
50-55
Flexible
10-14
SQUASH
Wash and cut into 5mm slices.
50-55
Crispy
7-11
SWEET POTATO
Wash and peel. Steam for 4-6 minutes.
Cut into 6mm slices.
50-55
Crispy/soft
7-13
3. OTHER FOOD (SUCH AS MEAT, FISH AND NUTS)
1) Meat and Fish Pretreatment:
Lean meat (without fat and oil layer): It is recommended to marinate the meat before
drying to maintain its natural taste and make it tender. Salt should be used when
marinating to help absorb water from the meat and to keep it fresh. Marinating standard: 1/2 cup of bean paste; 1
garlic, mashed; 2 tablespoons of brown sugar; 2 tablespoons of ketchup; 1/2 cup of Worcestershire sauce; 5/4
teaspoons of salt; 1 /2 teaspoon of onion powder; 1/2 teaspoon of pepper; mix all the above ingredients. The meat
is cut into small cubes and put into the machine.
2) Recommended Cooking Time and Temperature:
FOOD NAME
INGREDIENT SPECIFICATIONS
TEMP °C
DRY STATE
TIME / HOUR
JERKY
Use lean meat to remove as much fat
as possible, as fat will deteriorate over
time. Cut into 6mm thick slices and
place on the shelf.
60-70
Flexible
7-8
NUTS AND DRIED
FRUITS
Spread evenly on the mesh sheet.
50-55
Hard/Fragile
8-14

4. VANILLA AND OTHER FOOD
1) Vanilla and other pretreatment:
Rinse and shake off excess water, and remove spoiled leaves. Spread the vanilla loosely on the shelf.
2) Recommended Cooking Time and Temperature:
FOOD NAME
INGREDIENT SPECIFICATIONS
TEMP °C
DRY STATE
TIME / HOUR
VANILLA/HERB
Spread the ingredients loosely on the
shelf instead of stacking them.
40-50
Soft/Fragile
8-12
SCENTED TEA
FRUITS
Spread the scented tea loosely on the
shelf, do not stack.
30-40
Flexible
10-18
STORAGE TIPS:
• Store food only after it has cooled down.
• Food can be kept longer if stored in a cool, dry and dark place.
• Remove all the air you possibly can from the storage container and close tightly.
• Optimal storage temperature is 59°F or lower.
• Never store food directly in a metal container.
• Dried meats, poultry and fish should be stored for no more than 3 months if kept in the
refrigerator, or 1 year if kept in the freezer.
• Check the contents of your dried food for moisture during the weeks following dehydration.
If there is moisture inside, you should dehydrate the contents for a longer time to avoid spoiling.
• For best quality, dried fruit, vegetables, herbs, nuts, bread should not be kept for more than 1 year,
if kept in the refrigerator or freezer.
DISPOSAL OF OLD ELECTRICAL APPLIANCES:
The European directive 2002/96/EC on Waste Electrical and Electronic Equipment (WEEE),
requires that old household electrical appliances must not be disposed of in the normal unsorted
municipal waste stream. Old appliances must be collected separately in order to optimize the
recovery and recycling of the materials they contain, and reduce the impact on human health and
the environment.
The crossed out “wheeled bin” symbol on the product reminds you of your obligation, that when you dispose of
the appliance, it must be separately collected.
Consumers should contact their local authority or retailer for information concerning the correct disposal of their
old appliance.
LIMITED WARRANTY:
Limited Warranty applies to purchases made from authorized retailers of TurboTronic®.
TurboTronic® Warranty coverage applies to the original owner and to the original product only and is not
transferable.
TurboTronic® warrants that the unit shall be free from defects in material and workmanship. Limited Warranty
apply only when it is used under normal household conditions and maintained according to the requirements

outlined in the Owner’s Guide, subject to the following
conditions and exclusions:
ANY WARRANTY OR AFTER PURCHASE SERVICE, SHOULD BE WITH A THIRD-PARTY COMPANY, FROM
WHICH YOU PURCHASED THE PRODUCT. TURBOTRONIC® PROVIDES THE WARRANTY ONLY TO OUR
THIRD-PARTY SUPPLIERS. SINCE THIS PRODUCT IS NOT PURCHASED DIRECTLY FROM
TURBOTRONIC® BUT THROUGH ONE OF OUR THIRD-PARTY SUPPLIERS, ANY ISSUE AFTER THE
PURCHASE, CUSTOMER SERVICE OR RECEIVING THE WARRANTY SHOULD BE ONLY / DIRECTLY
THROUGH THE THIRD-PARTY SUPPLIERS FROM WHICH YOU PURCHASED THE PRODUCT.
What is covered by this warranty?
1. The original unit and/or non-wearable parts deemed defective, in TurboTronic® sole discretion, will be repaired
or replaced
2. TurboTronic® reserves the right to replace the unit with one of equal or greater value.
What is not covered by this warranty?
1. Normal wear and tear of wearable parts (such as blending vessels, lids, cups, blades, blender bases, removable
pots, racks, pans, etc.), which require regular maintenance and/or replacement to ensure the proper functioning
of your unit, are not covered by this warranty.
2. Any unit that has been tampered with or used for commercial purposes.
3. Damage caused by misuse, abuse, negligent handling, failure to perform required maintenance (e.g., failure to
keep the well of the motor base clear of food spills and other debris), or damage due to mishandling in transit.
4. Consequential and incidental damages.
5. Defects caused by repair persons not authorized by TurboTronic®. These defects include damages caused in
the process of shipping, altering, or repairing the TurboTronic® product (or any of its parts) when the repair is
performed by a repair person not authorized by TurboTronic®.
6. Products purchased, used, or operated outside Europe.
Illustrations may differ from actual product.
We are constantly striving to improve our products, therefore the specifications contained herein are subject to
change without notice.
TurboTronic® and Z-Line® are registered trademarks of Z-GLOBAL B.V.B.A®.
PRINTED IN PRC
This manual suits for next models
1
Table of contents
Other TurboTronic Kitchen Appliance manuals

TurboTronic
TurboTronic CookProPot TT-SC6D User manual

TurboTronic
TurboTronic TURBOWAVEbio TT-FD9 User manual

TurboTronic
TurboTronic TURBOWAVEbio TT-FD45 User manual

TurboTronic
TurboTronic TUROWAVE bio User manual

TurboTronic
TurboTronic Cook Pro 51 User manual

TurboTronic
TurboTronic Cook Pro Pot TT-SC3D User manual

TurboTronic
TurboTronic TurboWaveBio TT-FD14 User manual

TurboTronic
TurboTronic TT-PO12 User manual

TurboTronic
TurboTronic Cook Pro Pot TT-SC3P User manual

TurboTronic
TurboTronic ibin TT-IBIN60 User manual