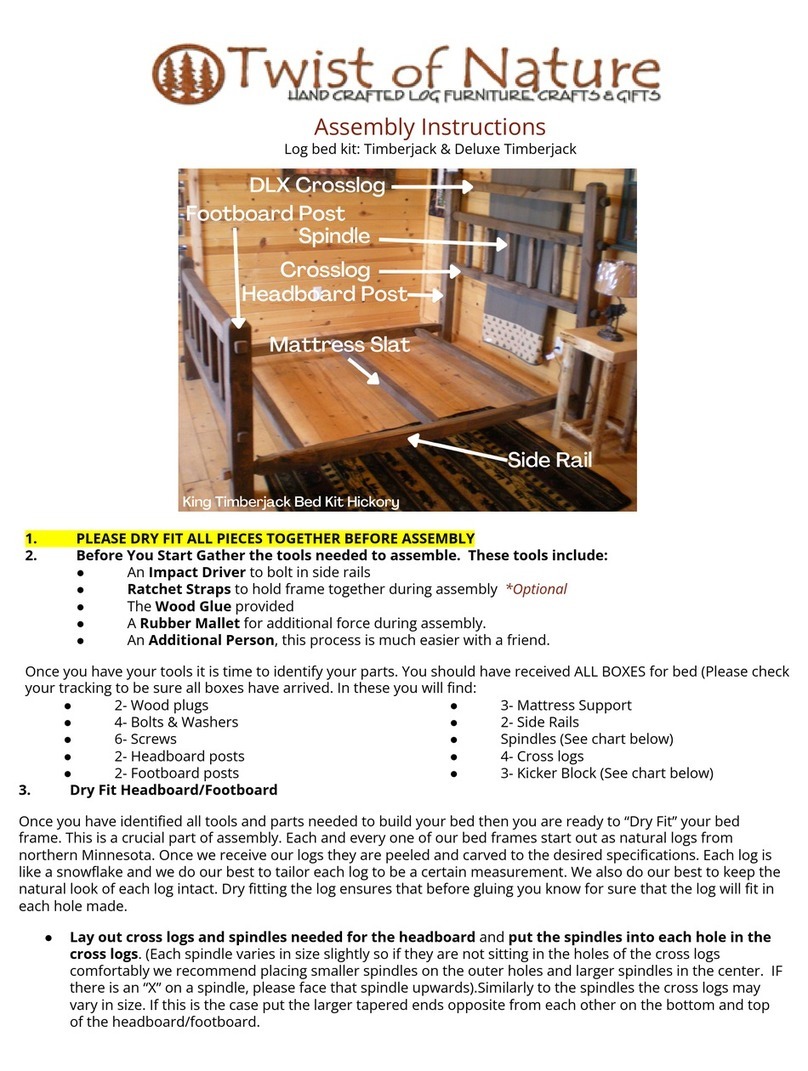
the case, put the larger tapered ends opposite from each other on the bottom and top of the
headboard/footboard.
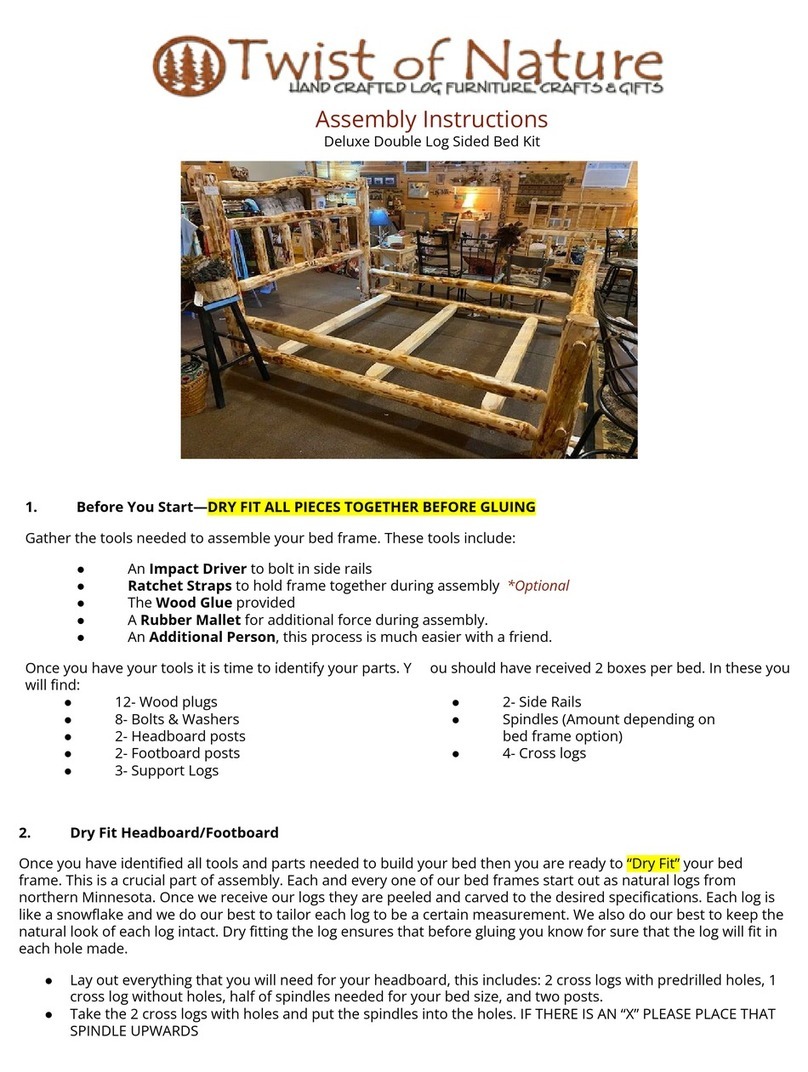
●Once you have placed the spindles into the cross logs it is time to put the cross logs into the headboard posts.
If there is resistance please use some force to square up the headboard so it does not appear crooked. Some
cracking sounds are to be expected and do not affect the structure or durability of the bed.
●Keep in mind that the cross logs with pre-drilled holes and spindles go with the 40” (taller) headboard
posts while the cross logs with NO pre-drilled holes or spindles go with the 28” (smaller) footboard posts.
4. Gluing Headboard/Footboard
Once the “Dry Fitting '' process is done and you are satisfied with how the headboard looks; the spindles, crosslogs,
and headboard post look sturdy it is time to glue them into place. When gluing keep in mind that it is important to
first glue the spindles into the cross logs then, immediately glue the cross logs into the headboard posts before
the glue on the spindles dry. This allows you to manipulate the structure and square the headboard/footboard up
before the drying process begins.Repeat the dry fitting process and gluing for the footboard before moving on.
5. Side Rails
Now that your headboard and footboard are fully assembled and the glue has dried it is now time to connect them
with your side rails. This is where additional help is useful. Grab the 2 side rails, 4 bolts, 4 washers, and your impact
driver.
●On the bottom of each of your bed posts of the headboard and footboard there is a hole that goes all the way
through. This is where you will be putting the ends of your side rails. When placing the side rails into position
keep in mind that the wide flat side of the side rail faces up allowing your box spring to sit atop the side rail.
●When you have your side rails in their appropriate position you can now place a washer and bolt onto the
open end of the hole and bolt your side rails into place.
●The 2 wood plugs can be placed in the remaining open holes on the footboard for a finished look.
6. Support Slats
Each bed comes with 3 support slats, 6 screws, as well as 3 kick blocks.
●Screw each kick block into the center of each slat.
●Place each slat horizontally from side rail to side rail. Make sure to evenly distribute the slats all being ⅓
distant appart with the kick blocks facing down.
●
●7. Finish
You have completed the bed assembly. If you have any questions or concerns please reach out and our team will be
happy to help. We have been in the log furniture business for over 25 years and have always been more than happy to
help our customers in any way we can, especially when it comes to assembling our beds! If you choose not to order
your bed with a clear lacquer finish we do recommend that you add a lacquer finish to your bed. You can do that by
first coating the wood in a sanding sealer then coating it in a water based lacquer. We use a semi-gloss top coat and
sand between coats to ensure that the wood is smooth. Adding a finish to your log bed will protect it from various
things like oils on your hands, gives the wood added durability and creates a clean finished look to your furniture.
Cross Logs w/Predrilled Holes


