manuals.online logo
Brands
  1. Home
  2. •
  3. Brands
  4. •
  5. U-Line
  6. •
  7. Ice Maker
  8. •
  9. U-Line ADA SERIES Installation manual

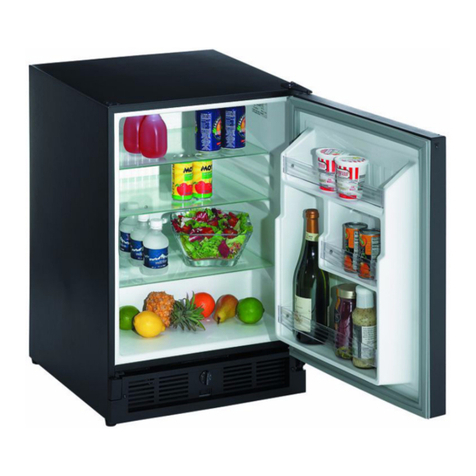
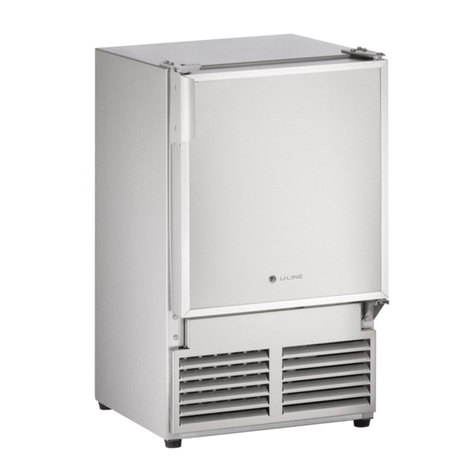
U-Line ADA SERIES Installation manual

Other manuals for ADA SERIES

5

This manual suits for next models

1

Other U-Line Ice Maker manuals

U-Line UMCR014-SC01A Installation manual

U-Line

U-Line UMCR014-SC01A Installation manual

U-Line Marine Series WH95FC User manual

U-Line

U-Line Marine Series WH95FC User manual

U-Line ICE-MAKER User manual

U-Line

U-Line ICE-MAKER User manual

U-Line UACR015-S01A Installation manual

U-Line

U-Line UACR015-S01A Installation manual

U-Line UHRI124 Installation manual

U-Line

U-Line UHRI124 Installation manual

U-Line UHCR115 Installation manual

U-Line

U-Line UHCR115 Installation manual

U-Line 3018CLR SERIES User manual

U-Line

U-Line 3018CLR SERIES User manual

U-Line BI95FC User manual

U-Line

U-Line BI95FC User manual

U-Line Outdoor Onb115 User manual

U-Line

U-Line Outdoor Onb115 User manual

U-Line SS1095 User manual

U-Line

U-Line SS1095 User manual

U-Line UHCP115-SS01A Installation manual

U-Line

U-Line UHCP115-SS01A Installation manual

U-Line CLRCO2075 User manual

U-Line

U-Line CLRCO2075 User manual

U-Line Echelon BI-2115 User manual

U-Line

U-Line Echelon BI-2115 User manual

U-Line CLR2160 User manual

U-Line

U-Line CLR2160 User manual

U-Line Outdoor Series Installation manual

U-Line

U-Line Outdoor Series Installation manual

U-Line CO1175 User manual

U-Line

U-Line CO1175 User manual

U-Line U-CLR1215S-40B Installation manual

U-Line

U-Line U-CLR1215S-40B Installation manual

U-Line UHNPB115 Installation manual

U-Line

U-Line UHNPB115 Installation manual

U-Line 1200 series User manual

U-Line

U-Line 1200 series User manual

U-Line CLR1215SOD User manual

U-Line

U-Line CLR1215SOD User manual

U-Line U-3018CLRINT-00C Installation manual

U-Line

U-Line U-3018CLRINT-00C Installation manual

U-Line U-BI95 Installation manual

U-Line

U-Line U-BI95 Installation manual

U-Line Origins BI-98 User manual

U-Line

U-Line Origins BI-98 User manual

U-Line UCNP115 Installation manual

U-Line

U-Line UCNP115 Installation manual

Popular Ice Maker manuals by other brands

camry CR 8073 user manual

camry

camry CR 8073 user manual

Sub-Zero 315I Planning information

Sub-Zero

Sub-Zero 315I Planning information

Kenmore 2217402A Use & care guide

Kenmore

Kenmore 2217402A Use & care guide

Cornelius WM600 Installation & owner's manual

Cornelius

Cornelius WM600 Installation & owner's manual

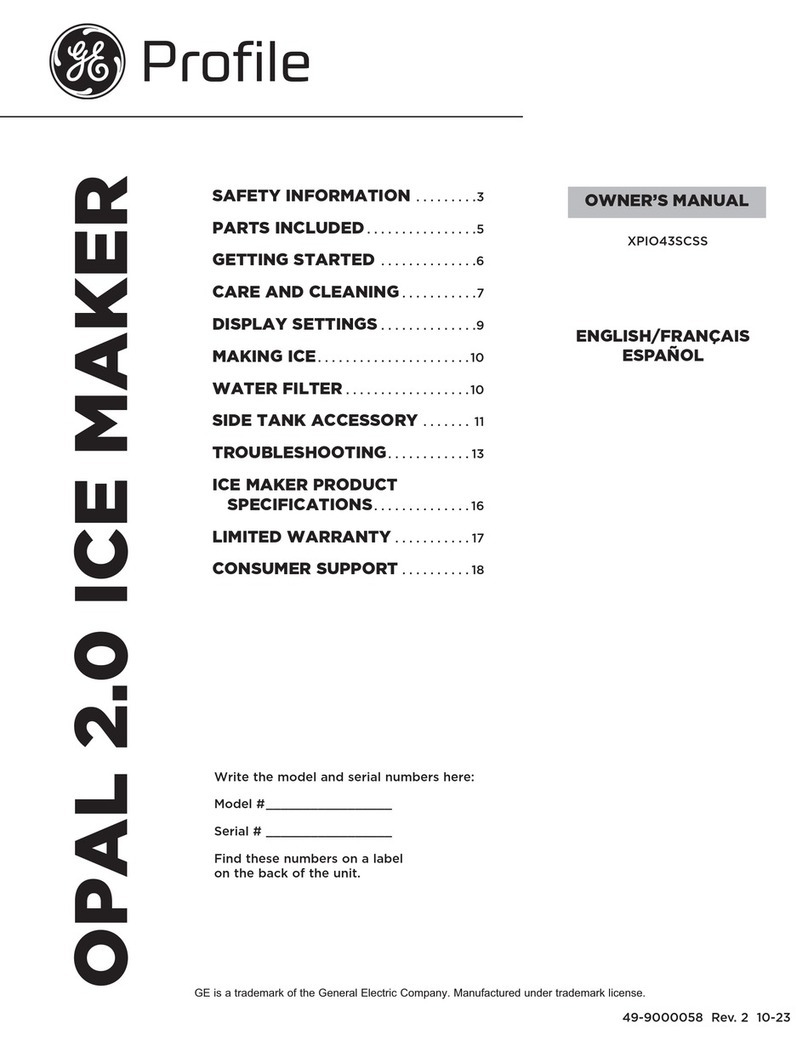
GE XPIO43SCSS owner's manual

GE

GE XPIO43SCSS owner's manual

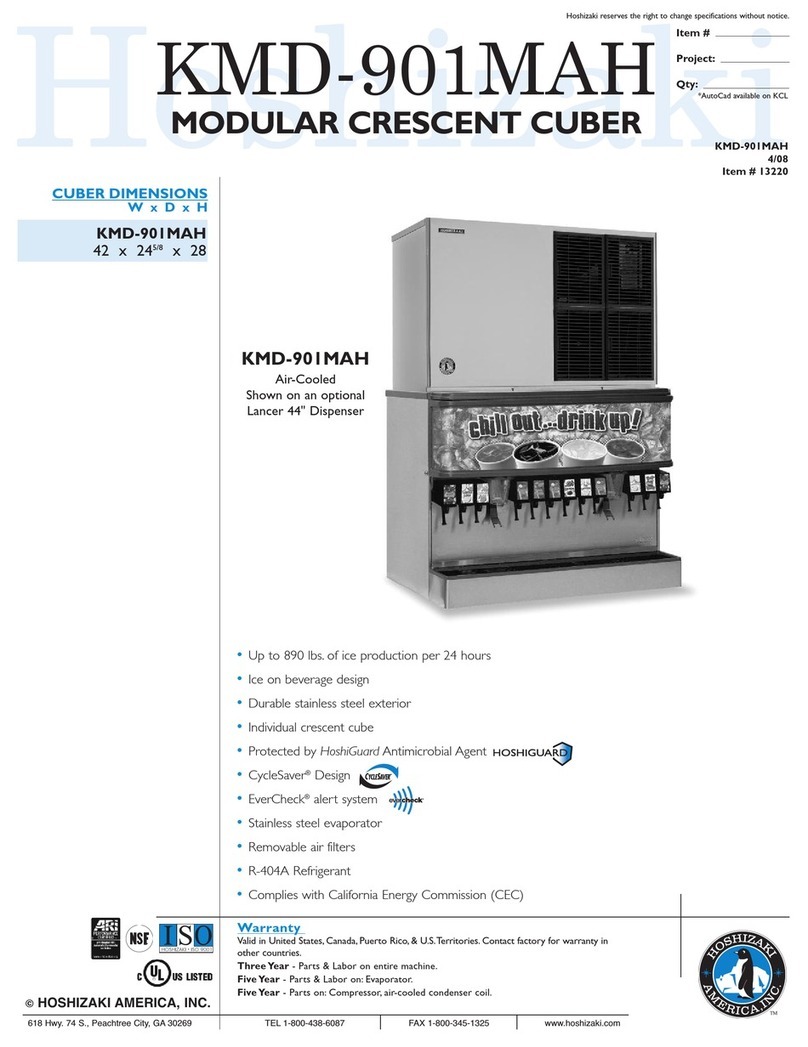
Hoshizaki KMD-901MAH Specifications

Hoshizaki

Hoshizaki KMD-901MAH Specifications

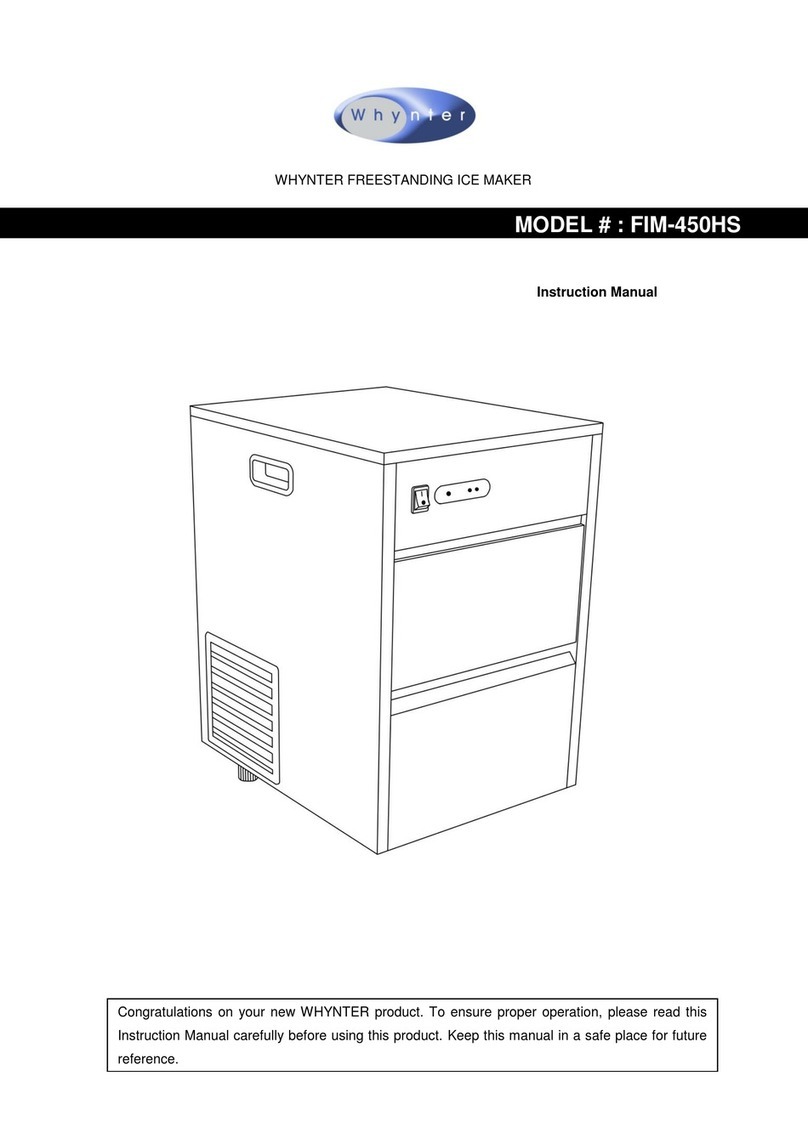
Whynter FIM-450HA instruction manual

Whynter

Whynter FIM-450HA instruction manual

Unold 48945 Instructions for use

Unold

Unold 48945 Instructions for use

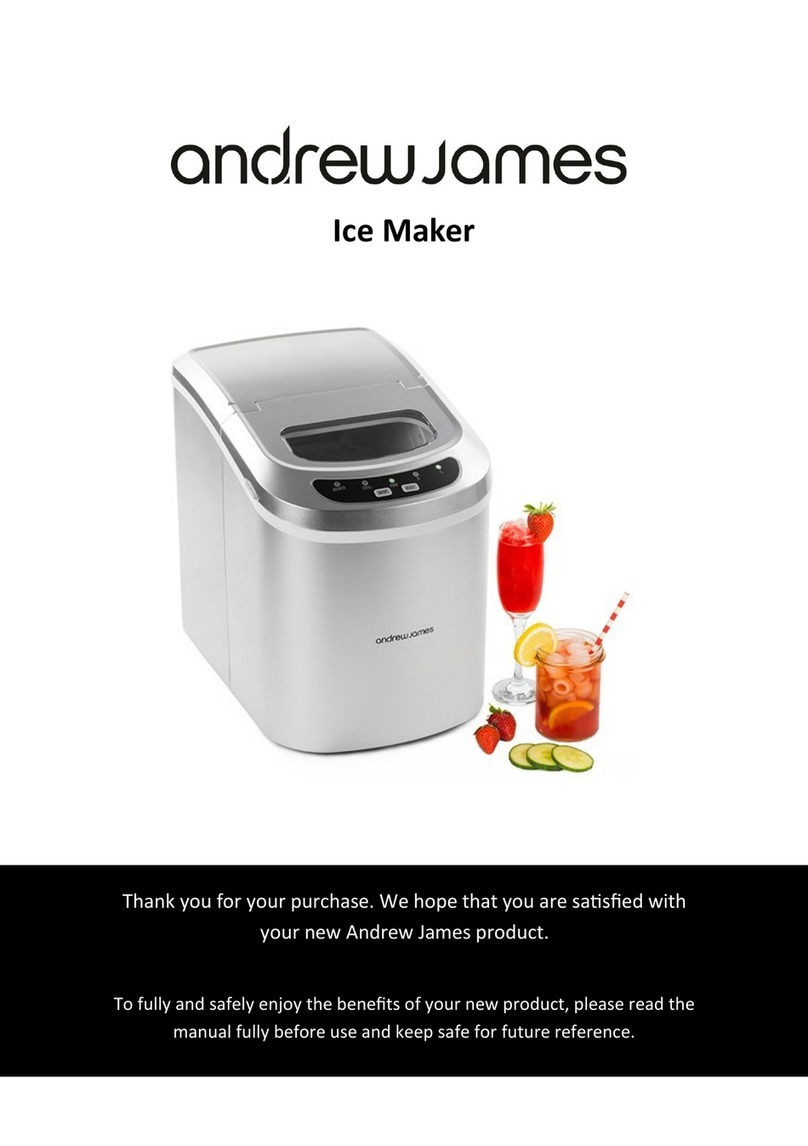
Andrew James AJ000522 manual

Andrew James

Andrew James AJ000522 manual

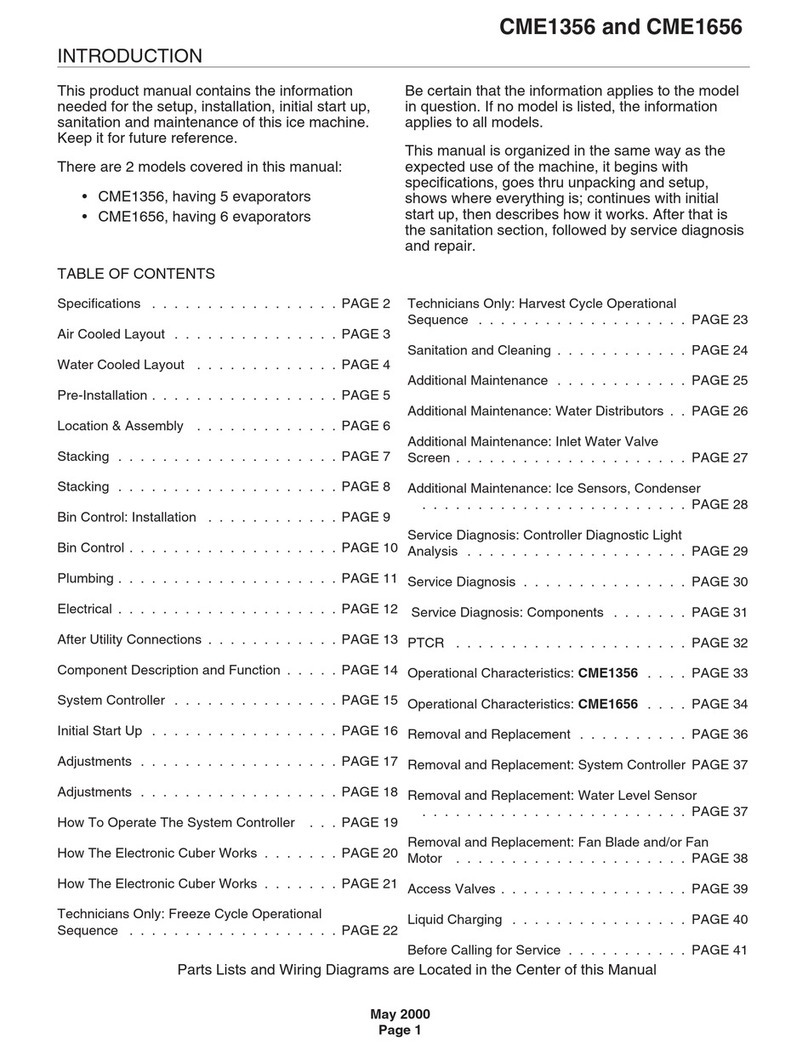
Scotsman CME1356 user guide

Scotsman

Scotsman CME1356 user guide

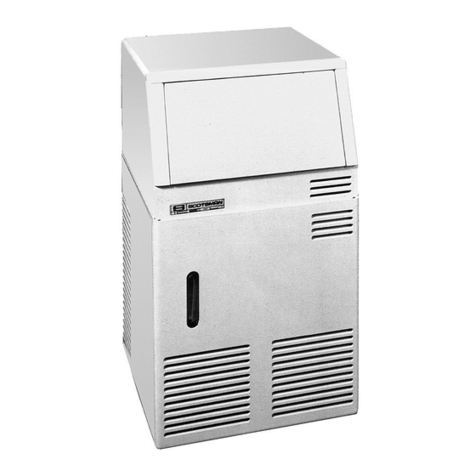
Scotsman ACM 25 Service manual

Scotsman

Scotsman ACM 25 Service manual

Kärcher IP 120 manual

Kärcher

Kärcher IP 120 manual

Maytag MIM1554WRS - Ice Maker User instructions

Maytag

Maytag MIM1554WRS - Ice Maker User instructions

Igloo ICE102-WHITE user manual

Igloo

Igloo ICE102-WHITE user manual

Hoshizaki KM-630MAH instruction manual

Hoshizaki

Hoshizaki KM-630MAH instruction manual

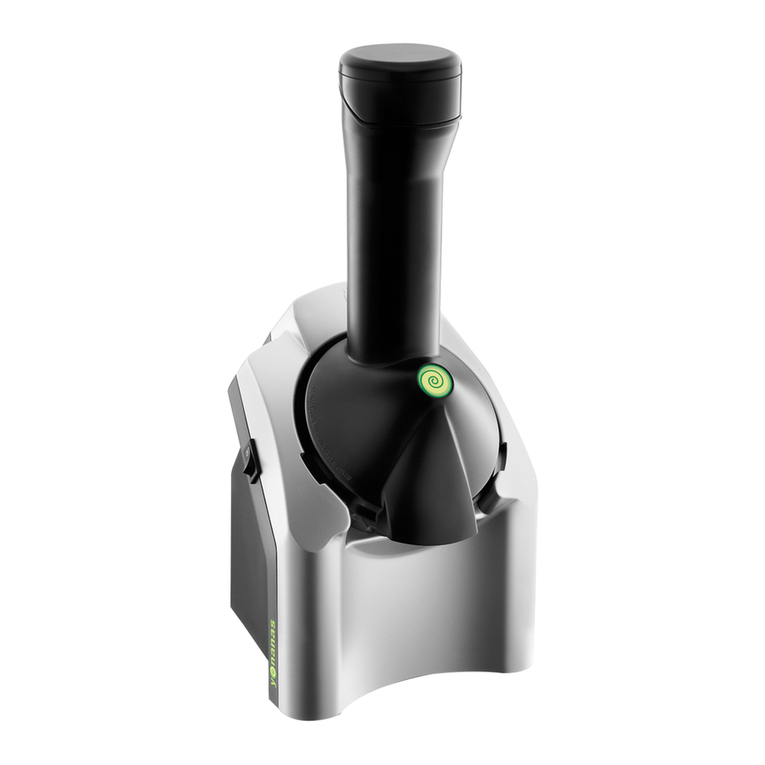
Princess Yonanas user manual

Princess

Princess Yonanas user manual

Unold 48946 Instructions for use

Unold

Unold 48946 Instructions for use

Electrolux E15IM60GP Factory parts catalog

Electrolux

Electrolux E15IM60GP Factory parts catalog

manuals.online logo
manuals.online logoBrands
  • About & Mission
  • Contact us
  • Privacy Policy
  • Terms and Conditions

Copyright 2025 Manuals.Online. All Rights Reserved.

USER GUIDE & SERVICE MANUAL
SAFETY •INSTALLATION & INTEGRATION •OPERATING INSTRUCTIONS •MAINTENANCE •SERVICE
ADA Series •BI98 •15" Crescent Ice Maker
RIGHT PRODUCT. RIGHT PLACE. RIGHT TEMPERATURE. SINCE 1962.
USER GUIDE & SERVICE MANUAL
u-line.com
Table of Contents
Installation
Integrated Panel Dimensions
Integrated Panel Installation
Grille / Plinth Installation
USER GUIDE u-line.com
Introduction
WELCOME TO U-LINE
Congratulations on your U-Line purchase. Your product comes from a company with over ve decades of premium modular ice
making, refrigeration, and wine preservation experience. U-Line creates products focused on functionality, style, and inspired
innovations — paying close attention to even the smallest details. Applications include residential, outdoor, ADA height
compliant, marine, and commercial. Complete product categories include Beverage Centers, Wine Refrigerators, Ice Machines,
Refrigerators, Freezers, and Dispensers.
Our advanced refrigeration systems, large and exible capacities, and Built-In to Stand Out®clean integrated look allow you
to preserve the right product, in the right place, at the right temperature. Since 2014, U-Line has been part of the Middleby
family of brands. All products are designed, engineered, and assembled in Milwaukee, Wisconsin, USA, and select products
are available worldwide.
PRODUCT INFORMATION
Looking for additional information on your product? User Guides, Spec Sheets, CAD Drawings, Compliance Documentation,
and Product Warranty information are all available for reference and download at u-line.com.
PROPERTY DAMAGE / INJURY CONCERNS
In the unlikely event property damage or personal injury is suspected related to a U-Line product, please take the following
steps:
1. U-Line Customer Care must be contacted immediately at +1.414.354.0300.
2. Service or repairs performed on the unit without prior written approval from U-Line is not permitted. If the unit has been
altered or repaired in the eld without prior written approval from U-Line, claims will not be eligible.
GENERAL INQUIRIES
U-Line Corporation
8900 N. 55th Street
Milwaukee, Wisconsin 53223 USA
Monday - Friday 8:00 am to 4:30 pm CST
T: +1.414.354.0300
Email: sales@u-line.com
u-line.com
CONNECT WITH US
SERVICE & PARTS ASSISTANCE
Monday - Friday 8:00 am to 4:30 pm CST
T: +1.800.779.2547
Service Email: onlineservice@u-line.com
Parts Email: onlineparts@u-line.com
Designed, engineered and assembled in WI, USA
3
USER GUIDE
Integrated Panel Dimensions 1
u-line.com
SAFETY • INSTALLATION & INTEGRATION • OPERATING INSTRUCTIONS • MAINTENANCE • SERVICE
Integrated Panel Dimensions
DOOR PANEL INSTALLATION
Door Panel Preparation
A custom door panel may be inserted into the door frame.
Custom door panels can be flat or raised, as long as the
maximum panel thickness, where inserted into the door
reveal (channel), is no more than 1/4" (6 mm) thick. For
raised panels, the depth of the reveal is 1/4" (6 mm) on
all four sides.
NOTICE
Raised panels will reduce the door’s 90° swing/
zero clearance if the unit is installed next to a
wall or similar type of structure.
Panel Dimensions
The door panel must not weigh more than 5 lbs.
Width Height
13-15/16" (354 mm) 15-15/16" (405 mm)
4
USER GUIDE
Integrated Panel Installation 1
u-line.com
SAFETY • INSTALLATION & INTEGRATION • OPERATING INSTRUCTIONS • MAINTENANCE • SERVICE
Integrated Panel Installation
This model accepts a 1/4" insert panel.
INSERT PANEL INSTALLATION
Install the insert as follows:
CAUTION
!
Use care when handling the insert. Insert edges
may be sharp.
1. Remove top hinge screw pin
with Phillips head screwdriver.
Remove door by tilting forward
and lifting off bottom hinge pin.
2. Pull door gasket out of groove
(top edge of door only). Start in
the middle and pull outward,
moving toward the edge. This
may take some force.
3. Remove two outside screws
holding door handle. Slightly
separate door handle from door.
4. Pull handle up and off.
5. Slide custom door panel insert into 1/4" (6 mm)
channel in door front.
NOTICE
Use care not to damage magnet, located on door
bottom when installing door insert. Do not set
door on bottom edge when pushing insert into
place.
6. Holding door gasket out of the way, replace handle on
door, making sure it is seated properly on insert and
that screw holes line up.
7. Install two small screws removed in Step 3.
8. Starting at the corners and working inward, push door
gasket into place on door.
9. Place door on bottom hinge pin and install upper hinge
screw.
5
USER GUIDE
Grille - Plinth Installation 1
u-line.com
SAFETY • INSTALLATION & INTEGRATION • OPERATING INSTRUCTIONS • MAINTENANCE • SERVICE
Grille - Plinth Installation
REMOVING AND INSTALLING GRILLE
WARNING
!
Disconnect electric power to the unit before
removing the grille.
When using the unit, the grille (plinth strip/base
fascia) must be installed.
WARNING
!
DO NOT touch the condenser fins (4). The
condenser fins are SHARP and can be easily
damaged.
Removing the grille
1. Disconnect power to the unit.
2. Loosen the screw (1).
3. Remove grille (2) from unit.
Installing the grille
1. Align cabinet and grille holes and secure, but do not
over tighten grille screw (1).
2. Reconnect power to the unit.
1
2
4
6