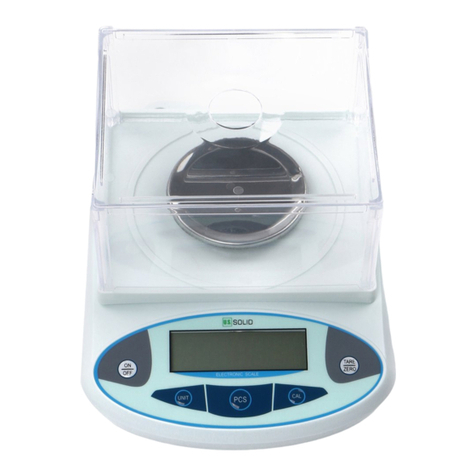
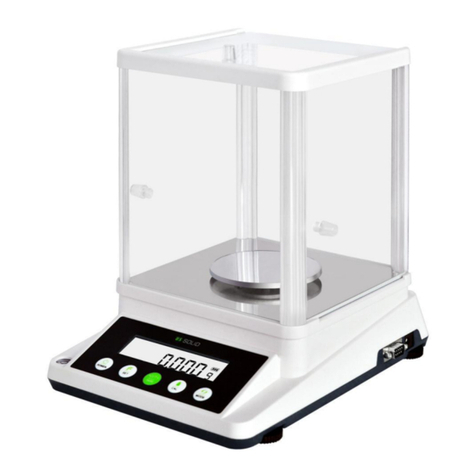
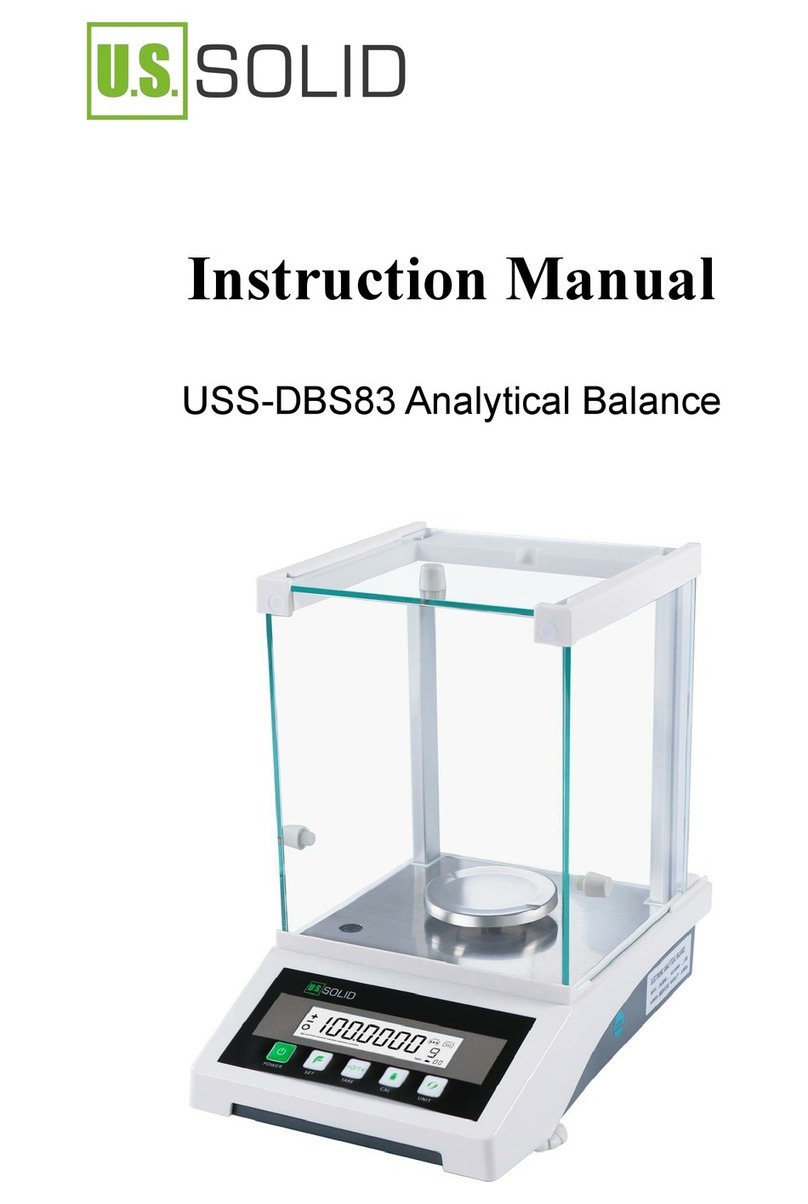
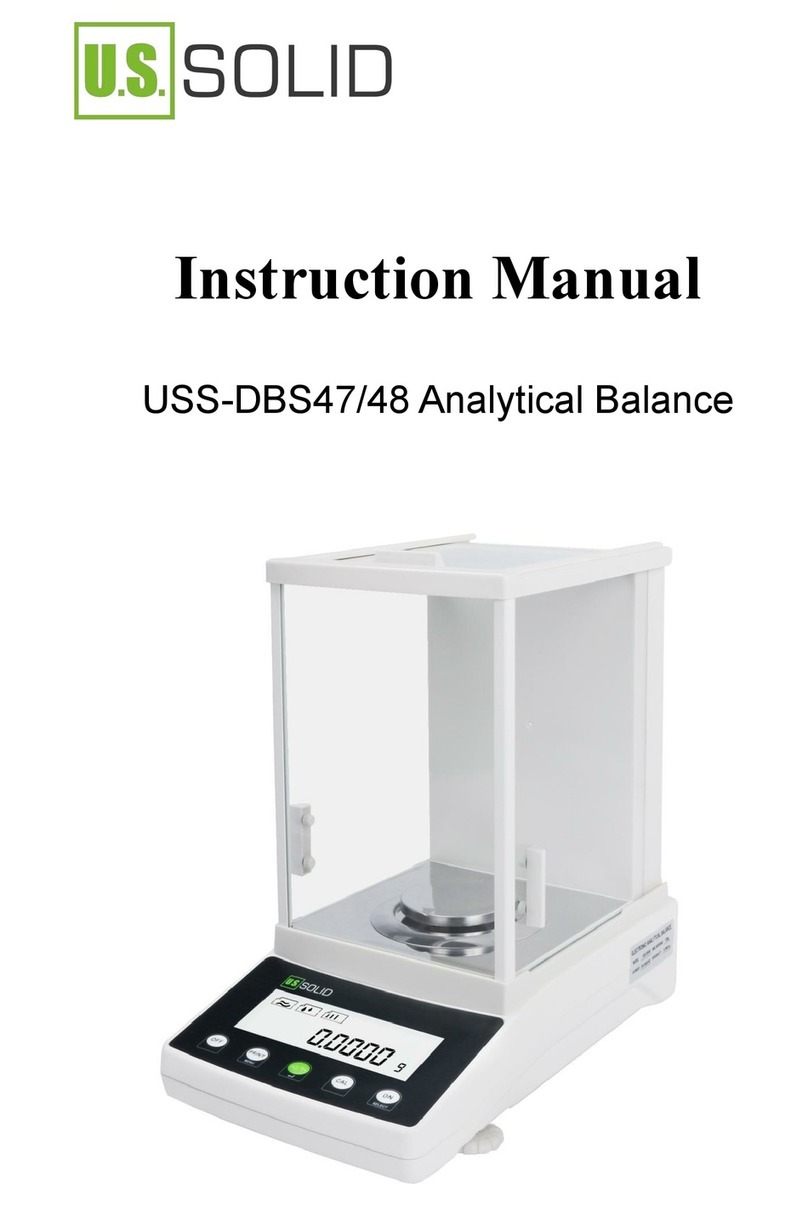
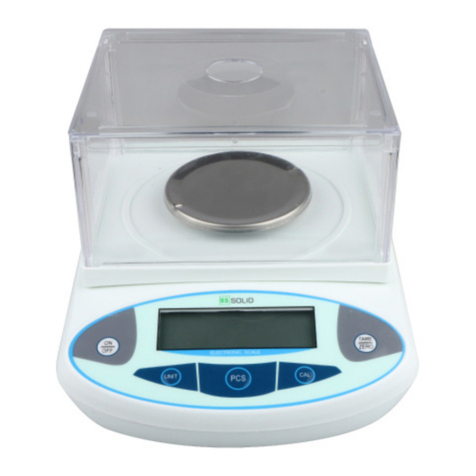
U.S. Solid USS-DBS Series User manual

USS-DBS
MODELS
OPERATING MANUAL
ANALYTICAL BALANCES
This manual should be made available to all users of this equipment. For
best results, and for maximum durability of the equipment, carefully read
and follow all instructions.
ANALYTICAL BALANCE

U.S. Solid®•USS-DBS Models • All Rights Reserved • Page 1
U.S. Solid® • 1200 E.55th Unit C, Cleveland, OH, 44103 • www.ussolid.com
U.S. Solid®•USS-DBS Models • All Rights Reserved • Page 14
U.S. Solid® • 1200 E.55th Unit C, Cleveland, OH, 44103 • www.ussolid.com
I. Getting Started
II. Specications
III. Panel Description
IV. General Structure
V. Installation
VI. Using the Balance
VII. Internal Settings
VIII. Maintenance and Cleaning
Table of Contents
Note: According to the applicable legislation regarding“Non-automatic
weighing instruments”in which balances are included, by means of writ
dating from the 22nd of October, 1994 (BOE 1/3rd/95), these balances must
not be used for:
• Commercial transactions
• Calculating taxes, taris, rates, indemnities, and other similar
canons
• Judicial surveys
• Pharmaceutical medicine preparations, as well as analysis made in
medical or pharmaceutical laboratories
• Determining the price or total amount in sale price or in pre-
packaged preparations
Instructions on environmental protection:
At the end of its life cycle, please do not dispose of this equip-
ment by throwing it in the usual garbage. Instead, hand it over at a collec-
tion point for the recycling of electrical and electronic appliances. It does
not contain dangerous nor toxic products for humans, but inadequate
disposal could still damage the environment. The materials are recyclable as
mentioned. By recycling material or through other forms or repurposing old
appliances, you are making an important contribution to the protection of
our environment. Please inquire with your local community authorities for
the proper disposal location.

U.S. Solid®•USS-DBS Models • All Rights Reserved • Page 13
U.S. Solid® • 1200 E.55th Unit C, Cleveland, OH, 44103 • www.ussolid.com
U.S. Solid®•USS-DBS Models • All Rights Reserved • Page 3
U.S. Solid® • 1200 E.55th Unit C, Cleveland, OH, 44103 • www.ussolid.com
Thank you for choosing U.S. Solid’s Analytical Balance. We hope you enjoy your pur-
chase. Please maintain the equipment according to all instructions within the manual.
This product was developed according to CE marking regulations while emphasizing
aesthetics and safety for the user. It has ISO certication, specically ISO 9001.The
high quality of the product, coupled with proper user care, should allow you to enjoy
the product for years.
Improper use of this equipment can cause accidents, including but not limited to:
electric discharges, circuit breaker malfunctions, re, etc. Please read the mainte-
nance section, where this is explained more fully.
FOR BEST RESULTS AND LONGEVITY IN PRODUCT
EFFICACY, READ THROUGH THIS MANUAL THOROUGHLY
BEFORE USING THE PRODUCT
Please bear in mind the following:
• This manual should be kept with the analytical balance, so it is available to all
users
• Be careful when handling the balance. Avoid any sudden movements when in
its vicinity. Be sure to not drop the balance, nor drop any heavy/sharp objects
on it. Keep liquids away from the balance to avoid spills.
• Never take apart the balance to try and x yourself. This could ruin the entire
balance, and voids the product warranty. There is also risk of injury when
disassembling the balance.
• To prevent re and electrical issues, avoid dusty or overly dry environments. In
case of electrical issue or re, unplug the balance immediately.
• During setup, installation, and use, contact your wholesaler with any questions
that arise.
• This equipment is protected under the Warranties and Consumer Good
Regulation (10/2003)
• Overhaul is not covered by the equipment warranty
• Changes made to the product by non-certied individuals will result in a loss of
the product warranty
• Accessories, including their loss, are not covered by the product warranty, nor
does the warrant cover piece’s deterioration over the course of time.
• Keep your invoice, either for having the right to a warranty, or for asking for
warranty coverage. Manufacturer reserves the right to modify or improve the
manual or equipment.
II. Getting Started
Troubleshooting Guide
Problem Cause Solution
Display not working No power supply Plug in the adapter
Fuse Damaged Replace fuse
Damaged Transformer Replace the power
transformer. If problem
persists, send to Techni-
cal Services for repair.
Unstable Display Poor working conditions Seek somewhere with
less vibration and/or
airow
Wind or drafts aecting
readings
Check to make sure draft
shield is closed tightly
Scale pan unsteady Remove the pan and
clean the surface of the
balance well, making
sure there are no linger-
ing items
Power exceeds permissi-
ble value
Connect balance to pow-
er supply 110-220 V AC
Displayed mass is not
the same as true mass
Balance has not been
calibrated
Double check calibra-
tion, internal and/or
external
Receptacle not being
considered
Make sure the receptacle
has been tared out
Uneven surface Make sure balance is on
a at, even surface

U.S. Solid®•USS-DBS Models • All Rights Reserved • Page 4
U.S. Solid® • 1200 E.55th Unit C, Cleveland, OH, 44103 • www.ussolid.com
U.S. Solid®•USS-DBS Models • All Rights Reserved • Page 12
U.S. Solid® • 1200 E.55th Unit C, Cleveland, OH, 44103 • www.ussolid.com
ATTENTION!! If equipment is not properly
cleaned and cared for, technical service will be
unable to x or repair issues.
FEATURES
• Electromagnetic force compensation technology
• Aluminum alloy die cast base and main structure
• Stainless steel pan
• Backlit LCD display
• Glass draftshield with sliding doors
• Height-adjustable feet
• RS232
• Full capacity taring
• Overload protection
• Four dierent units of measure: g, mg, ct, oz
• Piece counting function
ALWAYS MAKE SURE YOU CALIBRATE YOUR SCALE BEFORE USING, AND NEVER TOUCH THE
INCLUDED WEIGHT WITH YOUR SKIN!
VIII. Maintenance and Cleaning
To get the best results and for product longevity, be sure to follow the suggestions
below.
Note: All of the suggestions and guidelines mentioned below and throughout this
manual will only be eective with continuous and careful maintenance of the equip-
ment
• Follow all processes outlined in the manual
• Make the manual available to all users of the equipment
• Prevent the balance from any sudden movements or falls, as well as from direct
sunlight or air ow. The balance is a precision instrument and must be handled
carefully.
• Balance must be plugged into a grounded electrical outlet and the socket should
be easily accessible to unplug in case of emergency
• Never unplug the balance by pulling on the wire, do so from the base
• Never use the balance in a wedged-in location, such as a shelf
• Never use other objects such as pens, pencils, etc. to press the buttons on the
control panel; use only your ngers.
• Never place anything on the pan heavier than the maximum capacity of the bal-
ance, or the sensor could be damaged
• Do not submerge the balance, nor spill any liquids on it
• When the balance will be unused for a long period of time, lock the rechargeable
battery
• If any liquid does come into contact with the electrical parts of the balance,
immediately disconnect it and send it in for service to be checked and adjusted if
necessary
• Always use only original components and supplies. Other devices and parts may
appear similar, but can damage the equipment.
Cleaning
• Never use scourers or substances that can grate to clean metallic parts. This
include, but is not limited to, stainless steel, aluminum, coatings, etc.. These can
damage the balance and lead to early erosion of eectiveness of the balance.
• -Use a lint-free cloth, dampened with soapy water, that does not contain any
abrasive surfaces, nor corrosive materials

U.S. Solid®•USS-DBS Models • All Rights Reserved • Page 11
U.S. Solid® • 1200 E.55th Unit C, Cleveland, OH, 44103 • www.ussolid.com
U.S. Solid®•USS-DBS Models • All Rights Reserved • Page 5
U.S. Solid® • 1200 E.55th Unit C, Cleveland, OH, 44103 • www.ussolid.com
Baud Rate Settings
The Baud Rate settings are as follows:
• F-1200
• F-2400
• F-4800
• F-9600
• Each of these numbers represents the corresponding Baud Rate
To change the baud rate on the balance:
1. Press and hold the ON button
2. Release when ‘SET F’ is displayed
3. Press and hold the PRT button until the desired rate is displayed
4. Press the TARE button to return to weighing
RS232 Interface
Connection Type Balance (9 pins) PC/Printer (9 pins)
RXD (Input) 2 3
TXD (Output) 3 2
GND (Ground) 5 5
• The default Baud Rate is 1200 bps
• The data format is: 10 bits; 0 as start bit, 1 as stop bit, 8 digits (ASCII code)
• No odd and even numbers adjustments
• Data output is in continous mode by default
Data output format:
12345678
Type Space Space
or *
± Data Data Data Data or
Dot
9 10 11 12 13 14 15 16
Data or
Dot
Data Data Data Unit 1 Unit 2 End Return
II. Specications
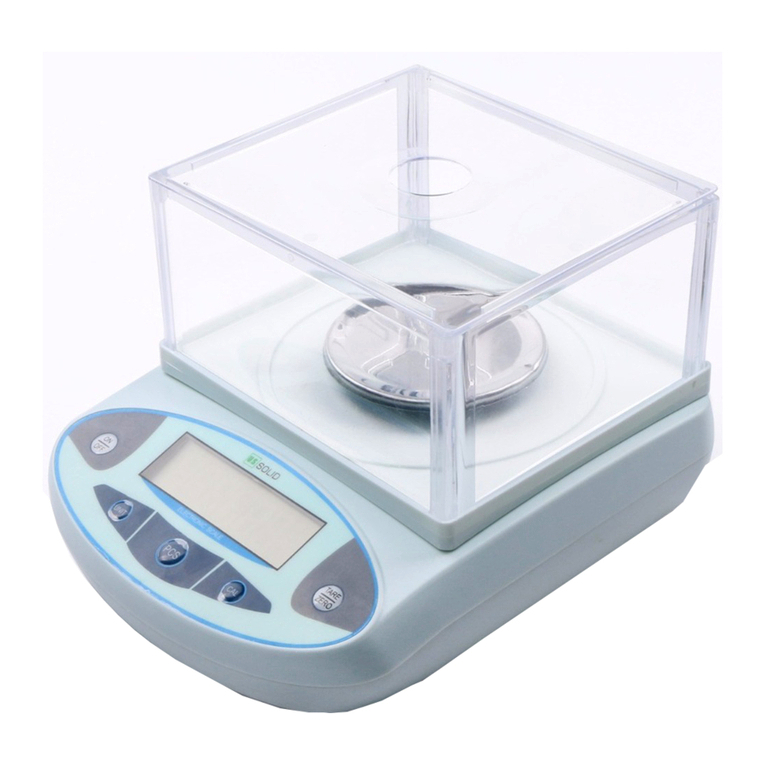
Analytical balances oer fast and accurate measurements of
mass, using a high precision electromagnetic force balance
sensor.
Technical Parameters:
MODEL USS-
DBS4
USS-
DBS5
USS-
DBS6
USS-
DBS7
USS-
DBS8
USS-
DBS9
USS-
DBS10
USS-
DBS11
USS-
DBS12
USS-
DBS13
Max Capacity in grams 100 120 160 180 200 210 220 300 310 320
Accuracy Class I
Min. Capacity 10 mg
Division 0.0001g
Verication Scale Value 0.001
Linearity ±0.0003 g
Max. Permissive Error (MPE)
0g-50g, ±0.5mg
50g-200g, ±1.0mg
200g+, ±1.5mg
Repeatability ±0.0002 g
Stabilization time ≤ 8 Seconds
Operating
Temperature
17.5° C- 22.5° C, with uctuations of <1°C/Hour
63.5° F- 72.5° F with uctuations of <1.8° F/ Hour
Relative Humidity 50%-75%
Pan Size 80 mm
Draft Shield (L*W*H)
in mm 225*220*265
Total Dimensions (L*W*H),
in mm 340*215*350
Net Weight 7.2 kg
Power AC110V-240V 50Hz/60Hz,
DC9V-2.2A by using the universal adapter

U.S. Solid®•USS-DBS Models • All Rights Reserved • Page 6
U.S. Solid® • 1200 E.55th Unit C, Cleveland, OH, 44103 • www.ussolid.com
U.S. Solid®•USS-DBS Models • All Rights Reserved • Page 10
U.S. Solid® • 1200 E.55th Unit C, Cleveland, OH, 44103 • www.ussolid.com
III. Panel Description
Panel Explanations
1. PRT Key: Controls printing function, and acts as a menu
button
2. OFF: Turn o the balance
3. TAR: Tare the balance
4. ON: Turn on the balance
5. CAL: Calibration key
6. ± : Indicates whether weight is positive or negative (neg-
ative weights will be displayed if a container is removed
after being tared)
7. Stability Symbol
VII. Internal settings
Sensitivity Settings
The sensititivy settings are as follows:
• ASD-0 Maximum Sensitivity (Use in ideal conditions)
• ASD-1 High Sensitivity
• ASD-2 Common Sensitivity
• ASD-3 Low Sensitivity (Use in poor conditions)
To change the sensitivity on the balance:
1. Press and hold the ON button
2. Release when ‘SET A’ is displayed
3. Press and hold the PRT button until the desired sensitivity is displayed
4. Press the TARE button to return to weighing
Weighing Speed Settings
The weight settings are as follows:
• INT-0 Fastest
• INT-1
• INT-2
• INT-3 Slowest
•
To change the weight speed on the balance:
1. Press and hold the ON button
2. Release when ‘SET 1’ is displayed
3. Press and hold the PRT button until the desired speed is displayed
4. Press the TARE button to return to weighing
Data Output Settings
The data output settings are as follows:
• PRT-0 Must press button to output data
• PRT-1 Every 30 seconds
• PRT-2 Every 60 seconds
• PRT-3 Every 120 seconds
• PRT-4 Continuous output
To change the data output settings on the balance:
1. Press and hold the ON button
2. Release when ‘SET P’ is displayed
3. Press and hold the PRT button until the desired output rate is displayed
4. Press the TARE button to return to weighing

U.S. Solid®•USS-DBS Models • All Rights Reserved • Page 9
U.S. Solid® • 1200 E.55th Unit C, Cleveland, OH, 44103 • www.ussolid.com
U.S. Solid®•USS-DBS Models • All Rights Reserved • Page 8
U.S. Solid® • 1200 E.55th Unit C, Cleveland, OH, 44103 • www.ussolid.com
IV. General Structure
STRUCTURE
RS232 Interface
Adapter
Jack
Bubble Level
Scale Pan
Adjustable
Tare function
1. Put the receptacle on the weighing pan; its weight will be displayed
2. Press TARE key and the reading on the display will automatically be set to 0.000g
or 0.0000g; tare is complete
3. If the receptacle is removed from the pan, the corresponding weight, with nega-
tive value will be displayed.
4. Press the TARE key again and the value on display will be set to zero again
Weighing unit selection
Press PRT key to select the desired weighing unit from mg (UNT-0), g (UNT-1),
ct (UNT-2), and oz (UNT-3).
Note:The default weighing unit is grams (UNT-1).
Piece counting function
1. Press and hold the ON key until ‘Set-0’is displayed.
2. Press PRT key to select the reference number of pieces (COU-10, COU-25, COU-50).
3. Put the corresponding number of pieces on the pan, press the CAL button. Wait
until the correct number of pieces is displayed based on your selection in Step 2.
4. Remove the pieces from the pan and the balance is ready to be used in piece
counting mode (weighing unit will change from g to pcs)
Note: In counting mode, the weight of the pieces must be even and the weight of an
individual piece should not be less than the readability of the balance
To return to weighing mode:
1. Press and hold the ON key until ‘Set-0’is displayed
2. Press PRT key to select COU-00
3. Press TAR key and the balance will enter weighing mode

U.S. Solid®•USS-DBS Models • All Rights Reserved • Page 8
U.S. Solid® • 1200 E.55th Unit C, Cleveland, OH, 44103 • www.ussolid.com
U.S. Solid®•USS-DBS Models • All Rights Reserved • Page 8
U.S. Solid® • 1200 E.55th Unit C, Cleveland, OH, 44103 • www.ussolid.com
V. Installation
Choosing the installation location
When analytical balances are used in routine lab or industrial measurement environ-
ments, the weighing speed will be much quicker, and the results more accurate. The
location should meet the following conditions:
1. Work room should be clean and dry
2. Balance should be placed on a solid, stable, plain at surface
3. Avoid locations in which the balance could be exposed to any of the follow-
ing:
a. Airow from air conditioners, fans, doors, or windows
b. Vibrations from surrounding or nearby equipment
c. Direct sunlight or radiation
d. Electromagnetic waves or elds
4. Do not use the balance anywhere exposed to explosive, combustible, or
corrosive gases.
5. Do not use the balance in areas with high humidity or high levels of dust
6. When moving from a cooler to a warmer place, the accuracy and reliability of
the scale will be inuenced by the moisture condensation inside the balance.
In order to eliminate this inuence, it is best to leave the scale unplugged in
its new location for at least two hours before next use.
7. Avoid extreme temperatures or exposure to direct sunlight or air condition-
ers. Ideal working temperatures are between 17.5 C and 22.5 C (63.5 and 72.5
F) with tempature uctuations of less than 1 C (1.8 F) per hour.
8. Keep the balance clean.
9. Do not leave material on the balance when not in use.
10. Always use the correct power supply and voltage with the balance; the bal-
ance is supplied with a power adapter 110-220 V/50-60 Hz.
Unpacking and inspection
Check that all of the items indicated below are included in the package and that noth-
ing has been damaged:
• Balance
• Pan
• Power Cable (AC Adapter)
• External Calibration weight
In case the balance or any component is damaged during transport, tell your transpor-
tation agent immediately in order to process claims within the proper time frame.
VI. Using the Balance
Level adjustment
Once the balance is placed at its location, check the bubble level; if bubble is not
well-centered, turn the adjustable feet so the bubble moves to the center and the
balance is properly leveled.
Start
1. Connect the balance to the power supply and press ON key on the panel
2. When the balance turns on, wait 30 minutes for the necessary warm up time for
better performance and stability for the balance.
3. Once warm up time has passed, it is recommended that the balance be calibrated.
4. After calibration, the balance will enter weighing mode
5. To turn the balance o, press the OFF key on the panel and the display will shut
o. If the balance will be unused for an extended period of time, disconnect it
from the power supply.
Calibration
1. Press CAL key; the value of the necessary weight will ash on display
2. Put the calibration weight on the pan; to complete this step, open the glass door,
put the weight on the pan and close the door again. Wait until the value of the
calibration weight stops ashing and is xed on the display (e.g. 100.0000 g,
200.0000g, etc., depending on the model)
3. Remove the weight from the pan; for this, open the glass door, remove the weight
from the pan, and close the door again
4. The balance will enter weighing mode and will display 0.000g or 0.0000g
Note: Each balance includes the necessary weight to complete external calibration
This manual suits for next models
10
Table of contents
Other U.S. Solid Scale manuals

U.S. Solid
U.S. Solid USS-DBS49 User manual

U.S. Solid
U.S. Solid USS-DBS47 User manual

U.S. Solid
U.S. Solid USS-DBS93 User manual

U.S. Solid
U.S. Solid 1004 User manual

U.S. Solid
U.S. Solid USS-DBS3-1 User manual

U.S. Solid
U.S. Solid USS-DBS82 User manual

U.S. Solid
U.S. Solid USS-DBS81 User manual

U.S. Solid
U.S. Solid USS-DBS01 Series User manual

U.S. Solid
U.S. Solid USS-DBS3-1 User manual

U.S. Solid
U.S. Solid USS-DBS83 User manual