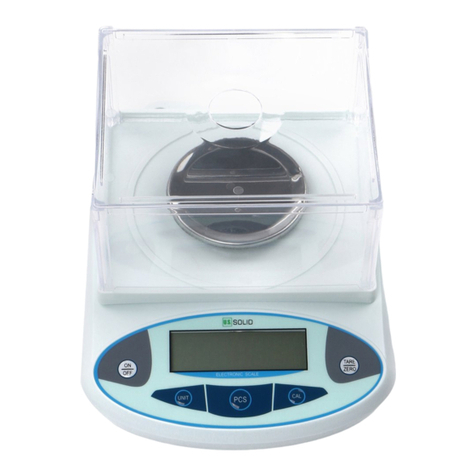
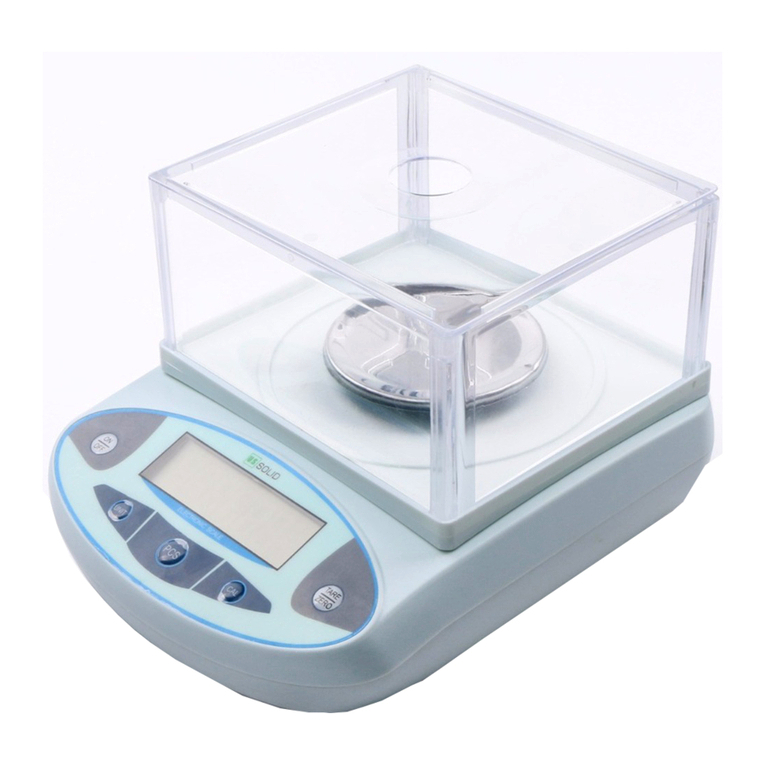
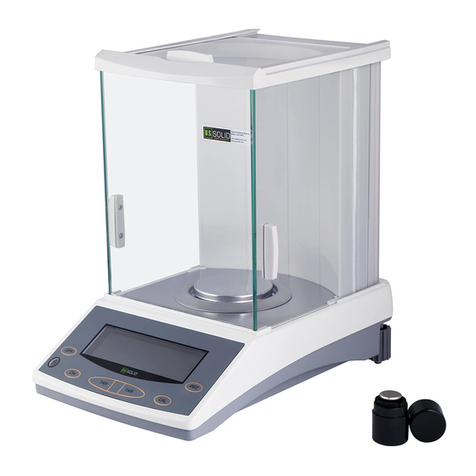
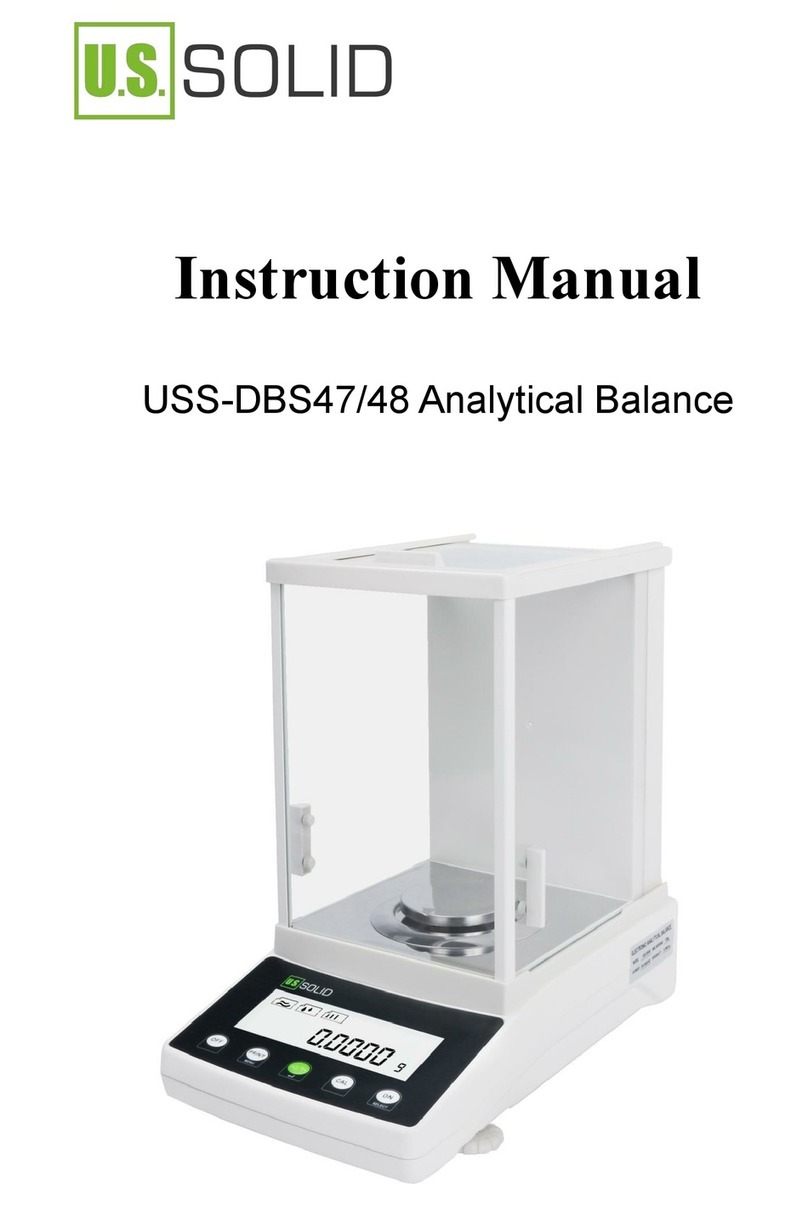
U.S. Solid 1004 User manual

Analytical Balance
Instruction Manual
For questions or concerns, e-mail [email protected], visit
www.ussolid.com, or call (800) 243-5428

1. INTRODUCTION
2. PREPARATION
3. CALIBRATION
single-point calibration internal calibration weight value setting
linearity calibration
4. OPERATION
unit conversion piece counting percent weighing
density determination dynamic weighing baud rate
print setting sensitivity setting filter level setting
time setting
5. TROUBLESHOOTING
6. COMPONENTS LIST
interface

This analytical balance works on electromagnetic force compensation
technology and micro processor which implements high speed stabilization
and high reliability. It can be widely used in industry, agriculture, commerce,
schools, scientific research and other institutions to quickly weighing the quality
and quantity of objects.
Safety Precautions
Verify that the AC Adapter input voltage matches the local AC power supply.
Use the scale only in dry locations.
For best results, use the scale in the specified optimum operating temperature.
Use your scale with care, gently loading items to be weighed onto the center of
the pan. Avoiding rough treatment will aid in the life of your scale.
Do not suggest to use in below environment.
pan
windshield
bubble level panel
leveling
feet
Button:
1. INTRODUCTION
1. INTRODUCTION

DISPLAY INFORMATION
No. Display Description
sensitivity
Dynamic weighing
Density
determination
Percent weighing
Piece counting
Time setting
Weight in air
Weight in liquid
Positive weight value
Negative weight
value
Stable value
Progress bar
Unit display
Data sheet
Electronic Analytical Balance(0.1mg external calibration)
Capacity
Readability
Stable time
Preheating
Weighing units
Min weighting
Repeatability
Linearity
Interface
Pan size
Product size
N.W.
Power
Capacity
Electronic Analytical Balance(0.1mg internal calibration)
1004
0--100g
1204
0--120g
2004
0--200g
2204
0--220g
3004
0-300g
3204
0--320g
4204
0-420g
5204
0-520g
0.1mg
2s
30-60 mins
g/oz/ct/mg
0.1mg
±0.2mg
±0.3mg
±0.1mg
±0.2mg
RS232/USB(optional)
φ90mm
31cm*21.2cm*35cm
5500g
AC110V-240V
Model
Capacity
Readability
Stable time
Preheating
Weighing units
Min weighting
Repeatability
Linearity
Interface
Pan size
Product size
N.W.
Power
Model 1004N 1204N2004N2204N3004N 3204N4004N5004N
0 - - 1 0 0 g 0 - - 1 2 0 g 0 - - 2 0 0 g 0 - - 2 2 0 g 0-300g 0--320g 0-400g 0-500g
0.1mg
2s
30-60 mins
g/oz/ct/mg
0.1mg
±0.1mg ±0.2mg
±0.2mg ±0.3mg
RS232/USB(optional)
φ90mm
31cm*21.2cm*35cm
5500g
AC110V-240V

Data sheet
Electronic Analytical Balance(0.01mg external calibration)
Electronic Analytical Balance(0.01mg internal calibration) Electronic Analytical Balance(1mg internal calibration)
Modle
Modle
Data sheet
Electronic Analytical Balance(1mg external calibration)
Capacity
Readability
Stable time
Preheating
Weighing units
Min weighting
Repeatability
Linearity
Interface
Pan size
Product size
N.W.
Power
Capacity
Capacity
Readability
Stable time
Preheating
Weighing units
Min weighting
Repeatability
Linearity
Interface
Pan size
Product size
N.W.
Power
Capacity
Capacity
Readability
Stable time
Preheating
Weighing units
Min weighting
Repeatability
Linearity
Interface
Pan size
Product size
N.W.
Power
Capacity
Readability
Stable time
Preheating
Weighing units
Min weighting
Repeatability
Linearity
Interface
Pan size
Product size
N.W.
Power
Model Model
Model
Model
10035
10035N
10055
10055N
10085
10085N
20035X
20035N
20055
20055N
20085
20085N
100g/30g
100g/30g
100g/50g
100g/50g
100g/80g
100g/80g
200g/30g
200g/30g
200g/50g
200g/50g
200g/80g
200g/80g
0.1mg/0.01mg
0.1mg/0.01mg
3s
3s
30-60 mins
30-60 mins
g/oz/ct/mg
g/oz/ct/mg
0.1mg/0.05mg
0.1mg/0.05mg
±0.1mg/±0.05mg
±0.2mg/±0.05mg
RS232/USBoptional
RS232/USBoptional
φ90mm
φ90mm
31cm*21.2cm*35cm
31cm*21.2cm*35cm
5500g
5500g
AC110V-240V
AC110V-240V
1003
1003N
2003
2003N
3003
3003N
5003
5003N
6003
6003N
10003
10003N
0--100g
0--100g
0--200g
0--200g
0--300g
0--300g
0--500g
0--500g
0-600g
0-600g
0--1000g
0--1000g
1mg
1mg
1s
2s
30-60 mins
30-60 mins
g/oz/ct/mg
g/oz/ct/mg
1mg
1mg
±1mg
±1mg
±2mg
±2mg
RS232/USBoptional
RS232/USBoptional
φ90mm
φ90mm
31cm*21.2cm*35cm
31cm*21.2cm*35cm
5500g
5500g
AC110V-240V
AC110V-240V
20003
0--2000g
1mg
3s
±3mg
±4mg
±0.1mg/±0.05mg
±0.2mg/±0.05mg

Put the balance on the stable desk, the desk can not be moved.
Adjust the 2 Leveling Feet on the bottom, until the bubble is
centered in the circle, then install the scale pan.
bubble right above
bubble right below
bubble left
bubble right
counterclockwise rotate two
leveling feet
clockwise rotate two
leveling feet
counterclockwise rotate left
leveling foot clockwise
rotate right leveling foot
counterclockwise rotate
right leveling foot
clockwise rotate left
leveling foot
Plug in the AC adapter
Press“ON”button and the display shows“0.0000”, the scale enters into the
weighing mode.
When the operating temperature changes, put the balance in the new place
for 2 hours under the “power on” state to adapt the balance to the new
temperature.
Attention: If the number on display is not stable at the first usage,
it is
caused by the temperature difference of the environment, you can
press ”TARE”button repeatedly
and let it stand for 30 minutes.
In order to get accurate weighing result, balance should be
calibrated
before the below usage scenarios.
Before first use
Balance power off for long time or power error.
After changing the operating environment.
Regularly in weighing procedure.
Choose the calibration (follow the
sequence) Press and hold“ON”
when display show “SET-C” release the button.
“CAL-0”external calibration(weight)
“CAL-1”internal calibration weight
(internal calibration balance)
“CAL-2”internal calibration weight
value adjustment(internal
calibration balance)
press “TARE”to save and exit the setup.
2. PREPARATION 3. CALIBRATION
Single-point calibration follow the sequence
press the button“TARE”, the display shows “0.0000”.
press“CAL”button, balance enters into calibration procedure,
the display shows“CAL--0”, internal calibration balance will
make the calibration automatically
the display shows from“CAL-0”to “CAL-200”and flashes, put on
the 200g weight for FA2204X model
display shows“200.0000”,remove the weight and finish the calibration.
internal calibration weight value setting
(internal calibration balance)
choose the calibration“CAL-2”(follow 3.2.2)
press “CAL” button, the display shows“CAL-DN”
put on the standard calibration weight accordingly
the display shows “CAL-UP”, remove the weight.
wait for the calibration finished, display shows“0.0000”
3. CALIBRATION
Linearity calibration
Balance without loading, and display shows “0.0000”, it can
be operated for linear calibration.
press and hold “ON” button, balance enters into main menu
mode, start to change function
wait to the display shows "SET-C", release the “ON” button
press and hold the “CAL”button for 3 seconds and release the button,
the display show“LIN-0”.
put on the calibration weight accordingly, finish the calibration procedure.
Unit conversion
under the weighing interface press and hold “PRINT” to change the unit
the default unit:g,oz,ct,mg
other unit is optional
piece counting setting
press and hold“ON”button under weighing interface, balance enter into main menu.
wait until the display to show “SEt - 0”, release the “ON” button.
press and hold “PRINT”, enter into piece counting sample quantity setting,
the display shows “-COU-*-”
press and hold“PRINT”to set up piece counting sample quantity, the display will show
sample quantity 10pcs sample quantity 25pcs sample quantity 50pcs
press“TARE”to save and exit.
3. CALIBRATION 4. OPERATION

Piece counting weighing
press and hold “PRINT”button under weighing interface, the display shows “0 PCS”and
, release the "PRINT" button
put the sample quantity which has been set in SET-0.
press “ON” button to confirm the sample weight, and start weighing.
If the same sample is used the second time, no re-sampling is required.
Long press “PRINT” button to exit the piece counting and return to the weighing mode.
Percent weighing
press and hold“PRINT”button under weighing interface, the display
show“0.00” and , release the "PRINT" button
put the contrast target sample on the pan
(e.g. 100g weight), press “ON”button to
save the sample weight, the display shows
“100.00”.
If the same contrast is used the second time, no re-sampling is required.
Long press “PRINT” button to exit the percent weighing and return to the weighing
mode.
Density determination (need gravity kit, optional) density weighing
setting
press and hold “ON” button, the balance enters into the main menu mode.
when the display shows“SET-d”, release the button.
press and hold “PRINT”, enter into density weighing setting, the display shows “-dEn-*-”
press and hold“PRINT to set up density determination, display shows:
close density weighing
open solid density weighing
open liquid density weighing
press“TARE”to save and exit the setup, display shows W1 in the right corner
4. OPERATION
put the contrast on the pan
(e.g.50gweight), the figure
on the display is the
percentage of contrast

Solid density determination:
set up auxiliary liquid density value
press and hold“ON”button under , balance will enter into the main menu and change
release the “ON”button until the display shows “SEt-d”,
press and hold “CAL”button, enter into auxiliary liquid density value setting
Press and hold“CAL”button to increase, press and hold"PRINT" button to decrease
press“TARE”to save the density value and exit
display shows W1, put the sample on the pan in air.(e.g.screw sample)
in air
weighing the sample in liquid - 2 press and
hold“PRINT”button to collect the data
display will show the result of density
(W1\W2 no display
press and hold“RPINT”to exit density result
Follow 4.4 setting,set the density weighing to“-dEn-0-“, press "TARE“ button to exit
density determination.
Dynamic weighing function dynamic weighing setting
press and hold“ON”button under weighing interface, the balance
enters into the main menu mode.
release the “ON” button until the display shows“SET-5”,
press and hold“RPINT”enter into dynamic weighing sampling time setting
display shows “-COU-*-”.
press and hold “PRINT” to set up dynamic weighing sampling time, display shows:
close dynamic weighing start sampling 10 times start sampling 20 times
press“TARE” to save the setting and exit, the display shows
4.
press and hold "print" button and display will show W2.
OPERATION

Dynamic weighing function dynamic weighing
put the sample on the pan.
press and hold“PRINT”above 3 seconds,
stop flashing, weighing end, display
will flash, the dynamic weighing starts.
shows the final result.
3
press and hold“PRINT”to exit.
Follow 4.5 setting, set the dynamic weighing to “-dEn-0-”, exit dynamic weighing.
Baud rate setting
press and hold“ON” button under weighing interface, the balance enters into the
main menu mode
release “ON” button until the display shows “SET-F”,
press and hold“PRINT”to enter into baud rate setting, display shows:“F-****”
press and hold“PRINT”to set up baud rate, the display shows:
baud rate 1200 baud rate 2400
baud rate 4800 baud rate 9600
press“TARE”to save the setting and exit.
Print setting
press and hold“ON”button under weighing interface, the balance enters
into the main menu mode.
release“ON”button until the display shows “SET-P”,
press and hold“PRINT”to enter into print setting, display shows “-Prt-*-”.
press and hold“PRINT”to set up print model, display shows:
interval 0.5s continuously printingpress “PRINT”printing
interval 1s continuously printing interval 2s continuously printing
interval 3s continuously printing
press“TARE”to save the setting and exit.
4. OPERATION

sensitivity setting
press and hold“ON”button under weighing interface, the balance enters
into the main menu mode.
release“ON”button until the display shows “SET-A”,
press and hold“PRINT”to enter into sensitivity setting, display shows “-ASD-*-”.
press and hold“PRINT”to set up sensitivity, the display shows.
highest sensitivity high sensitivity
medium sensitivity
REMARK: factory setting sensitivity “-ASD-3-”, suitable for most using environment.
Higher sensitivityÿrequired better environment. Do not adjust the sensitivity
without consulting the factory.
Filter level setting
press and hold“ON”button under weighing interface, the balance enters
into the main menu mode.
release“ON”button until the display shows “SET-1”,
press and hold“PRINT”button to enter into filter level setting, the display shows“-Int-
*-”. press and hold“PRINT”button to set up filter level, the display shows:
filter level highest filter level high
filter level medium
REMARK:
filter level is the internal calculating time of balance, factory setting
is “-Int-2-“, do not change it by yourself without professional instruction.
press“TARE”to save the setting and exit. press“TARE”to save the setting and exit.
4. OPERATION
filter level low

press and hold“ON”button under weighing interface, the balance enters
into the main menu mode.
release“ON”button until the display shows “SET-T”,
Time setting
press and hold“PRINT”button to enter into clock setting, the display shows“-CLOC-*-”.
press and hold“PRINT”button to set up time, display shows:
second
minute
hour
Press “CAL” button to increase, press“ON”button to decrease.
press“TARE”to save the setting and exit.
Interface
- CLOC
- CLOC
- CLOC
4. OPERATION
RS232 interface
- Connection
Balance (9 pins) PC/Printer (9 pins)
RXD (Input) 2 2
TXD (Output) 3 3
GND (Ground) 5 5
- Output data format
Type
or
Àda ta
data data data data data data data unit unit unit return
data
or
dot
data
or
dot
Line
feed
- The baudrate by default is 9600 bps (see Baudrate setting)
- Data format: 10 bits, 0 as start bit, 1 as stop bit, 8 digits (ASCII code) - No odd and even
numbers adjusting
- Data output: by default is continuous mode. The data ouput mode can be changed into
press output, timing output and continuous output (see Data output setting)
1 2 3 4 5 6 7 8 9 10 11 12 13 14 15

Problem Cause Solution
No power supply;
Fuse damaged;
Power transformer is damaged;
Bad working conditions; Air flow
Something between the scale pan
and working table.
The power exceeds its permissible
value and is unstable;
Static electricity
Improper calibration
The weight of the recipient has
not been tared
Big temperature difference
The balance is not horizontal
Plug in adapter; Change the
fuse;
Change the power transformer;
If problem persists, send the
balance to the Technical
Service for repair.
Improve the working condition,
Close the windshield;
Remove the pan and clean well
the balance surface;
Connect the balance to power
supply 110-220 V AC
Static Elimination
Make calibration Make
tare
Put into suitable
enviroment Adjust level of
balance
Balance
Balance pan
Adapter
Instruction manual
Weight(external
calibration) glove
1
1
1
1
1
1
6. COMPONENTS LIST
No display
Unstable display
Poor accuracy
5.TROUBLESHOOTING
This manual suits for next models
40
Table of contents
Other U.S. Solid Scale manuals

U.S. Solid
U.S. Solid USS-DBS81 User manual

U.S. Solid
U.S. Solid USS-DBS47 User manual

U.S. Solid
U.S. Solid USS-DBS82 User manual

U.S. Solid
U.S. Solid USS-DBS92 User manual

U.S. Solid
U.S. Solid USS-DBS93 User manual

U.S. Solid
U.S. Solid USS-DBS91 User manual

U.S. Solid
U.S. Solid USS-DBS3-1 User manual

U.S. Solid
U.S. Solid USS-DBS Series User manual

U.S. Solid
U.S. Solid USS-DBS3-1 User manual

U.S. Solid
U.S. Solid USS-DBS49 User manual