Uberhaus 780-0001B User manual

Model/Modèle : 780-0001B
70005031
Propane Gas Barbecue
Operators’ Manual p.1
Barbecue au gaz propane
Guide de I’utilisateur p.27

2
Safety Information….…………………………………………………....………………...…..3
Preparation……………….…………………. ……………………….…………….…………7
Assembly Instructions…………………………………………………………….…..……..8
Installation Instructions…………………………………………………………….....…….. 18
Operating Instructions…………………………………………………………….....…… 20
Care and Maintenance……………………………………………………………………… 22
Troubleshooting…………………………………………………………………..……….… 23
Replacement parts list ………………………………………………………………………24
Exploded View………………………………………………………………………..……....25
Warranty………………………………….…………………………………………..……….26
TABLE OF CONTENTS
DANGER
If you smell gas:
1. Shut off gas to the appliance.
2. Extinguish any open flame.
3. Open lid.
4. If odour continues, keep away from the
appliance and immediately call your gas
supplier or your fire department.
WARNING
1. Do not store or use gasoline or other
flammable liquids or vapours in the
vicinity of this or any other appliance.
2. Do not store any extra bottles of
propane near this appliance.
…

3
SAFETY INFORMATION
WARNING – Hazards or unsafe
practices which could result in severe
personal injury or death.
CAUTION – Hazards or unsafe practices
which could result in minor personal
injury.
WARNING
CAUTION
WARNING
Do not try lighting this appliance without first reading
the “LIGHTING INSTRUCTIONS” section of this
manual.
WARNING
Do not use the grill if the odour of gas is present. Contact customer service at 1-
866-206-0888.
WARNING
Never attempt to use damaged equipment. See your local liquid propane dealer for repair.
WARNING
Check all gas supply fittings for leaks before each use. Do not use the grill until all connections have been
checked and do not leak. Do not smoke while leak testing. Never leak test with an open flame.
WARNING
Do not install this unit into combustible enclosures.
There should be a minimum clearance of 24 inches
from all sides to combustible materials.
WARNING
This grill is not intended to be installed in or on
recreationa
l vehicles and/or boats.
WARNING
When lighting, keep your face and hands as far
away from the grill as possible.
WARNING
Maximum propane tank size is 12 inches in
diameter by 18-1/2 inches tall. Do not use a tank
without an Overfill Prevention Device (OPD), which
prevents the tank from being overfilled and
possibly damaging your grill.
WARNING
Do not store grill indoors unless the cylinder is
disconnected. Do not store cylinder in a building,
garage, or any other enclosed area, and keep out
of reach of children at all times.

4
BEFORE LIGHTING
Inspect the gas supply hoses prior to turning on the gas. If there is evidence of cuts, wear, or abrasion on
hoses, they must be replaced prior to use.
Only the pressure regulator and hose assembly supplied with the unit should be used. Never substitute
regulators to those supplied with the grill. Contact customer service for proper replacement.
Screw the regulator (type QCC1) onto the cylinder. Leak check the hose and regulator connections with a soap
and water solution before operating the grill (See “Leak Testing” instructions on page 16).
Do not open the propane tank valve unless the gas hose is properly connected to the side burner gas pipe
system and all burner valves are in the “OFF” position.
Keep a spray bottle of soapy water near the grill and check all the connections before each use.
WARNING
Do not leave the grill unattended while cooking.
WARNING
Failure to properly place the burner over the orifice
could cause a fire to occur behind and beneath the
valve panel, thereby damaging the grill and making
it unsafe to operate.
WARNING
Spiders and insects can nest inside the burners
of the grill and disrupt gas flow.
Inspect the grill at least twice a year.
CAUTION
When using a match to light the grill, make sure to
use the attached lighting rod.
CAUTION
Before cleaning, make sure the gas supply and
control knobs are in the “OFF” position and the
burners have cooled off.
CAUTION
The grill body is heavy and will require two or
more people to lift and position onto grill cart.
PROPANE CYLINDER WARNING
1. Do not store or use gasoline or other flammable vapours and liquids in the vicinity of this or any other
appliance.
2. A propane cylinder not connected for use should not be stored in the vicinity of this or any other appliance.
3. Do not store spare liquid propane gas cylinders under or near this appliance.
4. Never fill the cylinder beyond 80 percent capacity.
5. Propane cylinders must be provided with a listed overfilling prevention device.
6. If the information above is not followed exactly, a fire resulting in death or serious injury could occur.

5
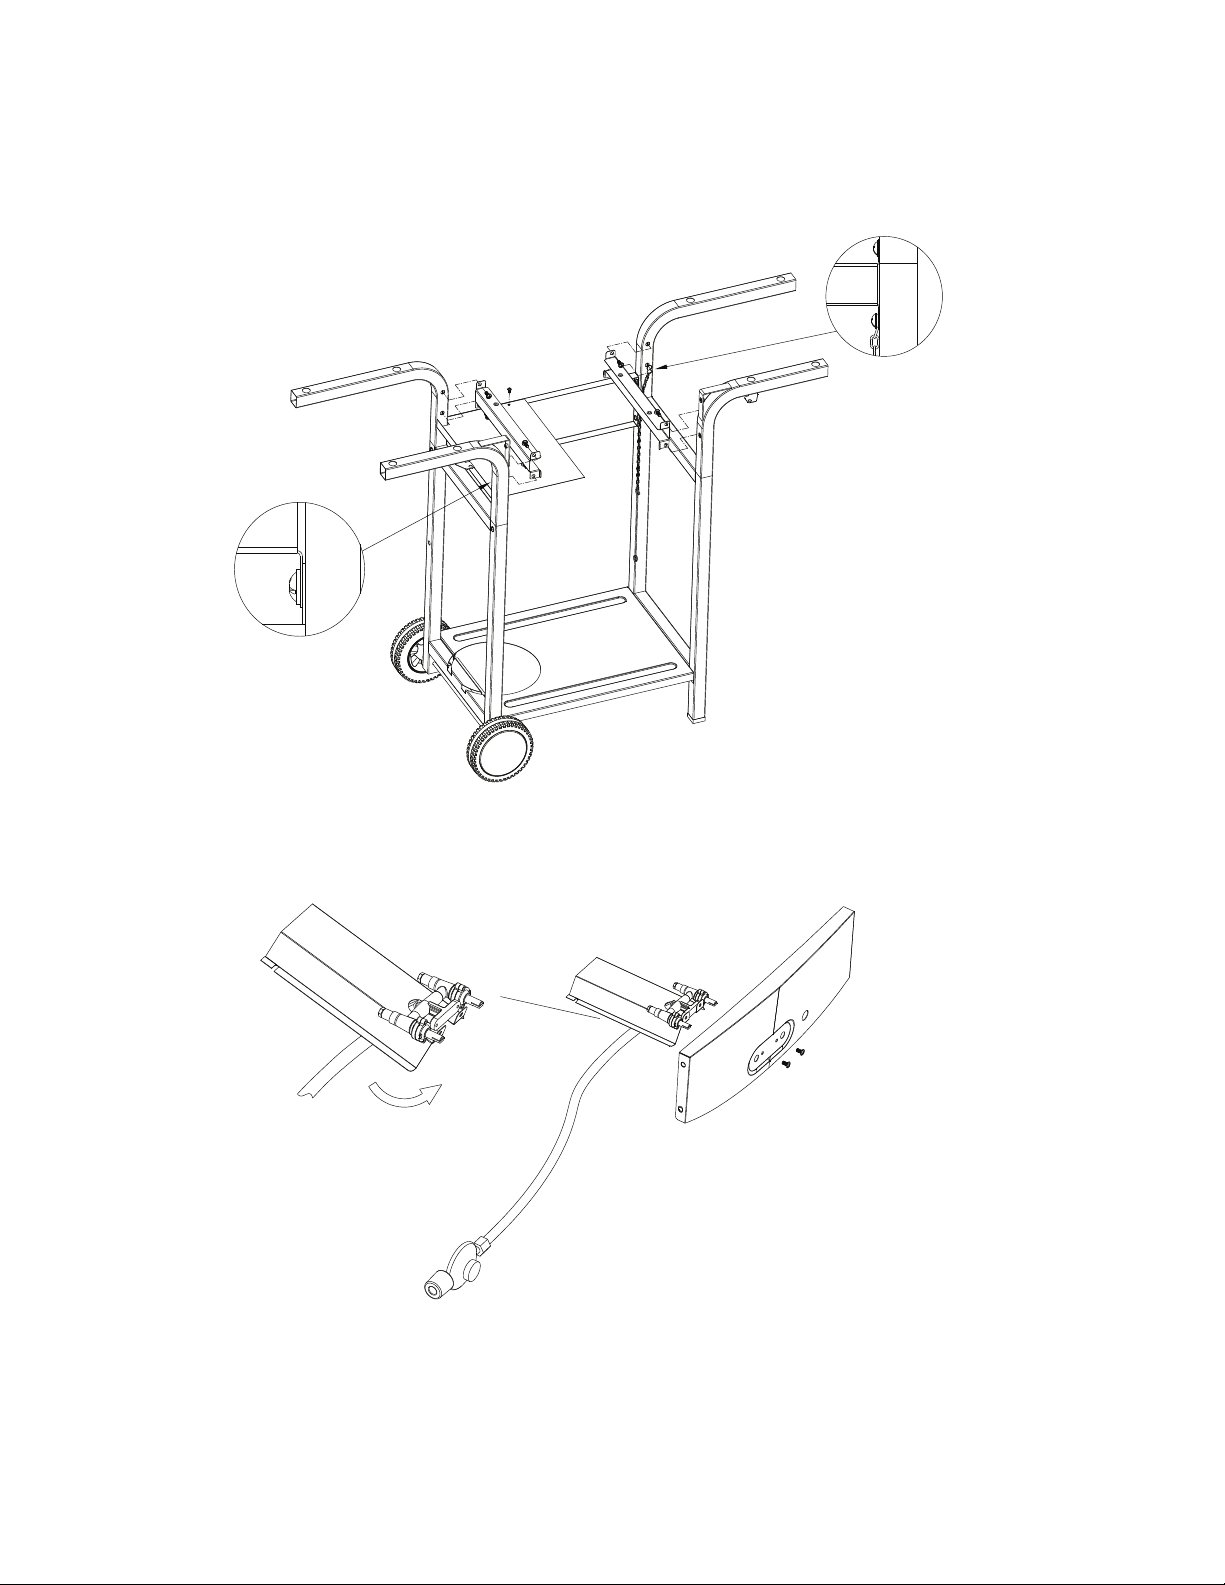
SAFETY PRACTICES TO AVOID INJURY
When properly cared for, your grill will provide safe, reliable service for many years. However, extreme care
must be used since potential accident may occur because of intense heat.
When using this appliance basic safety practices must be followed, including the following:
Do not repair or replace any part of the grill unless specifically recommended in this manual. All other service
should be referred to a qualified technician.
The grill is for outdoor use only.
The grill is not intended to be installed in or on recreational vehicles and/or boats.
Children should not be left alone or unattended in an area where the grill is being used. Do not allow children
to sit, stand or play on or around the grill at any time.
Do not store items of interest to children around or below the grill or cart. Do not allow children to crawl inside
the cart.
Never let clothing, pot holders or other flammable materials come in contact with or too close to any grate,
burner or hot surface until it has cooled. The fabric could ignite, causing serious personal injury.
For personal safety, wear proper apparel. Loose fitting garments or sleeves should never be worn while using
this appliance. Some synthetic fabrics are highly flammable and should not be worn while cooking.
Only certain types of glass, ceramic, earthenware, or other glazed utensils are suitable for grill use. Other
types of materials may shatter with sudden temperature changes. Use only low or medium heat settings in
accordance with the manufacturer’s guidelines.
Do not heat unopened food containers as a build-up of pressure may cause the containers to burst.
Wear gloves when opening the grill lid. Never lean over an open grill.
When lighting a burner, always pay close attention to what you are doing. Make certain you are aware of
which burner you are lighting so that your body and clothing remain clear of open flames.
When using the grill, do not touch the grill rack, burner grate or immediate surroundings as these areas
become extremely hot and could cause burns. Use only dry potholders. Moist or damp potholders on hot
surfaces may cause steam burns. Do not use a towel or bulky cloth in place of potholders. Do not allow
potholders to touch hot portions of the grill rack.
Grease is flammable. Let hot grease cool before attempting to handle it. Do not allow grease deposits to
collect in the grease tray at the bottom of the grill’s firebox. Clean the grease tray often.
Do not use aluminum foil to line the grill racks or grill bottom. This can severely upset combustion airflow or
trap excessive heat in the control area.
WARNING
Do not try lighting this appliance without first
reading the “LIGHTING INSTRUCTIONS” section
of this manual.
CALIFORNIA PROPOSITION 65 WARNING
The burning of gas fuel generates some by-
products, which are known by the State of
California to cause cancer or other serious
diseases. To minimize exposure to these
substances, always operate this unit according to
the care and use manual, ensuring you provide
good ventilation when cooking with gas.
TESTED IN ACCORDANCE WITH ANSI Z21.58a
LATEST STANDARD and CGA 1.6a-2008
STANDARD FOR OUTDOOR COOKING GAS
APPLIANCES. THIS GRILL IS FOR OUTDOOR USE
ONLY.
Check your local building codes for the proper method
of installation. In the absence of local codes, follow
either the National Fuel Gas Code, ANSI Z223.1/NFPA
54, or CAN/CGA-B149.1, Natural Gas and Propane
Installation Code, Electrical Code, ANSI/NFPA 70

6
WARNING
Do not install this unit in combustible enclosures. There should be a minimum clearance of 24 inches from all
sides to combustible materials.
For proper lighting and performance of the burners, keep the burner ports clean. It is necessary to clean them
periodically for optimum performance. The burners will only operate in one position and must be mounted
correctly for safe operation.
Exercise caution when cleaning grill. To avoid steam burns, do not use a wet sponge or cloth to clean the grill
while it is hot. Some cleaners produce harmful fumes or can ignite if applied to a hot surface.
Never use a dented or rusty propane cylinder.
Turn off all control knobs and make certain the grill is cool before using any type of aerosol cleaner on or
around it. The chemical that produces the spraying action could, in the presence of heat, ignite or cause metal
parts to corrode.
Do not use the grill to cook excessively fatty meats or other products, which promote flare-ups.
Do not operate the grill under unprotected combustible constructions. Use only in well ventilated areas. Do not
use in buildings, garages, sheds, breezeways or other such enclosed areas.
This unit is intended for outdoor use only.
Keep the areas surrounding the grill free from combustible materials including fluids, trash, and vapours such
as gasoline or charcoal lighter fluid. Do not obstruct the flow of combustion and ventilation air. If the unit is
stored indoors, make sure it is cool.
This propane gas grill is designed for optimum performance without the use of briquettes. Do not place
briquettes on the flame tamers as this will block the vent to the grill burners. Adding briquettes can damage
ignition components, thus voiding the warranty. Do not use briquettes of any kind in the grill.
Keep the back of the cart free and clear from debris. Keep any electrical supply cord and the fuel supply hose
away from any heated surface.
Never use the grill in extremely windy conditions. If located in a consistently windy area (oceanfront,
mountaintop, etc.), a windbreak will be required. Always adhere to the clearance specifications.
PLACEMENT OF THE GRILL
Outdoor cooking appliances should not be used under overhead combustible construction.
When determining a suitable location take into account concerns such as exposure to wind, proximity to traffic
paths, and keeping gas supply lines as short as possible.
Place the grill in well-ventilated areas. Never place the grill in a building, garage, breezeway, shed or other
such enclosed areas. During heavy use, the grill will produce a lot of smoke.

7
Pack
Description Required for
assembly
AA
M8 self-locking nut
2 pcs.
BB
M6 self-locking nut
1 pcs
CC
Pin axle
2 pcs.
DD ST4.2*10
Phillips screw with washer
1 pc
EE M6*15 Phillips screw with washer 21 pcs.
FF M6*10
Phillips screw with washer
14 pcs.
GG
Phillips screwdriver
1 pc.
HH Aluminum washer 4pcs
II Wrench 1pcs
JJ Wheel sleeve 2pcs
KK Wavy ring 2pcs
LL M6*40 Phillips screw with washer 4pcs
MM ¶15×φ6.5×2.0 flat washer 1pc
Before beginning assembly, make sure all parts are present. Compare parts with package contents list
and diagram above. If any part is missing or damaged, do not attempt to assemble the product. Contact
customer service for replacement parts.
•Estimated assembly time: 50 minutes
•Tools required for assembly:
Phillips screwdriver and wrench (not included)
•Note: The right and left sides of the grill are designated as if you are facing the front of the grill.
HARDWARE CONTENTS
PREPARATION
AA
BB CC DD EE
FF GG HH II
JJ
KK LL
MM

8
1.Bottom Panel and tank bolt Assembly
1. Assemble wheels. Take wheel axle (39) through hole of left cart leg (34), put wheel axle sleeve (42) on
both ends (wheel axle sleeve is used to adjust the gap). Then put both ends in wheel (38) (note: follow
direction as shown), then assemble with M8 self-locking nut at each end. Then put on the wheel covers
(37), and make sure that four pins of wheel cover align to four holes in wheel
2. Assemble bottom panel (2). Take 2pcs M6*40 Phillips screws with washers, put them through two left holes
of left cart leg (34), align with holes of bottom panel and tighten. Use 2pcs M6*40 Phillips screws and washers,
insert in two right holes of right cart leg (4) and align with bottom panel. Use 2pcs M6*15 Phillips screws with
washers and insert in two holes of back panel (28), align with holes in left leg & and right leg. Tighten securely.
(note: keep φ 3.2 mm holes of "bottom panel" upwards)
ASSEMBLY INSTRUCTIONS
Fig. 1
Fig. 2

9
3. Assemble left side shelf bracket. Insert left shelf bracket, front (30) into front hole of left cart leg (34), and
tighten with a M6*15 Phillips screw with washer. Insert left side shelf bracket, rear (29) into rear hole of cart leg,
left, and tighten with a M6*15 Phillips screw with washer. Put a M6*15 Phillips screw with washer through
upper left hole of back panel (28) and tighten in left side shelf bracket, rear.
4. Assemble right side shelf bracket. Insert right side shelf bracket, front (12) into front hole of cart leg, right (4),
and tighten with a M6*15 Phillips screw with washer. Insert right side shelf bracket, rear (14) into rear hole of
cart leg, right, and tighten with a M6*15 Phillips screw with washer. Put a M6*15 Phillips screw with washer
through upper right hole of back panel and tighten it in right side shelf bracket, rear.
Fig. 3
Fig. 4

10
5. Assemble Cart Frame (13). Use ST 4.2 * 10 self-drilling screw to attach the gas tank heat insulating plate (41)
to the back panel, then use 4pcs M6*15 Phillips screws and washers to attach the cart frame to the left shelf
bracket (front and rear). (note: insert the front bottom screw through φ 7.5 hole of gas tank heat insulating
plate at the same time.) Repeat above steps for right cart frame.
6. Assemble gas tank heat insulating plate and gas valve (7) on main control panel (10). Remove 2pcs
M5 * 8 screws from gas valve and align gas tank heat insulating plate to gas valve. As shown
below, align gas valve to the rear of main control panel, tighten with 2pcs M5*8 screws.
Fig. 5
Fig. 6

11
7. Assemble control knob. Take 2pcs control knobs, align with holes on panel and press into gas
valve (7), make sure control knob !"#roughly level with main control panel (allow 1 ~ 2 mm gap).
8. Assemble ignition module (9). Take off metal nut from ignition module and insert through the front
of main control panel, then tighten with metal nut.
9. Assemble main control panel. as shown in figure, connect gas tank heat insulating plate with tank
heat shield (5). Insert 4pcs M6*10 Phillips screws & washers through main control panel from inside
to outside, and separately lock in left side shelf bracket (front and rear) .
Fig. 7 Fig. 8
Fig. 9

12
10. Assemble hose clamp (36). Insert M6*15 Phillips screw with washer through hose clamp, and
lock under left cart frame.
11.Assemble barbecue hinged cover (27). Take off the screw from burner bowl hinge as shown in
figure, put this M6*12 Phillips screw with washer through aluminum gasket, burner bowl, heat
insulation gasket, BBQ body hinge, flat gasket, spring washer, tighten well.
Fig. 10
Fig. 11

13
12. Assemble main burner bowl assembly (11).Place main burner bowl assembly on cart frame, insert the gas
valve into main burner. Use 4pcs M6*15 Phillips screws with washer andφ18.5 !luminum to assemble main
burner with cart. Tighten well.
13. Attach ignition module to main burner. Find ignition needle connecting cable (integrated at the
bottom of main burner), firmly insert into ignition module.
Fig. 12
Fig. 13

14
14. Assemble side shelf. Take left side shelf (26), align its back to front & back bracket and attach using M6*15
Phillips screw with washer. Repeat above steps for right shelf.
15. Assemble temperature gauge (18). Take off wing nut and flat gasket from temperature gauge,
put temperature gauge through main lid (19), then put on flat gasket, secure in place with wing
nut.(note: make sure orientating pin aligns with the elliptic hole on the main lid)
16. Assemble main lid handle tube (16). Take off wing nuts, spring washer and aluminum gasket from
main lid handle tube, put through main lid handle heat insulating spacer(17), then insert into main
lid, then put on aluminum gasket, hex nut, handle heat insulating plate, spring washer and finally
screw secure in place with wing nuts
Fig. 14
Fig. 15
Fig. 16

15
17. Assemble main lid to main burner bowl assembly. Align main lid hinge (20) and burner bowl hinge(27),
then insert φ7 * 45 pin shaft from outside to inside, using φ1.2*30 (KK) wavy ring to secure in place.
18. Install warming rack (21) in lid.
19. Put on flame tamer (24) and cooking grid (23).
Fig. 17
Fig. 18 Fig. 19

16
20. Assemble gas tank support (3). As shown in figure, place gas tank support flatly, !"#$%&' pins into left cart
($)'*"+'secure in place with 1pc φ15×φ6.5×2.0 flat washer and 1pcs M6 self-locking nut to screw up
Note: the non-threaded end goes in the front leg - the threaded end in the back leg.
21.Assemble grease box (33).
Fig. 20
Fig. 21

17
22.Assemble gas tank (sold separately).
23.Tighten gas valve with gas tank
24. Propane Hook-Up
Attach the regulator to the propane cylinder by
turning the regulator handle clockwise as shown
in Fig. 24. When the outdoor cooking appliance is
not being used, the gas must be turned “OFF” at the
propane cylinder.
Check all gas supply fittings for leaks before
each use. Do not use the grill until all connections
have been checked and do not leak (see “Leak Testing” instructions on page 21).
Fig. 24
Propane Cylinder
Regulator
Always keep the LP cylinder at 90° (upright)
orientation to provide vapour withdrawal.
Fig. 22
Fig. 23

18
INSTALLATION INSTRUCTIONS
GAS HOOK-UP
Only the pressure regulator and hose assembly supplied with the grill should be used. Any replacement
pressure regulator and hose assembly must be provided by the grill manufacturer.
This grill is configured for Liquid Propane only. Do not use a Natural Gas supply.
Total gas consumption (per hour) with all burners set on “HIGH”:
Main burners 24,000 BTU/Hr.
Total 24,000 BTU/Hr.
The installation of this appliance must comply with local codes or, in the absence of local codes, with
either the National Fuel Gas Code, ANSI Z223.1/NFPA 54, National Gas Propane Installation Code, CSA
B149.2.
Installation in Canada must be in accordance with the Standard CAN/CGA-B149.2 (installation code for
gas burning appliances and equipment) and local codes.
LIQUID PROPANE CYLINDER REQUIREMENTS
(20-lb. Cylinder)
A dented or rusty propane cylinder may be hazardous and should be checked by your supplier. Never
use a cylinder with a damaged valve. The propane cylinder must be constructed and marked in
accordance with propane cylinder specifications by the National Standard of Canada, CAN/CSA-B339,
Cylinders, Spheres and Tubes for Transportation of Dangerous Goods Commission.
The 20-lb. cylinder must have a shut-off valve terminating in a valve outlet specified, as applicable, for
connection type QCC1 in the standard for compressed gas cylinder valve outlet and inlet connection
ANSI/CGA-V-1.
Storage of an outdoor cooking gas appliance indoor is permissible only if the cylinder is disconnected and
removed from the outdoor cooking gas appliance. The cylinder system must be arranged for vapour
withdrawal. The cylinder must include a collar to protect the cylinder valve.
Manifold pressure: (operating) 10 inches water column (W.C.), (non-operating) 11.2 inches water column
(W.C.).
Propane cylinders must be provided with a listed overfilling prevention device.
Remove the plastic valve cover from the propane cylinder. Make sure the grill gas hoses do not contact
the grease pan or grill firebox when the propane cylinder is placed into the cart.
CONNECTING THE PROPANE CYLINDER
To connect the propane cylinder:
a) The cylinder valve should be in the “OFF” position. If not, turn the valve
clockwise until it stops.
a) Make sure the cylinder valve has the proper type-1 external male thread
connections as per ANSI Z21.81.
b) Make sure the grill burner valves are in the “OFF” position.
c) Inspect the valve connections, port and regulator assembly. Remove debris and inspect the hose
for damage.

19
d) When connecting the regulator assembly to the valve, use your hand to tighten the nut clockwise
until it stops. Use of a wrench could damage the quick coupling nut and result in a hazardous
situation.
e) Open the cylinder valve fully by turning the valve counterclockwise.
f) Before lighting the grill, use a soap and water solution to check all the connections for leaks.
g) If a leak is found, turn the cylinder valve “OFF” and do not use the grill until a local propane dealer
can make repairs.
WARNING
Never attempt to use damaged or obstructed equipment. See your local dealer for repair.
DISCONNECTING THE LIQUID PROPANE CYLINDER
1. Turn the grill burner valves “OFF” and make sure the grill is cool.
2. Turn the propane cylinder valve “OFF” by turning clockwise until it stops.
3. Detach the regulator assembly from the cylinder valve by turning the quick coupling nut counter-
clockwise.
4. Place dust cap on cylinder valve outlet whenever the cylinder is not in use. Only install the type of
dust cap on the cylinder valve outlet that is provided with the cylinder valve. Other types of caps or
plugs may result in leakage of propane.
LEAK TESTING
GENERAL
Although gas connections on the grill are leak tested prior to shipment, a complete leak test must be
performed upon installation. Before each use, check all gas connections for leaks using the procedures
listed below.
If the smell of gas is detected at any time, you should immediately check the entire system for leaks.
BEFORE TESTING
Make sure all packing materials have been removed from the grill, including the burner tie-down straps.
WARNING
Check all gas supply fittings for leaks before each use. Do not use the grill until all connections have been
checked and do not leak. Do not smoke while leak testing. Never leak test with an open flame.
Make a solution of one part liquid detergent and one part water. You will need a spray bottle, brush, or
rag to apply the solution to the fittings. For the initial leak test, make sure the propane cylinder is 80% full.
TO TEST
1. Turn the burner valves off.
2. Turn the propane cylinder valve counterclockwise to open the valve.
3. Apply the soap solution to all gas fittings. Soap bubbles will appear where a leak is present.
4. If a leak is present, immediately turn the gas supply “OFF” and tighten leaky fittings.
5. Turn the gas back “ON” and recheck.
6. Should the gas continue to leak from any of the fittings, turn the gas supply “OFF” and contact
customer service at 1-866-206-0888
Please make sure the cylinder valve connection device
properly and safely mates with the connection device
attached to the inlet of the pressure regulator.

20
7. If there is evidence of excessive abrasion or wear, or the hose is cut, it must be replaced prior to the
outdoor cooking gas appliance being put into operation.
Only those parts recommended by the manufacturer should be used on the grill. Substitutions will void
the warranty.
INSTALLER FINAL CHECK
•Maintain specified clearance of 24 inches from combustible materials and construction.
•All internal packaging has been removed.
•The hose and regulator are properly connected to the propane cylinder.
•The unit has been tested and is free of leaks.
•The gas supply shutoff valve has been located.
•All burners are installed.
•Keep the instruction manual for future reference.
OPERATING INSTRUCTIONS
General Use of the Grill
Main burner is rated at 24,000 BTU/Hr. The main grill burners encompass the entire cooking area and are
side ported to minimize blockage from falling grease and debris. Above the burners are flame tamers. The
igniter knobs are located on the center portion of the valve panel. Each rotary igniter is labeled on the
control panel.
Using the Grill
Grilling requires high heat for searing and proper browning. Most foods are cooked at a “HIGH” heat
setting for their entire cooking time. However, when grilling large pieces of meat or poultry, it may be
necessary to turn the heat to a lower setting after the initial browning. This method cooks the food
thoroughly without burning the outside.
Food cooked for a long time or basted with a sugar-based marinade may need a lower heat setting near
the end of its cooking time.
To begin:
1. Make sure the grill has been leak tested and is properly placed.
2. Remove any remaining packing materials.
3. Light the grill burners using the Lighting Instructions on next page.
Turn the control knob(s) to the “IGNITE / HIGH” setting, and preheat the grill for 15 minutes. The grill
lid should be closed during the pre-heating period.
4. Place the food on the grill and cook to the desired degree of preparation. If necessary, adjust the heat
setting. The control knob may be positioned at any setting between “HIGH” and “LOW”.
WARNING
1. Storage of an outdoor cooking gas appliance indoor is permissible only if the cylinder is disconnected
and removed from the outdoor cooking gas appliance.
2. Cylinder must be stored outdoors out of the reach of children and must not be stored in a building,
garage or any other enclosed area.
WARNING
1. Do not store spare propane cylinders under or near this appliance.
2. Never fill the cylinder beyond 80 percent capacity.
3. If the information above is not followed exactly, a fire, possibly causing serious injury or death, may
occur.
This manual suits for next models
1
Table of contents
Languages:
Other Uberhaus Grill manuals