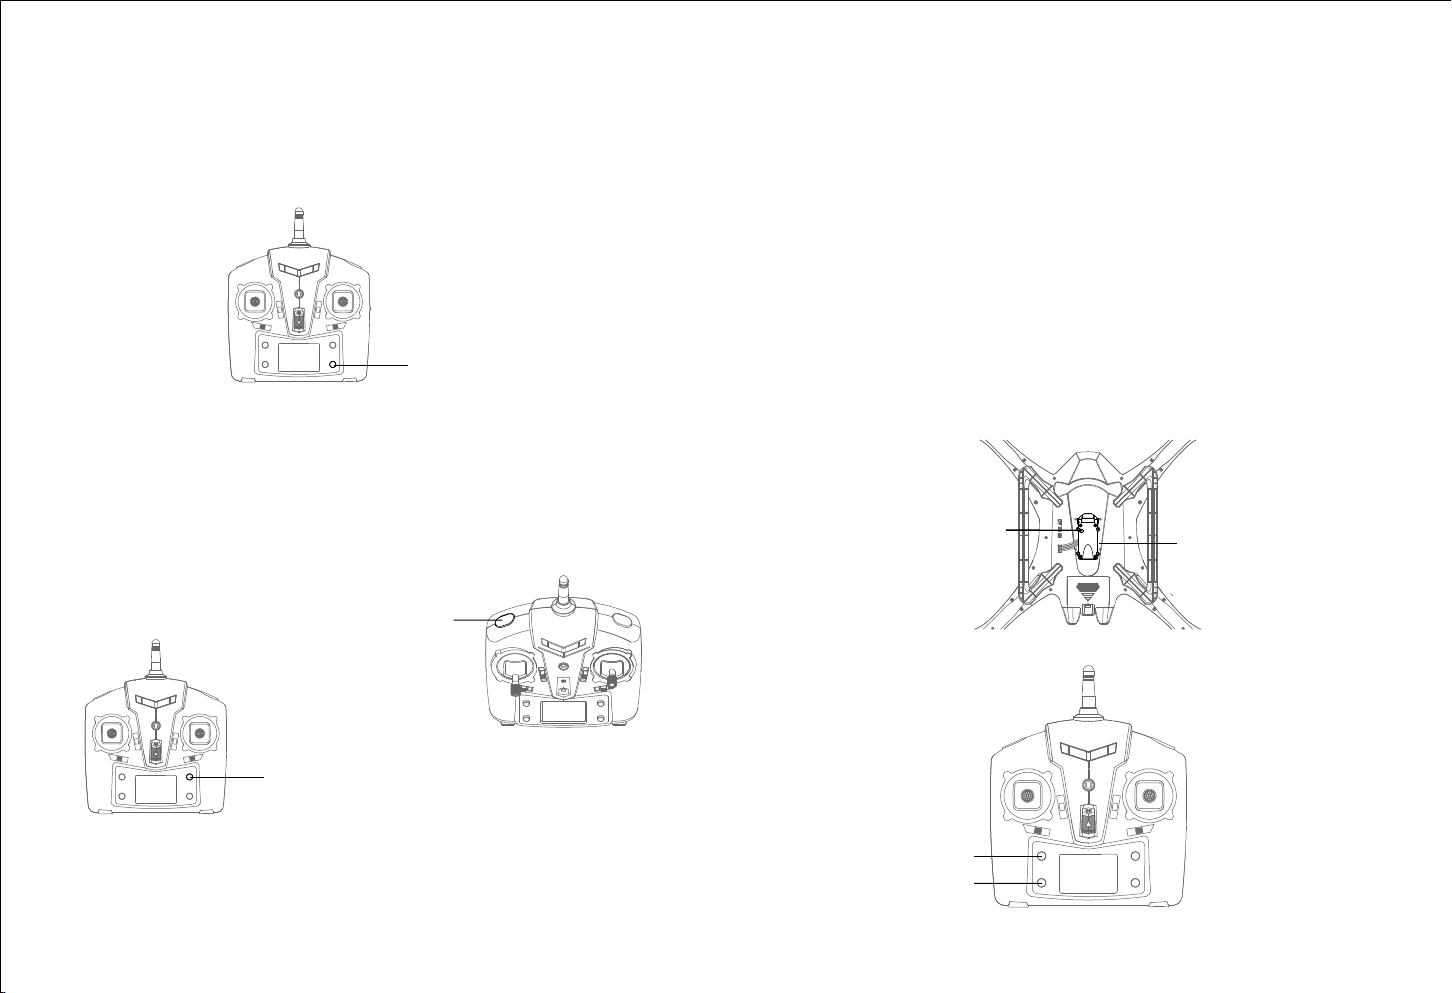
UDI R/C FALCON U842 User manual

Blade A
Blade A Blade B
Blade B
Blade Guard
1. Quadcopter
NAME OF PARTS
2
LED Lights
1. RC drone is not a toy and it is only suitable for more than 14 years old people.
2. Please choose spacious eld to use this drone and keep away from obstacle, crowd,
power lines etc.
3. Please do not use the drone in terrible weather, such as strong wind, thunder rainy,
foggy etc.
4. Please do not disassembly or change the drone randomly. If you have any questions
about use, operation, repair etc., please contact the local distributor.
5. The drone inside is consisted of precise electronic components. Humidity or water
vapor may damage electronic components and cause accident.
6. The RC drone is made of metal, ber, plastic, electronic components etc. Keep away
from heat and sunshine to avoid distortion and damage.
7. Keep your nger and body away from rotating blades, which may cause serious injury
and damage.
8. Please obey laocal laws and regulations when using this product and never use for
illegal purpose.
PRECAUTIONS

LED Lights
LED Lights
1.7*6PB Screw
1. Charge the Battery
1. Install the blade guards in the end of the drone arms and x them by tighten the
attached screws.
2. Remove the blade guards to obtain additional motivation improvement and more
ying time.
BLADE GUARD INSTALLATION
CHARGING LI-PO BATTERY
4
Flip Control Button Light Control Button
2. Transmitter
Left/Right Rudder Trim
Power Indicator Light
Throttle/Left/
Right Rudder Stick
Camera Button
Video Button
LCD Screen
Forward/Backward Trim
Left/Right Trim
Forward/Backward/
Left/Right Stick
One Button Flip
High/Low Speed Mode
PICTURE FOR FOOT STOOL INSTALLATION
3
Insert the pillar of the foot stool to the fuselage hold correctly in accordance with the
picture.
Note: The foot stool must closely tting with the fuselage, or the foot stool may not
stand rm on the ground, which may have an effect on the ight stability.

6
Connect the battery with USB before inserting the USB plug into the computer or the
charger.The USB indicator light stays in red when charging and turns to green when
fully charged.The charging time is about 150 minutes. If the battery power starts to run
out, the LED light of the drone will ash and issue alarmed sound of “di--di”to remind
the user.
LiPo Battery Disposal & Recycling
Wasted batteries must not be placed with household trash.
Please contact local environmental or waste
agency or the supplier of your model or your nearest LiPo battery recycling center
2. NOTICE FOR BATTERY USE
* Turn off the power switch rst when nish ying and take out the battery;
* Keep away from heat and put the battery on dry place;
* Never put the battery with metal product to avoid short circle;
* Stop using the battery if the battery swell up, damaged or seriously heating etc.
* Put the battery and charger on the ground and keep away from ammable when
charging to avoid accident.
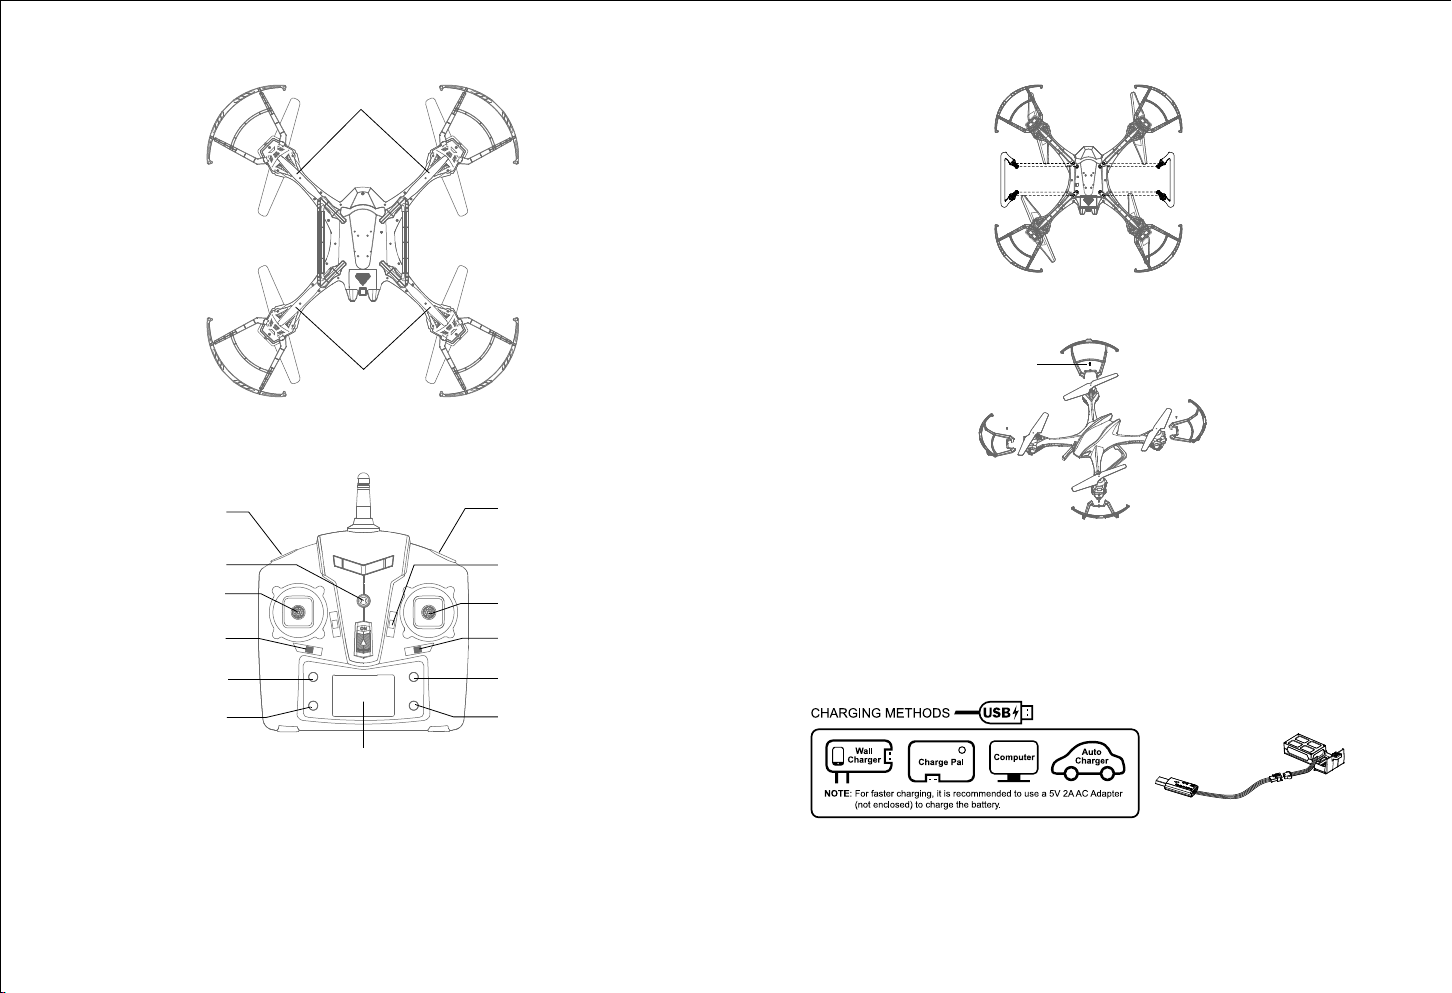
5
FLYING OPERATION STEPS
1.Put four 1.5V AA batteries (excluding) to the battery box of the the transmitter correctly
and then close it.
Note: Do not install the battery oppositely. Do not mixed use new and old batteries or
different types of batteries.
2. Turn on the transmitter switch and the indicator light starts to ash quickly. Push the
throttle stick to the highest position and then pull to the lowest. At this time the
indicator light turns to slowly ash and enter frequency pairing search state.(see
picture 1 and 2)
5.Turn on the power switch on the drone bottom and the LED starts to ash. Put the
drone on the horizontal position to calibrate the gyro. The transmitter issues “di do
di”about three seconds later, which indicates successful code pairing and the LED
light keeps bright.
3.Press the battery box buckle and then pull it out.
4.Connect the battery plug with the drone plug and then close the battery box.
Turn on the power
Press down and
then pull out
Picture 1 Picture 2

Push up the Throttle Rudder Stick and
the drone will y up as well.Push down
the Throttle Rudder Stick and the drone
will y drow as well.
1. Up and Down Flying Control
Push the Left Rudder Stick to left or to
right, the drone will rotate to
corresponding direction.
2.Left/Right Rotation Flying Control
FLYING CONTROL
7
3. Left/Right Flying Control
Push the Right Stick to left or to right,
the drone will y to corresponding
direction.
Push the Right Stick to forward or
backward, the drone will y to
corresponding direction.
4. Forward and Backward Flying Control
Adjust the Trim to right till stable if the
drone rotates to left automatically, and
adjust to left if the drone rotates to right.
5.Left/Right Rudder Trim
Adjust the Trim to right till stable if the
drone drifts to left, or adjust the Trim to
left if the drone drifts to right.
6. Left/Right Flying
8
Adjust the Trim to backward till stable
if the drone drifts to forward automatically,
and adjust to forward if the drone drifts
to backward.
7. Forward/Backward Flying
6. Keep the throttle stick on the lowest position and push the right stick to bottom-right
(see the picture). The drone LED ashes fast, which indicates that the drone is calibrating.
The LED keeps bright and the calibration nished.Turn on the power switch
on the bottom.
OFF ON

Press the bottom-right button to choose High/Low Speed Mode. The display screen
will show Mode 1 or Mode 2.Mode 1 is Low Speed Mode, which is suitable for beginner.
Mode 2 is High Speed Mode, which is suitable for skilled user.
Press the top-left button of the transmitter and you will hear constantly beep, which
indicates ip mode is ready. Push the right stick to any direction of forward/backward/
left/right to utmost and then release. The drone will do 360°ip in corresponding direction.
Press the top-right button of the display screen and the drone will do 360°ip automatically.
Warning: Flying eld must spacious enough and the ying heigh must at least 5M when
doing a ip, or danger may occur.
Flip Button
One Button Flip
High/Low Speed Mode
FLIPS
9
Camera Button
Video Button
1. Insert a TF card into the video and the indicator light turns to green and keeps bright.
2. Press the camera button and the indicator light turns from red to green about 2
seconds later, which indicates fnished taking a picture, and it will store in TF card
automatically.
3. Press the video button and its indicator light turns to red and slowly ashes, which
indicates start recording. Press the button again to nish recording and the video
will store in TF card.
4. Take out TF card and insert into the attached card reader to connect with computer
to read the datas.
Notice: The above description is base on the camera indicator light of HD 829. Others
may different and please refer to the entity.
HD829: Video DPI 1280 x 720P / 30 FPS; Picture Size: 1280 x 720P.
HD818: Video DPI 1280 x 720P / 60 FPS; Picture Size: 1280 x 720P.
VIDEO AND CAMERA OPERATION
10
High/Low Speed Mode
Notice: The ip function will stop automatically if the the drone LED light ashes and
the transmitter issues "di---di" low voltage warning.
LED Indicator Light TF Card Slot

For convenience, the spare parts are listed for you to choose, which can be purchased
from the local distributor.
SPARE PARTS
U842-05
Aluminum
Cooling Sleeve
U842-06
Li-Po Battery
U842-07
Receiving Board
U842-08
Motor Holder
Component
U842-09
Blade Guard
12
U842-01
A Blade
U842-02
B Blade
U842-03
A Motor
U842-04
B Motor
U842-10
Foot Stool
U842-11
Motor Cover U842-12
USB Wire
U842-13
HD818 Camera
U842-14
HD829 Camera
U842-15
UA5-15 Controller
Replace the damaged blade with new blade and install in accordance with the
following steps.
1. Blade replacement
If the motor damaged or performance degradation, purchase new motor from local
distributor and replace it and install in accordance with the following steps.
2. Motor replacement
INSTALLATION AND REPLACEMENT OF MOTOR AND
BLADE
11
Remove the LED shade and
four screws of motor cover.
Remove two screws of motor
and replace the motor with a new one.
U842-18
Frame Upper
Cover
U842-17
Card Reader
U842-19
Frame Lower
Cover
U842-16
TF Card
U842-21
Lens Hood
U842-20
Lampshade
Remove the screw from the blade and replace
with a new blade then x the screw.
Table of contents
Other UDI R/C Quadcopter manuals

UDI R/C
UDI R/C VOYAGER U845Wifi User manual

UDI R/C
UDI R/C U39 Fury User manual

UDI R/C
UDI R/C Swan U42 User manual

UDI R/C
UDI R/C U829 User manual

UDI R/C
UDI R/C U842-2 User manual

UDI R/C
UDI R/C U61 User manual

UDI R/C
UDI R/C Swan U42 User manual

UDI R/C
UDI R/C U52G User manual

UDI R/C
UDI R/C U28W User manual