Ultraflux UF 831 User manual

NT UF 831 CO GB (b) / March 2014
Uf 831 CO & RV
(open channel or river)
User manual
Bâtiment Texas –Éragny Parc
9, Allée Rosa Luxemburg
95610 ÉRAGNY SUR OISE, FRANCE
Tel.: 33 (0)1 30 27 27 30
Fax: 33 (0)1 30 39 84 34

2
NT UF 831 CO GB (b) / March 2014
2012 ULTRAFLUX S.A.
All rights reserved. No part of this document may be reproduced without prior written
authorization from ULTRAFLUX S.A. ULTRAFLUX, UF 831 are registered trademarks of ULTRAFLUX
S.A.
With a view to the constant improvement of its products, Ultraflux reserves the right to modify
them without notice. Furthermore, Ultraflux shall not be held responsible for any error which may
be present in its documentation despite the care taken in its production.
The UF 831 flow meter complies with the current regulations of the European Community and
bears the CE compliance mark.

3
NT UF 831 CO GB (b) / March 2014
TABLE OF CONTENTS
Note: A detailed table of contents is provided at the end of the manual.
Important: If you are unfamiliar with the transit time difference measuring technique, we recommend you start by
reading our training manual "Ultrasonic transit time flowmeter".
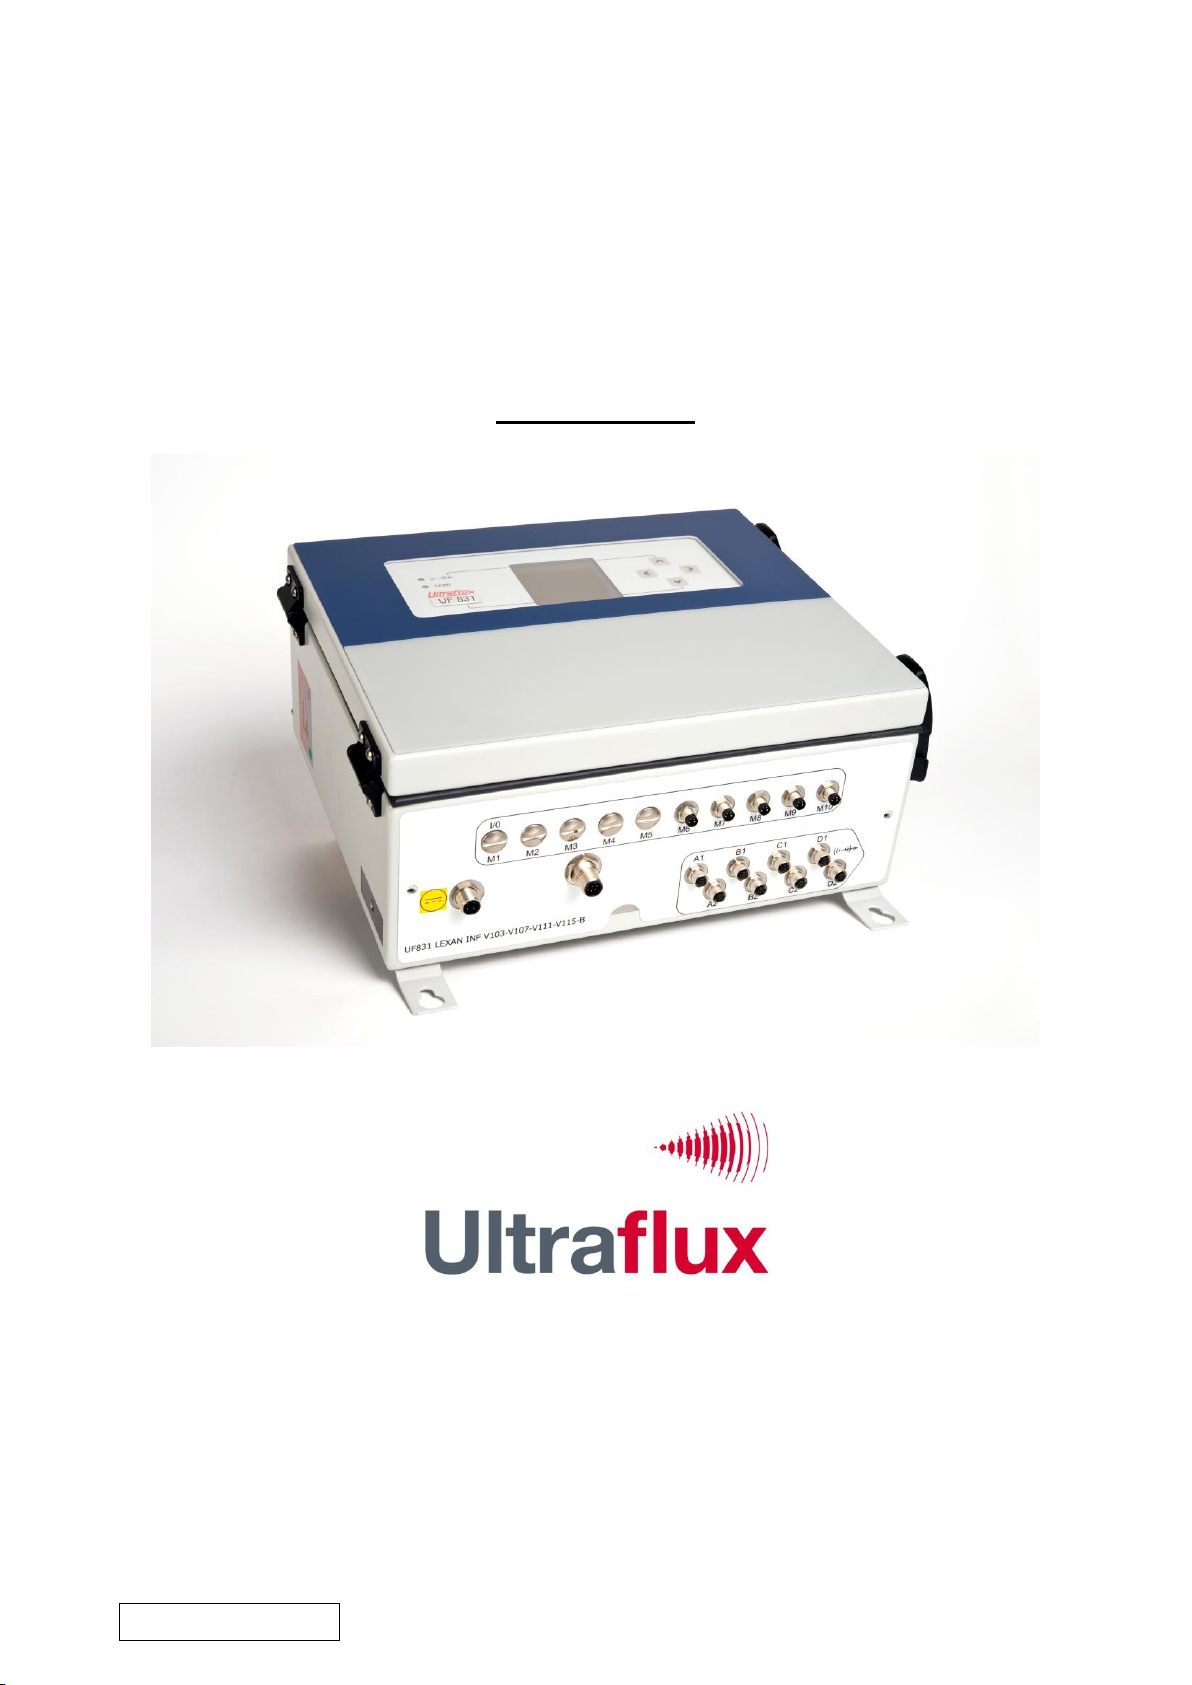
CHAPTER 1: OVERVIEW ........................................................................................ 5
1.1 Inputs/Outputs ...................................................................................................................6
1.2 Communication with the flow meter......................................................................................6
1.3 Recording possibilities .........................................................................................................6
1.4 Echo display .......................................................................................................................6
1.5 Other functions available .....................................................................................................7
1.6 Accuracy and availability......................................................................................................7
1.7 Dimensions and weight........................................................................................................7
1.8 Supply ...............................................................................................................................8
1.9 Protection against dust and immersion..................................................................................8
1.10 Power supply....................................................................................................................8
1.11 Environment for use of the cabinet .....................................................................................9
1.12 Cleaning the flow meter.....................................................................................................9
1.13 Composition of a measuring point.......................................................................................9
CHAPTER 2: SAFETY INSTRUCTIONS ................................................................. 10
2.1 Symbols used on the flow meter......................................................................................... 11
2.2 Assembly ......................................................................................................................... 11
2.3 Wiring.............................................................................................................................. 12
2.4 Using the flow meter......................................................................................................... 12
2.5 Recycling the flow meter ................................................................................................... 13
2.6 Contact address................................................................................................................ 13
CHAPTER 3: INSTALLATION AND WIRING......................................................... 14
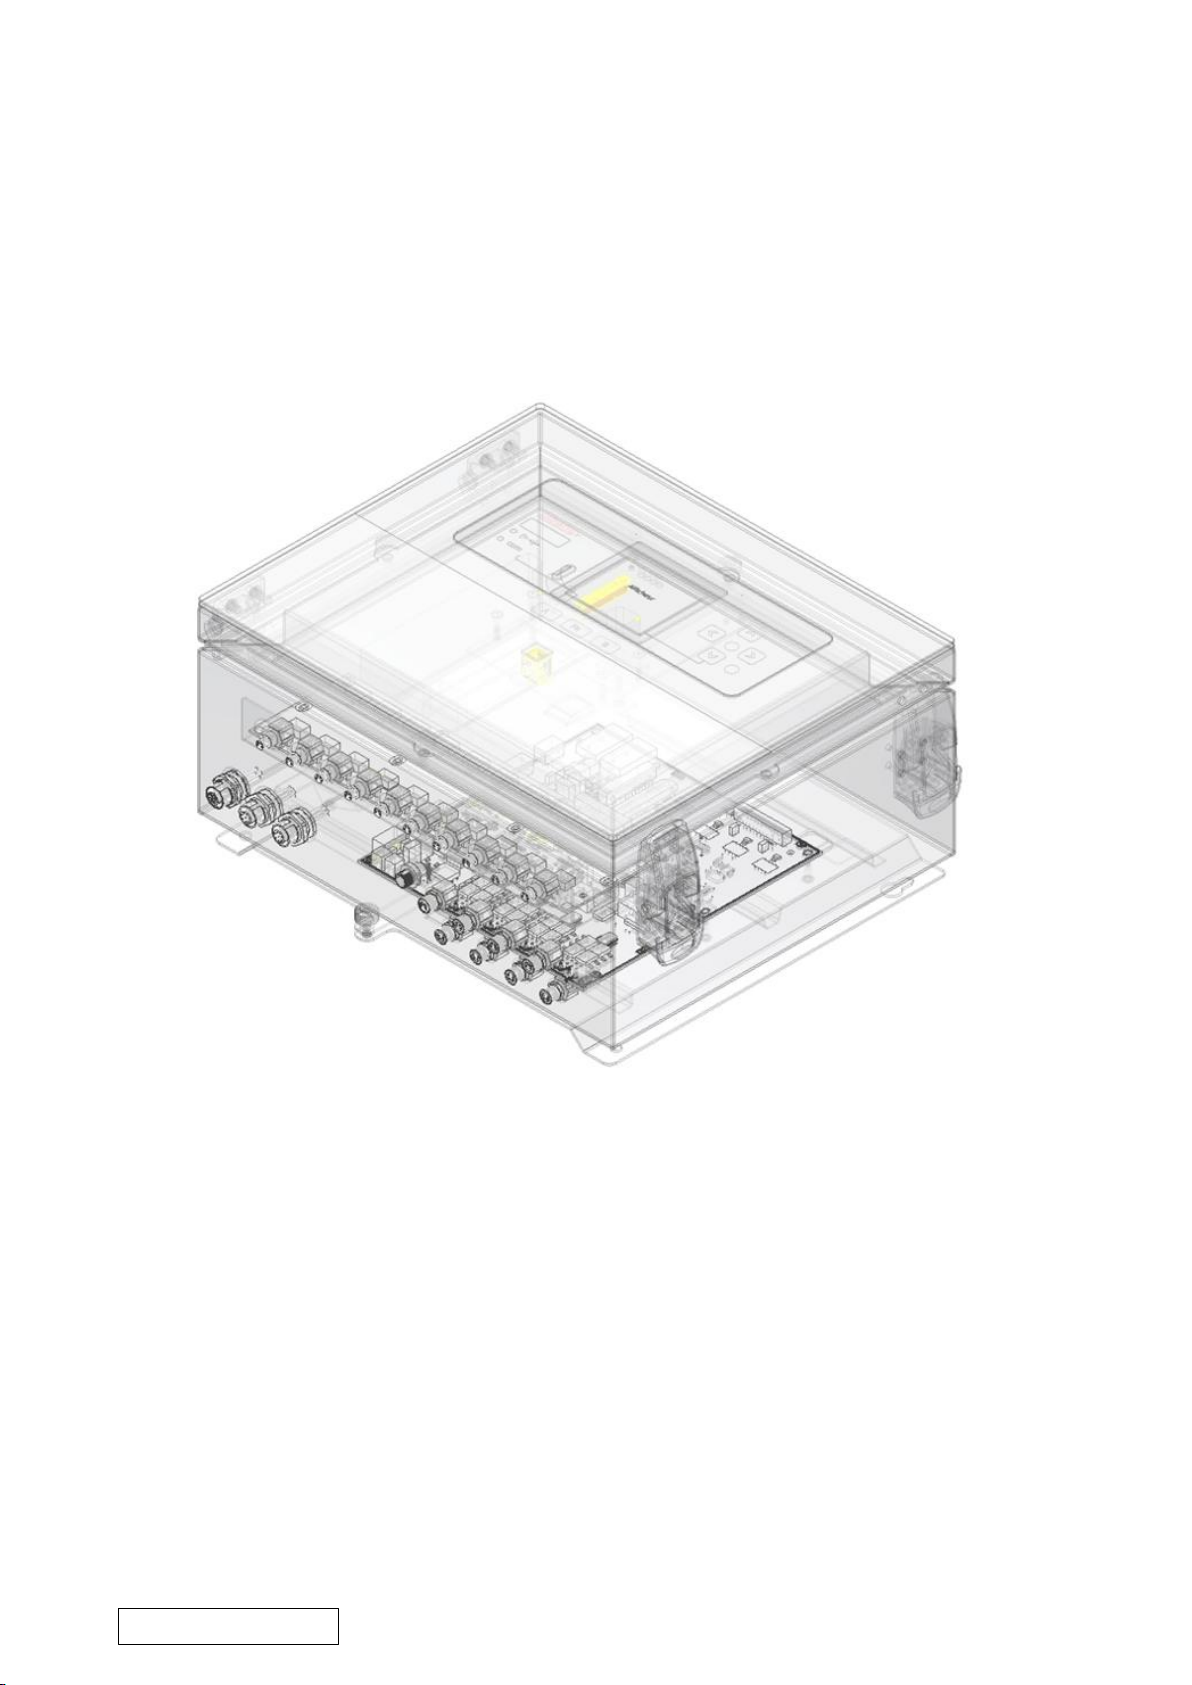
3.1 Opening the cabinet.......................................................................................................... 15
3.2 General procedures........................................................................................................... 16
CHAPTER 4: IMPLEMENTING A MEASURING POINT.......................................... 22
4.1 Choosing the measurement location ................................................................................... 23
4.2 Installing the probes ......................................................................................................... 23
4.3 Measurements to be taken on site ...................................................................................... 24
4.4 Analysing and processing data measured on site.................................................................. 24
4.5 Transferring the data collected to the converter................................................................... 25

4
NT UF 831 CO GB (b) / March 2014
CHAPTER 5: USING AND CONFIGURING THE UF 831 ........................................ 26
5.1 Using the UF 831 .............................................................................................................. 27
5.2 Main configuration elements .............................................................................................. 29
5.3 Configuring the UF 831...................................................................................................... 32
5.4 SIMPLE configuration ........................................................................................................ 33
5.5 NORMAL configuration mode.............................................................................................. 49
5.6 ADVANCED configuration mode.......................................................................................... 53
5.7 Measurement mode/displays.............................................................................................. 56
CHAPTER 6: FUNCTION ENGINE......................................................................... 59
6.1 Principle........................................................................................................................... 60
6.2 Example of application....................................................................................................... 60
CHAPTER 7: PC SOFTWARE ................................................................................ 61
7.1 Introduction ..................................................................................................................... 62
7.2 Archiving, processing and printing of saved files................................................................... 76
7.3 Settings files..................................................................................................................... 76
Appendix 1: Characteristic echo signals............................................................. 77
Appendix 2: Speed of sound in water................................................................. 80
Appendix 3: Troubleshooting ............................................................................. 82
Diagnosis indications............................................................................................................... 83
Description of the fault bits...................................................................................................... 85
Fault grid............................................................................................................................... 88
Appendix 4: Link protocol of the UF 831 ............................................................ 89
Serial link characteristics ......................................................................................................... 90
Reading of N words (with N ≤ 125).......................................................................................... 91
JBUS/MODBUS table............................................................................................................... 92
CRC16 calculation algorithm .................................................................................................... 98
Appendix 5: Wiring ............................................................................................. 99
Wiring of ultrasonic probes.................................................................................................... 100
Wiring of the inputs - outputs ................................................................................................ 101
Wiring of the communication port .......................................................................................... 103
Supply wiring ....................................................................................................................... 104

5
NT UF 831 CO GB (b) / March 2014
CHAPTER 1: OVERVIEW

6
NT UF 831 CO GB (b) / March 2014
UF 831 flow meters are ultrasonic flow meters used to measure open channel flows using the transit time
difference method.
The measurement can be taken using an installation with up to 8 ultrasonic measurement chords. (One
chord designates the acoustic path between two probes, each alternating between emitting and receiving.
The use of several chords is above all required when the hydraulic conditions are poor and high accuracy is
required).
1.1 Inputs/Outputs
In addition to the links with the probes, UF 831 converters offer the following possibilities:
Integration of up to 10 single modules (or 5 double modules) of inputs/outputs.
Connection of the inputs/outputs to the equipment, which is made directly on the base of the
cabinet via connectors, without the need for any intervention inside the flow meter.
The modules are put in place by Ultraflux in the factory.
1.2 Communication with the flow meter
UF 831 has a serial link, which can be configured by RS232 or RS485 wiring. For this communication
interface, the standard protocol chosen is the Slave JBUS (MODBUS). This is used to connect the flow meter
to an instrumentation and control system or to a computer (Ultraflux provides PC software compatible with
Windows XP or later, allowing you to configure the flow meter, unload the logger and display the values
measured).
As an option, communication modules managing the following protocols may be installed on request:
MODBUS TCP (Ethernet)
MODBUS RTU
Important: This option must be requested on ordering, since it requires a specific cabinet.
A USB interface on the front panel allows a computer to be connected for the configuration. This is only
accessible with the door open.
1.3 Recording possibilities
The flow meter is used to record the measurement data (logger function). Up to 30 variables can be
recorded (for example: average flow, minimum flow, maximum flow, water level). A total of 530,000
readings can be recorded.
1.4 Echo display
It is possible to display the measurement echo for each chord, which allows you in particular to check the
quality of the measurement and directly view the effect of certain corrective actions (positioning and
alignment of the probes, adjustment of the settings, cleaning of the probes, etc.).

7
NT UF 831 CO GB (b) / March 2014
1.5 Other functions available
Four flow volume totalizers which can count the positive flows, the negative flows or the total flows,
regardless of their sign,
Filtering of the measurement using a first-order filter allowing the non-significant flow fluctuations to
be smoothed,
Storage of the measurement in memory in the event of a momentary loss of the echo (due, for
example, to the passing of air bubbles) or other faults (adjustable storage interval),
Setting the measurement to zero if the flow is below a programmable value,
Readjustment of the zero if it is possible to completely stop the flow.
1.6 Accuracy and availability
Accuracy on the velocity measured: up to ±0.5%
Repeatability: up to 0.1%
Linearity: up to 0.1%
Accuracy on the level acquisition: up to 0.1%
Accuracy in the description of the section: up to 0.25%
Typical accuracy on the flow calculation: from 1 to 5% depending on the application and the
number of chords
1.7 Dimensions and weight
Weight: 7 kg (cabinet only)

8
NT UF 831 CO GB (b) / March 2014
1.8 Supply
a UF 831 box
the connectors
the Y-cables for the probes
1.9 Protection against dust and immersion
IP 67: Total protection against dust; protection against immersion (30 minutes under 1m of water). This
protection is only valid if the installation was carried out or audited by Ultraflux.
This protection is only ensured when the connectors are connected or plugged (if not in use).
Important: If the flow meter is equipped with an optional communication module (Ethernet for example),
the protection index becomes IP20.
1.10 Power supply
There are two power supply ranges for the flow meter:
110 to 240 VAC (50 - 60 Hz)
9 to 36 VDC
The power of the flow meter is less than 40 W. A fuse-type internal protection protects the equipment. If
this protection is triggered, the equipment must be returned to Ultraflux, otherwise the guarantee will no
longer be valid.
The ground must be connected to both the power connector and to the ground connection contact, located
alongside the connectors. For the ground connection, it is recommended to use a copper braid.
When choosing the braid, it is important to respect the following rule:
Length / Width < 3
Bar
Braid
Green / yellow wire

9
NT UF 831 CO GB (b) / March 2014
The cabinet power supply can be provided using an H05-RNF-3G0.75 type cable.
It is recommended to install a disconnectable bipolar circuit breaker interrupter with visible cut-off of 10 A
upstream of the flow meter power supply. It is also recommended to install lightning arresters on each of
the inputs/outputs of the flow meter, along with a galvanic isolator.
Important:
The wiring and unwiring of the flow meter must be performed by a person with electrical
accreditation. This accreditation must be obtained before dismounting the plate including the keypad
and the display. It is essential for this plate to be closed with a tool after each intervention.
Connection and disconnection from the outlets must be carried out with the power off and the
equipment isolated.
Ultraflux accepts no responsibility for incidents which may occur following a failure to respect these
instructions.
Comments:
Check the marking on the cabinet to ensure its supply voltage.
The flow meter is intended for an overvoltage category II installation.
1.11 Environment for use of the cabinet
Cabinet: –25°C to 50°C
Hygrometry: 80% maximum
Ventilation: no specific precautions.
Warning: This flow meter is a class A device. In a residential environment, it may cause radio-frequency
interference. In this case, the user may be asked to take appropriate measures.
1.12 Cleaning the flow meter
Use a dry cloth to clean the screen and the keypad.
The box may be cleaned with water, diluted alcohol or detergent using a sponge or a soft cloth. Do not use
abrasive materials or solvents.
1.13 Composition of a measuring point
Apart from the electronic converter (the cabinet), a measuring point includes the following elements:
1 to 8 pairs of probes
1 to 16 special cables for the probes (provided by Ultraflux)
1 to 4 level measurements per channel (which may or may not be provided by Ultraflux)

10
NT UF 831 CO GB (b) / March 2014
CHAPTER 2: SAFETY INSTRUCTIONS

11
NT UF 831 CO GB (b) / March 2014
For safety reasons, this flow meter must be used by qualified persons aware of the possible dangers
involved.
It is important for the user to be fully familiar with the indications covering the possibilities, the applications
and the operation of this flow meter.
The protection provided by this flow meter may be compromised if it is not used in compliance with the
instructions of this manual or if technical modifications are made to suit the user.
This flow meter complies with the safety standard IEC 61010-1 (cat II).
2.1 Symbols used on the flow meter
Warning, risk of electric shock
Warning, risk of DANGER (see note)
Ground
Protective ground
User manual must be read before use
Disconnection of flow meter when powered OFF
2.2 Assembly
The cabinets do not pose any particular danger to users. It is however recommended to wear personal
protective equipment during assembly, including: gloves, safety boots, impact goggles. This equipment will
allow you to avoid any risk when installing the flow meter.
It is recommended to follow the assembly method described below in order to avoid any risk of injury.
The assembly must be carried out or inspected by Ultraflux to have all the guarantees in terms of protection
against dust and immersion, and correct operation.

12
NT UF 831 CO GB (b) / March 2014
2.3 Wiring
The wiring must be carried out by a person with electrical accreditation. The flow meter must be powered
off before installing or uninstalling. The sectioning devices must be locked and tagged. The wiring must
respect the diagrams provided in the appendix for the power supply and for the inputs/outputs.
The protective cover must be fixed in place using a tool before powering on. The sectioning device must be
locked and tagged before dismounting this cover. The cover can be identified by the marking series printed
on its surface (symbol described later).
The flow meter must be powered off before dismounting the power connector. To do this, use the sectioning
device provided for this purpose.
It is sometimes necessary to protect the inputs/outputs, the power supply and the ultrasonic chords. It is
highly recommended to contact Ultraflux to obtain a diagnosis on this point. Ultraflux accepts no
responsibility in the event of the incorrect use of the flow meter, and in such cases, the Ultraflux guarantee
would not be valid.
2.4 Using the flow meter
The flow meter, equipped with ultrasonic measuring probes, is used to measure the flow of a fluid in open
channels (channel or river).
It is important to correctly configure the flow meter for its measurement results to be correct. It is
recommended that interventions be carried out by qualified staff from Ultraflux to ensure this is the case.
This is highly recommended if your equipment is used to regulate an installation, intervene in a monitoring
system, or in the case of other applications for which an incorrect flow measurement would lead to risks.
The heating surface of the flow meter must not be visible, since it is liable to cause burns. It is not
necessary to take any particular precautions to allow it to cool. Should the temperature of the cabinet rise
abnormally, it is recommended to power off the flow meter and call Ultraflux for expert advice. In the event
of a fire inside the flow meter, power it off without opening or touching it, then call the services concerned
in order to secure the premises.
The flow meter must not be used beyond the possibilities and specifications given in this manual. The flow
meter must be stored in a dry place, with the packaging provided by Ultraflux in order to protect the parts
liable to be damaged by a collision. The use of PPE (Personal Protective Equipment) adapted for the
handling and installation of the flow meter (safety boots, protective gloves) is recommended.
The flow meter must only be modified or disassembled by Ultraflux personnel. Ultraflux accepts no
responsibility should this rule not be respected. No consumables are used for the operation of the flow
meter.

13
NT UF 831 CO GB (b) / March 2014
2.5 Recycling the flow meter
In the context of decree no. 2005-829 dated 20 July 2005 relating to the collection, treatment and disposal
of electrical and electronic equipment in France, Ultraflux delegates the responsibility for financial and also
logistical recovery to the user, who will manage their own waste.
2.6 Contact address
For any requests for information, please contact us at:
ULTRAFLUX
Bâtiment Texas
Éragny Parc
9, Allée Rosa Luxemburg
95610 ERAGNY SUR OISE
FRANCE
http://www.ultraflux.net
Email: ultraflux@ultraflux.fr
Tel.: 33 (0)1 30 27 27 30
Fax: 33 (0)1 30 39 84 34
2012 ULTRAFLUX S.A.

14
NT UF 831 CO GB (b) / March 2014
CHAPTER 3: INSTALLATION AND WIRING

15
NT UF 831 CO GB (b) / March 2014
3.1 Opening the cabinet
In order to configure the flow meter, the protective cover must be opened. It is opened by flipping and
unlocking the latches located on the side of the cabinet.
On certain models, one of the latches may include a lock restricting access only to authorized persons.
These latches also ensure that the protection against dust and immersion is maintained. They must
therefore remain closed in normal use.
1. Protective opening,
2. Power supply connector,
3. Communication connectors,
4. Input/output connectors,
5. Chord connectors,
6. Ground connection contact,
7. Latches (optional lock on one of the two).
The latches are adjusted in the factory. The guarantee of protection against dust and immersion is
dependent upon this adjustment not being modified.
Likewise, this guarantee is no longer valid if the Lexan has deteriorated.

16
NT UF 831 CO GB (b) / March 2014
3.2 General procedures
3.2.1 Wall attachment
To install the flow meter on a wall:
Make attachment holes on a wall which is sufficiently solid. Firmly screw the flow meter to the wall so that it
does not fall (take care with cavity walls).
The area around the support must be clear in order to allow:
the connection of the connectors,
the movement of the latches.

17
NT UF 831 CO GB (b) / March 2014
3.2.2 Wiring of the connectors
The cables must be stripped in such a way that the armor remains outside the connectors. The shielding
must pass through the connector in order to prevent interfering signals from damaging the quality of the
measurement. Remember to allow sufficient lengths to be able to access the locations of the probes and the
inputs/outputs.
Important: If using an armored cable, be careful with the "cutting edge" of the armor after cutting it to
strip the wire. This edge may be very sharp. It is recommended to cover the cut edge of the armor with
insulating tape to prevent any accidents.
Screw the connector to the cable using the torque intended for the connector.
3.2.3 Connection
The connectors of the UF 831 box are installed as shown on the figure below:
Comment: The addition of communication modules modifies the layout. Contact us for the details of the
changes.
All connectors must be connected with the equipment powered off, isolated and locked and tagged, by
authorized staff. The power supply connector must be the last to be connected.

18
NT UF 831 CO GB (b) / March 2014
1) Power supply connector (wiring diagram in appendix 5)
Female 4-pin M12 plug
2) Probe connector (wiring diagram in appendix 5)
Male 4-pin M8 plug
Each connector corresponds to an ultrasonic chord, in other words two probes. As standard, it is therefore
necessary to use the Y-cable provided with the flow meter in order to separate the two probe cables. The
flow meter can be configured to have only one probe per connector, but the number of chords possible is
then halved. It is recommended to contact Ultraflux in order to define the most favorable configuration for
your situation.

19
NT UF 831 CO GB (b) / March 2014
3) Communication connector (wiring diagram in appendix 5)
Female 8-pin M12 plug
4) Input/output connector (wiring diagram in appendix 5)
Female 4-pin M8 plug
3.2.4 Connectors
Preliminary comment: Before accessing the area reserved for the electronic connectors used to connect
the flow meter to the inputs/outputs and to the probes, the wires must be stripped and the grounding strip
assembled.
Once the cabinet is fixed and the cables installed on the connectors, the probe connectors and the
input/output connectors must be installed in order to plug them in at their allocated positions.

20
NT UF 831 CO GB (b) / March 2014
1) Analog inputs/outputs
The UF 831 allows two types of inputs/outputs to be used:
Current inputs/outputs (0-20mA, 4-20mA, 0-24mA) or voltage inputs/outputs (0-10V),
Temperature measurement Pt 100 and Pt 1000 with 2, 3 or 4 wires.
The sensors must be powered externally. The wiring of the analog inputs/outputs is indicated in appendix 5:
Wiring of the inputs - outputs.
2) On/Off inputs/outputs (relay)
Each relay of the UF 831 is a normally-open relay contact:
Breaking capacity of each relay: U < 50 V, I < 10 mA,
The maximum frequency of a relay in pulse mode depends on the length of the pulse.
3) Serial link
The serial link is connected using a connector, which can be configured by RS232 or RS485 wiring. The
wiring diagrams are presented in appendix 5: Wiring of the communication port.
4) Connection to the PC
The connection to the PC is made using a USB connector on the front panel of the flow meter.
Other manuals for UF 831
1
Table of contents
Other Ultraflux Measuring Instrument manuals

Ultraflux
Ultraflux Uf 841 User manual

Ultraflux
Ultraflux MiniSonic P User manual

Ultraflux
Ultraflux UF 801-P User manual

Ultraflux
Ultraflux Uf 821 User manual

Ultraflux
Ultraflux Uf 821 User manual

Ultraflux
Ultraflux UF 831 User manual

Ultraflux
Ultraflux Minisonic II Portable User manual

Ultraflux
Ultraflux Uf 811 User manual

Ultraflux
Ultraflux Minisonic Series User manual

Ultraflux
Ultraflux Uf 811 CO User manual