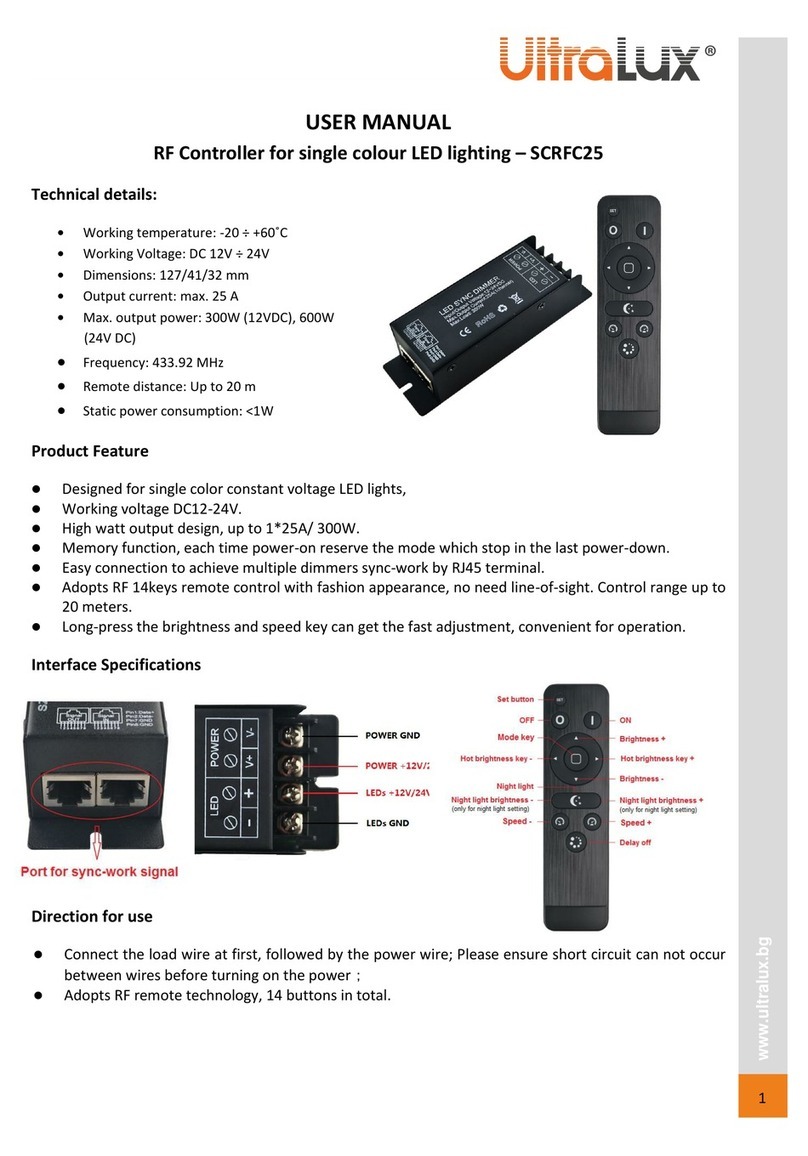
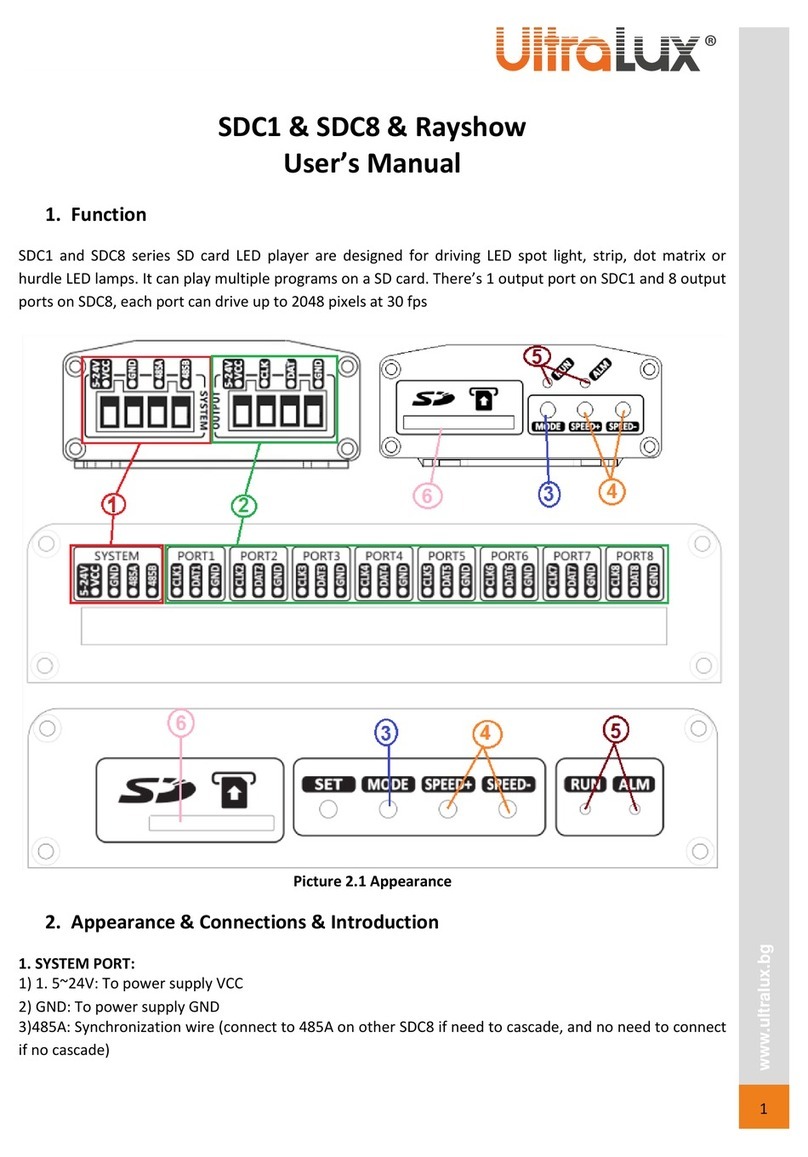
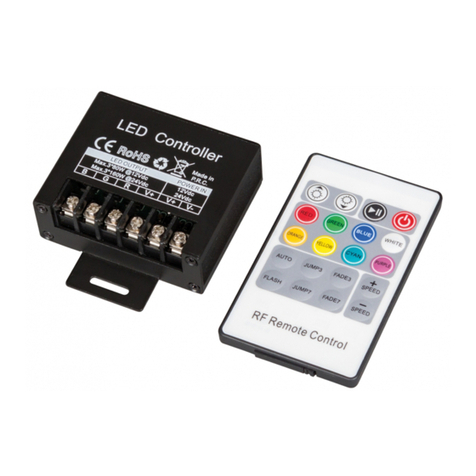
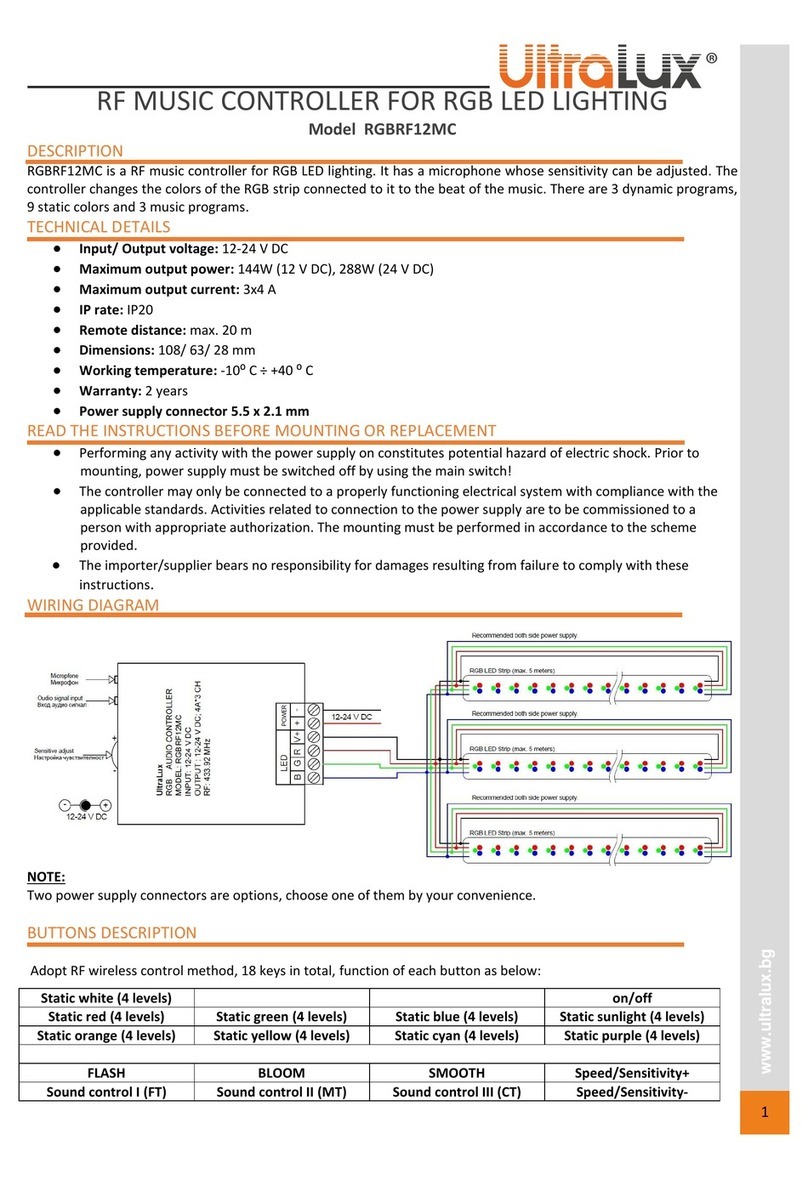
7. Connection diagram
The controller is paired with the remote control as factory default. The controller can be matched
with a new remote if needed.
8. Matching code operation
In order to pair the remote and the receiver follow the instructions below:
Step 1: Press key “Mode” and hold on, turn on the power, the load LEDs will light in white on 50% brightness
as responding.
Step 2: Continuously press the key “Pause “3 times within 5 seconds after step 1, the brightness of LEDs will
change from 25% -10% as responding.
Code learning successfully, the LEDs will be back to the status before the power off, and the receiver only can
be controlled by this remote.
If not, please re-operate from step 1 to 2.
The controller can work at the same time max with 3 remotes and will remember only the last 3 paired
remotes.
9. Clear code operation
Step 1: Press key “Mode” and hold on, turn on the power, the load LEDs will light in white on 50% brightness
as responding.
Step 2: Continuously press “Speed/Brightness-“3 times within 5 seconds after step 1, the brightness of
LEDs will change from 25% -10% as responding.
Code clearing successfully, the LEDs will be back to the status before the power off, and the receiver can be
controlled by any remote control (any one remote control can be used to clear the code).
If not, please re-operate from step 1 to 2.
Any remote control of this model can work with the controller (receiver).
10. Take care of the natural environment cleanliness
Please dispose all the package elements separately into the appropriate corresponding material containers.
Please dispose all broken lighting fixtures separately in containers for out of usage electrical equipment.
Before disposing the WEEE contact the importer/supplier or refer to the guidelines of your local environment
protection organizations.


