Ultrasound Technologies PD1+ combi User manual

PD1 combi
PD1+ combi
operating
instructions
ultrasound technologies


The PD1 combi and PD1+ combi are Pocket Dopplers designed to
suit the needs of the General Practitioner and clinic where multiple
disciplines require interchangeable transducers.
The PD1 combi and PD1+ combi can take a choice of 4
transducers, 2 for fetal heart rate detection (2 and 3 MHz) and 2 for
vascular flow detection (5 and 8MHz). The PD1 combi provides for
the audio presentation of the fetal or vascular signal while the PD1+
combi adds digital fetal heart rate detection and rate display on an
LCD display and an RS232 data port for the transfer of data to a PC
to review the fetal heart rate traces.
The instrument is supplied complete with the following:
Doppler Instrument with an option of interchangeable transducers of
2, 3, 5 or 8MHz .
9V battery (6LR61)
Operating instructions
Doppler size coupling gel
Soft carry case
The following symbols have been used on the instrument and are
defined according to BS EN60601-1-1990
Before using your Pocket Doppler for the first time, please read
these operating instructions carefully.
Introduction
Type B equipment Consult accompanying documents

PD1 combi
The PD1 combi is powered from a single 9 volt alkaline battery
(type 6LR61). To insert or change the battery, slide off the battery
cover (A) from the back of the unit and withdraw the battery and
connector. Carefully remove the battery from the connector and
snap the new battery into position taking care to ensure correct
orientation. Place the battery and connector back into the battery
compartment and refit the battery cover.
To switch on the PD1 combi press the switch located on the front
of the PD1 combi unit (B). The PD1 combi will stay on for
approximately 5 minutes or until the on/off switch is pressed again.
With the unit on, the volume can be adjusted by the rotary volume
control on the edge of the unit, (D).
A Yellow LED (C) indicates the condition of the battery, when
illuminated constantly, battery replacement is recommended. The
LED will flash momentarily when the unit is first turned on.
The selected transducer (E) is connected to the unit by the
connector (F) , to disconnect pull back on the outer cover of the
connector, DO NOT TWIST. To connect a transducer align the red
dots and lightly push the connector into the transducer socket.
(A)
(C)
(B)
(D)
(E)
(F)

PD1+ combi
The PD1+ combi operates in a similar manner to the PD1 combi.
The unit is turned on by pressing the on/off control (B), the system
micro-controller monitors the detected signal and turns the unit off
when no signal has been detected for approximately 2 minutes.
The LCD displays battery condition and fetal heart rate (F). A
battery icon (C) is displayed when the battery requires changing.
The fetal pulse icon (G) flashes at approximately the same
rate as the detected fetal heart.
Serial RS232 connection can be made by attaching the optional
serial link cable to socket (H) on the side of the unit - contact
supplier for further details.
(A)
(G)
(B)
(D)
(H)
(F) (C)
Transducer colour coding
Connector ring colour
2MHz Red
3MHz Orange
5MHz Green
8MHz Grey

Fetal heart detection
The PD1 combi / PD1+ combi can be used to detect the beating
fetal heart from approximately the 10th week of gestation, though
this will vary between patients.
Apply a liberal amount of coupling gel to the area just above the
symphysis pubis and position the transducer face flat against the
abdomen. Tilt the transducer slowly until the fetal heart is heard in
the loudspeaker or headset (in early pregnancy the headset helps
to eliminate ambient noise making it easier to detect the weaker
signals).
Later on in pregnancy the best signals are generally found higher
up the abdomen.
Avoid sliding the transducer over the abdomen as this results in an
increase in the background noise and makes it more difficult to
detect the fetal heart sounds.
The PD1 combi / PD1+ combi may be used to locate the position
of the placenta, thus aiding in the early diagnosis of placenta
praevia or eliminating placental site where amniocentesis is to be
performed.
The sound from the placenta is an indistinct swishing, caused by
bloodflow in many vessels. There is no distinct beat pattern to the
sound.
The vessels of the umbilical cord give rise to a higher pitched sound
than the normal fetal heart, with pulsations at the fetal rate.

Vascular flow
detection
The PD1 combi / PD1+ combi can be used to detect both surface
vessels, deeper arteries and veins using either the 5MHz or 8MHz
transducers.
To obtain the best signal, apply a liberal amount of coupling gel to
the area of the vein or artery under investigation. Tilt the transducer
at approximately 45 degrees to the vessel. Arteries give a high
pitched pulsatile sound, with veins giving a sound like a roaring
wind. The optional headset helps to eliminate ambient noise, making
it easier to detect the weaker signals.
It is also usual for the PD1 combi / PD1+ combi to be used in
association with a pressure cuff and sphygmomanometer to indicate
the location and extent of arterial occlusion in the form of ankle/
brachial pressure index and segmental pressures.
Due to the variation of leg blood pressure over a wide range with the
systemic pressure, the actual values are less useful than the
pressure index, which relates the ankle pressure to the pressure
obtained at the brachial artery. Using the PD1 combi / PD1+ combi
to measure both pressures will ensure compatibility. In cases where
patients have peripheral arterial disease using the PD1 combi /
PD1+ combi , due to its high sensitivity, can be the only technique
suitable for the measurement of leg blood pressure.
Pressure Index = Ankle systolic pressure
Brachial systolic pressure
Normal - ankle systolic pressure > brachial pressure.
Normal pressure index >1
Abnormal pressure index <1

Specification
PD1 combi PD1+ combi
Ultrasound
Frequency 2, 3, 5, 8 MHz continuous wave 2, 3, 5, 8 MHz continuous wave
Transducer 2 crystal narrow beam
(interchangeable) 2 crystal narrow beam
(interchangeable)
Output Power <10mW/cm2 <10mW/cm2
Audio Response 300Hz—1KHz ( 2, 3 MHz)
300Hz—4KHz ( 5, 8 MHz) 300Hz—1KHz ( 2, 3 MHz)
300Hz—4KHz ( 5, 8 MHz)
Fetal Heart Rate Multipoint real time
autocorrelator
50—210 bpm
Unit Controls
Keys 1 key for unit on / off 1 key for unit on / off
Controls Rotary Volume Rotary Volume
Indicators Yellow LED for battery low LCD Display with icon for battery
low and pulse
Power Supply
Battery 9V Alkaline Manganese (MN1604 /
PP3 ) 9V Alkaline Manganese (MN1604 /
PP3 )
Expected Life >9h >6h
Output
Headset Audio output to optional headset Audio output to optional headset
Communication RS232 Interface
Enclosure
Material ABS ABS
Dimensions 150 x 75 mm 150 x 75 mm
Weight 290g 290g
Safety
Classification Type B—IEC 60601-1-1990 Type B—IEC 60601-1-1990

Care of your
doppler
After each use carefully wipe excess coupling gel from the transducer with a soft tissue.
Never use alcohol or any other solvent to clean any part of the Pocket Doppler, as these
may cause damage. If cleaning becomes necessary wipe the Pocket Doppler with a damp
cloth moistened with a mild detergent or Milton.
The transducer face is very delicate and may be damaged by dropping.
Simple fault
finding
Warranty
In the unlikely event of instrument failure, the following simple checks may be made before
contacting your supplier for further advice.
•Unplug any headset and turn the volume control to maximum..
•Turn the unit on and observe the Battery Low indicator, if it does not illuminate,
replace the battery and try again.
•If the Battery Low indicator illuminates and then goes out (normal operation) stroke
the transducer face.
•If no audio signal is heard in the loudspeaker consult your supplier.
When contacting your supplier with a problem please have available the instrument type
and serial number. The serial number can be found inside the battery compartment.
A service manual for this equipment, which includes circuit diagrams, parts lists and test
procedures, is available and may be purchased from your supplier or directly from
Ultrasound Technologies Ltd.
Your Pocket doppler is warranted for a period of 3 years against defects in material and
workmanship. Any instrument that proves to be defective within that period will be repaired
or replaced free of charge, provided that:
i) the instrument has not been damaged accidentally or by misuse or mishandling.
ii) no unauthorised attempts at repair have been made.
iii) the goods are returned to Ultrasound Technologies Ltd or its authorised
representative freight pre-paid.
Under no circumstances whatsoever shall Ultrasound Technologies Ltd have any liability
for loss or for any indirect or consequential damage.
Service
Ultrasound Technologies Ltd
Lodge Way
Portskewett
Caldicot
NP26 5PS
United Kingdom
Tel: +44 (0) 1291 425425
Fax: +44 (0) 1291 427093
email: ultratec@doppler.co.uk
www.doppler.co.uk
This Equipment complies with the essential requirements of the European Council
Directive 93/42/EEC
0120
Emissions
Care has been taken through the design and manufacturing processes to minimise the EM
emissions that may be produced by this equipment. However, in the unlikely event that the
unit causes an EM disturbance to adjacent equipment, we suggest that the procedure is
carried out ‘out of range’ of the affected equipment.
If the user has any doubt regarding the unit’s EM immunity during routine operation, we
suggest that the source of EM disturbance is identified and its emissions reduced.
If the user has any doubt regarding the identification and resolution of adverse EM
conditions, please seek advise from Ultrasound Technologies Ltd.
Immunity

This manual suits for next models
1
Table of contents
Other Ultrasound Technologies Medical Equipment manuals

Ultrasound Technologies
Ultrasound Technologies PFM1 User manual

Ultrasound Technologies
Ultrasound Technologies Freeplay FHRM User manual

Ultrasound Technologies
Ultrasound Technologies PD1 series User manual

Ultrasound Technologies
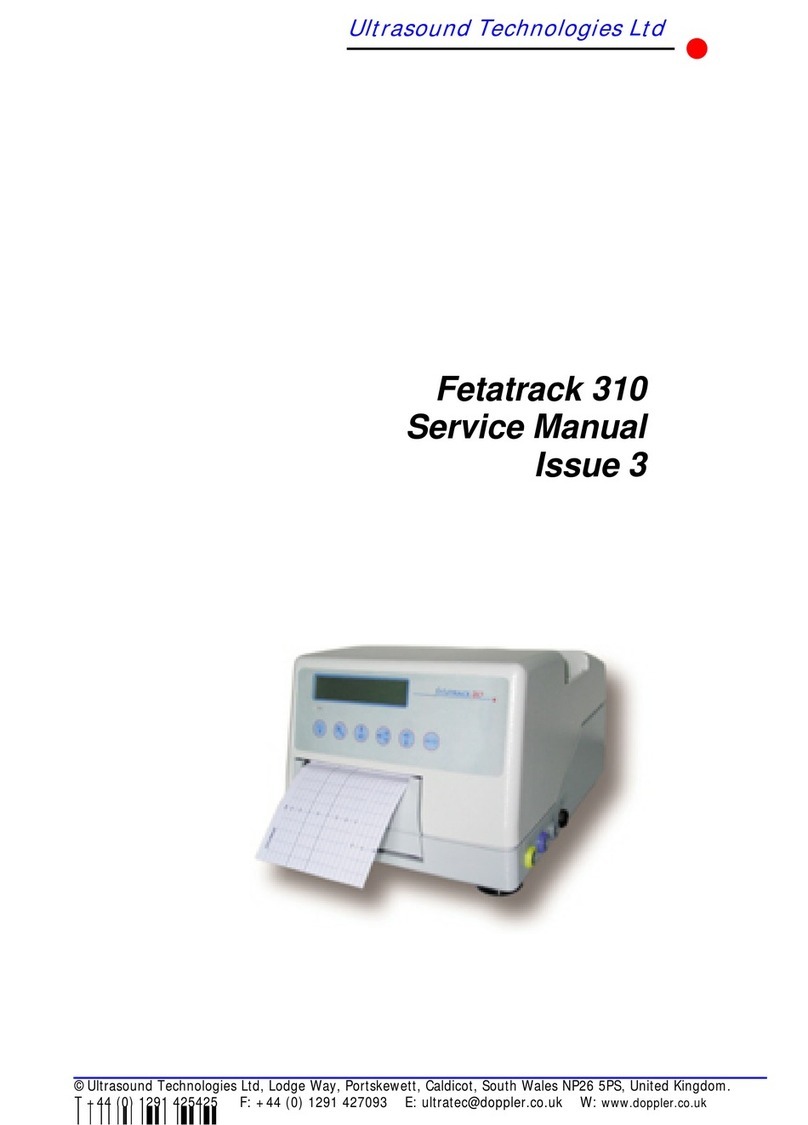
Ultrasound Technologies Fetatrack 310 User manual

Ultrasound Technologies
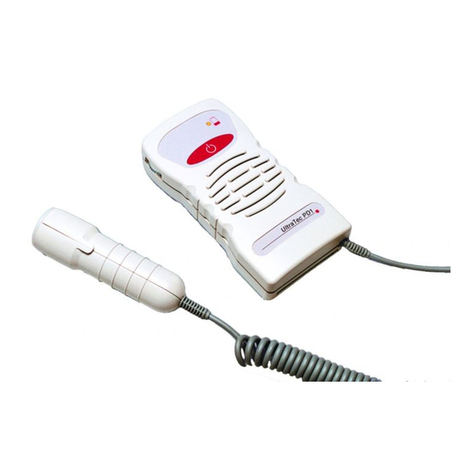
Ultrasound Technologies PD1 series User manual