5 6
3 4
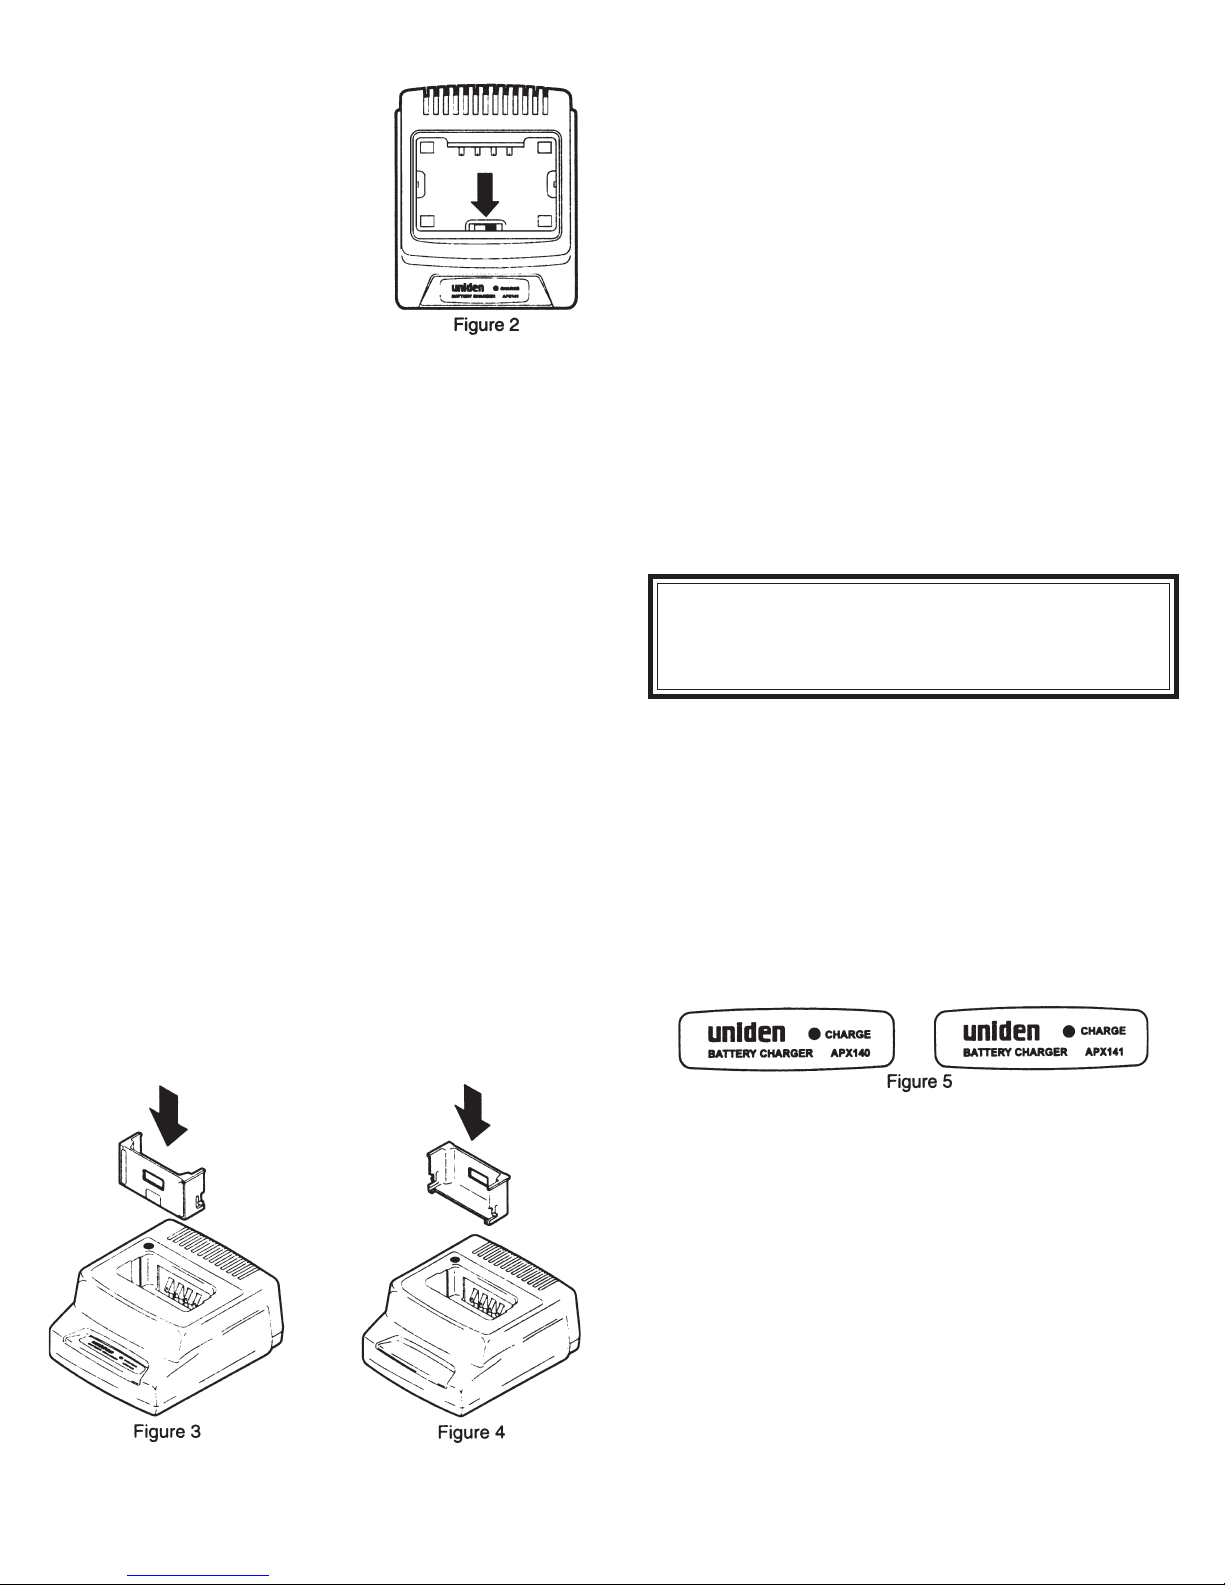
Installing the Charging Cup
To install the cup in the APX 140 or
APX 141, insert the charging cup
and press down gently. If the cup will
not seat readily, do not force it.
Remove the cup and move the slide
switch inside the charging well to the
other position, left or right (see
Figure 2). Then insert the cup and
press down until it is seated.
Battery Charging Information
• Do not operate the Transceiver while it is charging; this
might cause a malfunction.
• Remove the Battery Pack from the Transceiver when it
is not used for a long period.
• Do not let the Battery Pack discharge completely - this
shortens the Battery Pack life considerably.
• Batteries become completely discharged because the
equipment is left operating but unattended for a long time.
Storing the equipment with the Battery Pack attached for
a long time also completely discharges the battery.
• To recharge a completely discharged Battery Pack, you
might have to charge it more than once. If the Battery
Pack will not charge after several attempts, it is prob-
ably damaged.
How to Use the Charger
To charge the Battery Pack:
1. Install the proper cup in the Charger (see Figure 1).
2. Before plugging in the AC Adapter, assure that the
voltage is set to your AC line voltage: 120 volts or 220
volts. (Normal U.S. voltage is 120 volts.). A switch on
the label side of the Adapter slides led or right. The
voltage is indicated next to the switch.
3. Verify that your Charger and AC Adapter match model
numbers.
• The Adapter for the APX 140 Trickle Charger is a small
AC Adapter that plugs directly into a wall outlet.
• The APX 141 Rapid Charger requires a larger Adapter
that has a line cord that plugs into the wall outlet.
4. Plug the small end of the line cord from the Adapter into
the back of the Charger. Plug the other end of the
Adapter into the wall outlet.
5. Place the Transceiver or Battery Pack in the pocket of
the Charger. Be sure you have the proper charging cup
for your Transceiver as indicated by the color dot.
IMPORTANT
Be sure the red LED turns on when placing the
Transceiver or Battery Pack in the pocket.
NOTE: Battery Pack APX 148 requires a charging cup
spacer to assure good contact when charging the Battery
Pack alone. Reverse the spacer when charging the battery
in the Transceiver. Install the spacer by aligning it and
sliding it into position in the charging cup. Figure 3 shows
the insert configuration for charging the battery while it is in
the Transceiver; Figure 4 shows the configuration for
charging the Battery Pack alone.
The APX 140 and APX 141 will start charging automatically
when the battery is placed in the Charger. The charge LED
lights red and remains red while charging. When the
charging cycle is complete, the LED lights green. The
charging current is reduced so you may leave the Battery
Pack in the Charger without damage. (LED and model
number are shown on the Charger label - see Figure 5.)
IMPORTANT: If the CHARGE LED of the APX 141
alternates between red and green during the charging
cycle (typically after about 20 minutes), the Battery Pack
may be shorted or damaged. Remove it from the pocket,
and do not attempt to charge it again.
NOTE: If the Charger will not be used for a week or longer,
remove the Battery Pack from the Charger and unplug the
AC Adapter from the wall outlet.
Cleaning the Contacts
Clean contacts on the Battery Pack and the Charger are
essential to proper performance. Before cleaning the
Charger, remove AC Adapter from wall outlet. Clean dirty or
corroded contacts with a wire brush before using the
Charger. Be sure to remove bits of dirt or metal from the
Charger cup before using. Do not use any liquids or sol-
vents to clean contacts.


