Unimax 372003 User manual

???
??????
WARRANTY CARD
Product: METAL SHEET CUTTER 1,500, 2,000
Type: 372003, 372004
Date of manufacture:
Date of sale, stamp, signature:
Serial number (product series):
Repair centre notes:
Without the correctly filled warranty card or without proof of purchase receipt, including
the product type (invoice, purchase receipt) no warranty claim will be processed.
1. KH Trading machines and tools are covered by 6/24 months warranty, starting on the date of
purchase, as described in the Civil Code (proof of purchase or invoice receipt must be
enclosed with the warranty card when making a claim).
2. This warranty does not cover defects caused by unprofessional handling, machine overloads, not
complying with instructions contained in this manual, using accessories that are not approved,
unauthorized repair, regular wear and tear and damages occurred during transport. Further, this
warranty does not cover parts and accessories such as the motor, carbon brushes, seals and
hot-air operated parts and parts that need to be changed regularly.
3. If the repair is to be found as not covered by the warranty policy, all costs including the repair and ship-
ping to and from the repair centre will be paid by the customer, according to valid price list. See www.
4. When making a claim, you must present the warranty card, showing the date of the purchase, the
serial number of the machine, vendor stamp and signature of sales clerk, as well as the proof of
purchase receipt.
5. Warranty claim shall be made at the vendor shop where you bought your machine or you may mail
it to a service centre. The vendor is obligated to fill out the warranty card (date of sale, serial
number, vendor stamp and signature). All these information must be filled in at the time of sale.
6. The warranty period will be extended for the period of time for which the machine has been in the
service centre possession. If the repair or defect is not covered by the warranty policy, all costs including
the repair and shipping will be paid by the owner of the machine / tool. We recommend sending the
machine in its original packaging. Please, also enclose brief description of the defect with the packaging.
7. Before sending the machine for repair, clean it thoroughly. If the received machine is dirty, it may
be rejected by the service shop or you may be charged a cleaning fee.
SERVICE
Logistic centre Klecany
Topolová 483
250 67 Klecany
Czech Republic
Claim department phone number: 266 190 156 T-mobile: 603 414 975
266 190 111 O2: 601 218 255
Fax: 260 190 100 Vodafone: 608 227 255
http://www.KHnet.cz
Email: ser[email protected]
MMEETTAALLSSHHEEEETTCCUUTTTTEERR
HHSSMM11,,550000,,22,,000000
USER'S MANUAL
372003
372004

2
Dear customer. Thank you for purchasing equipment from KH Trading, s.r.o.
Our company is ready to offer you our services - before, during and after you buy our product.
If you have any question, comment or idea, please contact our business centre. We will do our best to address
your comment or question in timely matter.
Before first use, please read this manual carefully. It is your responsibility to study all instructions,
necessary for safe use and operation and to understand all risks that may be involved during the use
of power machines.
WARNING! Do not try to use this machine before reading this entire manual and before you know
how to handle it. Keep this manual for future reference.
Pay special attention to safety instructions. Not complying with safety rules may cause injury to the
operating person or to people standing by or it may cause damage to the machine or to the work
piece.
Pay special attention to safety notes and safety labels on the machine.
Never remove or damage them.
Please, write information such as the invoice number
and the number of the sale receipt here in this box.
This machine has been designed for metal and steel sheet cutting with maximum thickness of 1.25 mm and for
cutting of non-ferrous materials such as plastic sheets with similar thickness.
The accuracy of instructions, graphs and information contained herein, depends on the printing date. Due to
continuous product improvement, the manufacturer reserves the right to change the technical parameters of
the product, without prior customer notification.
Maximum thickness . . . . . . . . . . . . . . . . . . . . . . . . . . . . . . . . . . . . . . . . . . . . . . . . . . . . . . .1.25 mm
Maximum width . . . . . . . . . . . . . . . . . . . . . . . . . . . . . . . . . . . . . . . . . . . . . . . . . . . . . . . .2,000 mm
Materials that can be cut . . . . . . . . . . . . .regular steel, aluminium, brass, zinc, led, plastic materials etc.
Rear stopper . . . . . . . . . . . . . . . . . . . . . . . . . . . . . . . . . . . . . . . . . . . . . . . . . . . . . . . .max. 570 mm
Dimensions . . . . . . . . . . . . . . . . . . . . . . . . . . . . . . . . . . . . . . . . . . . . . . . .2,580 × 760 × 1,150 mm
Weight . . . . . . . . . . . . . . . . . . . . . . . . . . . . . . . . . . . . . . . . . . . . . . . . . . . . . . . . . . . .560 / 480 kg
DESCRIPTION
TECHNICAL SPECIFICATION
REPAIR AND MAINTENANCE REPORT
Report and maintenance report:
DATE SERVICE SHOP
REPAIR AND MAINTENANCE REPORT

3
???
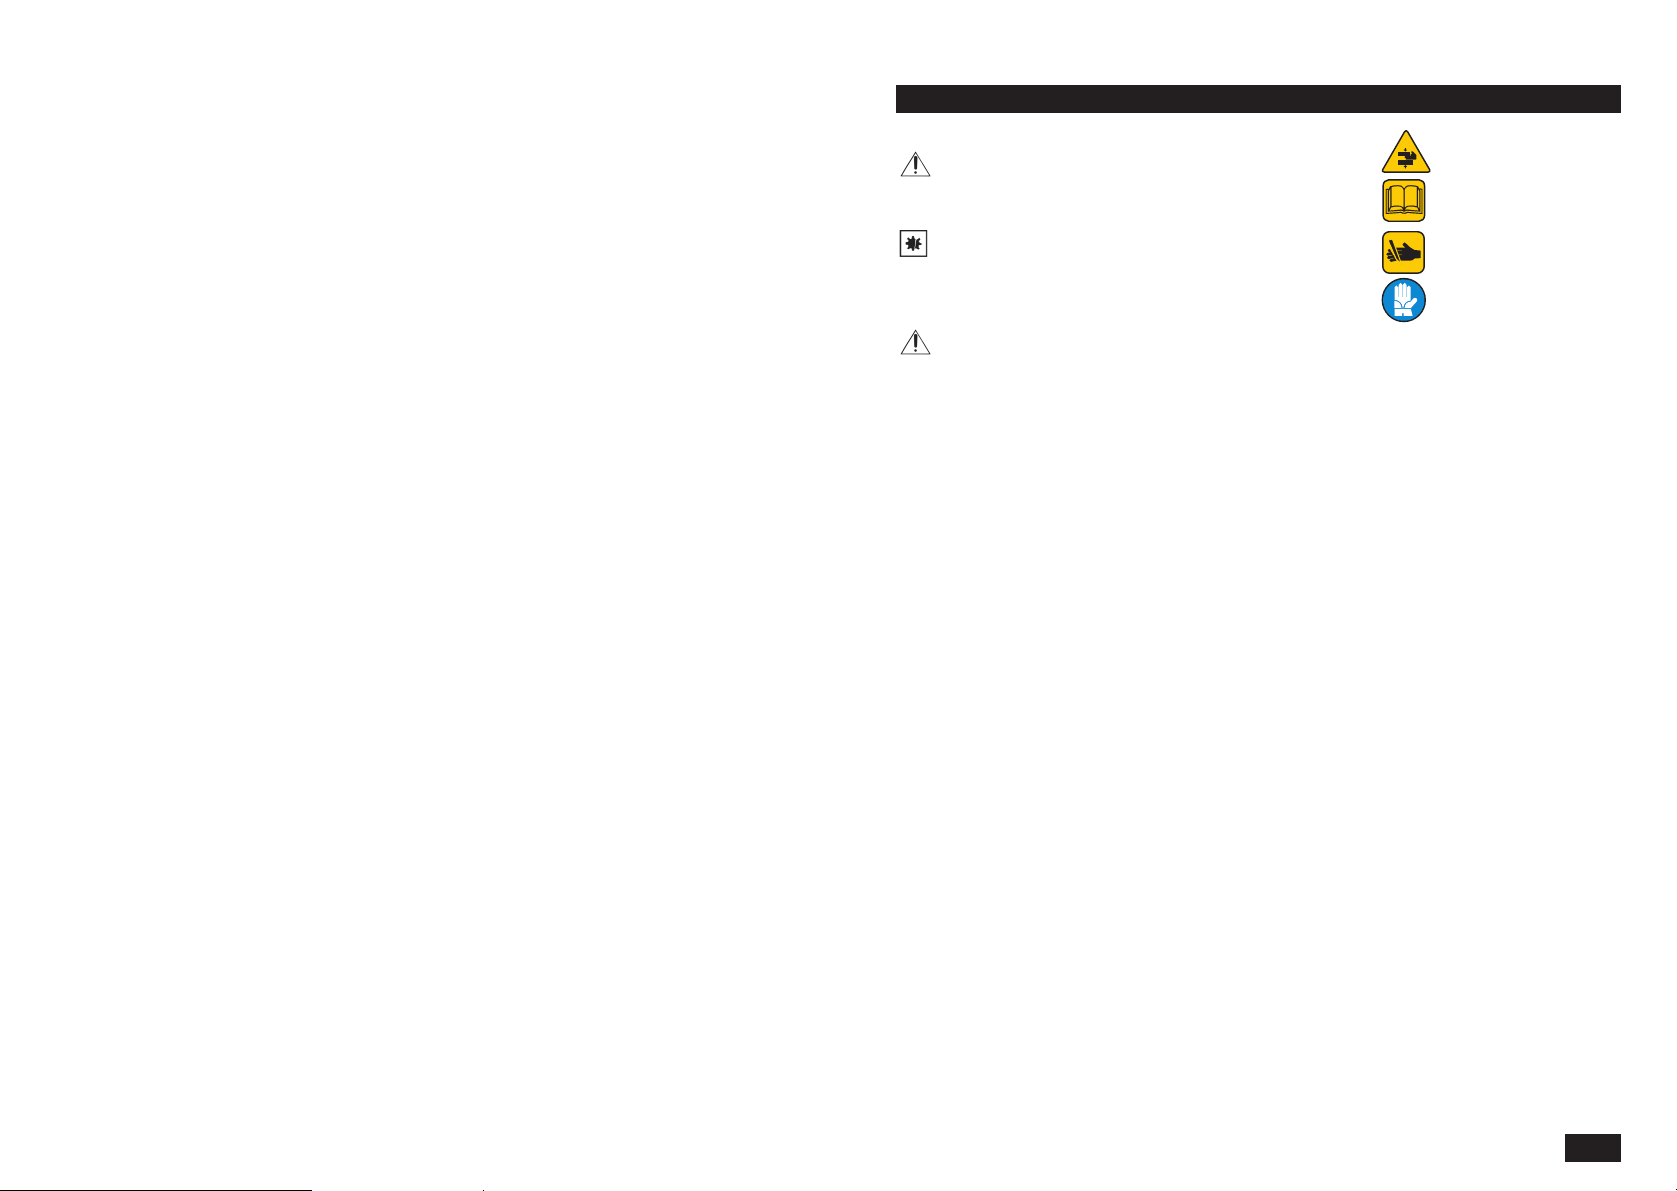
Symbols used in this manual
Warning!
This symbol informs you about the risk of personal
injury or damage to the machine or materials.
Warning!
Danger of damage
General instructions
•Make sure you know your tool or machine and you are familiar with its operating procedure. Know the
hazards that may occur, if not used correctly.
•If other person is using this machine make sure that he knows how to safely operate this equipment and that
he is familiar with hazards and risk that may occur, if not used correctly.
•Pay special attention to safety notes and safety labels on the machine. Never remove or damage them.
If the warning label becomes unreadable, please contact your vendor.
•Keep your working place clean.
•Never work in tight spaces or in purely lit rooms. Make sure the floor is solid and stable and that you can
move around easily.
•Maintain your tools clean and in safe working conditions.
•Handles must be kept free of grease and dirt.
•Make sure no children, unauthorized persons or animals have access to your workshop.
•Never put your hands or legs inside the working area.
•Never leave your machine / equipment unattended during operation.
•Use only for purposes for which it has been designed.
•Use personal protective gear such as safety goggles, ear protection, respirator, safe working shoes etc.
•Do not overreach, use both hands.
•Never work under the influence of alcohol or other drugs.
•Do not use the machine if you feel dizzy or week.
•Any modifications or improvements to the machine are strictly prohibited. Do not use if you discover
damage, bent part, crack or other condition that may prevent the machine from working properly.
•Never perform any maintenance during operation.
•If you see any unusual sign or hear any strange sound, switch off machine immediately.
•Do not forget to remove all wrenches and screwdrivers from the machine after use.
•Before use, make sure all screws are tightened securely.
•Perform maintenance regularly. Before use make sure the machine is in good working conditions and
without any damage.
•Use only original spare parts during repairs.
•Using non-original spare parts or other parts not approved by the manufacturer may cause damage to the
machine or personal injury to the operating personnel.
•Use this machine only for work that could be handled by it. Do not overload tools, accessories or the
machine. For large work volume use more powerful machine.
•Do not overload. Measure the work load in such way, so it could be done with a comfortable speed.
•Do not expose to extremely high temperature or direct sunlight.
•This machine is not designed for use in humid environments or under water.
SAFETY PRECAUTIONS
Danger of bodily injuries
Read manual before use
Danger of having fingers cut
Use protective gloves

4
Assembly
•Do not use the machine unless completely assembled.
Bending, cutting
•Do not use this machine to cut or bend sheets that are thicker and tougher than allowed in this manual.
Do not use for materials that have been hardened or tempered.
•Do not touch the transmission mechanism during work.
•Do not put your hands in the cutting area.
Assemble the machine according to the enclosed drawing.
1. Setting the cutting knife distance
After assembly, you must set the distance between the upper and lower cutting knife:
- Loosen the front nuts (25) and bolts (26) and lower the upper knife until the right end of the knife is about
5 - 6 mm lower than the left end.
- Tighten the rear bolts (26) one by one, until the distance between the upper and the lower knife is
0.22 - 0.03 mm.
- Tighten the rear nuts (25).
- Tighten the front nut (25) and bolts (26).
After you have finished with the above described procedure the machine should be set properly.
2. Stopper setup
To prevent incidental release of the arm cutting mechanism (56) and to ensure the correct position during work,
your machine is equipped with a stopper. To set the stopper position do the following:
- Press on the handle (52) until the left end of the upper knife crosses the lower knife by 2 - 3 mm.
- Release the nuts (24).
- The upper part of the bolt will touch the slanted surface of the cam (44).
- Tighten the nuts (24) again.
Follow the same procedure to set the other stopper.
3. Setup of the press bar
The press bar is holding the cutting material during cutting. To ensure even pressure along the entire length,
you must adjust the setting first. The setting is done as follow:
- Evenly loose the nuts (9).
- Tighten the bolts (8) as needed.
Perform test-cut. If the cutting arm and the press bar go down at the same time, the setting is correct. If not
repeat the setting again.
ASSEMBLY
SETUP AND ADJUSTMENT
9
No. Description Number of pieces
44 cam 2
45 shaft 2
46 wheel 2
47 housing 2
48 casing 2
49 arm 2
50 stud 2
51 bolt 1 1
52 handle 1
53 knife 3
54 rest bar 4
55 left stopper 1
56 cutting arm 1
57 right stopper 1
58 washer 4
59 bolt 4
60 bolt 1
61 nut 1
62 right gear spindle 2
63 right housing 1
64 bolt 4
65 bolt 1
66 left housing 1
67 left gear spindle 1
68 ruler 1
69 cover 1
70 spring washer 12
71 bolt 12
72 bolt 2
73 left cabinet 1
74 gear spindle 1
75 wrench 1
76 bolt 1
77 right cabinet 1
78 adapter 2
79 casing with adjusting mechanism 2
80 hand wheel 1
81 nut 1
82 handle 1
83 stopper 1
84 bolt 2
85 washer 8
86 bolt 8

8
???
PART LISTING
No. Description Number of pieces
1 rest bar 1
2 nut 2
3 adapter 2
4 bolt 2
5 housing 2
6 nut 2
7 bolt 2
8 bolt 2
9 nut 2
10 washer 2
11 adapter 2
12 spring 2
13 spindle 2
14 guiding rail 2
15 shaft 2
16 bolt 4
17 washer 4
18 bolt 2
19 terminal box 2
20 bolt 2
21 presspahn 1
22 auxiliary holder 1
23 bolt 2
24 nut 4
25 nut 16
26 nut 16
27 stud 8
28 housing - stand and wedge 1
29 ruler 3
30-1 right cover 1
30-2 left cover 1
31 spindle 1
32 tool box 2
33 bolt 1 4
34 auxiliary holder 2
35 cover 2
36 bolt 1 6
37 bolt 1 18
38 knife 3
39 nut 1
40 terminal box 1
41 nut 1
42 threaded pole 1
43 nut and spring mechanism 1
5
4. Using the rear ruler
To shorten the preparation time before cutting, your machine is equipped with a hand wheel that controls the
rear ruler. After you have set the ruler to a certain length, you may cut identical pieces repeatedly.
The hand wheel moves the stopper (83) back and forth. The length of the distance may be red out quickly of
the scale (63) but to set the distance accurately, use calibrated ruler.
After you have set the required distance, tighten the bolt (72) and the machine is now ready for cutting.
•Keep your tools clean. Dirt from tools may enter the inner machine mechanism and cause damages to the
tools or machine.
•Do not use aggressive cleaning solution or paint thinners to clean the machine.
•Clean metal parts with cloth dipped in paraffin oil.
•If not in use, coat the metal parts of the machine with oil and store it in a dry place.
Checking the tolerance
To prevent knife damage due to incorrect settings, check all settings (namely the distance between knifes)
regularly.
Lubrication
Lubricate the working surfaces with suitable lubrication as needed. Often lubricate all moving parts. Refill the
lubrication grease in the gear boxes and sliding components lubrication nipples.
When the operational life of your device is over, dispose off it in accordance with valid rules and regulations.
Your product is made of metal and plastic parts that may be recycled when separated.
1. Disassemble all parts.
2. Separate all parts according to the material they are made of (e.g. metals, rubber, plastics, etc.).
Take the separated parts to the recycling facility near you for further processing.
Information about the locations of recycling centres may be found at your local City office or throughout an
Internet search.
MAINTENANCE
DISPOSAL

6
CAUTION
If the machine breaks down, send it back to the vendor for quick repair.
Please, enclose brief description of the defect. That makes repair easier. If the machine is still covered by
warranty, enclose the warranty card and proof of purchase receipt. After the warranty period expires, we
repair your machine for a special price.
To prevent possible damages during shipping, packed the machine carefully or use the original packaging
material. We are not liable for shipping damages due to incorrect packaging of your machine. If making
a claim at the shipping company the level and method of packaging plays a major role during claim evaluation
process.
Note: Pictures and contents in this manual may slightly differ from the actual product or accessories.
It is due to continuous improvement of our products. Such small differences have no effect on the product
functionality.
7
???
DETAILED DRAWING
This manual suits for next models
1
Table of contents
Other Unimax Cutter manuals