Unit MIE0148 User manual
Instrukcja obsługi PL
Owner’s manual EN
Non-contact
infrared
thermometer
MIE0148


3
Owner’s manual
EN
The model MIE0148 infrared thermometer (hereafter, the “thermom-
eter”) can determine the surface temperature by measuring the
amount of infrared energy radiated by the target’s surface.
The thermometers are non-contact infrared thermometer with low
consumption design so that they can be used for a longer time,
which can solve the frequently changing battery and low battery is-
sues during measurement. Intelligent design can make measure-
ment easier and quicker.
INTRODUCTION
SAFETY INFORMATION
Warning
To avoid electrical shock or personal injury, follow these guidelines:
• Do not point laser directly at eye or indirectly off reective sur-
faces.
• Before using the Thermometer inspect the case. Do not use the
Thermometer if it appears damaged. Look for cracks or missing
plastic.
• Replace the battery as soon as the battery indicator appears.
• Do not use the Thermometer if it operates abnormally. Protection
may be impaired. When in doubt, have the Thermometer serviced.
• Do not operate the Thermometer around explosive gas, vapor, or
dust.
• To avoid a burn hazard, remember that highly reective objects
will often result in lower than actual temperature measurements.
• Do not use in a manner not specied by this manual or the pro-
tection supplied by the equipment may be impaired.
Owner’s manual
4
EN
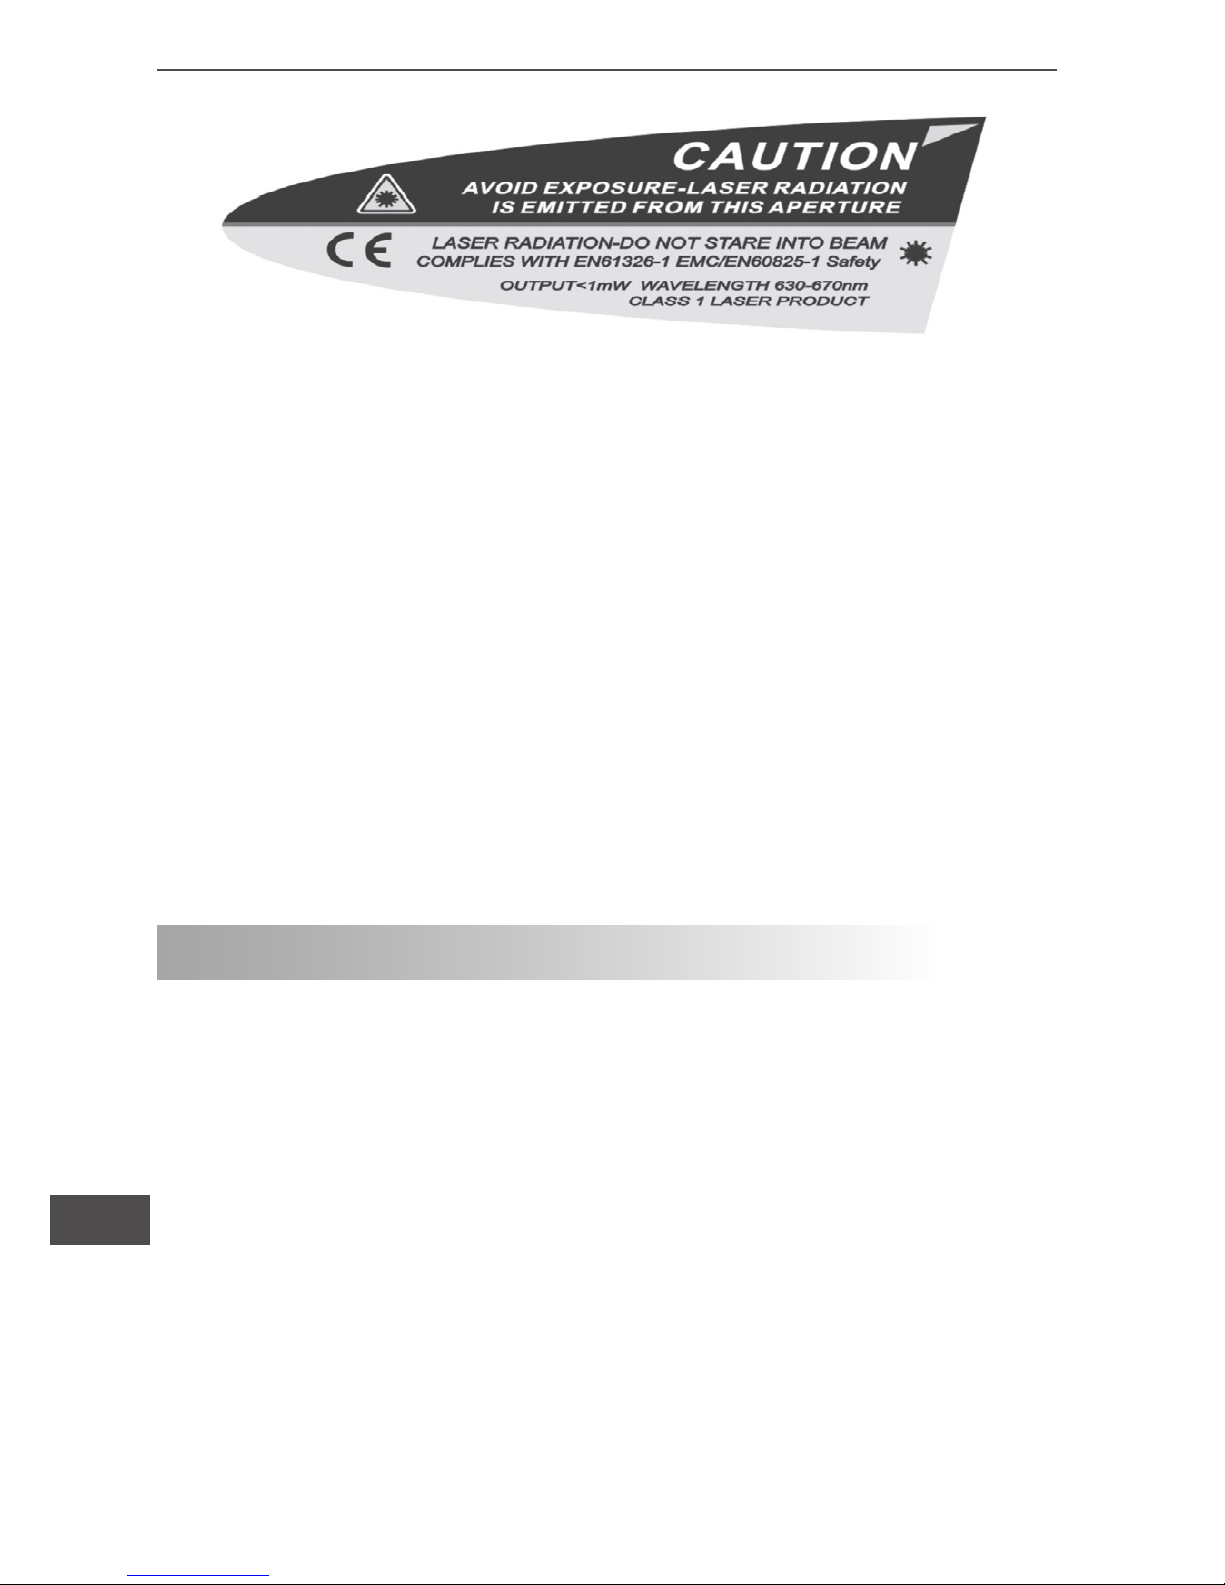
Figure 1. Symbols and safety markings.
Caution
To avoid damaging the thermometer or the equipment under test
protect them from the following:
• EMF (electro-magnetic elds) from arc welders, induction heaters,
etc.
• Static electricity.
• Thermal shock (caused by large or abrupt ambient temperatu-
re changes – all 30 minutes from the Thermometer to stabilize be-
fore use).
• Do not leave the Thermometer on or near objects of high tempe-
rature.
The Thermometer includes:
• Single-spot laser sighting
• White colour backlit display
• Current temperature plus MIN and MAX
• Temperature displays
• Degree celsius and fahrenheit temperature selectable
• Battery power monitoring
• Low battery display
FEATURES
5
Owner’s manual
EN
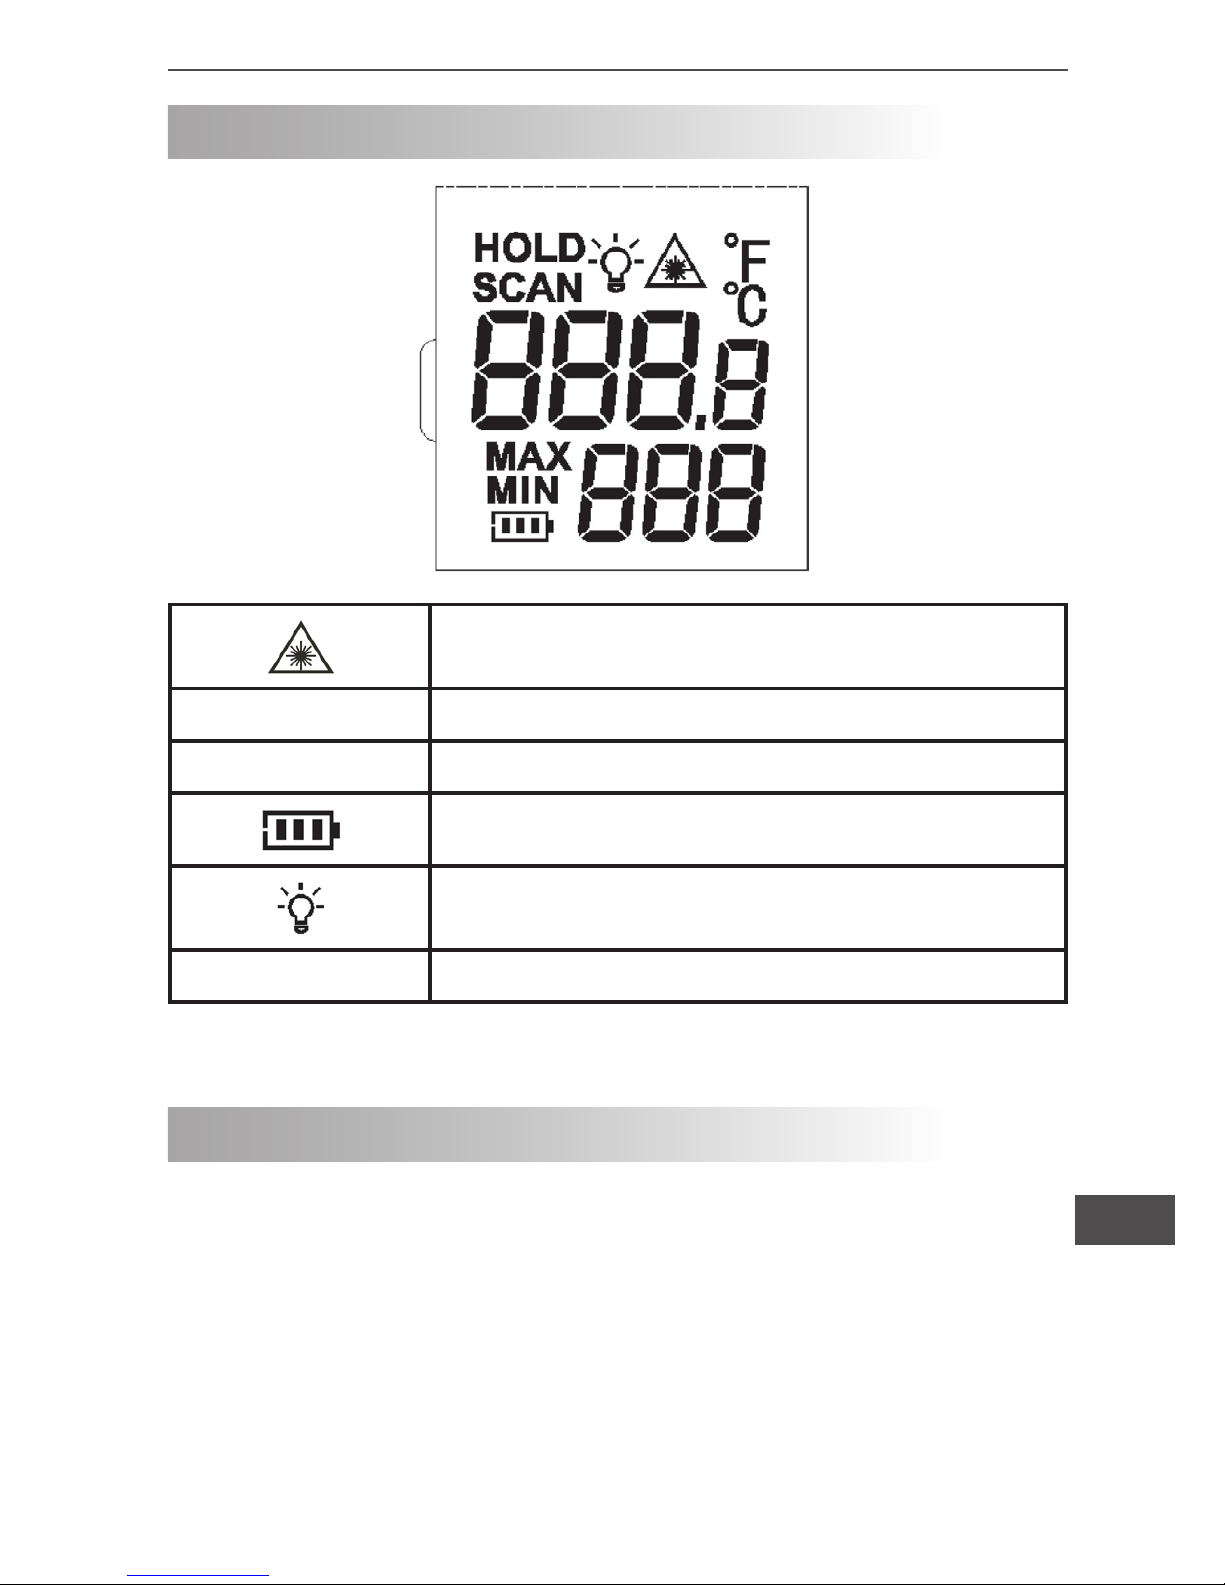
DISPLAY
Laser “On” symbol
HOLD/SCAN SCAN or HOLD
MAX/MIN Temperature values for the MAX and MIN
Battery indication
Display backlit
C0/ F0C0/ F0 symbol (Celsius/Fahrenheit)
Infrared thermometers measure the surface temperature of an opa-
que object. The Thermometer’s optics sense infrared energy, which
is collected and focused onto a detector. The Thermometer’s elec-
tronics then translate the information into a displayed temperature
reading which appears on the display. The laser is used for aiming
purposes only.
HOW THE THERMOMETER WORKS
Owner’s manual
6
EN
The Thermometer turns on when you press the trigger. The Thermo-
meter turns off when no activity is detected for 8 seconds.
To measure temperature, aim the Thermometer at the target, pull
and hold the trigger. Release the trigger to hold a temperature re-
ading.
Be sure to consider distance-to-spot size ratio and led of view. The
laser is used for aiming only.
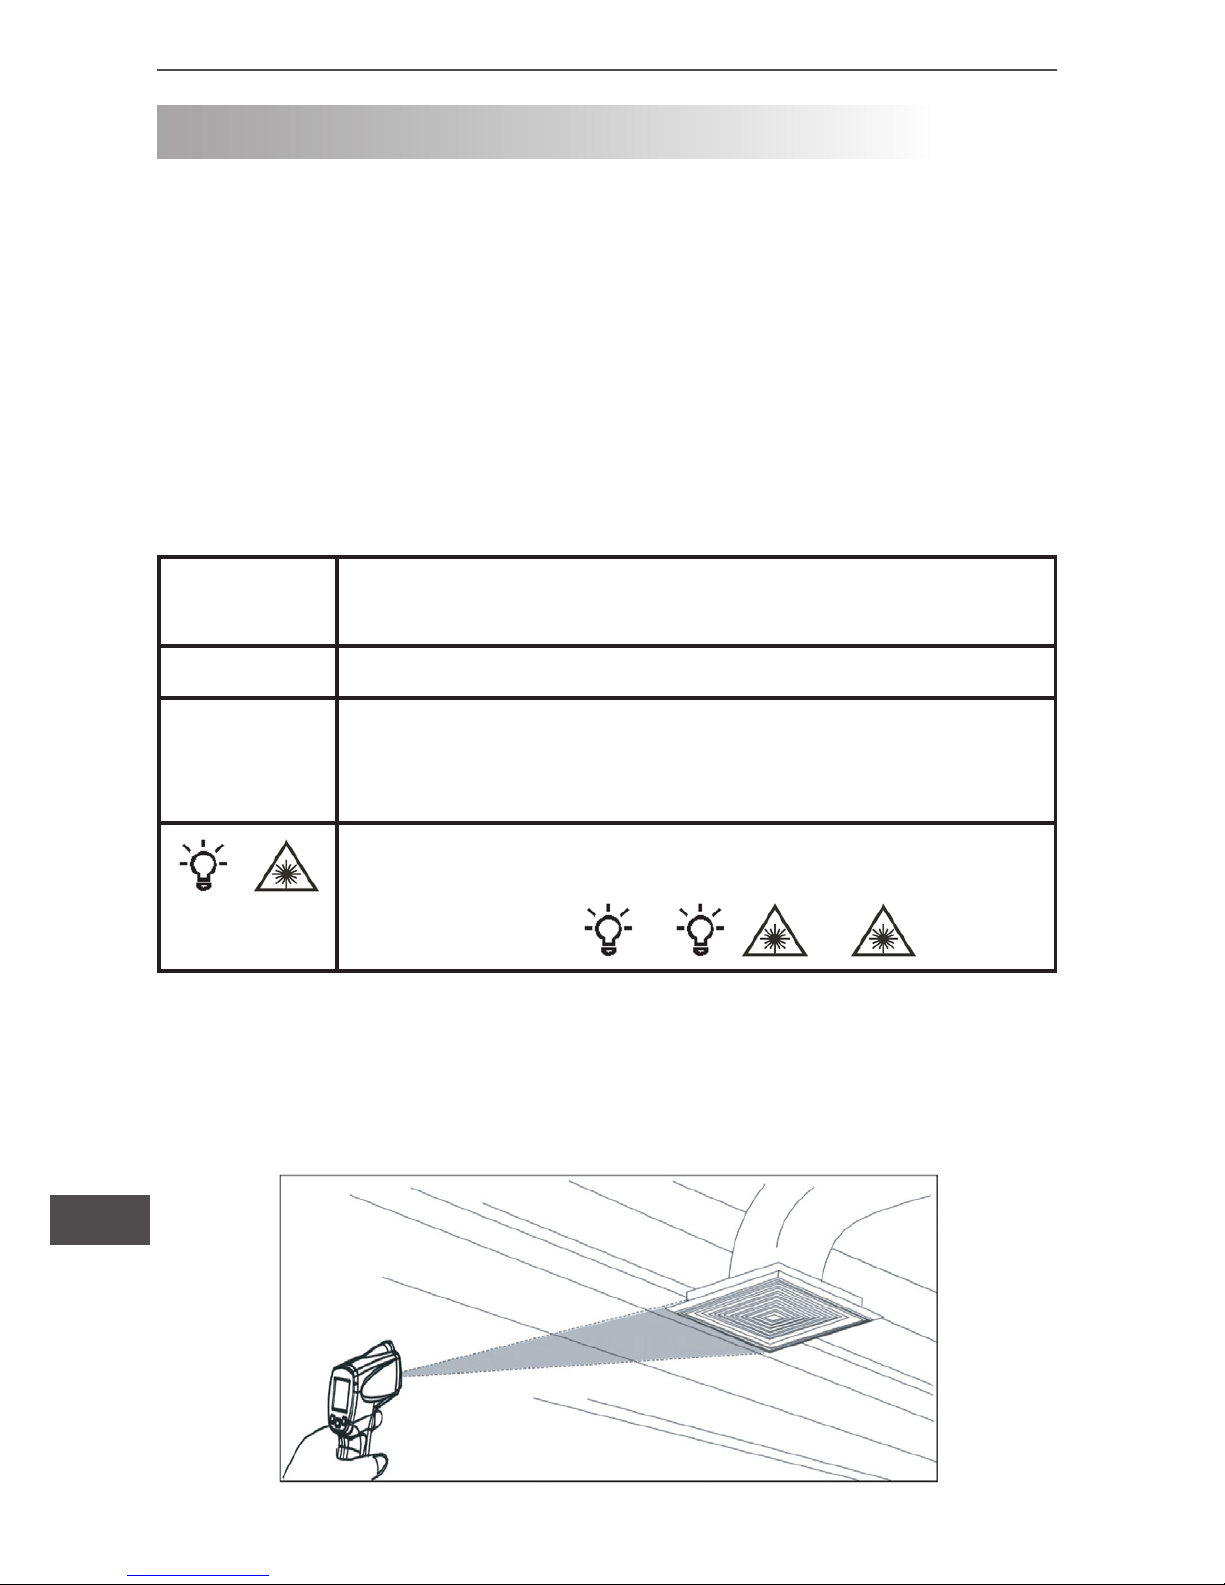
Button /
connector
Description
C0/ F0Press to toggle between Celsius and Fahrenheit.
MAX/MIN Press to toggle between MAX and MIN options.
MAX and MIN values are displayed on the
secondary display.
/ Press to toggle between turning on the laser and
display backlight.
The sequence is: , , , none.
Locating a hot or cold spot
To nd a hot or cold spot, aim the Thermometer outside the target
area. Then, slowly scan across the area with an up and down mo-
tion until you located the hot or cold spot.
OPERATING THE THERMOMETER
7
Owner’s manual
EN
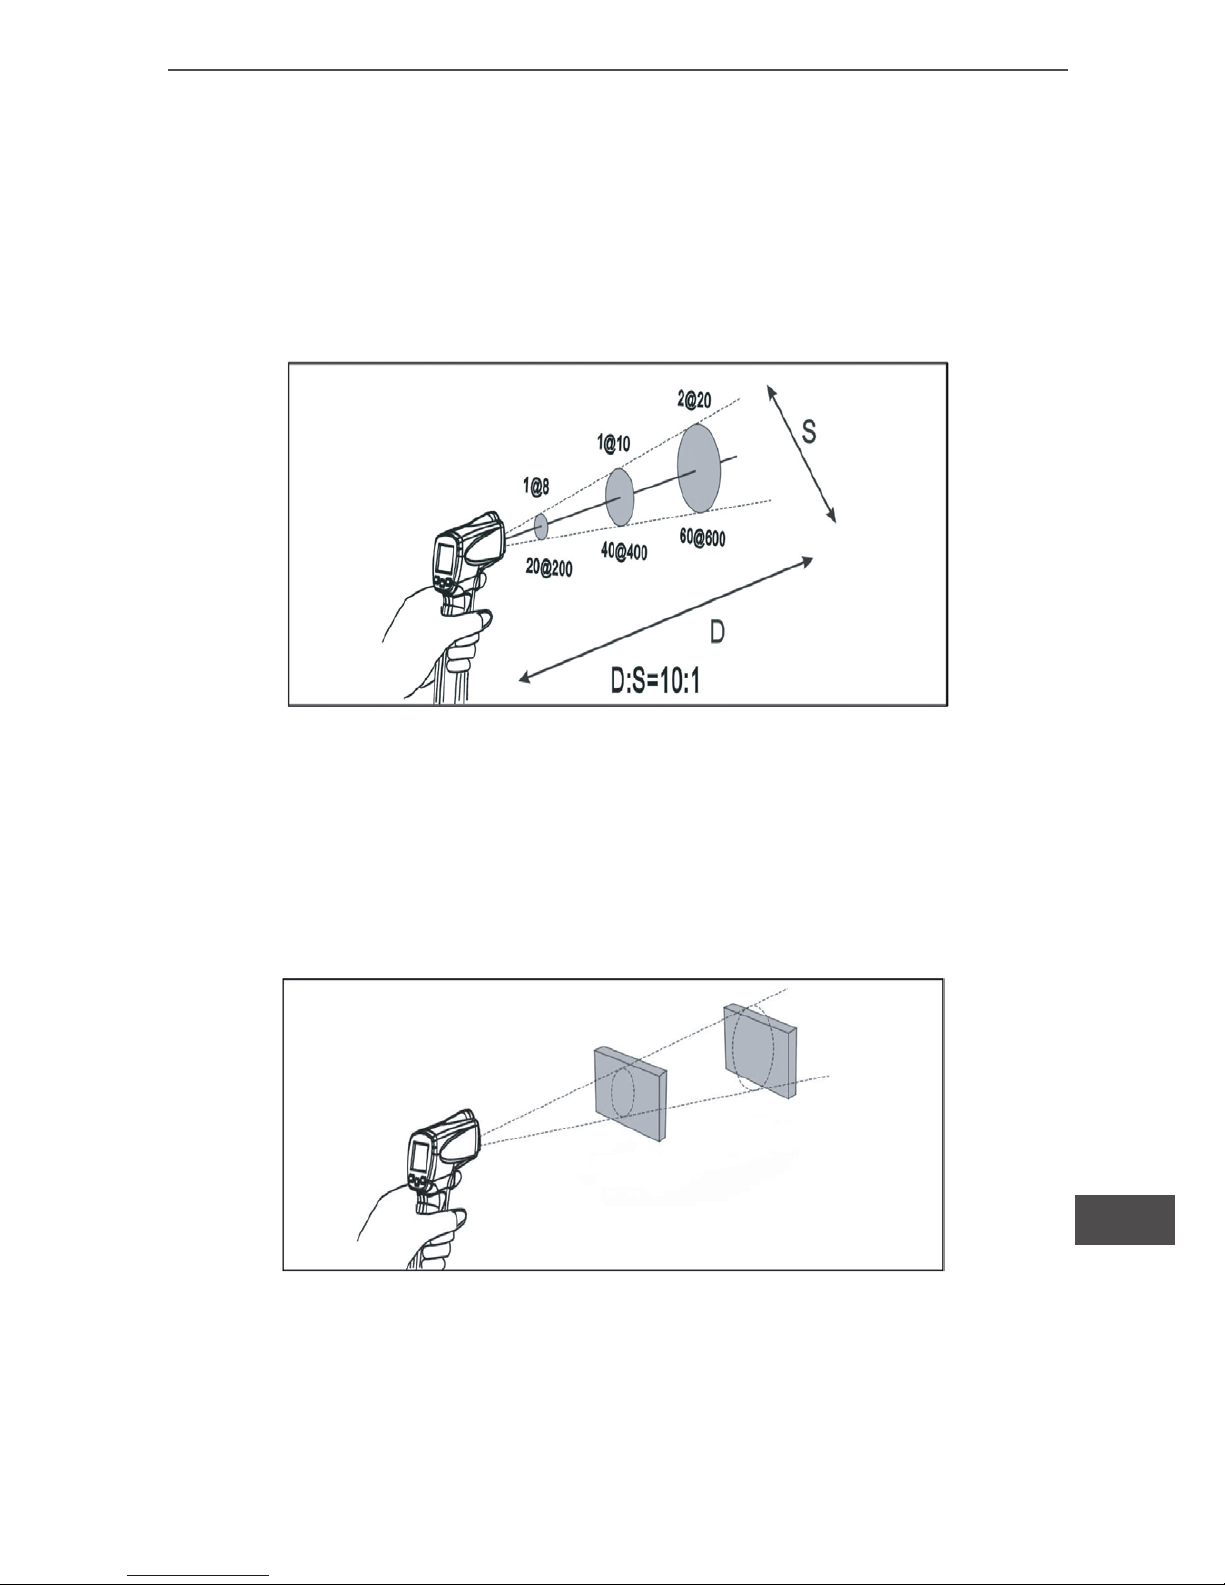
Distance and spot size
As the distance (D) from the target being measured increases, the
spot size (S) of the area measured by the unit becomes larger. The
spot size indicates 90% encircled energy. The maximum D:S is ob-
tained when the Thermometer is 1000mm (100 in) form the target
resulting in a spot size of 20mm (2 in).
Field of view
Make sure that the target is larger than the spot size. The smaller
the target, the closer you should be to it. Suggested distance less
than 75% of the theory value.

Owner’s manual
8
EN
Emissivity
Emissivity describes the energy-emitting characteristics of mate-
rials. Most organic materials and painted or oxidized surfaces have
an emissivity of about 0.95.
If possible, to compensate for inaccurate readings that may result
from measuring shinymetal surfaces, cover the surface to be me-
asured with masking tape or at black paint (<1500C / 3020F ) and
use the high emissivity setting. Allow time for the tape or paint to re-
ach the same temperatures as the surface beneath it. Measure the
temperature of the tape or painted surface.
Changing the battery
To install or change the 9V battery, open the battery compartment
the battery.
Cleaning the lens
Blow off loose particles using clean compressed air. Carefully wipe
the surface with a moist cotton swab. The swab may be moistened
with water.
Cleaning the housing
Use soap and water on a damp sponge or soft cloth. To avoid dama-
ge to the Thermometer, do not soak the unit into water.
Caution
To avoid damaging the Thermometer, do NOT submerge it in
water.
MAINTENANCE

9
Owner’s manual
EN
Auto power off V
HOLD V
SCAN V
MIN V
MAX V
Laser turn off V
0C/0F selectable V
Emissivty 0.95
Temperature range -180C ~ 3800C
Maximum measuring
accuracy
±20C or ±2%
Assumes ambient operating
temperature of 230C ±20C.
Repeatability <±0.50C or <±0.5%
Resolution 0.1
Response time 500ms
White display backlit V
SPECIFICATION
„The Lechpol company declares that product MIE0148 is consi-
stent with the essential requirements and other relevant provisions
of directive 1999/5/EC. The proper declaration for download from
www.lechpol.eu”
Owner’s manual
10
EN
Symptom Problem Action
OL (on display) Target temperature is
over range
Select target with
specications
-OL (on display) Target temperature is
under range
Select target with
specications
Low battery Replace Battery
Blank display Possible dead battery Check and / or re-
place battery
Laser does not
work
• Low or dead battery
• Ambient temperature
above 400C (1040F)
• Replace battery
• Use in area with lo-
wer ambient tempe-
rature.
TROUBLESHOOTING
Specications are subject to change without notice.
Table of contents
Languages:
Other Unit Thermometer manuals


