manuals.online logo
Brands
  1. Home
  2. •
  3. Brands
  4. •
  5. urban ambiance
  6. •
  7. Outdoor Light
  8. •
  9. urban ambiance UQL1191 User manual

urban ambiance UQL1191 User manual

1of3
Tools Required: Flathead screwdriver, Phillips screwdriver, Shovel, Electrical tape, Wire cutter, Safety glasses, Wire strippers and proper length
wires (not supplied).
Estimated Assembly Time:
30-45 minutes
Preparation:
Identify and inspect all parts before beginning installation. Check package content list and diagrams below to be sure all parts are
present. If any parts are missing or damaged, do not attempt to assemble, install, or operate the fixture. Contact customer service for replacement
parts.
Warnings and Cautions
Turn off electricity at circuit breaker or main fuse box before installation. Consult a licensed electrician if in doubt.
These instructions are provided for your safety. It is very important you read them completely before installing the fixture. We strongly
recommend that a licensed, professional electrician perform the installation.
Package Contents
BSmall Allen Wrench
x1
ABig Allen Wrench
x1
CAnchor Bracket
x1
DAllen Bolt
x3
ELock Ball
x3
FWasher
x3
Lock Washer
x3
G
Hex Nut
x3
H
Anchor Bolt
x3
I
JAllen Set Screw
x4
KPost Fitter
x1
LUpper Post
x1
MMiddle Post
x1
NBottom Post
x1
STEP 1 Assemble Anchor Bolts to the Anchor Bracket-
A. Remove all Lock Washers (G), Hex Nuts (H) and Lock Balls (E) from
the Anchor Bolts (I).
B. Screw the threaded end of each Anchor Bolt (I) in the Mounting
Bracket (C) making sure to that the Anchor Bolt (I) is 1.75” to 2”
extended from the bottom of the Bracket (C).
C. Place a Lock Washer (G) over the Anchor Bolt (I) and then thread the
Hex Nut (H) onto each Anchor bolt (I). Securing the Bracket (C) in
place maintaining the 1.75”-2” length of the Anchor Bolt (I).
1.75” - 2”
H
G
C
I
C
G
H
I
Figure 1
STEP 2 Install Anchor
Bolts in the ground
-
A. Dig a hole in the ground at
the desired location for the
Post Mount.
B. Use cement to secure the
Anchor Bolts (I) into the
ground making sure that
the Bracket (C) is flush on
top of the cement and level
Anchor at the desired
grade with the ground. This
is the base for the Post
Mount.
Tube
Cement
Earth
Earth
Wires
1.75” - 2”
Dia. 9-11/16”
Bolt
Bolt Circle
C
I
Figure 2
Installation Instructions: UQL1191
www.urbanambiance.com
2of3
STEP 3 Assemble Post Fitter and Posts
together
-
A. Place the Post Fitter (K) on the Upper
Post (L) end without the threads. Secure
the Post Fitter (K) with (2) Allen Set Screw
(J) using the Small Allen Wrench (B)
provided.
B. Thread the Upper Post (L) assembly onto
the Middle Post (M) until secure. Secure
the Upper Post (L) assembly to the Middle
post (M) using (2) Allen Set Screw (J) and
the Small Allen Wrench (B) provided.
C. Place the Middle Post (M) assemble onto
the Bottom post (N) lining up the mounting
holes in the Middle Post (M) assembly
with the Bottom Post (N). Secure the
Middle Post (M) assembly to the Bottom
Post (N) using (2) Allen Bolt (D) and the
provide Big Allen Wrench (A). Tighten until
secure.
Figure 3
N
D
A
M
B
J
L
KSTEP 4 - Wire Connections
A. Use standard wire connectors (not included) to make all wire
connections. Twist connectors until wires are tightly joined together.
Wrap each connection with approved electrical tape and carefully
stuff all the connected wires into the Outlet Box.
White wire
from supply White wire
from fixture
Black wire from
supply (or Red)
Black wire
from fixture
Ground wire
from supply
Ground wire
from fixture
Figure 4
STEP 5 - Install Post Mount Assembly to Anchor Bolts
A. (I)
(F) (I) (I)
(E)
Place the Post Mount assembly onto the Anchor Bolts . Place a
Washer over each Anchor Bolt and secure each Anchor Bolt
with the Lock Ball and tighten until secure.
Your installation is completed now. Restore electricity. Retain this
sheet for future reference.
Earth Earth
N
E
F
I
C
Figure 5
INSTALL POST LIGHTING TO POST MOUNT
ToolsRequired:markingpen,5/32”drillbit,centerpunch,hammer, drill, #10 self-tapping screw,andwrench.
STEP 1 -Mark the Location of the 3 Mounting Holes
A. Place the light fixture onto the post fitter and mark the location of
the 3 mounting holes on the fixture fitter onto the post fitter with the
marking pen.
Figure 1
Post Fitter Post
Fitter
Marking Pen
Mounting
Hole
STEP 2 M C E M H-arking the enter of ach ounting ole
A. Remove the light fixture. Using the center punch and hammer
marking the center of each mounting hole location that is marked
with the marking pen.
Figure 2
Post Fitter
Center Punch
Hammer Marking
Post
Lighting
www.urbanambiance.com
3of3
STEP 3 Drill Holes-
A. Using the 5/32” bit and drill, drill a hole completely through the post
fitter at each (3) locations marked in step 2 above.
Post Fitter
5/32” bit and drill
STEP 4 Attach the fixture to
the Pier Mount
-
A. Wire the fixture according to
the instructions and place the
fixture on the post fitter lining
up the mounting holes on the
fixture fitter with the holes on
the post fitter.
Figure 4
Post Fitter
Hole
Fixture
Fitter
#10 Self-tapping
Screw
Mounting
Hole
Figure 3
B. Use the #10 Self-
tapping Screws (not
provided) to attach
the fixture to the post
fitter.
Post
Lighting
www.urbanambiance.com

Other urban ambiance Outdoor Light manuals
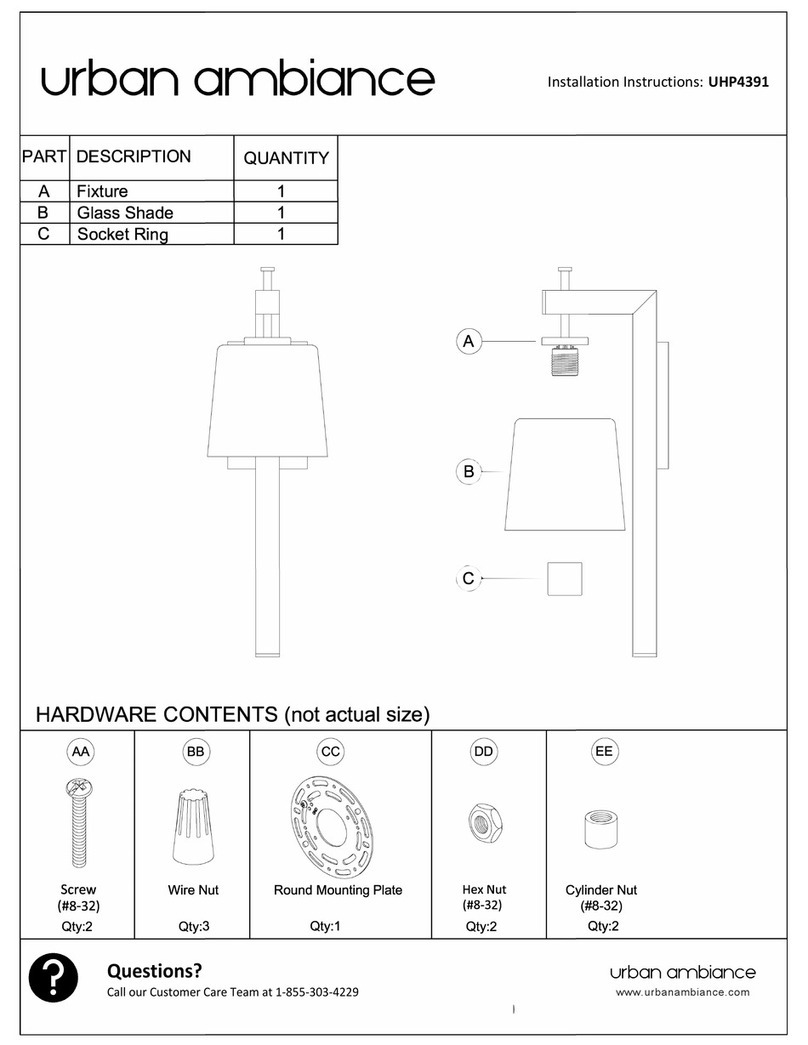
urban ambiance UQL1050 Service manual

urban ambiance

urban ambiance UQL1050 Service manual

urban ambiance UQL1104 User manual

urban ambiance

urban ambiance UQL1104 User manual

urban ambiance UQL1130 User manual

urban ambiance

urban ambiance UQL1130 User manual

urban ambiance UHP1305 User manual

urban ambiance

urban ambiance UHP1305 User manual

urban ambiance UHP1404 User manual

urban ambiance

urban ambiance UHP1404 User manual

urban ambiance UHP1290 User manual

urban ambiance

urban ambiance UHP1290 User manual

urban ambiance UQL1053 Instruction Manual

urban ambiance

urban ambiance UQL1053 Instruction Manual

urban ambiance UQL1105 User manual

urban ambiance

urban ambiance UQL1105 User manual

urban ambiance Cambridge UQL1142 User manual

urban ambiance

urban ambiance Cambridge UQL1142 User manual

urban ambiance UQL1141 User manual

urban ambiance

urban ambiance UQL1141 User manual

urban ambiance UQL1103 User manual

urban ambiance

urban ambiance UQL1103 User manual

urban ambiance UQL1255 User manual

urban ambiance

urban ambiance UQL1255 User manual

urban ambiance UQL1222 User manual

urban ambiance

urban ambiance UQL1222 User manual

urban ambiance UHP1322 User manual

urban ambiance

urban ambiance UHP1322 User manual

urban ambiance UQL1161 User manual

urban ambiance

urban ambiance UQL1161 User manual

urban ambiance UHP1390 User manual

urban ambiance

urban ambiance UHP1390 User manual

urban ambiance UQL1376 User manual

urban ambiance

urban ambiance UQL1376 User manual

urban ambiance UQL1160 User manual

urban ambiance

urban ambiance UQL1160 User manual

urban ambiance UQL1154 User manual

urban ambiance

urban ambiance UQL1154 User manual

urban ambiance UHP1311 User manual

urban ambiance

urban ambiance UHP1311 User manual

urban ambiance Manchester UQL1170 User manual

urban ambiance

urban ambiance Manchester UQL1170 User manual

urban ambiance UQL1413 User manual

urban ambiance

urban ambiance UQL1413 User manual

urban ambiance UHP3952 User manual

urban ambiance

urban ambiance UHP3952 User manual

urban ambiance UQL1273 User manual

urban ambiance

urban ambiance UQL1273 User manual

Popular Outdoor Light manuals by other brands

Envirolite EV7061-05 manual

Envirolite

Envirolite EV7061-05 manual

NewGarden CHERRYBULB LUMCHE011BEWLNW manual

NewGarden

NewGarden CHERRYBULB LUMCHE011BEWLNW manual

HAMPTON BAY HB7028-05 Use and care guide

HAMPTON BAY

HAMPTON BAY HB7028-05 Use and care guide

Inlite LUNA RING 68 installation manual

Inlite

Inlite LUNA RING 68 installation manual

GENIO SMART RSH-WB009-9W Setup guide

GENIO SMART

GENIO SMART RSH-WB009-9W Setup guide

LIGMAN LBX 1 installation manual

LIGMAN

LIGMAN LBX 1 installation manual

FiberLamp FL5600 Operation manuals

FiberLamp

FiberLamp FL5600 Operation manuals

Nave NORA manual

Nave

Nave NORA manual

ring Spotlight manual

ring

ring Spotlight manual

Performance In Lighting WIN PRO+ 30 manual

Performance In Lighting

Performance In Lighting WIN PRO+ 30 manual

LIGMAN AR-20992-LC installation manual

LIGMAN

LIGMAN AR-20992-LC installation manual

Light Efficient Design Remphos Outdoor Series installation manual

Light Efficient Design

Light Efficient Design Remphos Outdoor Series installation manual

Studio Italia Design REMABEL AP1 Mounting instructions

Studio Italia Design

Studio Italia Design REMABEL AP1 Mounting instructions

LIGMAN GA-31911 installation manual

LIGMAN

LIGMAN GA-31911 installation manual

TVILIGHT CitySense Plus installation manual

TVILIGHT

TVILIGHT CitySense Plus installation manual

Malibu Boats LZ415SM quick start guide

Malibu Boats

Malibu Boats LZ415SM quick start guide

Lucci LEDlux Macedon Wall Light installation instructions

Lucci LEDlux

Lucci LEDlux Macedon Wall Light installation instructions

LOGICA TWIGGY LESS manual

LOGICA

LOGICA TWIGGY LESS manual

manuals.online logo
manuals.online logoBrands
  • About & Mission
  • Contact us
  • Privacy Policy
  • Terms and Conditions

Copyright 2025 Manuals.Online. All Rights Reserved.