manuals.online logo
Brands
  1. Home
  2. •
  3. Brands
  4. •
  5. urban ambiance
  6. •
  7. Outdoor Light
  8. •
  9. urban ambiance UQL1247 User manual

urban ambiance UQL1247 User manual

1of2
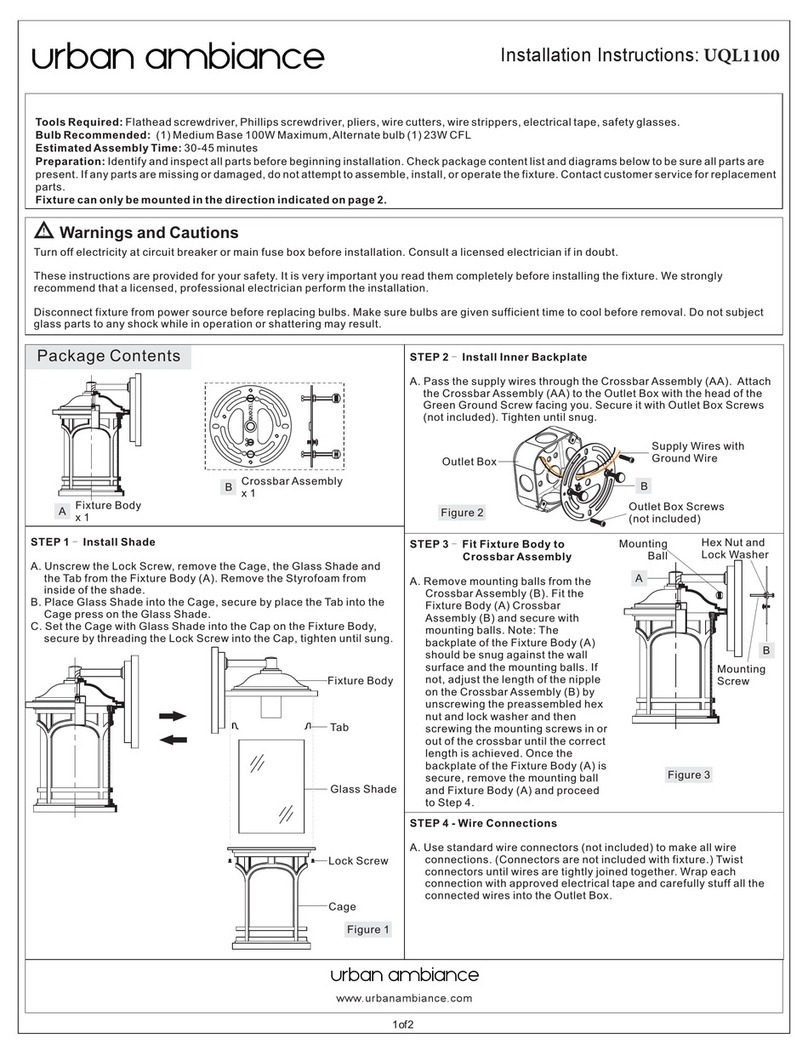
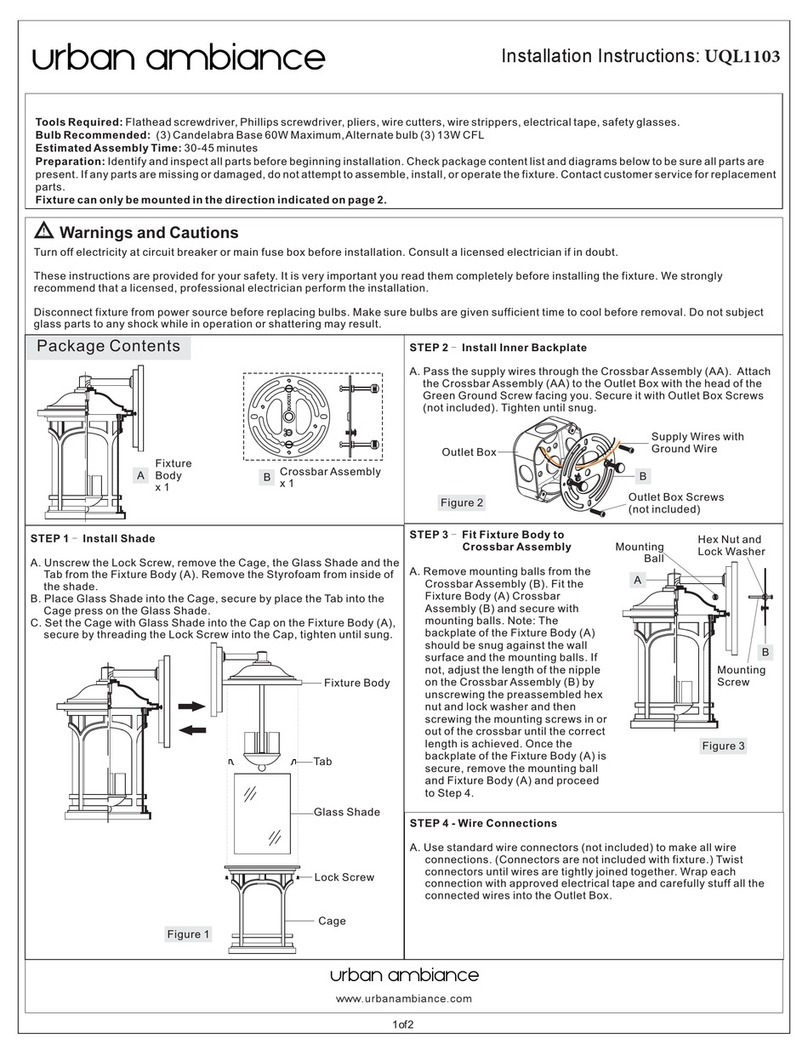
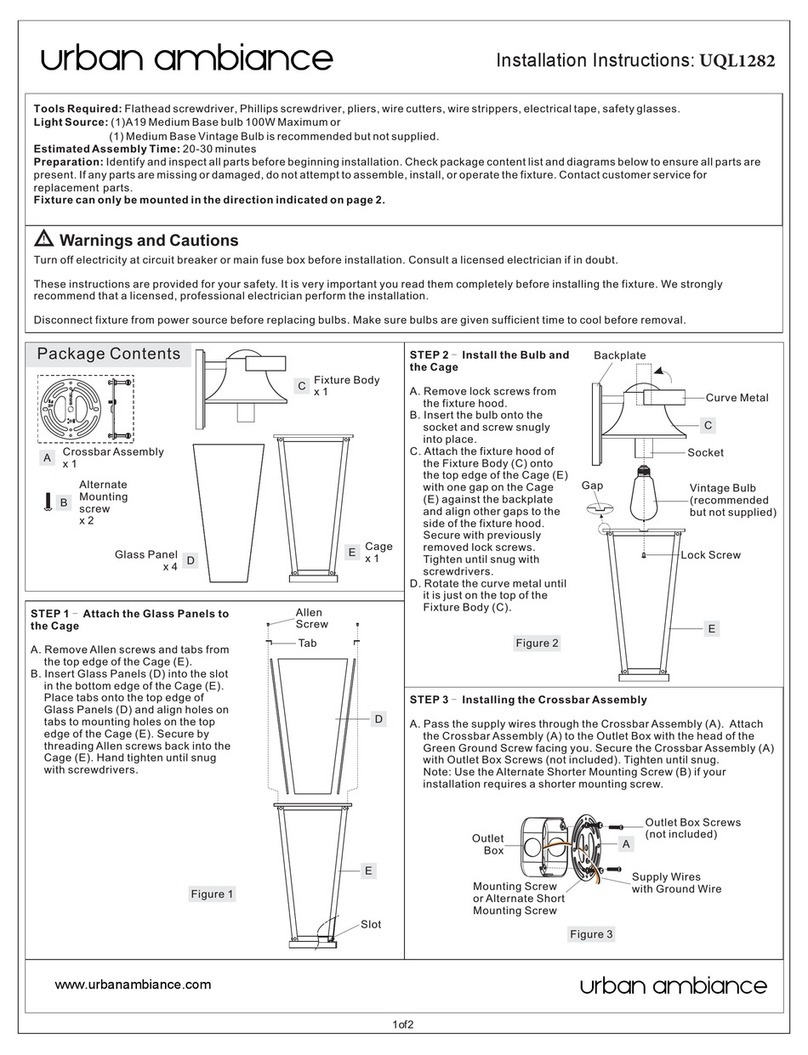
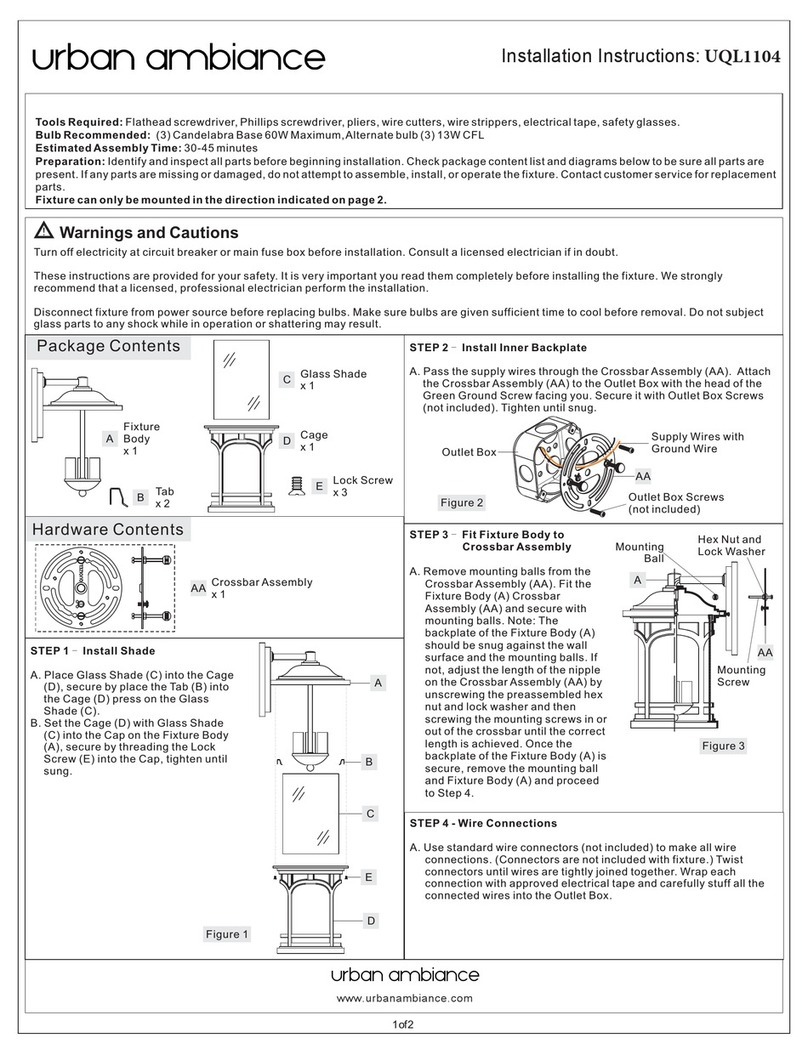
Tools Required: Flathead screwdriver, Phillips screwdriver, pliers, wire cutters, wire strippers, electrical tape, safety glasses.
Light Source: (1) Medium Base bulb 100W Maximum,Alternate bulb (1) 23W CFL.
Estimated Assembly Time: 20-30 minutes
Preparation: Identify and inspect all parts before beginning installation. Check package content list and diagrams below to be sure all parts are
present. If any parts are missing or damaged, do not attempt to assemble, install, or operate the fixture. Contact customer service for replacement
parts.
Warnings and Cautions
Turn off electricity at circuit breaker or main fuse box before installation. Consult a licensed electrician if in doubt.
These instructions are provided for your safety. It is very important you read them completely before installing the fixture. We strongly
recommend that a licensed, professional electrician perform the installation.
Disconnect fixture from power source before replacing bulbs. Make sure bulbs are given sufficient time to cool before removal. Do not subject
glass parts to any shock while in operation or shattering may result.
Package Contents
Fixture Body
x1 B
STEP 1 Install Bulb-
A. Remove the Fixture Hood from the
Cage by unscrewing Screws on the
Fixture Hood.
B. This fixture uses standard bulb with a
medium screw base. Maximum 100
watts. Insert bulb and screw snugly into
place.
C. Attach the Fixture Hood back onto the
top edge of the Cage and secure with
the previously removed Screws. Hand
tighten until snug.
Screw
Cage
Fixture
Hood
Figure 1
STEP 2 Drill Pilot Holes on Post-
A. Carefully fit the Post Fitter over the
end of the Post (not supplied),
making sure the Post Fitter is fully
seated.
B. Mark the drill point for the (3)
Mounting Screws, using (3)
Mounting Holes as reference. After
marking hole locations, remove
fixture from post and drill 1/16” pilot
holes for screws.
Post
Post Fitter
Figure 2
Mounting Hole
STEP 3 - Wire Connections
A. Use standard wire connectors (not included) to make all wire
connections. (Connectors are not included with fixture.) Twist
White wire
from supply White wire
from fixture
Black wire from
supply (or Red)
Black wire
from fixture
Ground wire
from supply
Ground wire
from fixture
Figure 3
A
Mounting
Screw
x3
Bulb
Socket
STEP 4 -Attach Fixture Body to Post
A. Coat the top 1” of the Post with Clear
Silicone Caulk (not supplied) and
position the Post Fitter onto the Post. Be
sure to seat it completely, aligning the
holes in the Fitter with the 1/16” Pilot
Holes drilled into the Post.
B. Secure the Fixture to Post with (3)
Mounting Screws (A).
Your fixture is now assembled and
ready to use. Enjoy!
Post
Post Fitter
Figure 4
Mounting Hole
(Step 3 Continued)
connectors until wires are tightly joined together. Wrap each
connection with approved electrical tape and carefully stuff all the
connected wires into the Outlet Box.
HOW TO REPLACE GLASS PANELS
Screw
Lock
Screw
Fixture Hood
Glass
Holder
Glass
Panel
Cage
A. Fixture
Hood and remove Fixture Hood
from the Cage.
B. Remove Bulb from inside of the
Cage.
C. Remove Lock Screws from the
Cage and remove Glass Holders.
Replace Glass Panels from the
Cage and then re-install Glass
Holders to secure them. Secure
with removed Lock Screws.
D. Re-install the Bulb and re-attach
the Fixture Hood to the Cage.
Secure with Screws and hand
tighten until snug.
Unlock Screws on the
Figure 5
Bulb
Installation Instructions: UQL1247
www.urbanambiance.com
2of2
(1) 100W
Bulb
(Not Supplied)
Medium
Base PART NUMBER
1
NO. PART NUMBER REPLACEMENT PART REQ.
UQL1247PA 4
GLASS PANEL
NOTE: ALL DIMENSIONS ARE ROUNDED UP
TO THE NEAREST 1/4"
SKU: UQL1247
16”
9.5” SQ.
1
www.urbanambiance.com

Other urban ambiance Outdoor Light manuals

urban ambiance UQL1090 User manual

urban ambiance

urban ambiance UQL1090 User manual

urban ambiance Cambridge UQL1146 User manual

urban ambiance

urban ambiance Cambridge UQL1146 User manual

urban ambiance Cambridge UQL1142 User manual

urban ambiance

urban ambiance Cambridge UQL1142 User manual

urban ambiance UQL1143 User manual

urban ambiance

urban ambiance UQL1143 User manual

urban ambiance UQL1222 User manual

urban ambiance

urban ambiance UQL1222 User manual

urban ambiance Cambridge UQL1140 User manual

urban ambiance

urban ambiance Cambridge UQL1140 User manual

urban ambiance UQL1105 User manual

urban ambiance

urban ambiance UQL1105 User manual

urban ambiance Paris UQL1375 User manual

urban ambiance

urban ambiance Paris UQL1375 User manual

urban ambiance UQL1102 User manual

urban ambiance

urban ambiance UQL1102 User manual

urban ambiance Manchester UQL1170 User manual

urban ambiance

urban ambiance Manchester UQL1170 User manual

urban ambiance UHP4054 User manual

urban ambiance

urban ambiance UHP4054 User manual

urban ambiance UQL1252 User manual

urban ambiance

urban ambiance UQL1252 User manual

urban ambiance UQL1473 User manual

urban ambiance

urban ambiance UQL1473 User manual

urban ambiance UQL1023 User manual

urban ambiance

urban ambiance UQL1023 User manual

urban ambiance UQL1100 User manual

urban ambiance

urban ambiance UQL1100 User manual
urban ambiance UQL1051 User manual

urban ambiance

urban ambiance UQL1051 User manual

urban ambiance UQL1203 User manual

urban ambiance

urban ambiance UQL1203 User manual

urban ambiance UQL1160 User manual

urban ambiance

urban ambiance UQL1160 User manual

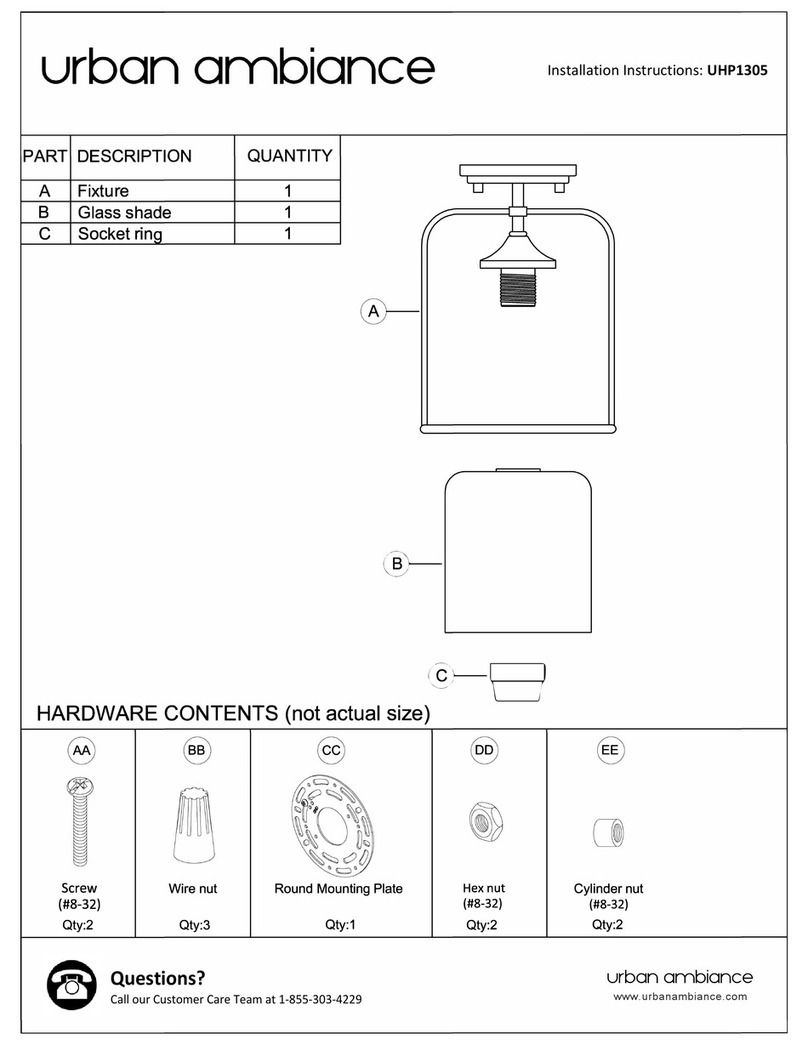
urban ambiance UQL1147 User manual

urban ambiance

urban ambiance UQL1147 User manual

urban ambiance UQL1101 User manual

urban ambiance

urban ambiance UQL1101 User manual

urban ambiance UQL1263 Mounting instructions

urban ambiance

urban ambiance UQL1263 Mounting instructions

urban ambiance UQL1050 Service manual

urban ambiance

urban ambiance UQL1050 Service manual

urban ambiance UHP4200 User manual

urban ambiance

urban ambiance UHP4200 User manual

urban ambiance UQL1174 User manual

urban ambiance

urban ambiance UQL1174 User manual

Popular Outdoor Light manuals by other brands

Reliance Foundry R-7530 Installation

Reliance Foundry

Reliance Foundry R-7530 Installation

Lindby 9932022 manual

Lindby

Lindby 9932022 manual

KONDATOR 436-T50G quick start guide

KONDATOR

KONDATOR 436-T50G quick start guide

JONATHAN Y JYL2021A manual

JONATHAN Y

JONATHAN Y JYL2021A manual

LIGMAN POWERVISION 5 installation manual

LIGMAN

LIGMAN POWERVISION 5 installation manual

Ingo Maurer MAX. KUGLER instructions

Ingo Maurer

Ingo Maurer MAX. KUGLER instructions

NightSearcher NexSun 1200 user manual

NightSearcher

NightSearcher NexSun 1200 user manual

Intermatic AL375 Assembly procedures

Intermatic

Intermatic AL375 Assembly procedures

LightPro Polaris user manual

LightPro

LightPro Polaris user manual

FUMOSA 30300 manual

FUMOSA

FUMOSA 30300 manual

Triolight liniLED PCB RGB 160 user manual

Triolight

Triolight liniLED PCB RGB 160 user manual

HerzBlut Arco 31850 Instruction and installation manual

HerzBlut

HerzBlut Arco 31850 Instruction and installation manual

John Lewis Emilia Large user manual

John Lewis

John Lewis Emilia Large user manual

Unex Tera II 1XGU10 LED operating manual

Unex

Unex Tera II 1XGU10 LED operating manual

Inspire MEADOW E27 Assembly, Use, Maintenance Manual

Inspire

Inspire MEADOW E27 Assembly, Use, Maintenance Manual

RAB GoodNight Light installation manual

RAB

RAB GoodNight Light installation manual

Quoizel Zephyr ZP8418MD Assembly instruction sheet

Quoizel

Quoizel Zephyr ZP8418MD Assembly instruction sheet

JONATHAN Y JYL5042A quick start guide

JONATHAN Y

JONATHAN Y JYL5042A quick start guide

manuals.online logo
manuals.online logoBrands
  • About & Mission
  • Contact us
  • Privacy Policy
  • Terms and Conditions

Copyright 2025 Manuals.Online. All Rights Reserved.