manuals.online logo
Brands
  1. Home
  2. •
  3. Brands
  4. •
  5. Urbana
  6. •
  7. Indoor Fireplace
  8. •
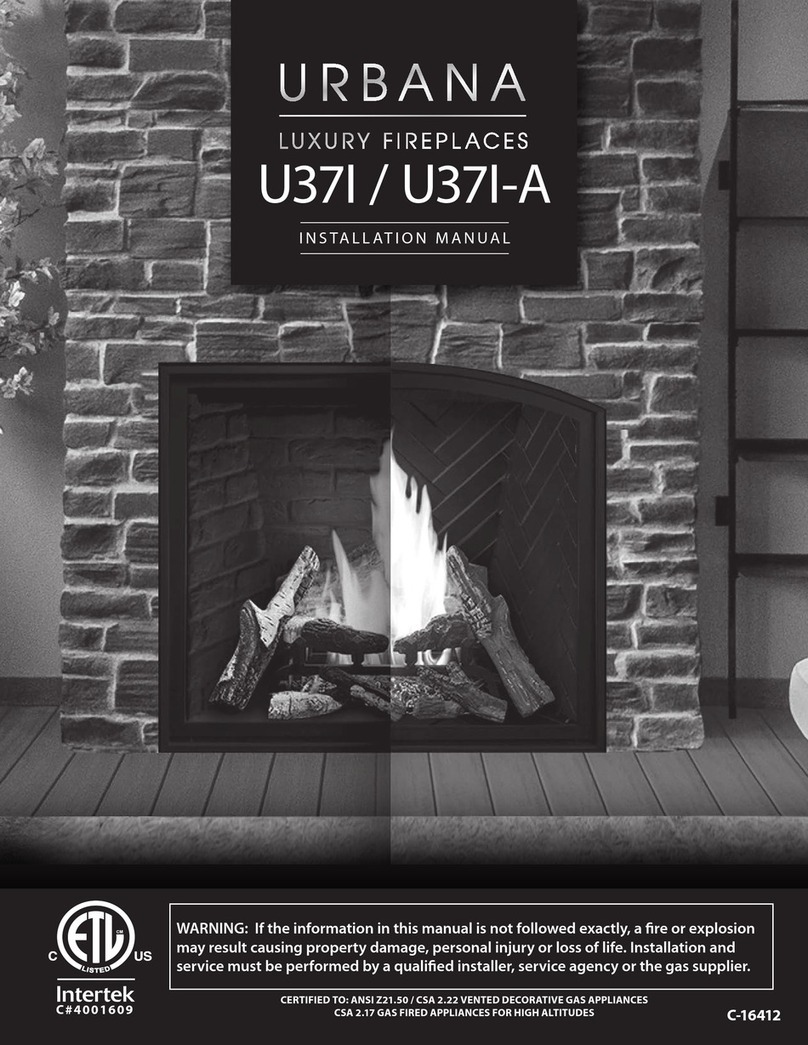
  9. Urbana U37 Installation and operating manual

Urbana U37 Installation and operating manual

U37 FIREPLACE
Installation Reference Guide
REFER TO OWNER’S MANUAL FOR SPECIFIC INSTALLATION REQUIREMENTS AND ADDITIONAL PRODUCT INSTRUCTIONS
Clearance to Combustibles
D
B
C
E
A
79 ½”
2172 mm
Refer to Table on left
46 /”
1359 mm
44 /”
1283 mm
1” 25mm
Clearance from
framing studs
to venting
Minimum
Framing Dimensions
Note: When framing the unit, care
must be taken to consider the final
floor thickness, the bottom of the
fireplace must sit flush with the
finished floor to ensure proper fit of
the surround components
Note: Vent size: 8 x 11” Rigid Co-Axial
Minimum Depth
(2” facing mat.) 22 /” 578 mm
Maximum Depth
(½” facing mat.) 24 /” 616 mm
Width 46 / ” 1175 mm
Header Height 44 /” 1130mm
Enclosure Ceiling 79 ½” 2020 mm
A - Finishing edge to side wall 3 /" 89 mm
B - Minimum clearance to enclosure ceiling 79 ½"2020 mm
C - Minimum clearance to mantel height 38 ⁄” 981 mm
D - Front of door to edge of floor protection 0" 0 mm
E - Minimum alcove width 44 /" 1137 mm
†
†
† - Additional ceiling height required if using 5x8 co-axial venting, refer to installation manual.
COMBUSTIBLE
NON COMBUSTIBLE
F
Wood
raming
Header
Drywall
Non
Combustible
Board
Sidewall
12”
3½”
37
5/8”
32
5/8”
22¾” - 24¼”
[578 - 629mm]
12” Non-
Combustible
Zone
69¼"
1759mm
79½
[2007mm]
Use one 24" vent
section to achieve
minimum rise in
order for this
dimension to work.
30” Minimum
[762mm]
4 3/4” [121mm]
First Elbow Only
Non-Combustible Board
Placement
Mantel Projections
Mantel graph dimensions are measured from the bottom
of the replace, if you wish to reference the mantel height
from the tiling edge subtract 32 ⁄ inches (829mm) from the
mantel height depicted on the graph. If you plan to install a
TV above your replace refer to the appropriate section of the
owner’s manual for available options. It is acceptable to install
a combustible mantel over top of the non-combustible board.
If using the Cool Surface System, refer to the graph on the
following page to determine the required mantel height.
Minimum Venting Requirements
This appliance uses a 11” (280 mm) exhaust / 8” (203mm) air intake
vent pipe system. For safe and proper operation of the appliance
follow the venting instructions exactly. Deviation from the
minimum vertical length can create diculty in burner start-up
and sooting. Allow several minutes for the ame to stabalize after
ignition under extreme vent congurations. It is recommended for
vent lengths that pass through unheated spaces (garages, attics,
crawl spaces) be insulated to minimize condensation.
NOTE: At least 3” (76mm) of clearance is required above vent when
passing through an exterior wall when horizontally terminating.
Fireplace Dimensions
37 5/8" [956]
36" [914]
44 3/4" [1137]
46 1/8" [1172]
22 1/4" [565]
22 3/8"
[568]
24 7/8" [632]
22 3/4" [578]
to
24 1/4" [616]
8" x 11"
vent
32 5/8" [829]
44 1/2" [1130]
2" [50]
2" [50]
9 5/8" [244]
5 1/2" [140]
3" [76]
8 1/2" [216]
11 1/8" [283]
Gas Input
Electrical Input
M A NTEL H E I G H T
M A NTEL D E P T H
38
40
42
44
46
48
2 4 6 8 10 12 14
4” MANTEL
12” MANTEL
8” MANTEL
†Additional ceiling and thimble height required if using 5x8 co-axial venting, refer to
†
†
installation manual
Cool Surface System Framing
Framing Option 1:
Front Discharge (ush wall installations)
Construct the framing in a way that provides a minimum 42 inch (1067mm) by 3 inch
(76mm) gap at the top of the facing wall. It is essential that these dimensions are
respected and not to deviate away from them when using combustible materials inside
the chase (see Figure 1).
Note: If you wish to construct the CSS air discharge part way up a tall wall then it is essential to
build a false ceiling inside the chase at the desired height to direct the rising heat out of the gap.
Figure 1: Framing Option 1
3"
76mm
Minimum
42"
1067mm
Minimum
71 1
2
"
1816mm
Minimum
12
"
305mm
1133mm
127mm
Maximum
Non-Combustible board NOT
mandatory for CSS Install
CSS Air Discharge
5"
37 5
8
"
Figure 2: Open Chase
Framing Option 2:
Open Chase (built-out installations)
This could be considered the most discreet option when considering the CSS. The chase must be constructed in a way that stops short
of the ceiling, leaving it totally vented above. Minimum framing dimensions must be followed when constructing this option and not to
deviated from them when using combustible materials. Consider Optional 3: Valance to work in conjunction with this option.
3" MIN
Figure 3: Open Chase
Iso View
3"
76mm
Minimum
121mm
Minimum
6"
152mm
Minimum
Wall Mounted Object
4
3
"
4
Mantel Projections with Cool
Surface System
Activating the Cool Surface System decreases the required
height of the mantel. Use the graph on the right to determine the
mantel height when using the Cool Surface System. Mantel graph
dimensions are measured from the bottom of the replace, if you
wish to reference the mantel height from the tiling edge subtract
32 ⁄ inches (829mm) from the mantel height depicted on the
graph. If you plan to install a TV above your replace refer to the
appropriate section of the owner’s manual for available options. It
is acceptable to install a combustible mantel over top of the non-
combustible board.
32
34
36
38
40
2 4 6 8 10 12 14
4” MANTEL
8” MANTEL
12” MANTEL
M A NTEL H E I G H T
M A NTEL D E P T H
Cool Surface System Framing
Framing Option 4: Side Discharge
Construct the framing in a way that provides two gaps, one on each side of the chase as shown in Figure 7. Each gap should be a minimum of
21 inch (533mm) by 3 inch (76mm). It is essential that these dimensions are followed and not to deviated from them when using combustible
materials inside the chase (see Figure 6).
Optional: False Ceiling
If your ceiling dimension is greater than the minimum (See Figure 1) You may want the CSS air discharge lower on the wall. This false ceiling
is required to properly evacuate heat from the chase. (See Figure 8).
121mm
Minimum
3
"
76mm
21
"
533mm
43
"
4
5
"
127mm
Minimum
Minimum
Maximum
3"
76mm
Minimum
False Ceiling
121mm
Minimum
4
3
"
4
Framing Option 3: Valance
A valance may be desired to accentuate or hide the CSS outlet. Consider framing option 1 or 2 to utilize the valance feature. This is an
optional decorative feature that covers up the CSS outlet gap. Minimum opening and valance dimensions must be followed to ensure safe
heat dissipation. Combustible materiel is acceptable when constructing the valance. It is acceptable to wrap the valance around the three
sides of a built out chase (Option 2).
Minimum
4"
102mm
1"
25mm
Maximum
Minimum
121mm
6"
152mm
Minimum
3"
76mm
6"
152mm
Minimum
Wall Mounted Object
4
3
"
4
Figure 4: Valance Install
Figure 5: Valance Iso View
Figure 6: Side Discharge
Figure 7: Side Discharge
Iso View
Figure 8: False Ceiling
Figure 9: False Ceiling
Iso View

Other Urbana Indoor Fireplace manuals

Urbana U30 User manual

Urbana

Urbana U30 User manual

Urbana U30T User manual

Urbana

Urbana U30T User manual

Urbana 50-3883 Manual

Urbana

Urbana 50-3883 Manual

Urbana U50 User manual

Urbana

Urbana U50 User manual

Urbana U55I User manual

Urbana

Urbana U55I User manual

Urbana 50-3813 Manual

Urbana

Urbana 50-3813 Manual

Urbana U37GI User manual

Urbana

Urbana U37GI User manual

Urbana U33I-T User manual

Urbana

Urbana U33I-T User manual

Urbana U44I User manual

Urbana

Urbana U44I User manual

Urbana U30 User manual

Urbana

Urbana U30 User manual

Urbana U33I-T User manual

Urbana

Urbana U33I-T User manual

Urbana U44GI User manual

Urbana

Urbana U44GI User manual

Urbana U44 Installation and operating manual

Urbana

Urbana U44 Installation and operating manual

Urbana U30I-S User manual

Urbana

Urbana U30I-S User manual

Urbana U50 User manual

Urbana

Urbana U50 User manual

Urbana U50I-S User manual

Urbana

Urbana U50I-S User manual

Urbana U37I User manual

Urbana

Urbana U37I User manual

Urbana Chase Comfort Manual

Urbana

Urbana Chase Comfort Manual

Popular Indoor Fireplace manuals by other brands

Living Flame Aura Installation & operating instructions
Living Flame

Living Flame Aura Installation & operating instructions
EcoSmart Fire Aspect CLEARANCES & INSTALLATION

EcoSmart Fire

EcoSmart Fire Aspect CLEARANCES & INSTALLATION

e-Flame USA EF-BLT13-36 owner's manual

e-Flame USA

e-Flame USA EF-BLT13-36 owner's manual

kozy heat CHASKA CSK-335S Installation and operaing instructions

kozy heat

kozy heat CHASKA CSK-335S Installation and operaing instructions

Desa (V)KC42NE SERIE OWNER'S OPERATION AND INSTALLATION MANUAL

Desa

Desa (V)KC42NE SERIE OWNER'S OPERATION AND INSTALLATION MANUAL

superior fires PI27 WESTBURY GROVE BRASS NG F500379 Installation & user's instructions

superior fires

superior fires PI27 WESTBURY GROVE BRASS NG F500379 Installation & user's instructions

blue rh GAD17100SP owner's manual

blue rh

blue rh GAD17100SP owner's manual

Wamsler TYP10188 TRION-H User instruction

Wamsler

Wamsler TYP10188 TRION-H User instruction

Coaster 991048 Assembly instructions

Coaster

Coaster 991048 Assembly instructions

Heat & Glo Soho24 Specifications

Heat & Glo

Heat & Glo Soho24 Specifications

Quality Craft M650-38A-OAK instruction manual

Quality Craft

Quality Craft M650-38A-OAK instruction manual

Pur Line CHE-620 user manual

Pur Line

Pur Line CHE-620 user manual

Heat & Glo REVO-V12 owner's manual

Heat & Glo

Heat & Glo REVO-V12 owner's manual

ALTRACO 2322-L-12 Homeowners operating manual

ALTRACO

ALTRACO 2322-L-12 Homeowners operating manual

Heat & Glo RUTHERFORD-50 owner's manual

Heat & Glo

Heat & Glo RUTHERFORD-50 owner's manual

Real Fires RF1200TW installation guide

Real Fires

Real Fires RF1200TW installation guide

Life Smart LS-IF-1500-DOFP Owners installation and operating manual

Life Smart

Life Smart LS-IF-1500-DOFP Owners installation and operating manual

Heat & Glo 6000TV-OAK owner's manual

Heat & Glo

Heat & Glo 6000TV-OAK owner's manual

manuals.online logo
manuals.online logoBrands
  • About & Mission
  • Contact us
  • Privacy Policy
  • Terms and Conditions

Copyright 2025 Manuals.Online. All Rights Reserved.