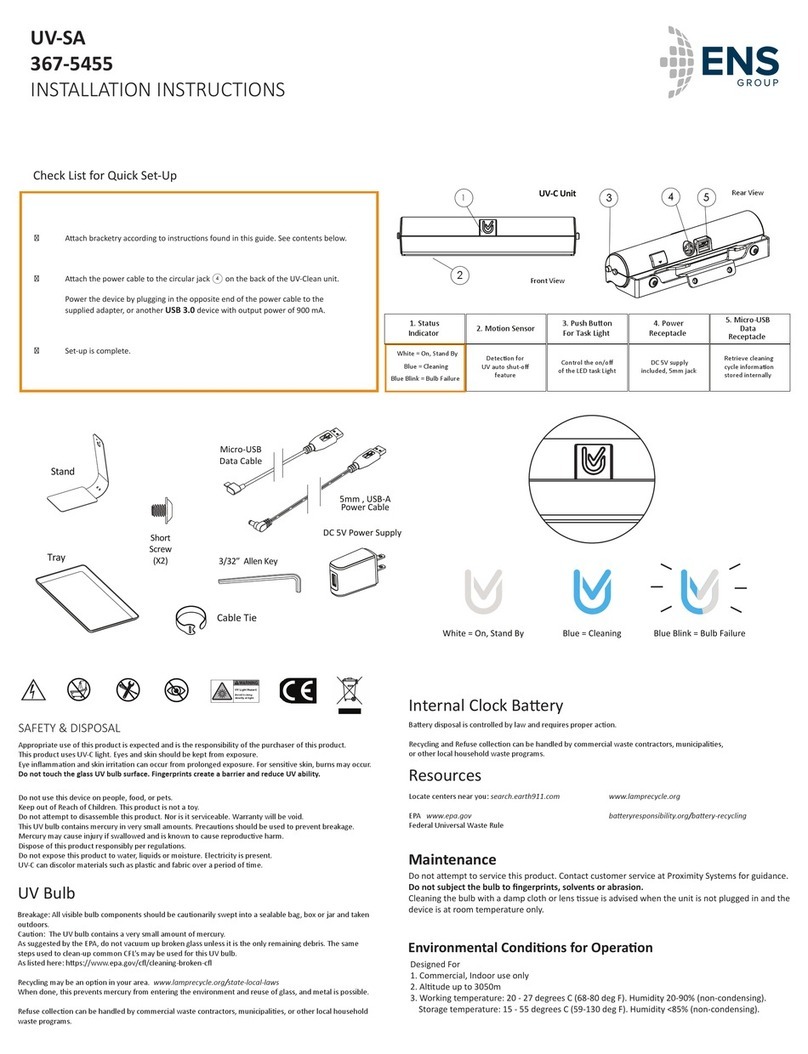
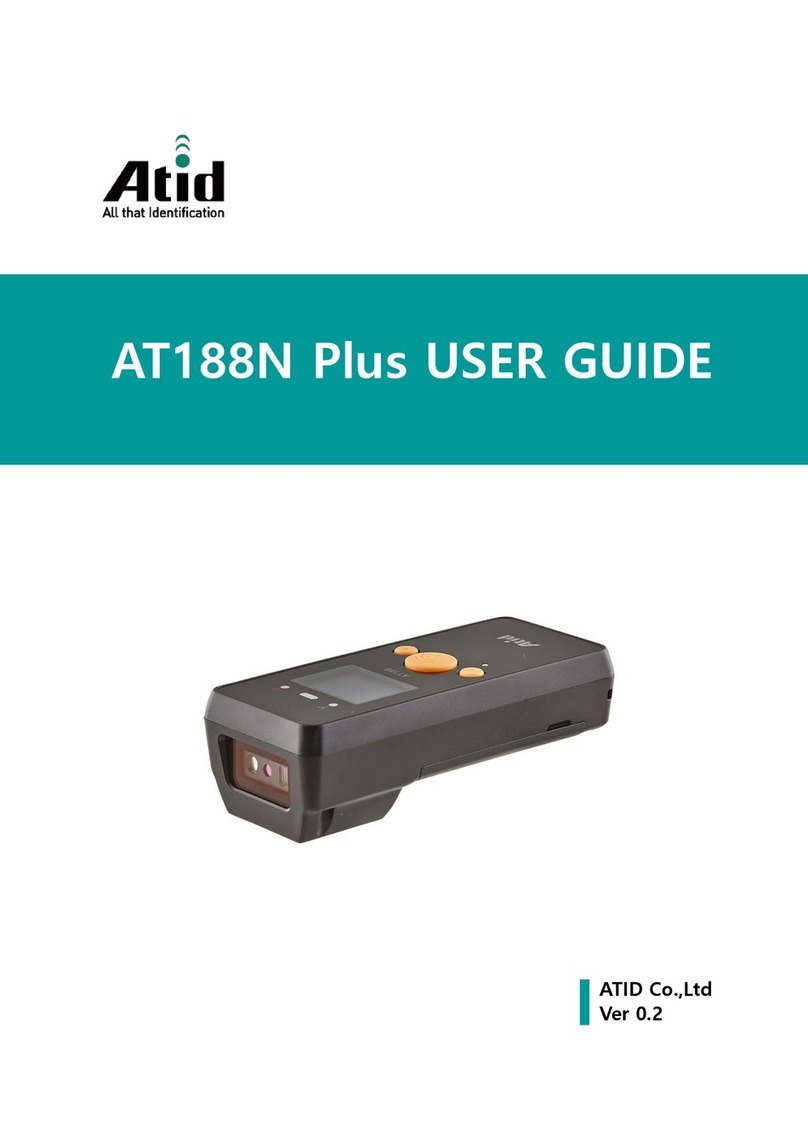
UROVO RFDT50 User manual

USER GUIDE
RFDT50 UHF Pistol Grip

Note:
* This Guide introduced general functions of RFDT50. Your PDA device may have
different functions wherein or description.
* There may be differences between the illustrations in this Guide and the actual
product. And the actual product shall prevail.
© All rights reserved Shenzhen Urovo Technology Co., Ltd.

Terms of usage
Statement
This Guide includes proprietary information of Shenzhen Urovo Technology Co., Ltd. Its
purpose is to help users better operate, use and maintain the device described herein only.
Without written permit of Urovo, the proprietary information in the text shall not be copied or
disclosed to any other party.
Product improvement
Urovo will keep improving its products but give no further notice in case of any change in the
specification or design.
Disclaimer
All the user guides and specifications published by Urovo are correct. In the event of any
wrong information, Urovo shall reserve the right to correct such errors but waive rights of
liability and claim.
Urovo shall not be liable for personal and property safety of users in the following cases:
⚫User fails to use the battery in the correct way set out in this Guide;
⚫User or any third party delegated fails to transport or store the battery in the correct
way specified in this Guide;
⚫The battery used by the user is not purchased from any official channel of Urovo;
History of preparation
Modification records are as follows:
Prepared by
Date
Description
RFDT50-UGV01 Rev A
April 2022
First edition

Contents
About the Guide................................................................................................... 1
Chapter I Start Guide............................................................................................. 3
Introduction ........................................................................................... 3
Unwrap Packing...................................................................................... 3
Installation Guide.................................................................................... 5
Instructions for RFID Function................................................................... 6
Instructions for RFID-Demo ...................................................................... 7
Caution on Battery Charging.................................................................... 24
Charging Method .................................................................................. 24
Chapter II Accessories......................................................................................... 26
Introduction ......................................................................................... 26
List of Standard Accessories.................................................................... 26
List of Optional Accessories .................................................................... 26
Chapter III Maintenance and Troubleshooting........................................................... 27
Introduction ......................................................................................... 27
Maintenance......................................................................................... 27
Troubleshooting.................................................................................... 27

1 /68
About the Guide
Introduction
This Guide offers information on usage of RFDT50 mobile computer and its accessories.
Chapter description
This Guide covers the following topics:
⚫Getting Started offers information on putting RFDT50 into operation for the first time.
⚫How to use is an operation instruction on RFDT50.
⚫Applications describes usage of built-in apps.
⚫Data Capture describes acquisition of data information via RFID(UHF).
⚫Accessories describes information on standard and optional parts.
Sign convention
The following convention applies in the text:
Bold:
⚫Emphasis
⚫Title
⚫Dialog box, window, part name, and screen icon
⚫Keyword
⚫Button name
(●):
⚫Operational option
⚫Order list
⚫Step list needed, which may not be continuous
(√):
⚫Functional option
Italic:
⚫Marked emphasis
Relevant Document
⚫Quick Start Guide for RFDT50 UHF Pistol Grip
⚫RFDT50 Brochure

2 /68
⚫RFDT50 Specification
Service information
You can visit the official website (enurovo.com) of Urovo Technology Co., Ltd. (hereinafter
referred to as Urovo) whenever possible to gain quick network support services:
Click the search box and enter corresponding product model to query the machine's
configuration information. Click maintenance query to query information of the nearest
service center or enter the serial number (SN) of your device in the search box for
maintenance progress to query the maintenance state to follow up the state of the device in
maintenance in time! Service hotline: 400-888-6989
Please offer the following information while contacting the Support Center:
⚫Device SN (Serial Number)
⚫Model or product name
Thanks for your cooperation!
Provision of document feedback
service@urovo.com

3 /68
Chapter I Start Guide
Introduction
This chapter describes the product information and makes some instructions for the first use.
Unwrap Packing
Check accessories
1.Please carefully remove all protective materials around RFDT50 and keep the packing
box properly for future storage and transportation.
2.Please check the following contents:
⚫RFDT50 Enterprise Intelligent Terminal×1
⚫Adapter×1
⚫USB Cable×1
⚫Certificate of Approval×1
⚫Quick Operation Guide×1
3. Check whether the device is damaged. If any item is damaged or missing, please
contact our customer service support or ask the supplier for it.
Side View
1. Status light; 2. Power button; 3. Device fixing lock catch
Figure 1-1 Side View

4 /68
Top View
1. PSAM card slot; 2. Pogopin contact
Figure 1-2 Top View
Back View
1. Type-C interface
Figure 1-3 RFDT50 Back View

5 /68
Installation Guide
⚫Open the device fixing lock catch.
Figure 1-4 Installation Guide Diagram 1
⚫Insert the device into the grip and press down towards the tail.
Figure 1-5 Installation Guide Diagram 2
⚫Close the device fixing lock catch.

6 /68
Figure 1-6Installation Guide Diagram 3
Instructions for RFID Function
⚫Press and hold 2 (power button). When 1 (status light) turns on and the buzzer rings,
the RFID module of the grip is powered on. You can use the RFID function through
RFID-Demo.
Figure 1-7Instructions for RFID Function
Other manuals for RFDT50
1
Table of contents
Other UROVO Barcode Reader manuals
