manuals.online logo
Brands
  1. Home
  2. •
  3. Brands
  4. •
  5. Urrea
  6. •
  7. Power Screwdriver
  8. •
  9. Urrea UPTC40A Dimensions and installation guide

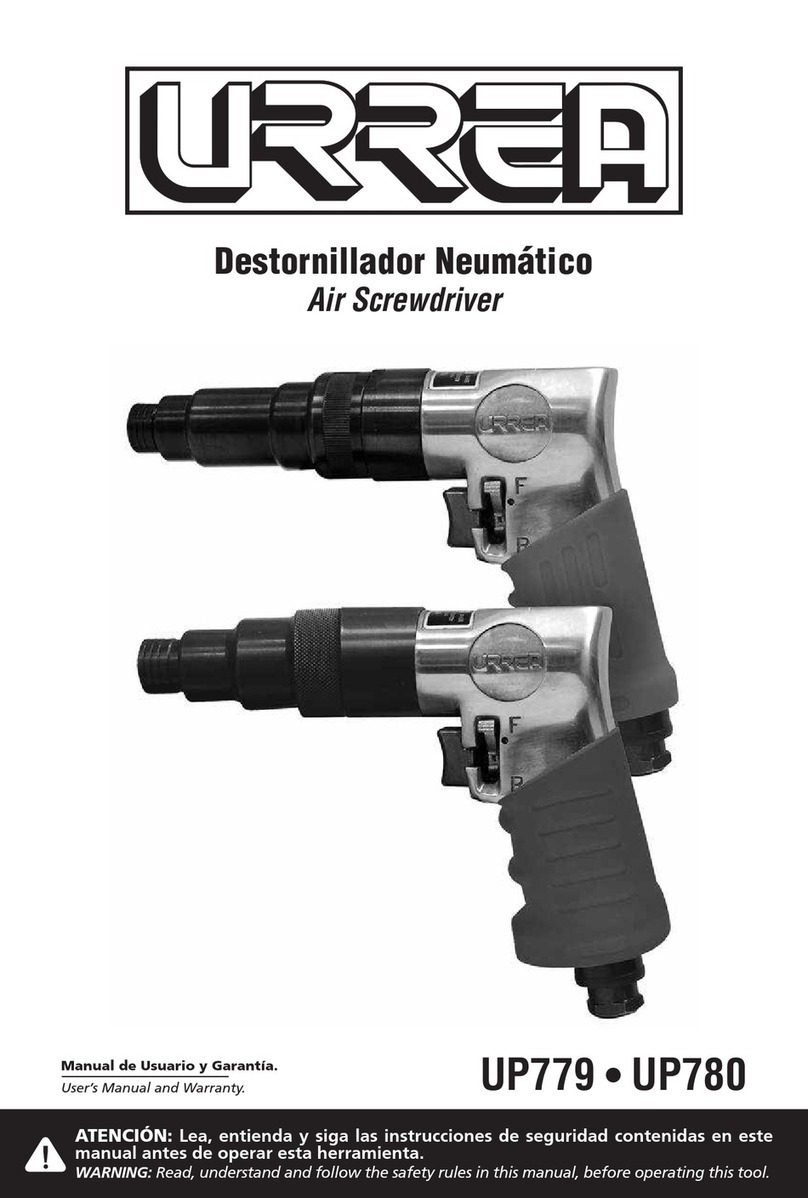
Urrea UPTC40A Dimensions and installation guide

ATENCIÓN: lea, entienda y siga las instrucciones de seguridad contenidas en este
manual antes de operar esta herramienta.
WARNING: read, understand and follow the safety rules in this manual, before operating this tool.
DESTORNILLADOR DE TORQUE
CONTROLADO TIPO LÁPIZ
STRAIGHT AIR TORQUE SCREWDRIVER
UPTC40A MANUAL DE USUARIO Y
GARANTÍA.
USER’S MANUAL AND WARRANTY.
2
INSTRUCCIONES DE SEGURIDAD
• No utilice esta herramienta a menos que entienda
completamente las instrucciones contenidas en este
manual. En caso de duda, contacte a su distribuidor.
• No exponga la herramienta a la lluvia ni lo guarde
en lugares húmedos.
• Utilice la presión de aire adecuada. Aplicar me-
nos presión o exceder la presión de entrada de aire
afectará el rendimiento, la calidad, el torque, la
función y vida útil de la herramienta.
Presión de entrada de aire estándar
0,5 MPa - 0,6MPa (5,2 kg/cm2 - 6,2kg/cm2)
• Añada aceite de 0,5 a 1 cc en la entrada de aire al
menos una vez a la semana para mantener el rendi-
miento y la vida útil de la herramienta.
• Las herramientas deben ser guardadas en un lu-
gar seguro y limpio fuera del alcance de los niños.
• No fuerce su herramienta. La herramienta puede
dañarse fácilmente si se sobrecarga por más de 15
segundos.
• Utilice una manguera de longitud apropiada. La
manguera de aire no debe exceder los 5 metros de
largo para evitar la caída de presión. Asegúrese de
que la presión de entrada de aire esté dentro del
rango estándar (0,5 MPa - 0,6MPa) antes de operar
la herramienta.
• Siempre utilice lentes de seguridad y protección
auditiva.
• Siempre opere la herramienta usando las dos
manos. Utilizar la herramienta con una mano in-
crementa el riesgo de lastimar a una persona o al
usuario.
• Desconecte la manguera de aire y el conector
después de usar la herramienta, y guárdela en un
lugar seguro. Evite que la herramienta caiga desde
lugares altos.
• Instale la correa de seguridad para evitar que cai-
ga la herramienta cuando realice trabajos de altura.
• Evite que la herramienta toque objetos conducto-
res de electricidad cargados para evitar el riesgo de
descarga eléctrica.
• Nunca intente reparar por sí mismo su herramien-
ta durante el tiempo de garantía, en caso de incum-
plir, los centros de servicio autorizados tendrán el
derecho de rechazar la garantía o de cobrar un cos-
to extra por la reparación.
• Mantenga el registro del mantenimiento, ajustes
y reparaciones de la herramienta.
• La garantía no aplica para accesorios o cuando se
haya causado un daño por intentar reparar la herra-
mienta fuera de un centro de servicio autorizado.
• La garantía no cubre las fallas debido al desgaste
por uso normal de la herramienta. El abuso de la
herramienta y daño ocasionado por un uso inapro-
piado invalidará la garantía. Algunos ejemplos de
uso inadecuado son: sobrecargar la herramienta,
utilizar una presión de aire inapropiada, utilizar
mangueras no recomendadas, utilizar piezas de re-
facción no originales.
A) Para ajustar el torque en atornilladores rectos y
angulares.
1. Afloje el anillo plástico negro girándolo en con-
tra del sentido de las manecillas del reloj.
2. Tire hacia adelante el anillo plástico negro.
B) Instalación de puntas
1. Jale el retén de la punta
2. Inserta la punta. Suelte el retén de la punta y la
punta quedará sujeta.
C) Cambio del resorte de torque.
1. Retire la punta.
2. Afloje la cubierta frontal.
3. Retire el acoplamiento.
4. Gire en contra del sentido de las manecillas
del reloj con el atornillador manual hasta que
el resorte se suelte completamente.
5. Retire el resorte y remplácelo por uno nuevo.
USO DE LA HERRAMIENTA
MANTENIMIENTO
3
4
2
1
3
ENGLISH•User's Manual
Do not operate the impulse tools unless you fully
understand the instructions contained in this ma-
nual. If any unclear, please contact your distributor.
• Never expose to rain or use in damps locations.
• Always use the proper pressure at air inlet. Apply
either less or exceed air inlet pressure will affect the
performance of the tools, including quality, torque,
function, and life, then lead to damage.
Air inlet pressure standard 0,5 Mpa~0,6 Mpa (5,2kg/
cm² ~6,2kg/cm²)
• Always add oil about 0,5~1cc at air inlets at least
every week to maintain the performance and the
life of the impulse tools.
• Keep children away. Tools must be kept in a safe
and clean position where children cannot reach.
• DO NOT force tools. The tool will be damaged ea-
sily and quickly if over-load over 15 seconds.
• Always use the proper length of air house. The
length of air hose shall not exceed 5m, or the pres-
sure reduces. Make sure the air inlet pressure is in
between the standard number (0,5Mpa~0,6Mpa)
before
operating tools.
• Always use safety glasses and earphone.
• Always operate the tools by two hands. One hand
operation may cause risk of injury to persons.
• Disconnect the air hose and the quick nipple af-
ter operating tools. Be sure to return tools to safety
position. Tools drop or unintentionally contact can
cause risk of injury.
• Install the safety buckle to avoid tools drop while
operating in high position.
• Never contact with any electricity conducted ob-
jects to avoid electricity shock hazard.
• (1) Never try to repair or replace the defective
tools by others under the warranty period. The
authorized service centers have the right to refuse
or certain fee may incur for extra repair work.
• (2) Keep all related servicing records for future
repairs, maintenance, and ajustment.
• (3) The warranty does not apply to accesories or
damage caused where repairs have been made or
attempted by others.
• (4) The warranty does not cover part failures due
to normal wear and tool abuse, and damage caused
due to any appropriate, i.e. tool over loaded, im-
proper air inlet pressure and air hose size, unautho-
rized replacement parts.
a) Torque setting
1. Untighten the black plastic ring counter-clockwi-
ze
2. Pull the black plastic ring forward
b) Powerbits installation
1. Pull the quick change chuck
2. Insert the powerbit. Release the quick change
chuck, the powerbit is locked
c) Torque spring change
1. Remove the powerbit.
2. Untighten the front cover.
3. Remove the clutch.
4. Turn couter-clockwize (-) with the hand screwdri-
ver until the spring is completely released.
5. Remove the spring and replace with the new one.
SECURITY INSTRUCTIONS
MAINTENANCE
TOOL USE
3
4
2
1
4
UPTC40A
Urrea Herramientas Profesionales S.A. de C.V.
Warranties this product for a period of 1 year in its
parts, components and manual labour against any
manufacture defect from the purchasing date.
Purchase date: / /
Product:
Brand:
Model:
Distributor seal and signature
Sold and Imported by:
Urrea Herramientas Profesionales S.A. de C.V.
km 11,5 Carretera A El Castillo, El Salto, Jalis-
co, México. C. P. 45680, Tel. (33) 3208 7900, RFC
UHP900402Q29
Terms:
In order to make warranty effective you must pres-
ent the product along with the warranty properly
filled and signed to an authorized distributor or
service center.
Urrea Herramientas Profesionales S.A. de C.V.
will cover the transportation cost related to the
warranty.
This warranty is not applicable in the follow-
ing cases:
· When the product has not been used according to
normal conditions or natural wear of its parts.
· When the product has not been used according
with this user’s manual instructions.
· When the product has been fixed or modified by
unauthorized or unqualified person.
Urrea Herramientas Profesionales S.A. de C.V.
garantiza este producto por el termino de 1 año
en sus piezas, componentes y mano de obra contra
cualquier defecto de fabricación a partir de la fecha
de entrega.
Fecha de venta: / /
Producto:
Marca:
Modelo:
Sello y firma de distribuidor
Comercializado e Importado por:
Urrea Herramientas Profesionales S.A. de C.V.
km 11,5 Carretera A El Castillo, El Salto, Jalis-
co, México. C. P. 45680, Tel. (33) 3208 7900, RFC
UHP900402Q29
Condiciones:
Para hacer efectiva la garantía deberá presentar
el producto junto con la póliza de garantía debi-
damente firmada y sellada por el establecimiento
donde la adquirió, en cualquiera de los centros de
servicio autorizados.
Los gastos de transportación que se deriven del
cumplimiento de la garantía serán cubiertos por:
Urrea Herramientas Profesionales S.A. de C.V.
Esta garantía no será valida en los siguientes
casos:
· Cuando el producto haya sido utilizado en condi-
ciones distintas a las normales o al desgaste natural
de sus partes.
· Cuando el producto no haya sido operado de
acuerdo al instructivo de uso que lo acompaña.
· Cuando el producto haya sido alterado o reparado
por personas no autorizadas.
ESPAÑOL
PÓLIZA DE GARANTÍA
ENGLISH
WARRANT POLICY
DATOS TÉCNICOS / TECHNICAL DATA UPTC40A
Entrada de punta / Drive Hex. 1/4”
Rango de torque / Torque range 0.4-4.5 (3.5-39.8)
Velocidad libre / Free speed 950 r/min
Longitud / Length 9.01"
Consumo de aire / Air consumption 10.6 CFM
Conexión de entrada de aire, npt / Air inlet 1/4”
Presión de aire recomendada / Recommended air pressure 90 PSI
Giro / Spin Reversible
Tipo de clutch / Clutch type Shut off

Other Urrea Power Screwdriver manuals

Urrea TB912 User manual

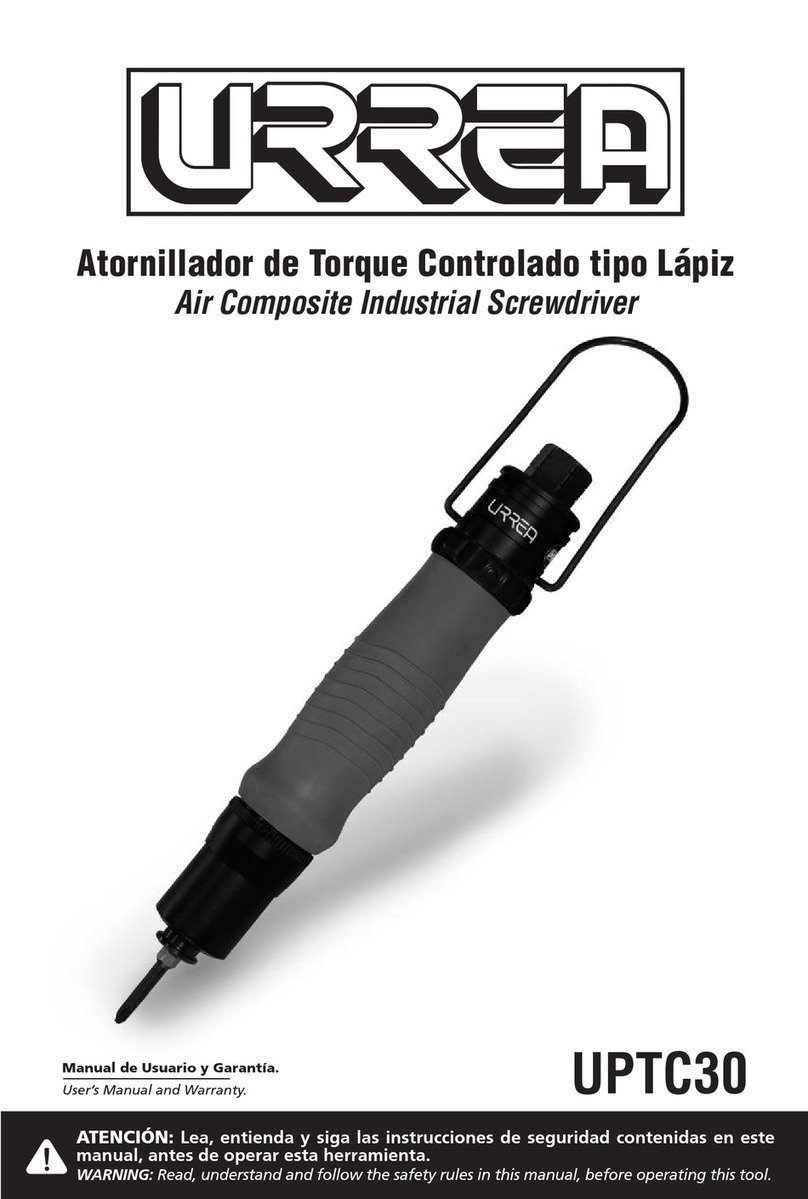
Urrea

Urrea TB912 User manual

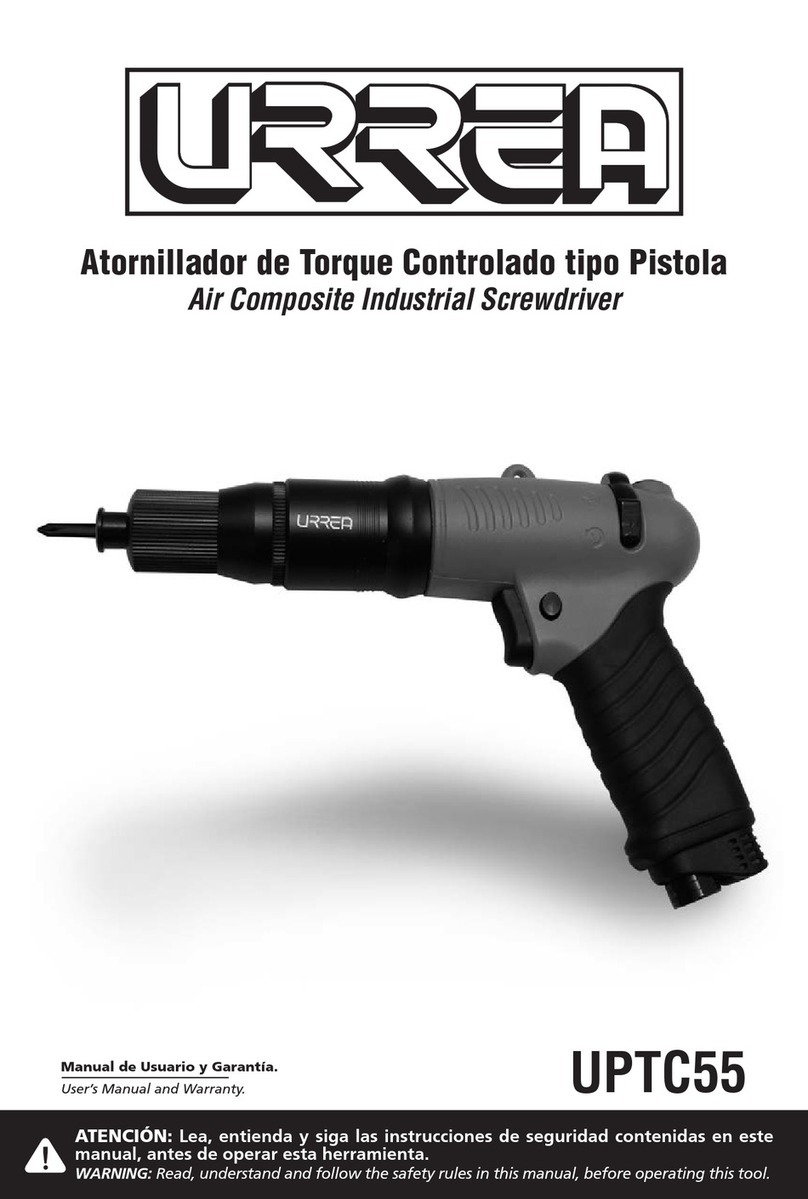
Urrea UPTC55 Dimensions and installation guide

Urrea

Urrea UPTC55 Dimensions and installation guide

Urrea 6010 User manual

Urrea

Urrea 6010 User manual

Urrea UPTC30 User manual

Urrea

Urrea UPTC30 User manual

Urrea UP779 User manual

Urrea

Urrea UP779 User manual

Urrea UPTC30A User manual

Urrea

Urrea UPTC30A User manual

Urrea 6105B Installation guide

Urrea

Urrea 6105B Installation guide

Urrea AI1120 Dimensions and installation guide

Urrea

Urrea AI1120 Dimensions and installation guide

Urrea 6105A User manual

Urrea

Urrea 6105A User manual

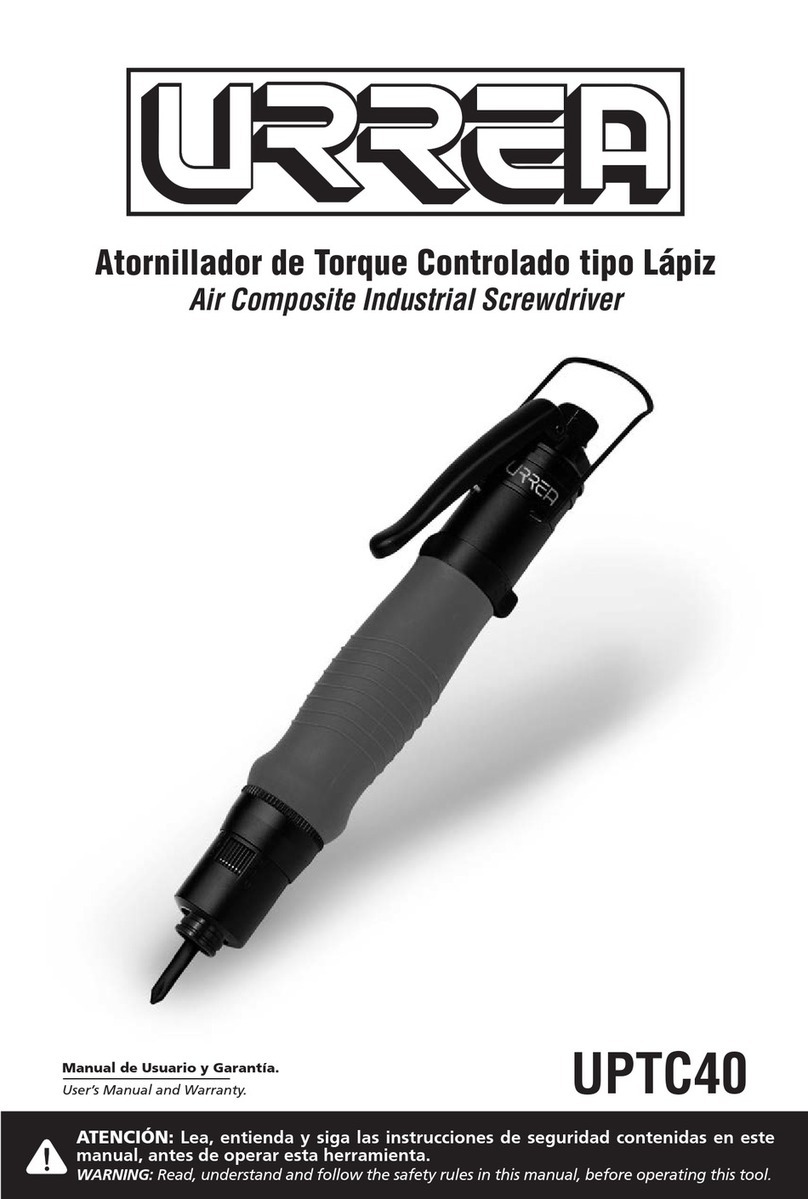
Urrea UPTC40 User manual

Urrea

Urrea UPTC40 User manual

Popular Power Screwdriver manuals by other brands

DeWalt DCF680N2 instruction manual

DeWalt

DeWalt DCF680N2 instruction manual

M7 DW-404 manual

M7

M7 DW-404 manual

Tuson NG90100 Handling instructions

Tuson

Tuson NG90100 Handling instructions

SPX GSE tech-motive tool SD25 Series user manual

SPX

SPX GSE tech-motive tool SD25 Series user manual

EINHELL LE-AS 14,4-1 operating instructions

EINHELL

EINHELL LE-AS 14,4-1 operating instructions

Makita DDA460 instruction manual

Makita

Makita DDA460 instruction manual

Black & Decker MT350 Original instructions

Black & Decker

Black & Decker MT350 Original instructions

Makita 6834 Parts Breakdown

Makita

Makita 6834 Parts Breakdown

Parkside PASD 4 A1 Translation of the original instructions

Parkside

Parkside PASD 4 A1 Translation of the original instructions

Worx WX255.1 Slide Driver Original instructions

Worx

Worx WX255.1 Slide Driver Original instructions

Black & Decker Li4000 instruction manual

Black & Decker

Black & Decker Li4000 instruction manual

Dremel GO Operating/safety instructions

Dremel

Dremel GO Operating/safety instructions

Jula 060-218 operating instructions

Jula

Jula 060-218 operating instructions

Kilews PTA-L600 Series Operation and maintenance manual

Kilews

Kilews PTA-L600 Series Operation and maintenance manual

Oben ERGOVIT20DL AT operating instructions

Oben

Oben ERGOVIT20DL AT operating instructions

Makita AR411HR instruction manual

Makita

Makita AR411HR instruction manual

Bosch professional gsr 9,6-2 operating instructions

Bosch

Bosch professional gsr 9,6-2 operating instructions

EINHELL Expert TE-CD 18/1 2B Li Original operating instructions

EINHELL Expert

EINHELL Expert TE-CD 18/1 2B Li Original operating instructions

manuals.online logo
manuals.online logoBrands
  • About & Mission
  • Contact us
  • Privacy Policy
  • Terms and Conditions

Copyright 2025 Manuals.Online. All Rights Reserved.