© 2010 Utilicor Technologies Inc.
4
Introduction
Utilicor Technologies Inc. (Utilicor)
Utilicor is the exclusive manufacturer and distributor of a field-proven,
keyhole coring and pavement reinstatement system. Our mission is to
develop new, innovative and cost effective technologies for the utility
industry.
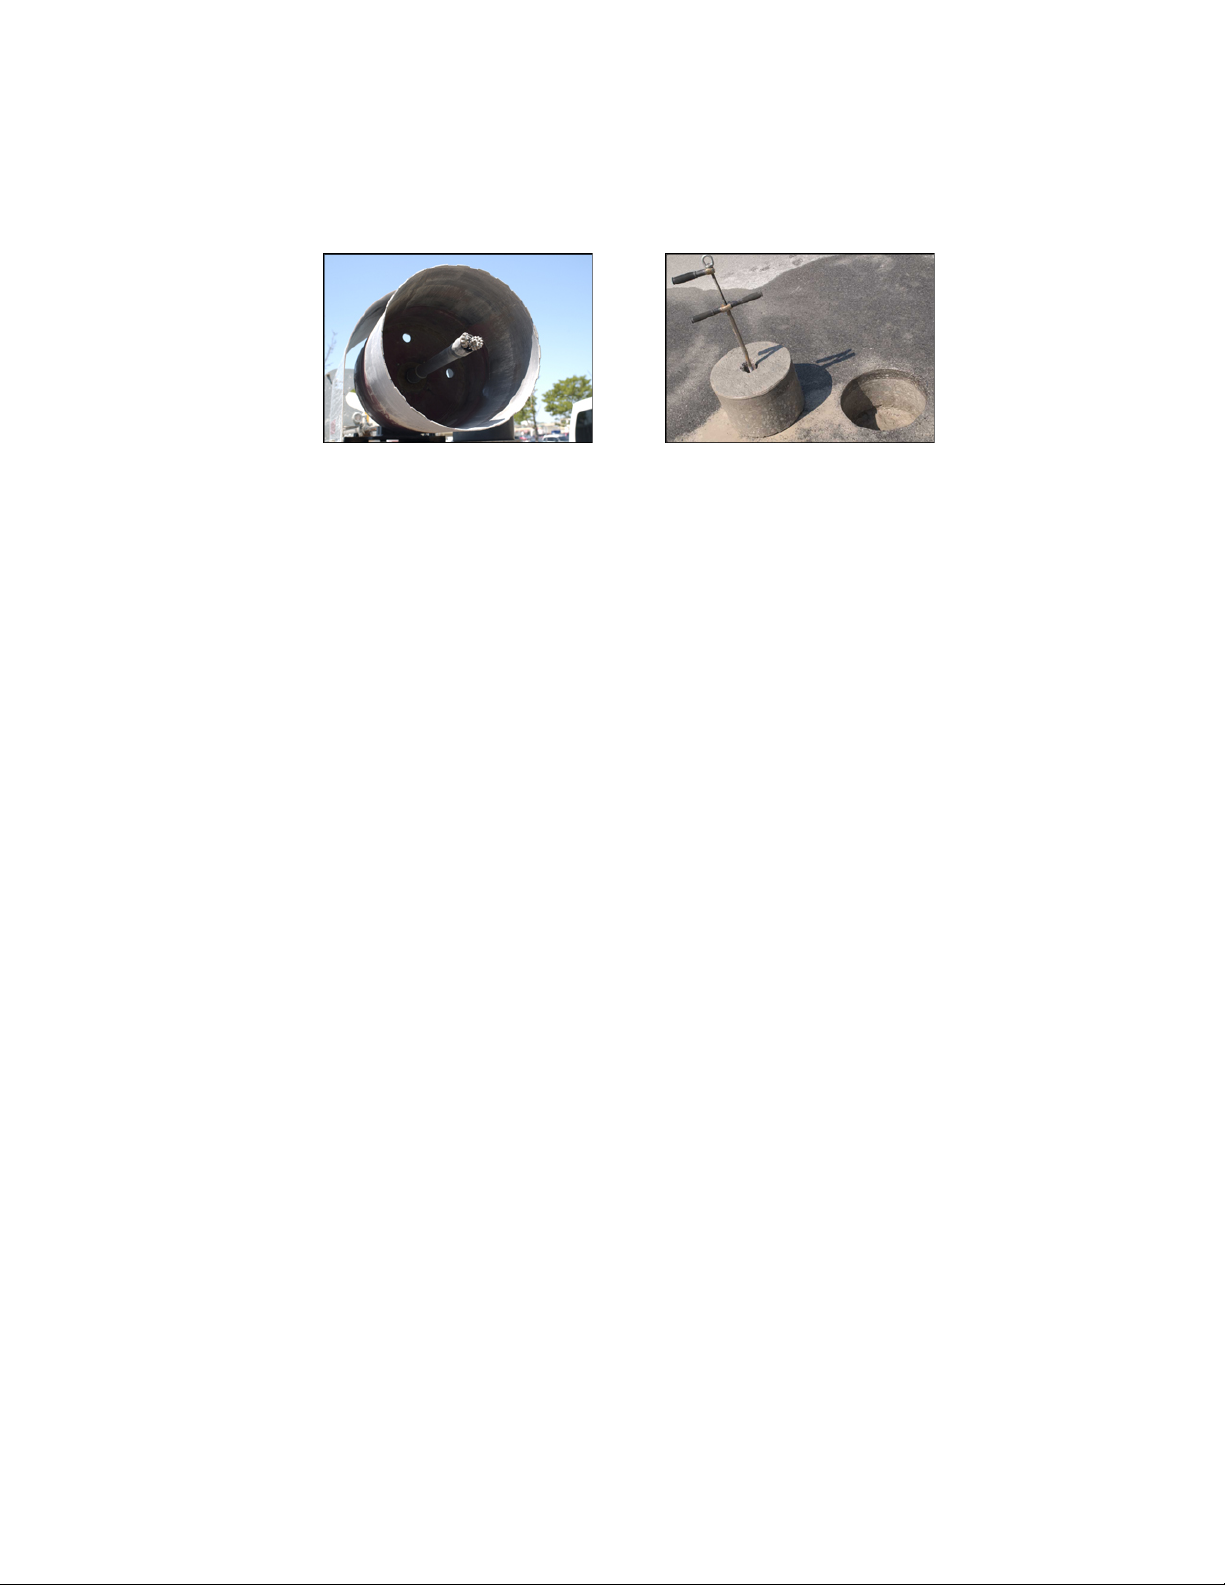
Utilicor Process
The Utilicor process, referred to as "Utilicoring", combines the purpose-built,
field proven, truck or minicor-2™ skid-steer mounted, Utilicor Rotary Coring
Unit with Utilibond™, a proprietary bonding compound, that have been
specially engineered for coring and the permanent reinstatement of the
cored coupon in asphalt, asphalt-concrete, concrete and reinforced concrete
road surfaces, and concrete sidewalks. The process has been approved as a
permanent pavement repair by a number of transportation authorities in
both Canada and the USA since 1992, on thousands of keyhole excavations,
with ZERO failures.
Utilibond™, our proprietary core bonding compound is an integral part of the
reinstatement process and has been independently tested and shown to
create a bond (in less than 30 minutes at 70ºF) that is stronger than the
original pavement and is capable of supporting the combined weight of five
transit buses in under half an hour.
The Purpose of The Operations Manual
This manual is intended as a reference guide for operating and maintaining
the Utilicor coring equipment and performing core reinstatements using
Utilibond™. It is designed to familiarize the operator with the main elements
of the process, and to answer common questions, but does not replace
comprehensive, on-the-job training performed by a competent trainer.
Neither should it be considered as a replacement for common sense or a
substitute for the maintenance requirements of the vehicle or equipment on
which your Utilicor unit has been installed or mounted. Most importantly, this
operations manual is intended to be used in conjunction with the internal