Utilimaster Aeromaster User manual

1 of 11
03103436-A10015 Rev. C July 16, 2021
Service
Guide
Seats and Seat Belts
Aeromaster
Overview
Your occupant restraint system has been developed and tested specically for Utilimaster delivery
vehicles. The high usage associated with delivery vehicle application and exposure of this seat belt to
severe environmental conditions make it crucial to inspect the seat belt system regularly. The seat belt
system must be inspected during every routine maintenance.
A seat belt system should be replaced immediately if it shows any problems, such as cuts; fraying;
extreme or unusual wear; signicant discoloration due to ultraviolet exposure; signicant dirt; abrasion
to the seat belt webbing; or damage to the buckle, latch plate, retractor, or hardware.
Replace the seat belt only with a belt recommended by Utilimaster. If any part of the seat belt
requires replacement, the entire belt must be replaced.
An installation guide is attached to every replacement belt. If the seat belt is replaced, all components
must be mounted back in the same position as the original components. This will maintain the design
integrity of the mounting points for the seat belt assembly.
The information in this document is generic. Images and procedures may differ from
those for vehicles you are servicing. Because Utilimaster manufactures customized
vehicle solutions, this document cannot list and illustrate every possible option for every
vehicle. The most common body options are described here. Use this information as a
guideline.

2 of 11
03103436-A10015 Rev. C July 16, 2021
BUCKLE
RETRACTOR
SEAT
D-LOOP
PEDESTAL
PEDESTAL
BUCKLE LATCH
Driver’s seat overview
Do NOT remove cardboard spacer until the retractor is mounted. The retractor must be
mounted at the proper angle before web will freely extend. Cardboard spacer must be
removed after seat belt is fully installed.
Do NOT remove cardboard spacer until the retractor is mounted. The
retractor must be mounted at the proper angle before web will freely
extend. Cardboard spacer must be removed after seat belt is fully
installed.
Read vendor instructions carefully. Failure to install and inspect can result
in injury or death of user.

3 of 11
03103436-A10015 Rev. C July 16, 2021
RETRACTOR
UPPER SEAT
BACK
LOWER JUMP
SEAT
SEAT BELT
BUCKLE
D-LOOP
Bulkhead-mounted jump seat overview

4 of 11
03103436-A10015 Rev. C July 16, 2021
Maintenance
The following maintenance guidelines detail how to inspect seat belts. If any of these problem
conditions are found, the entire seat belt system must be replaced.
Seat Belt Webbing
Examine seat belt webbing in the seat system for cuts, fraying, extreme or unusual wear, signicant dirt,
or extreme faded color due to exposure to ultraviolet rays.
D‑Loop Web Guide
The D‑Loop Web Guide is an area where there is a signicant amount of webbing movement during the
use of the seat belt system. If the web is cut or frayed at the D‑Loop Web Guide, the entire belt system
must be replaced.
Retractor System
The retractor, the heart of the occupant restraint system, contains a locking mechanism and serves as a
storage device for the webbing when not in use. Check the retractor web storage device operation to
ensure that it is not locked up. The seat belt webbing
must spool out freely and retract properly.
An ELR (Emergency Locking Retractor) belt system
is sensitive to sudden decelerations of the vehicle.
An ALR (Automatic Locking Retractor) system
is sensitive to sudden pulls on the belt. If it locks,
release the belt, let it retract, and slowly pull it out
again.
Seat Belt Buckle
Check the buckle for proper operation by inserting the
latch and listening for an audible click. Verify that the
buckle is not damaged and that the plastic casing is not
broken or cracked. Examine the seat belt buckle cable
strap to determine if there is unusual wear, if the cable
is damaged, or if the cable is cut or frayed.
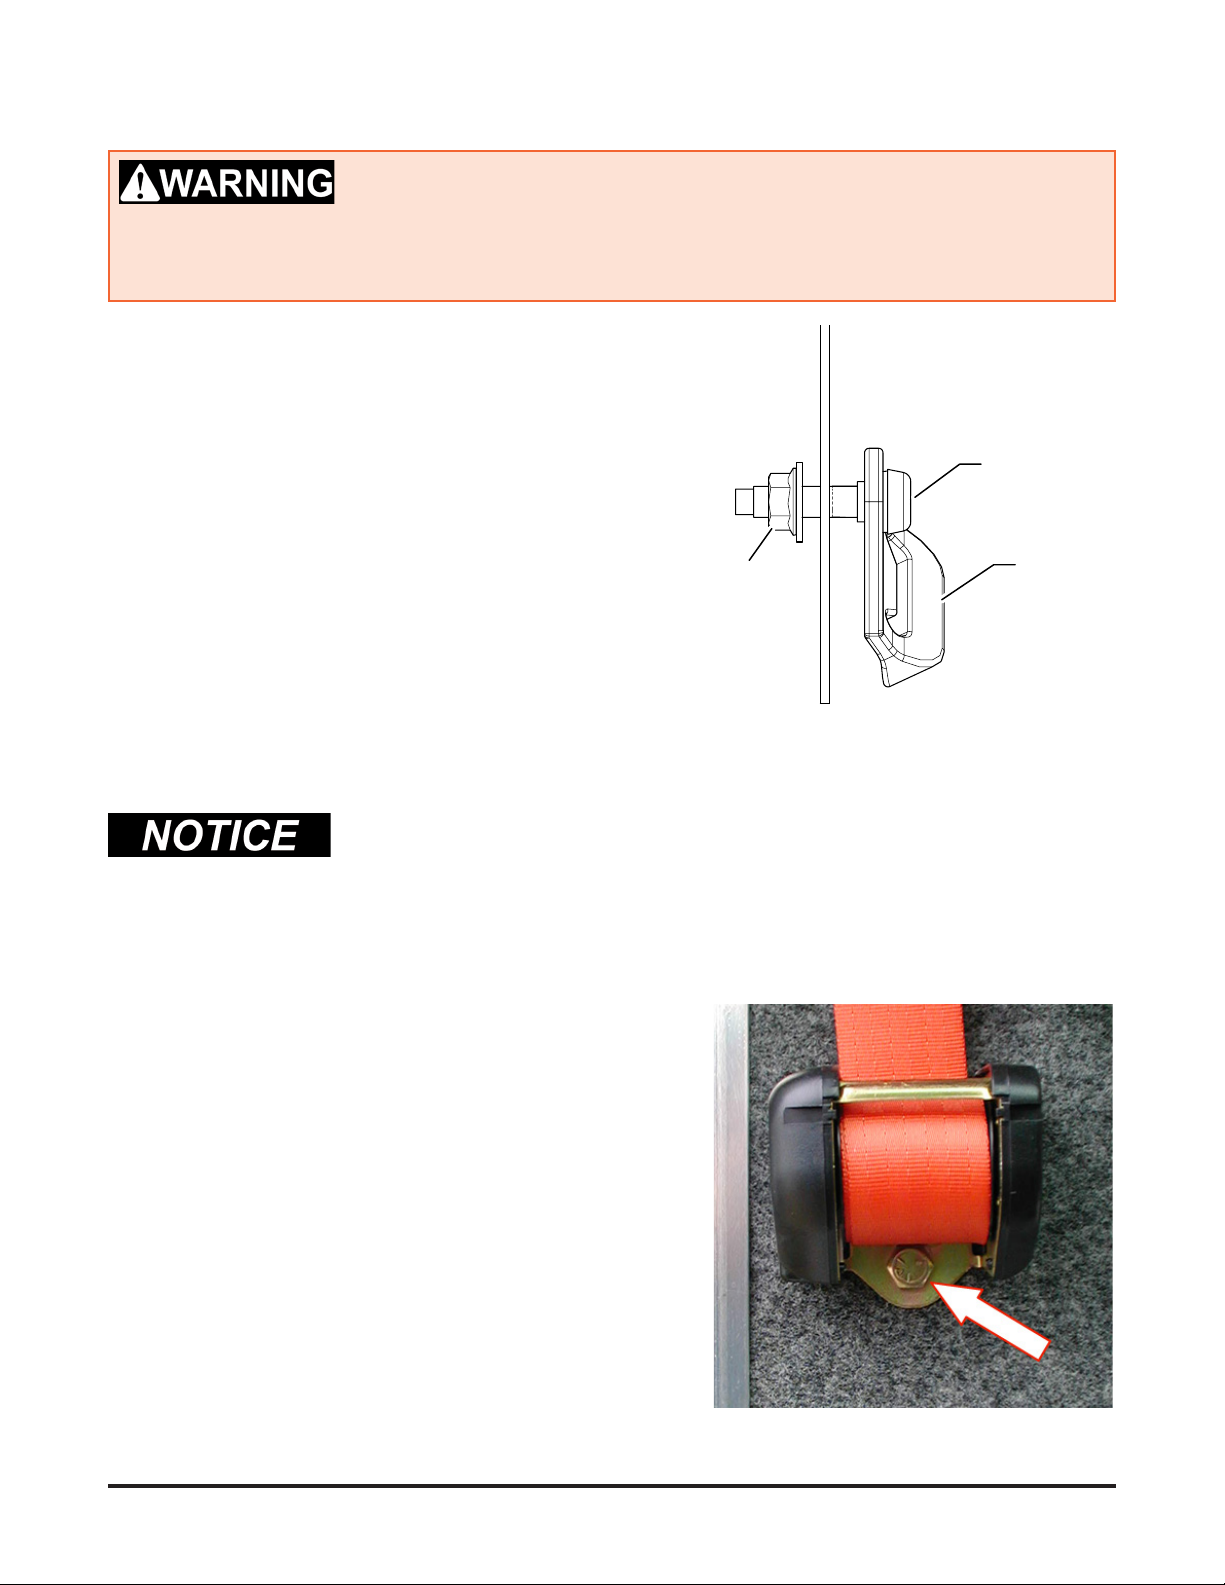
Buckle Latch Plate
Check the buckle latch plate for excessive wear. Make
sure the buckle latch is neither bent nor deformed. It
must latch properly into the buckle. Webbing or Latch Plate Wear
WEBBING (CUT, FRAYED,
OR WORN AT LATCH AREA)
BUCKLE LATCH
PLATE
Belts must be inspected during every routine maintenance. Failure to
properly inspect and maintain the seat belts can cause serious injury or
loss of life. The seat belt in a delivery vehicle application has a nite life
and must be replaced as needed throughout the life of the vehicle.
Whenever a vehicle is involved in an accident, the entire seat belt system
must be evaluated for replacement, even if there is no visible wear or
damage to the seat belt system.

5 of 11
03103436-A10015 Rev. C July 16, 2021
Pedestal Seat Belt Replacement
The outboard side refers to the side closest to the door. The inboard side is the side
toward the center of the vehicle.
Seat Belt Removal
1. Remove the bolt attaching the D-Loop to the seat belt mount above the seat on the outboard side.
2. Snap open the retractor cover and remove the bolt.
3. Remove the bolt holding the seat belt end bracket attached to the outboard side of the seat.
4. On the inboard side of the seat, remove the bolt holding the seat belt buckle assembly.
D-Loop Wear
WEBBING CUT, FRAYED, OR
WORN AT D-LOOP GUIDE
Buckle Wear
BUCKLE (CRACKED
OR BROKEN)
CABLE DAMAGED
OR FRAYED)
When a seat belt is replaced, both halves must be replaced.
Use the new mounting hardware furnished with the replacement belt. Do
NOT use old hardware when installing replacement seat belts.

6 of 11
03103436-A10015 Rev. C July 16, 2021
Seat Belt Installation
1. Mount the seat belt D‑Loop in the existing hole in the
seat belt mounting bracket.
2. Snap open the retractor cover and insert the locating
pin at the back of the retractor into the mounting
bracket in the bulkhead wall.
3. Insert the retractor mounting bolt and tighten the bolt
to 32–49 ft•lb.
4. Snap the retractor cover down into place.
5. Mount the safety belt bracket in the existing hole on
the seat pedestal.
6. Mount the seat belt latch on the inboard side of the
seat with the release button facing away from the
seated driver.
Jump Seat Belt Replacement
The outboard side refers to the side closest to the door (jump seat occupant’s right-hand side).
The inboard side is the side toward the center of the vehicle.
Jump Seat Belt Removal
1. Remove the bolt attaching the D-Loop to the
bulkhead above the seat on the outboard side.
2. Snap open the retractor cover and remove the bolt.
3. Remove the bolt holding the seat belt bracket to the
seat belt mount just below the seat on the outboard
side.
4. On the inboard side of the seat, remove the bolt
holding the seat belt buckle assembly.
Retractor uncovered
D-loop attached to mount bracket
D-LOOP
NUT
COVER
D-LOOP
NUT
COVER
The retractor must be located in the proper position on the bracket for the
seat belt web to extract and function properly.
When a seat belt is replaced, both halves must be replaced.

7 of 11
03103436-A10015 Rev. C July 16, 2021
Jump Seat Belt Installation
1. Remount the seat belt D-Loop using the existing hole
in the bulkhead.
2. Snap open the retractor cover and insert the locating
pin at the back of the retractor into the mounting
bracket in the bulkhead wall.
3. Insert the mounting bolt and tighten the nut.
4. Snap the retractor cover down into place.
5. Mount the seat belt end bracket to the seat belt mount
below the seat on the outboard side.
6. Tighten the nut to 32–49 ft•lb.
7. Mount the seat belt buckle assembly on the inboard
side of the seat with the release button facing away
from the occupant.
8. Tighten the nut to 32–49 ft•lb.
End bracket attached to seat belt mount Jump seat belt buckle assembly
Seat belt latch
Safety belt end bracket
12°‑18°
Do NOT remove the cardboard
spacer until the retractor is
mounted and seat belt is fully
installed; otherwise the belt will
retract and bind.

8 of 11
03103436-A10015 Rev. C July 16, 2021
Pedestal Seat Replacement
Seat Removal
1. Remove and retain the (4) nuts and washers attaching the seat to the pedestal.
2. Pull the seat off the pedestal.
Seat Installation
1. Set the replacement seat in place.
Do NOT use locknuts to hold the seat
to the pedestal.
2. Fasten the (4) nuts and washers.
3. Torque nuts to 10‑12 ft•lb.
Pedestal Replacement
Pedestal Removal
1. Remove and discard the (4) bolts and nuts
attaching the pedestal to the cab oor.
2. Remove the one bolt attaching the seat belt to the
pedestal.
3. Pull out the pedestal seat.
Pedestal Installation
1. Reverse the removal procedure.
2. Replace fasteners with new Grade 8 fasteners.
3. Torque to 75‑95 ft•lb.
LCK WASHER
5/16 NUT
PEDESTAL
WASHER
SEAT STUD
LCK WASHER
5/16 NUT
PEDESTAL
WASHER
SEAT STUD
Seat to pedestal fasteners
Seat pedestal attached to oor base
1/2" BOLT
NUT
PEDESTAL
1/2" BOLT
NUT
PEDESTAL

9 of 11
03103436-A10015 Rev. C July 16, 2021
Shield Jump Seat Replacement
Jump Seat Removal
1. From the cargo area, brace the two‑way 5/16 locknuts attaching the jump seat back and remove
the bolts attaching the back to the bulkhead. Discard fasteners.
2. Remove the (6) 1/2‑13 bolts attaching the seat mount to the bulkhead.
3. Remove and discard the bolts and locknuts attaching the jump seat to the bulkhead.
Jump Seat Installation
1. Align the jump seat back with holes on the bulkhead and attach with Grade 8 5/16‑18 fasteners.
2. Torque nuts to 14‑18 ft•lb.
3. Align the jump seat with holes on the bulkhead and attach with new 1/2‑13 fasteners and two‑
way locknuts.
4. Torque nuts to 67‑75 ft•lb.
5/16 NUT5/16 NUT
1/2-13 BOLT
WASHER
NUT
1/2-13 BOLT
WASHER
NUT

10 of 11
03103436-A10015 Rev. C July 16, 2021
Jump Seat Replacement
Jump Seat Removal
1. Remove the locknuts attaching the jump seat wall mount and discard the 3/8‑16 fasteners.
2. If replacing jump seat back pad, remove 1/4‑20 screws from the cargo side.
Jump Seat Installation
1. Align the jump seat wall mount with holes on the bulkhead and attach with new 3/8‑16 bolts,
washers and two-way locknuts.
2. Torque nuts to 26–30 ft•lb.
3. Align the jump seat back pad with holes on the bulkhead and attach with 1/4‑20 screws.
1/4-20 SCREW
BACK PAD
1/4-20 SCREW
BACK PAD
3/8-16 BOLT
WASHER
NUT
3/8-16 BOLT
WASHER
NUT

11 of 11
03103436-A10015 Rev. C July 16, 2021
Utilimaster Customer Service
800‑237‑7806
Email: FVSPartsOrder@utilimaster.com
Seats and Seat Belts
July 2021
©Utilimaster, 603 Earthway Boulevard, Bristol, Indiana 46507 USA
This material is condential and the property of The Shyft Group, Inc. (Shyft). It is shared with your
company for the sole purpose of helping you with the operation of the described equipment. Shyft makes
no warranty of any kind with regard to this material, including, but not limited to, the implied warranties
of merchantability and tness for a particular purpose. Shyft shall not be liable for errors contained
herein or for incidental or consequential damages in connection with the furnishing, performance, or
use of this material. Shyft expressly disclaims all responsibility and liability for the installation, use,
performance, maintenance, and support of third-party products. Customers are advised to make their
independent evaluation of such products. No part of this document may be photocopied, reproduced, or
translated to another language without the prior written consent. Utilimaster® is a registered trademark
of The Shyft Group, Inc. All other products or name brands mentioned in this document are trademarks
of their respective owners. Because Shyft manufactures in a continuous improvement environment,
details in illustrations and procedures may differ from those in your vehicle. Use this information as a
guideline where it applies.
Table of contents
Other Utilimaster Truck manuals