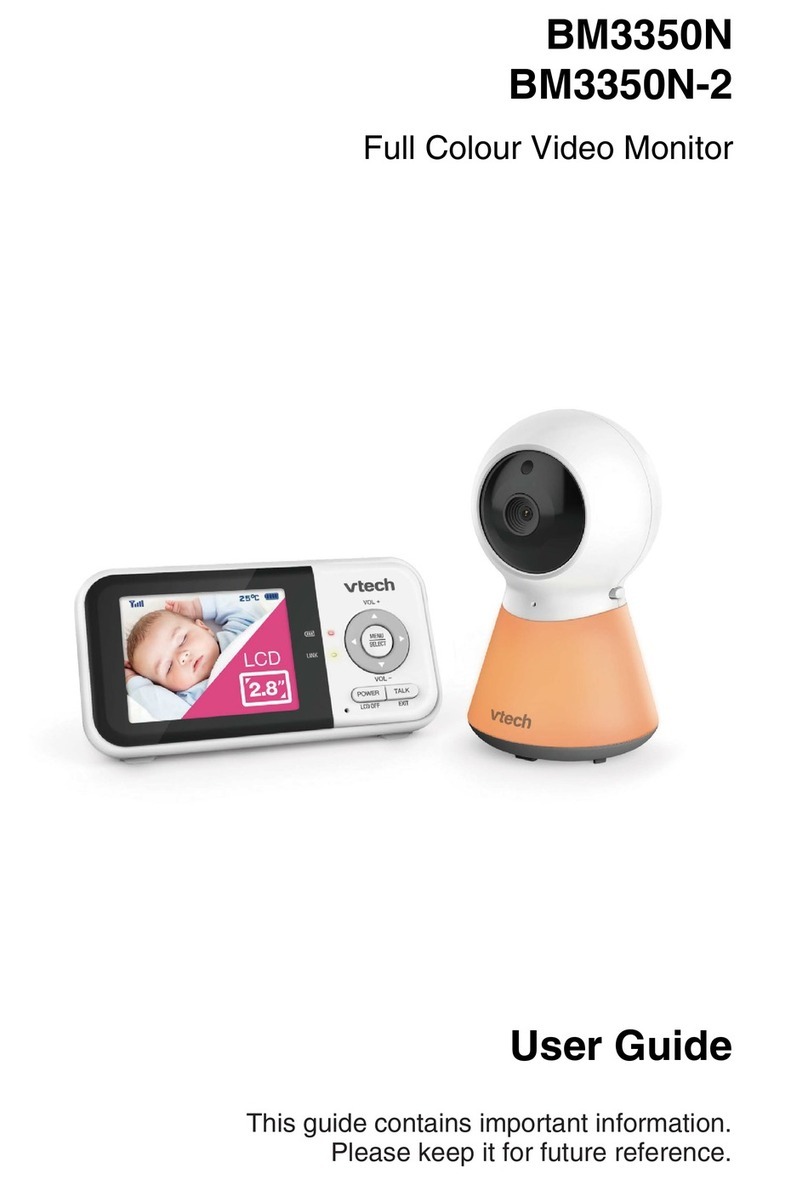
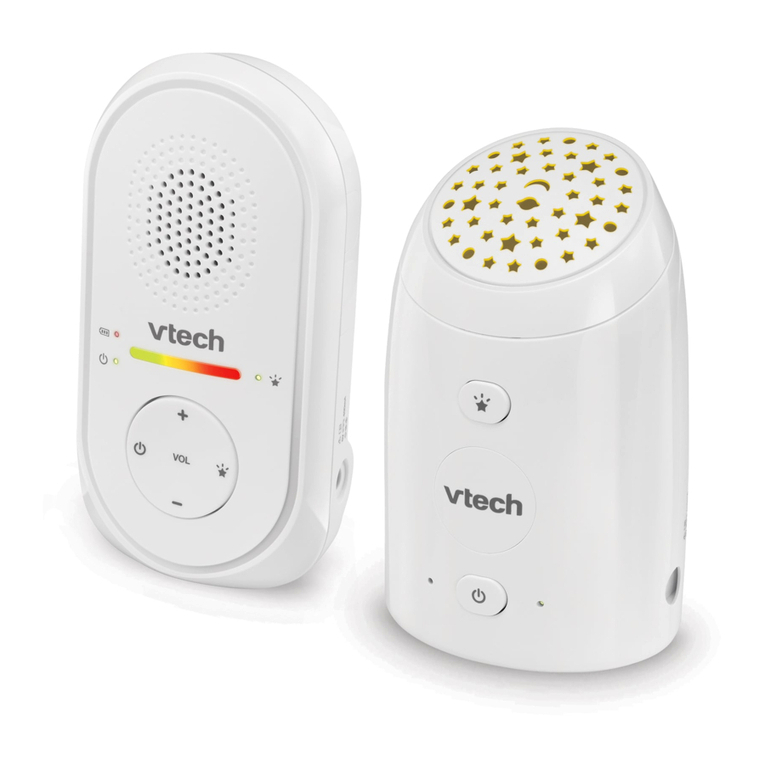
V-tech BM4000-BEAR User manual

Model:
BM4000-BEAR For product support
please call: 1 300 369 193
User’s manual
BM4000-BEAR
Safe & Sound
Full Colour Video Monitor

Congratulations
on purchasng your new VTech product. Before usng ths
product, please read Important safety instructions on
page of ths manual.
Ths manual has all the feature operatons and troubleshootng
necessary to nstall and operate your new VTech product.
Please revew ths manual thoroughly to ensure proper
nstallaton and operaton of ths nnovatve and feature rch
VTech product.

Product introduction
BM4000-BEAR s a vdeo and audo montor whch conssts
of one baby unt (BM4000-BEAR BU) and one parent unt
(BM4000-BEAR PU).
The parent unt may be shpped wth protectve stckers coverng
the dsplays. Remove the protectve stcker before use.

Important safety instructions
When usng your equpment, basc safety precautons should always
be followed to reduce the rsk of fre, electrc shock and njury,
ncludng the followng:
Follow all warnngs and nstructons marked on the product.
Adult setup s requred.
Ths product s ntended as an ad. It s not a substtute for
responsble and proper adult supervson and should not be used
as such.
Ths product s not ntended for use as a medcal montor.
Do not use ths product near water. For example, do not use
t next to a bath tub, wash bowl, ktchen snk, laundry tub or
swmmng pool, or n a wet basement or shower.
CAUTION: Use only the batteres ndcated n ths manual. There
may be a rsk of exploson f a wrong type of battery s used for the
parent unt. Do not dspose of batteres n a fre.
Use only the adapters ncluded wth ths product. Incorrect adapter
polarty or voltage can serously damage the product.
Baby unt power adapter: Input 100-240V AC 50/60 Hz;
output: 5V DC 1A
Parent unt power adapter: Input 100-240V AC 50/60 Hz;
output: 5V DC 1A.
For pluggable equpment, the socket-outlet shall be nstalled near
the equpment and shall be easly accessble.
The power adapters are ntended to be correctly orented n a
vertcal or floor mount poston. The prongs are not desgned to
hold the plug n place f t s plugged nto a celng, under-the-table
or cabnet outlet.
Unplug ths product from the wall outlet before cleanng. Do not
use lqud or aerosol cleaners. Use a damp cloth for cleanng.
Unplug the power cords before replacng batteres.
Do not cut off the power adapters to replace them wth other
plugs, as ths causes a hazardous stuaton.
Do not allow anythng to rest on the power cords. Do not nstall
ths product where the cords may be walked on or crmped.
Ths product should be operated only from the type of power
source ndcated on the markng label. If you are not sure of the
type of power supply n your home, consult your dealer or local
power company.
1.
2.
3.
4.
5.
6.
7.
.
9.
10.
11.
12.
13.

v
v
Important safety instructions (continued)
Do not overload wall outlets or use an extenson cord.
Do not place ths product on an unstable table, shelf, stand or other
unstable surfaces.
Ths product should not be placed n any area where proper
ventlaton s not provded. Slots and openngs n the back or
bottom of ths product are provded for ventlaton. To protect them
from overheatng, these openngs must not be blocked by placng
the product on a soft surface such as a bed, sofa or rug. Ths
product should never be placed near or over a radator or heat
regster.
Never push objects of any knd nto ths product through the slots
because they may touch dangerous voltage ponts or create a
short crcut. Never spll lqud of any knd on the product.
To reduce the rsk of electrc shock, do not dsassemble ths
product, but take t to an authorzed servce faclty. Openng or
removng parts of the product other than specfed access doors
may expose you to dangerous voltages or other rsks. Incorrect
reassemblng can cause electrc shock when the product s
subsequently used.
You should test the sound recepton every tme you turn on the
unts or move one of the components.
Perodcally examne all components for damage.
Be aware of possble loss of prvacy whle usng publc arwaves.
Conversatons may be pcked up by other nursery montors,
cordless phones, scanners, etc.
Chldren should be supervsed to ensure that they do not play wth
the product.
The product s not ntended for use by persons (ncludng chldren)
wth reduced physcal, sensory or mental capabltes, or lack
of experence and knowledge, unless they have been gven
supervson or nstructon concernng use of the applance by a
person responsble for ther safety.
SAVE THESE INSTRUCTIONS
14.
15.
16.
17.
1.
19.
20.
21.
22.
23.

v
v
Cautions
Use and store the product at a temperature between 0oC and
40oC.
Do not expose the product to extreme cold, heat or drect sunlght.
Do not put the product close to a heatng source.
Batteres should not be exposed to excessve heat such as brght
sunshne or fre.
Make sure the baby unt and the adapter cord are always out of
reach of the baby, at least 1 metre away from the baby or crb, to
avod a possble strangulaton hazard.
Never place the baby unt nsde the baby’s crb or playpen. Never
cover the baby unt or parent unt wth anythng such as a towel or
a blanket.
Other electronc products may cause nterference wth your
baby montor. Try nstallng your baby montor as far away from
these electronc devces as possble: wreless routers, rados,
cellular telephones, ntercoms, room montors, televsons,
personal computers, ktchen applances and cordless
telephones.
1.
2.
3.
4.
5.
6.

v
Table of contents
Getting started .................. 1
Parts checklist ........................... 1
Baby unit installation ................. 2
Baby unit installation options .... 3
Tabletop to wall mount
installation - Method 1........... 3
Tabletop to wall mount
installation - Method 2........... 5
Parent unit battery installation... 6
Parent unit installation ............... 8
Parent unit battery charging ...... 9
Baby unit overview.................. 10
Parent unit overview ............... 12
Parent unit lights ..................... 15
Parent unit display icons ......... 16
Parent unit main menu icons.... 18
Parent unit display messages ...20
Test your baby monitor............ 21
Positioning the baby monitor....22
Using your baby monitor ...24
Power on or off the baby unit ...24
Power on or off the parent unit...24
Turn on or off the parent unit
screen.................................. 24
Adjust the speaker volume ..... 24
Adjust screen brightness ........ 25
Turn the dim mode on or off.... 25
Adjust the sound sensitivity of
the baby unit........................ 26
Turn on or off the sound
activation ............................. 28
Monitoring mode ..................... 29
Zoom ....................................... 30
Talk.......................................... 30
Set alert tone........................... 31
Low battery tone .................. 31
No link alert.......................... 31
Sound alert .......................... 31
Monitoring the temperature .... 32
Minimum temperature.......... 32
Maximum temperature......... 32
Temperature alert ................ 33
Temperature format............. 33
Vibration .................................. 34
Play lullabies ........................... 34
Play lullaby using baby unit
control keys ......................... 34
Play lullaby using parent unit
control keys ......................... 35
Play lullaby using parent unit
menu.................................... 35
Rename the baby unit............. 36
Night vision.............................. 36
Pair and replace extra new
baby unit.............................. 37
Appendix .......................... 39
Troubleshooting ...................... 40
Operating range....................... 45
Maintenance ............................ 45
Customer service and product
warranty............................... 46
Technical specifications.......... 48

1
Parts checklist
Check to make sure the package contans the followng tems.
Save your sales recept and orgnal packagng n the event
warranty servce s necessary.
User’s manual
Parent unt
(BM4000-BEAR PU)
Baby unt
(BM4000-BEAR BU)
Baby unt power
adapter
Getting started
User’s
manual
To purchase replacement batteres or power adapters,
please call VTech on 1 300 369 193.
Battery door
Battery
Parent unt power
adapter
Screws and
wall anchors
Wall mount
bracket

2
Getting started
3
Baby unit installation
You can power up the baby unt by connectng t to AC power.
Install the baby unt as shown below.
Bundle the power adapter cord neatly wth a twst te. The
baby unt turns on when t s powered up.
Use only the baby unt power adapters suppled wth ths
product. To order a replacement, contact VTech on
1 300 369 193.
The baby unt power adapters are ntended to be correctly
orented n a vertcal or floor mount poston. The prongs
are not desgned to hold the plug n place f t s plugged
nto a celng, under-the-table or cabnet outlet.
Make sure the baby unts and the power adapter cords are
out of reach of chldren.
•
•
•
Power outlet
Baby unt
power adapter

2
3
Getting started
Baby unit installation options
The baby unt s ready for tabletop use. Use the provded wall
mount f you want to mount t on a wall. Make sure to test the
recepton and the baby unt poston before completng the wall
mountng nstallaton (see Test your baby monitor on page 21).
Tabletop to wall mount installation - Method 1
Check for recepton strength and camera angle before drllng
the holes.
Place the wall mount bracket on a wall and then use a pencl
to mark the top and the bottom holes as shown. Remove the
wall mount and drll two holes n the wall (7/32” drll bt).
If you drll the holes nto a stud, go to step 3.
1.
2.
-OR-
If you drll the holes nto an object other than a stud, nsert
the wall anchors nto the holes. Tap gently on the ends wth
a hammer untl the wall anchors are flush wth the wall.
2
1
3
2
1
3
Table of contents
Other V-tech Baby Monitor manuals
V-tech
V-tech VM351 User manual
V-tech
V-tech DM1111-2 User manual

V-tech
V-tech RM7766HD User manual
V-tech
V-tech BM5250N User manual
V-tech
V-tech VM5253 User manual
V-tech
V-tech VM991 User manual
V-tech
V-tech BM7750HD User manual

V-tech
V-tech RM5722 User manual

V-tech
V-tech VM3211 User manual
V-tech
V-tech VM341 User manual
V-tech
V-tech VM341 User manual
V-tech
V-tech BM2100 User manual
V-tech
V-tech VM991 User manual
V-tech
V-tech VM321 User manual
V-tech
V-tech BM3500 User manual
V-tech
V-tech VM345 User manual
V-tech
V-tech VM341 User manual
V-tech
V-tech DM111 User manual
V-tech
V-tech VM311 User manual

V-tech
V-tech VM3251 User manual
