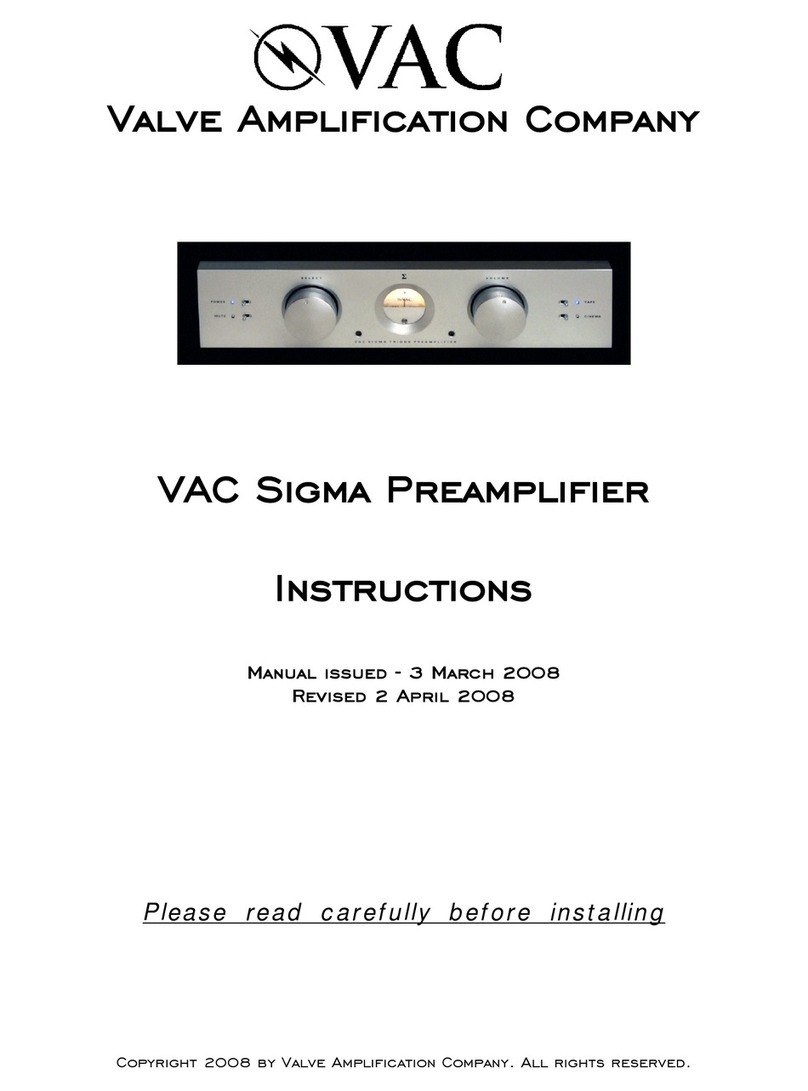
VAC Auricle MusicBloc User manual

ValveAmplification Company
AuricleMusicbloc
MonoblockTube
Amplifier
Instructions
12 November 2004
Please read carefully before installing
Copyright 2004 by ValveAmplification Company. All rightsreserved.

Page 2
WELCOME
Congratulations on yourpurchase of theVAC Auricle Musicbloc, and welcometothefamilyof
VAC owners!
YourVAC is designednottothelatest fadbuttosubstance, providing thehighest qualityofsound.
Time spent familiarizing yourselfwiththis manual will be well rewarded.
It is ourgoal toprovideinstruments ofthehighest quality,beinformativetoall ofourcustomers,
and toprovide responsive, effective customer service.
Please feel free tocontact us ifwe canbe ofassistance. We canbe reached:
Telephone941 952 9695
Fax941 952 9691
E-mail info@vac-amps.com
Website www.vac-amps.com
Welook forwardtobeing ofservice, evenas you havemanyyears ofenjoymentfromyourVAC
instrument.
KevinM. Hayes
President, VAC

Page 3
GENERAL PRECAUTIONS&SAFETY NOTES
1.VACUUMTUBES BECOMEHOT ENOUGH TO CAUSE SERIOUS BURNS.NEVER
TOUCH ATUBE WHEN THE UNITISON.ITMAY TAKE SEVERAL MINUTES FOR
THE TUBES TO COOL DOWNAFTER THE UNITISSWITCHED OFF.INSTALL
THISAMPLIFIER INSUCH AWAY THAT PEOPLE,PETS,AND FLAMMABLE
MATERIALS CAN NOT COMEINTO CONTACT WITH THE AMPLIFIER.
2.DO NOT EXPOSE CHASSISTO MOISTURE.DO NOT PLUG INTO AN AC SOURCE
UNTILALL CONNECTIONS ARE COMPLETED.
3.Complete all signal (interconnect and speaker cable) connections before connecting theAC
cordtothe wall outlet and turning theunit on.Similarly,alwaysturntheamplifier off and
removetheAC power cordbefore detaching cabling.Failure toobservethis sequence can
result indamage tothe amplifier, speakers or associatedcomponents.
4.Forprotection ofyourspeakers and power amplifier, source components shouldbeswitched
on before thepower amplifier. Similarly,turnthepower amplifier off before switching off
the source components.
5.THESE UNITS CONTAINNO USER SERVICEABLE PARTS.DO NOT REMOVE THE
BOTTOMCOVER.LETHAL VOLTAGES ARE PRESENT WITHINTHE CHASSIS.DO
NOT OPERATE THE UNITS IFTHEY ARE WET.
6.This amplifier is moderatelyis heavy.Please exercise caution inlifting theunit, and take
care toinstall it securelyinasturdy,well designedstand sothat itwill notfall ortipover
(this couldcause serious, possiblyfatal injury).

Page 4
INSTALLATION
Physical requirements:
1)ProvideAdequate Ventilation-Allowat least threeinches of free air space aboveand two
inches toeither side ofamplifier
2)Donotplace theamplifier inacompletelyenclosedcabinet. Ifequipmentcabinet has asolid
front door, a “boxer” fanwill be necessarytoensure proper airflow.
3)Donotstackother components (oranyobjects whichcouldimpedeproper ventilation)on
top ofthe amplifier.
4)Donot operate the amplifer on carpet, or on anyother surface that might restrict airflow.
5)The amplifier chassis will become verywarmduring normal use.
6)Theamplifier must beinstalledinasecure, sturdy,properlybuilt (and ventilated)stand,
cabinet orenclosure. TheAuricle is heavy,and couldinflict seriousinjuryorproperty
damageifit falls, orifthestand upon whichit is place tipsover. This concernis particularly
importantinhouseholds withsmall childrenwho mighttrytoclimbfurniture. Inaddition,
care must betakentopreventpeople, pets, and flammable materials fromcoming into
contact withthe VERY HOT vacuumtubes.

Page 5
Basic Hookup:
1)Connect a volume-controlledline-level source tothe input RCA
2)Connect loudspeaker cables tothefive-waybinding posts on therear panel. Makesure that
all connectionsare tight(DoNOT over tighten,ordamagetoamplifier orspeaker cable may
result), and that heavyor bulkycables are properlystrain-relieved.
4)Connect theAC power cordtotheIEC connectoron therear panel. ALWAYS connect
power cordtocomponentbefore plugging it intoan AC outlet, and makesure that unit’s
power switchis set tothe“off”position before making thefinal connection.Forbest
performance, trytoroute the power cordawayfromsignal cables.
5)Set theTEST switchtoilluminate thetwofrontLED’s. Watchthemas theamplifier warms
up, adjusting output tube bias as necessary. (See “Output Tube Bias Adjustment”, below)
Aswithall high performance audioproducts, thesonic characteristics ofall VAC products will
continue toimprove during the first several hundredhours ofuse.

Page 6
Output Tube Bias Adjustment:
Youramplifier has beenshippedwiththeoutputtubebias properlyset. Nonetheless, it shouldbe
checkedwhenyou install youramplifier and approximatelyonce everymonththereafter. It must
alsobe adjustedeachtime a tube is replaced.
Adjustmentof theoutputtubes is quite easy,and requires onlyasmall screwdriver. Onthefront
panel are twobi-colorLEDs, eachwithanadjacentadjustmentcontrol. ViewtheLEDsfrom
directlyfromabove. Adjust theLEDstobegreenwhentheamplifier is notplaying music. To set,
turnthecontrolclockwise until theLED just beginstochangetoanamber/redcolor, and thenback
the control off just slightlytorestore the pure greencolor.
Asmusic plays, theLEDswill varyfromgreentored.Checkthebias ifyou ever see anLED stay
redwhile music is notplaying,orifanLED does nottend towardamber orredwhenmusic is
playing.Iftheflashing oftheLEDsis bothersomewhile listening,theswitchon thefrontlabelled
"Bias Test" canbeset to"0",disabling theLEDs. Theswitchmust thenbeset to"1"tocheckthe
bias ofthe output tubes.
Anytubethat cannotbeadjustedtothecorrect bias pointshouldbereplaced.Anytubewhich
requires constant readjustment shouldbereplacedimmediately.Never operate theamplifier with
anLED that shows redwhenmusic is not playing.
Wheninstalling newtubes, set thebias controls fullycounter-clockwise. Checkthebias ofboth
channels as the amplifier warms up - don't wait tenminutes.
Bias levels shouldbecheckedmonthlytoensure optimumsound quality.It is notunusual forthe
bias tochangewithtime, particularlywhentubes are new.Thegreatest amountofdriftoccurs
during thefirst 200 hours ofatube'slife. Thedriftmaychangedirection periodically,suchthat the
bias controlmust beincreasedand later decreased,orvice versa. Checkbias ifthesound seems
lacking indetail or dynamics.
Matching ToYour Loudspeakers
Likemanymoderntubeamplifiers, theAuricle includes multiplematchtapsforthespeaker
outputs. DoNOT assumethat thesetting whichcorrespondstoyourspeakers’ publishedimpedance
specification will yieldthebest sound.Duetothevariousstandardsbywhichimpedance canbe
measured,nottomention thefact that aspeaker’s impedance varies withfrequency,it is impossible
toassert withcertaintywhichoutput tapwill yieldthe best sound. For this reason, VAC strongly
suggests auditioning yourspeakers through all settings. Ingeneral, wefind that aspeaker’s
minimumimpedance is more importantthanits nominal (average) impedance whendetermining
whichsetting is correct. Alackofbass response oftenindicates that alower impedance setting
shouldbe tried.
Page 7
CHASSISCARE
Although youramplifier is extremelydurable, its finishcanbescratched,chippedordamagedif
improperlytreated.Cleaning withasoft, dampclothwhile theamplifier is switchedoff and
unplugged shouldrestore thefinishtoits original lustre. Never cleanwithharshorcaustic cleansing
agents.
Whenshipping youramplifier, becertaintowraptheamplifier inthecloth,tissueorplastic wrap
inwhichit was originallypackaged. VAC is not responsible forcosmetic damage resulting from
improper care or packing.

Page 8
GENERAL INFORMATION ABOUT TUBES
It is truethat eachbrand oftubesoundsdifferentinaparticular high resolution circuit. This is
because no twomanufacturers makeatubetypeinquite thesameway,and thecentral tendencies
ofthe performance parameters will differ slightlywitheachmaker.
This sonic variabilitymayat first seemaliability,butfurther thoughtwill reveal that it is an
advantage. Theowner ofatubeamplifier canselect those tubes whichsound likethereal thing in
his/her specific system. VAC canrecommend the best tubes for your amplifier.
Normallyvacuumtubes shouldlast for4,000 to12,000 hours ofuse, ortwototenyears formost
users. There are alwaysoccasional exceptions, long orshort. Ifyou havetoreplace atubebefore,
say,3,000 hours, just replace thesingle tube. Ifyou havetoreplace atubeat 8,000 hours, replace
themall and keepthose still functioning well as spares
VAC will be happytotest tubes for concernedcustomers.
Installing NewTubes:
Original EquipmentReplacementtubes are available fromVAC.These tubes ensure youramplifier
will meet or exceedall factoryperformance specifications.
Before replacing tubes, all power must beoff.Mute unit, place power switchinthe“off”position
and unplug power cord.Removecover and oldtubes ONLY after theunit has cooleddown(In
normal use, tubes becomehotenough tocause seriousburns. Allowseveral minutes fortubes to
coolbefore attempting toremoveorreplace.) Install thenewtubes fullyfirmlyintheir sockets,
taking care toobservethedirection ofthelocating ridgeintheplastic center pinofthelargeKT88
outputtubes’ metal &phenolic base. With9-pinminiature 12AU7tubes, makesure that pinpattern
corresponds toholes intube socket.
Whenchanging KT88 tubes, turnthebias controlcorresponding tothenewtubefully
counterclockwise. After turning theunit on and allowing it toreachnormal operating temperature,
followthe normal biasing procedure.
Intheeventthat trouble is encountered,switchpower tothe“off”position,checkthat all tubes are
correctlyseatedintheir sockets and checkall signal, speaker and power connections. Ifpossible,
tryanother tube. Iftheproblempersists, please consult yourVAC dealer orcontact thefactory
directly.

WARRANTY
Yourequipmentis warrantedforaperiod ofthirty(30)daysfromthedate ofpurchase. Inaddition,
iftheregistration formis receivedbyVAC along withacopyofyoursales receiptfroman
authorizedVAC dealer withinthis thirtydays, aservice contract will beextendedtocover your
equipmentforthree (3)years (tubes excepted). This warrantyapplies onlytounits soldinthe
UnitedStates ofAmerica through authorizedVAC dealers and operatedwithintheUnitedStates
bytheoriginal owner. It covers factoryservice, and,withinthecontinental UnitedStates, standard
returnshipping.Forwarrantyinformation outsideoftheU.S.contact theimporter ofVAC
equipmentforyourcountry.Units soldoutsideoftheU.S.shouldstill beregisteredwithVAC.It
is responsibilityofthedealer and customer todeterminesuitabilityofthis unit foragiven
application.
Your questions and comments are always welcome. Contact:
Valve Amplification Company, Inc.
1911 East Avenue North
Sarasota, FL 34234 USA
Telephone941 952 9695
Facsimile941 952 9691
E-mail info@vac-amps.com

VAC AURICLE MUSICBLOCREGISTRATIONFORM
mail to VAC soon as possible.
Name______________________________________________________________
Address______________________________________________________________
______________________________________________________________
Telephone______/______-_____________E-Mail __________________________
Dealer name______________________________________________________________
"address______________________________________________________________
Purchasedate______________________SerialNumber __________________________
Salesperson______________________________________________________________
Howdid you firstlearn ofVACproducts?
__________________________________________________________________________
Whatother brands and models did you consider?
__________________________________________________________________________
__________________________________________________________________________
Whatmadeyou decideon theVAC?
__________________________________________________________________________
__________________________________________________________________________
Pleaseprovideanycomments on VACproducts oryourdealer
__________________________________________________________________________
__________________________________________________________________________
Whatmagazines do you read regularly?
________________________________________________________________________
________________________________________________________________________
Whatare yourhobbies?
________________________________________________________________________
Whatare yourfavoritetypes ofmusic?
________________________________________________________________________
________________________________________________________________________
Table of contents
Other VAC Amplifier manuals

VAC
VAC PA80/80 User manual

VAC
VAC Renaissance Mk II Setup guide

VAC
VAC Renaissance Signature Mk II Setup guide

VAC
VAC Vintage Mk III User manual

VAC
VAC Standard Preamplifier User manual

VAC
VAC Phi Alpha Musicbloc I60 User manual

VAC
VAC Phi 300 Setup guide

VAC
VAC Phi Beta ? 110i Beta Setup guide

VAC
VAC Standard LE User manual

VAC
VAC CPA1 Mk III User manual

VAC
VAC Musicbloc Master 300 iQ Setup guide

VAC
VAC Sigma User manual

VAC
VAC Sigma 160i Setup guide

VAC
VAC VAC PA100/100 User manual

VAC
VAC Vintage Line Stage Mk II User manual

VAC
VAC Vintage Line Stage Mk II User manual

VAC
VAC ?200 Phi Two Hundred Setup guide

VAC
VAC Phi 300.1 Setup guide

VAC
VAC Statement 450 Setup guide

VAC
VAC Phi Beta Triode Setup guide