2
DEUTSCH
HARD BACK PRO
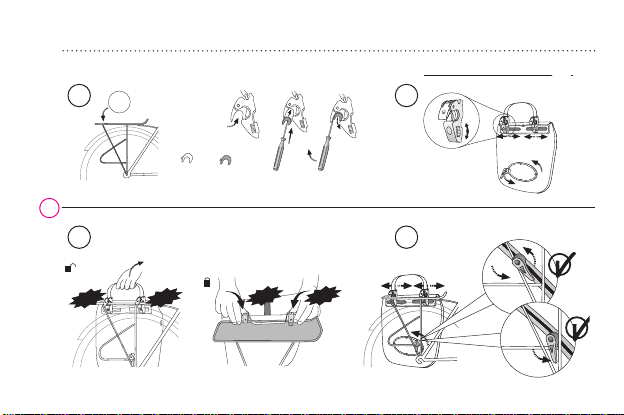
Die QMR Haken der Hard Back Pro Halterung können
mit Hilfe der beiligenden Adapter an unterschied liche
Rohrdurchmesser des Gepäckträgers angepasst wer-
den (1).
Zur Montage, Arretierungsrädchen der QMR-Haken
lösen und deren Position einstellen. Arretierungs-
rädchen wieder festdrehen und somit Hakeposi tion
fi xieren (2). Durch ziehen des Haltegriffs der Tasche
springen die QMR Haken auf. Anschließen Tasche am
Gepäckträger einhängen und andrücken, die QMR-Ha-
ken rasten dann automatisch mit einem „Klick“ein (3).
Nun die Fixierungsschraube des unteren Führungsha-
ken lösen (Vorsicht: maximal zwei Umdrehungen) und
den Haken so verschieben und drehen, dass er am Ge-
päckträger einhakt (4). Abschließend Fixierungsschrau-
be wieder mit normaler Handkraft anziehen (Vorsicht:
nicht überdrehen). Hinweis: wenn möglich den unte-
ren Führungshaken am Gepäckträger in Fahrtrichtung
ausrichten, dies verhindert ein Verrutschen der Tasche
auch bei starken Bremsmanövern. Diese Einstellung ist
nur einmal, vor dem ersten Gebrauch notwendig.
INHALT
Hard Back Pro ........................................................... 2
Cycle ............................................................................ 4
Plug and Ride ............................................................5
Top Case ..................................................................... 6
Karakorum ................................................................. 7
Lenkertaschen mit KLICKfi x® ................................ 7
VAUDE Satteltaschen .............................................. 8
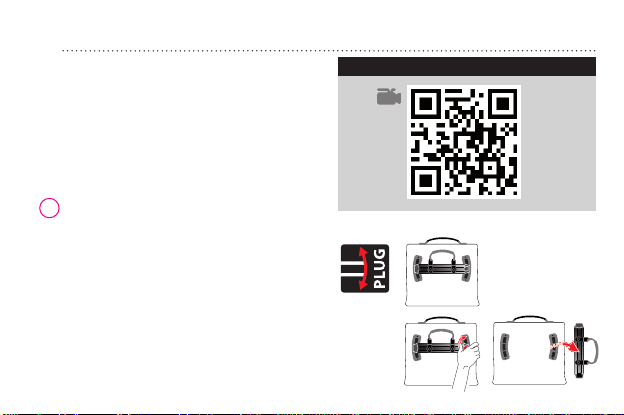
VIDEO
QUICK GUIDE