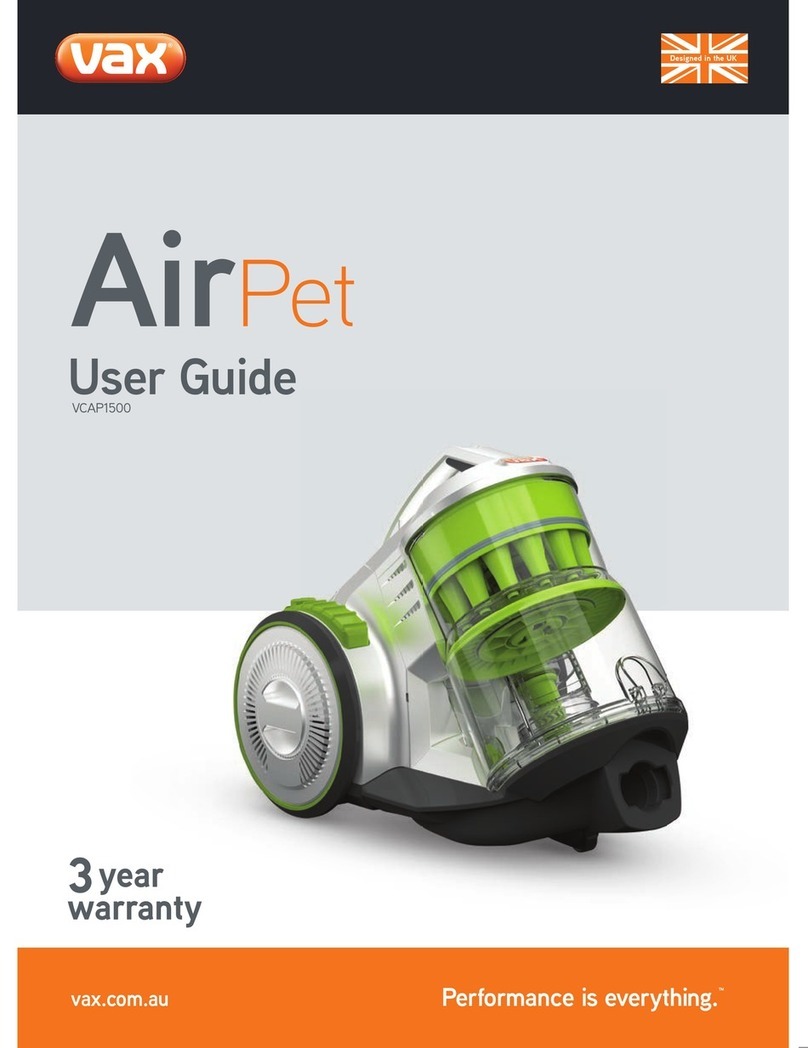
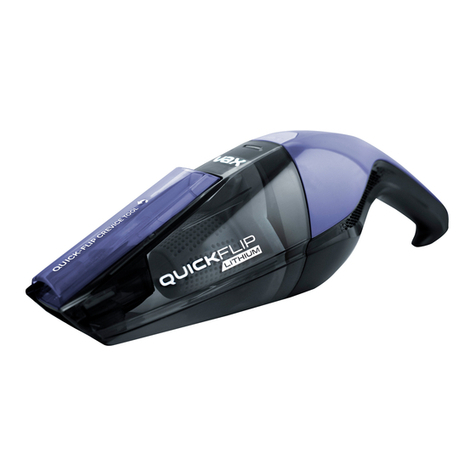
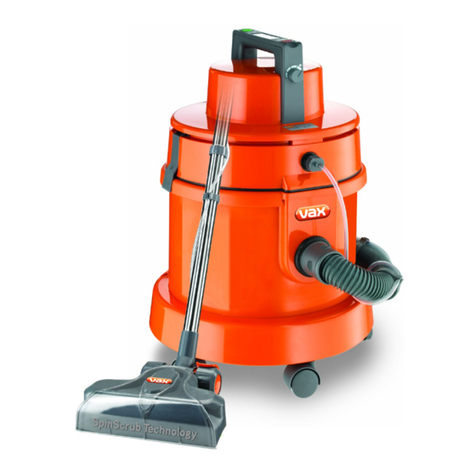
Vax Power Advance VX77 Installation instructions

LET’S GET STARTED.
VX77
CYCLONIC
BARREL
VACUUM
vax.com.au
vax.co.nz
Power Advance
VACUUM CLEANER

Let’s talk safety
Basic
safety
precautions
Don’ts
Do’s
This vacuum cleaner is intended for household use only and
NOT for commercial or industrial use.
READ ALL THE INSTRUCTIONS BEFORE USING
THIS APPLIANCE
• Only use the vacuum cleaner indoors and keep the area you’re
cleaning well lit.
• Keep ngers, hair and loose clothing from moving parts and
openings whilst using the vacuum cleaner.
• This appliance is not intended for use by persons (including
children) with reduced physical, sensory or mental capabilities
or lack of experience and knowledge unless they have
been given supervision or instruction concerning use of the
appliance by a person responsible for their safety.
• Don’t pull or carry by cord, use cord as a handle, close a door on
cord, or pull cord around sharp edges or corners. Do not place
product on cord. Do not run appliance over cord.
• Don’t handle the plug or use the vacuum cleaner with wet hands.
• Don’t use the vacuum cleaner with incorrect voltage as this may
result in damage or injury to the user. The correct voltage is
listed on the rating label.
• Don’t vacuum up hot coals, cigarette butts, ash, matches or
smoking hot burning items or use in an area where there may be
harmful uids (chlorine, bleach, and ammonia drain cleaner).
• Always make sure the lter and dirt container are tted
correctly before using your vacuum cleaner.
• Turn o all controls on the vacuum cleaner before
disconnecting or connecting the battery.
• Take extra care when cleaning on the stairs.
• Always switch o the vacuum cleaner before disconnecting
or connecting the hose and accessories.
• Always protect the cord from heated surfaces
or near open ames.

Children should not play with the vacuum cleaner. Cleaning and user
maintenance should not be made by children without supervision
• Only Vax recommend tools and accessories should be used with this
vacuum cleaner
• Vax recommends the use of a Residual Current Device rating of 30 mA or less.
• If the supply cord is damaged, it must be replaced by the manufacturer,
or similarly qualied person in order to avoid a hazard, or invalidating
the warranty.
• IMPORTANT: The motor is equipped with a thermal cut-out. If for any
reason the unit should overheat, the thermostat will automatically turn the
unit o. Should this occur, unplug the vacuum cleaner from the electrical
outlet and turn o the switch. Remove dirt container and empty. Clean
lters. Allow the unit to cool for approximately one (1) hour. To re-start,
plug into an electrical outlet and switch back on.
• Don’t pull or carry by cord, use cord as a handle, close a door on
cord, or pull cord around sharp edges or corners. Do not place
product on cord. Do not run appliance over cord.
• Don’t handle the plug or use the vacuum cleaner with wet hands.
• Don’t use the vacuum cleaner with incorrect voltage as this may
result in damage or injury to the user. The correct voltage is
listed on the rating label.
• Don’t vacuum up hot coals, cigarette butts, ash, matches or
smoking hot burning items or use in an area where there may be
harmful uids (chlorine, bleach, and ammonia drain cleaner).
• Don’t attempt to remove blockages with sharp objects as this may cause
damage to the vacuum cleaner.
• Don’t vacuum hard or sharp objects such as glass, nails, screws or coins etc.
• Don’t not vacuum plaster dust, concrete dust or any other building
or vitreous material.
• Don’t vacuum our, baking soda or any other powder-based carpet refresher
or deodoriser.
• Don’t use this vacuum cleaner if it has been dropped, damaged or left outdoors.
• Don’t vacuum up any ammable or combustible materials (lighter uid, petrol,
kerosene etc.) or use the vacuum cleaner in an area with explosive vapours
or liquid.
• Use only SAA approved 10amp extension cords. Care should be taken to
arrange the extension cord as it can be a trip hazard.
• Always carry the vacuum cleaner by the handle.
• Store your vacuum cleaner in a cool, dry area.
• Always keep the power cord away from the brushes whilst using your
vacuum cleaner.
PLEASE KEEP INSTRUCTIONS FOR FURTHER USE.
Thank you for buying this Power Advance Barrel Vacuum.
Taking care of your carpets and hard floors
The Power Advance Barrel Vacuum is designed to make vacuuming carpets and hard oors
regularly as eective and efficient as possible and this user guide will help you get the most out
of your machine. Maintaining your carpets will ensure they keep their appearance for longer.
You’ve chosen the carpets and hard oors for your home for a reason and Vax will help you take
good care of them.
Taking care of your Power Advance Barrel Vacuum
Also inside this guide are instructions on maintaining your new machine, so that it’s always ready
when you are to tackle your carpets and hard oors.
We’re here if you need us
For troubleshooting simply visit or call:
Australia: 1300 VAX AUS (1300 829 287)* vax.com.au
New Zealand: 0800 VAX NZL (0800 829 695)* vax.co.nz
*Monday – Friday: 8:30am -5:00pm
Calls are charged at the standard local rate. Please make note of the serial
number and model number of the product before calling.

Contents
Let’s talk safety
Getting to know your machine
Getting started
Using your machine
Taking care of your machine
What to do if it goes wrong
Getting in touch
Accessories
Notes
Power Advance Barrel Vacuum
Included with
your machine
Filters
TurboTool
Dusting brush
Crevice tool
Upholstery tool
Combination oor head
Extension tube
and tool caddy
Hard oor tool
Pre-motor lter
Hose and handle
HEPA anti-bacterial
post-motor lter
Turbobrush

Getting to know your machine
Name Power Advance Vacuum
Model VX77
Voltage 220-240V ~50Hz
Wattage 2400W
Cord length 8m
Weight 6.3kg
Dust Capacity: 4L
Technical Specification
Subject to technical change without notice.
Filter pack*
VCP7PTFLT2
Accessories & Consumables
*To purchase consumables and accessories, please visit vax.com.au Made in China.
Double
Insulated
This product
meets applicable
regulatory
requirements
Indoor
Use
Only
Read
Instructions
Carry handle
Cyclone separator and shroud
Hose connector
On/o button
Variable power dial
Floor head parking slot
Dirt container
Dirt bin release button
Cord rewind button
Wheel

Assembling your vacuum cleaner
Keep your Vax like new
PLEASE READ ‘LET’S TALK SAFETY’ AT THE BEGINNING BEFORE USE
Getting started
*To purchase consumables and accessories, please visit vax.com.au Made in China.
CAUTION: Always switch o the vacuum cleaner before connecting or disconnecting the hose/attachments,
or removing and emptying the dirt container.
NOTE: The Turbobrush, hard oor tool, crevice tool, upholstery tool and dusting brush can all be attached directly
to the telescopic tube or hose handle. The TurboTool should be attached via the supplied connector.
Hard oors
Carpets
IMPORTANT: The condition of the lters aects the performance of your machine. Please check, clean and replace
lters periodically (depending on the level of use). For full cleaning instructions, see “Cleaning the pre-motor lter”
and “Cleaning the post-motor lter”.
IMPORTANT: Do not use the vacuum cleaner with blocked lters and without all of the lters in place.

Using your machine
Operating the appliance
Adjust the variable power dial to
increase or decrease the suction.
Fully unwind the power cord.
A yellow mark on the cord
indicates the recommended cord
length. Do not exceed the cord
length beyond the yellow mark.
12
Taking care of your machine

WARNING: Always switch o and unplug the vacuum cleaner from the electrical socket before assembling,
opening or emptying the dirt container or before connecting/disconnecting the attachments.
IMPORTANT: Filters need to be cleaned every time you empty the dirt container for best cleaning results.
Do not use your vacuum cleaner with blocked lters and without ALL the lters in place.
NOTE: For convenience there is a parking slot located at the rear of the vacuum cleaner where the oor head
and tubes can be attached for storage and carrying.
Packing away and storage
Emptying and cleaning the dirt container
Taking care of your machine
12
1
2

Taking care of your machine
IMPORTANT: Water temperature should not exceed 40°C when washing the pre-motor lter. Allow to dry
completely before replacing in the vacuum cleaner.
Cleaning the pre-motor filter
24hr
Tap to remove excess dirt for
a quick clean.
Wash when a deeper clean
is needed.
40�C max
!
!
!
!

Taking care of your machine
Cleaning the shroud
NOTE: The shroud isaccessed by removing the dirt container lid and is located underneath the pre-motor lter.
IMPORTANT: Water temperature should not exceed 40°C when washing the shroud. Allow to dry completely
before replacing in the vacuum cleaner.
24hr
40�C max
!
!
!
!
tap

Taking care of your machine
Hose blockages
The exible hose may be disconnected from the vacuum
cleaner. Carefully remove any blockages found and
reconnect the hose securely.
Accessory blockages
Remove accessory from the hose/telescopic tube.
Carefully remove the blockage and return to the cleaner.
WARNING: Do not wash post-motor lter.
WARNING: To reduce the risk of electric shock, the power cord must be disconnected before performing
maintenance/troubleshooting checks. Turn the vacuum cleaner o and unplug from the electrical socket.
Cleaning the post-motor filter
Clearing blockages
tap
Tap to clean.

Taking care of your machine
Removing blockages from the TurboTool
Removing blockages from the Turbobrush
A
B
Replace the bottom cover, insert
and tighten the screws.
Clean the TurboTool by removing
the 2 screws (A), located on the
bottom cover, with a crosshead
screwdriver.
Switch the vacuum cleaner o
and disconnect the power plug
from the electrical outlet.
Lay the Turbobrush on a at
surface and turn over to expose
the brushbar. Using a pair of
scissors, cut through any threads
or hairs caught around the
brushes and brushbar.
Take care not to cut the brushes.
Remove the bottom cover (B).
Clean out any debris or hair from
the brushbar and turbine fan.

• Check the ‘Contents’ page in this guide to make sure the part is
denitely included in your unit.
• If it is missing, we’re here to help. Simply call us on
AUS: 1300 VAX AUS (1300 829 287)
/ NZ: 0800 VAX NZL (0800 829 695)
• The dirt container may be incorrectly installed; remove the dirt container
from the unit by pressing the dirt container release catch and then re-
attaching it to the unit, ensuring it is locked rmly back into place.
• The lter may be clogged; refer to ‘Taking care of your machine’.
• The dirt container may be blocked; refer to ‘Taking care of your
machine – Cleaning the shroud’.
SolutionProblem
CAUTION: To reduce the risk of personal injury, unplug the product before performing
maintenance/troubleshooting checks.
What to do if it goes wrong
There is an
accessory missing.
Why won’t the vacuum
cleaner pick up?
Why is dust escaping
from the vacuum?
• The lter may be clogged; refer to ‘Cleaning the pre/post lter’.
• The dirt container may be blocked; refer to ‘‘Taking care of your
machine – Cleaning the shroud’.
• The dirt container may be incorrectly installed; remove the dirt container
from the unit by pressing the dirt container release catch and then
re-attaching it to the unit, ensuring it is locked rmly back into place.
What do I do if the unit/
an accessory becomes
damaged or broken?
Why won’t the accessories
pick up properly?
Why will the vacuum
cleaner not run?
• We’re here to help. Simply call AUS: 1300 VAX AUS (1300 829 287)
/ NZ: 0800 VAX NZL (0800 829 695) or visit vax.com.au
• Hose blockages: remove the hose from the unit. Carefully remove any
blockages found and reconnect hose securely.
• Accessory blockages: remove accessory from handle/tube. Carefully
remove blockage and re-attach to the vacuum cleaner.
• The accessory may be faulty. Simply call us on AUS: 1300 VAX AUS
(1300 829 287) / NZ: 0800 VAX NZL (0800 829 695)
for assistance.
• It may not be plugged into the electrical outlet correctly; ensure that
the plug is pushed in securely.
• The electrical outlet may not be working properly; check the fuse
or breaker, or consult an electrician.
• The motor thermostat may have tripped; switch o and unplug the
vacuum cleaner, and leave for one hour before switching the cleaner
back on.
Getting in touch

* Calls are charged at the standard local rate. Please make a note of the serial number and model number of the vacuum cleaner
before calling.
Getting in touch

Accessories
Notes
Don’t forget your accessories!
Pro Cleaning Kit
Model no. VPCK
Crevice tool
For awkward gaps and crevices.
Upholstery attachment
Gently cleans large areas of upholstery, curtains,
sofas and chairs.
Pet hair removal attachment
Tackles stubborn pet hair on furniture, rugs and carpets.
Stubborn dust brush attachment
Removes built up dust from skirting, banisters and corners.
Mattress Tool
Quickly and easily removes
embedded dust from mattresses.
Radiator Tool
Long slim design, is perfect for cleaning behind
and inside the radiator.
Up Top Tool
Ideal for reaching those hard to reach
high areas.
Soft Brush
Gently removes dust and dirt
from delicate surfaces such
as tiles and glass without
scratching.
Filter Pack
Model no. VCP7PTFLT2
Includes pre-motor lter and pre-motor lter.

Accessories
Notes

Notes
Notes

Notes
Notes

Distributed by
Techtronic Industries Australia Pty Ltd
31 Gilby Road, Mount Waverley, VIC 3149, Melbourne, Australia
Careline AU: 1300 VAX AUS (1300 829 287) www.vax.com.au
Techtronic Industries N.Z. Limited
2 Landing Drive, Mangere, Auckland, 2022, New Zealand
Careline NZ: 0800 VAX NZL (0800 829 695) www.vax.co.nz
Table of contents
Other Vax Vacuum Cleaner manuals

Vax
Vax Astrata Power VZL-401 User manual

Vax
Vax MachAir UCA1GEV1 User manual

Vax
Vax U91-P1 SERIES User manual

Vax
Vax Dynamo Power Total Home User manual

Vax
Vax FORCE 10 CYCLONIC User manual

Vax
Vax Sirit VR300 User manual

Vax
Vax C87-T2 Series User manual

Vax
Vax U85 User manual

Vax
Vax Essentials VEC-102 User manual

Vax
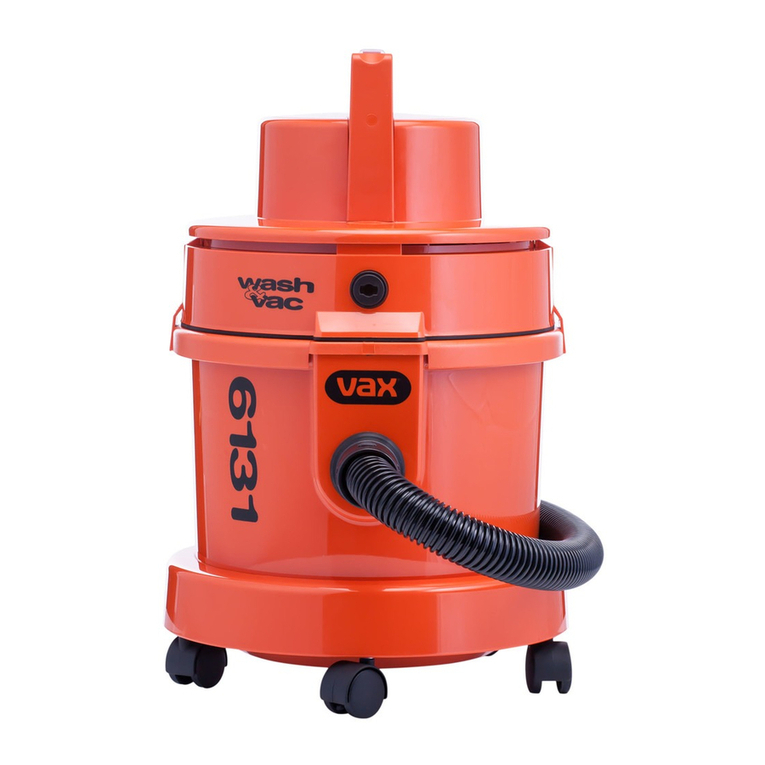
Vax 6131 User manual

Vax
Vax U90-P1 Series POWER1 User manual

Vax
Vax C91-MZ SERIES User manual

Vax
Vax Rapide Ultra W90-RU User manual

Vax
Vax VZ-701 User manual

Vax
Vax Agility Compact V-128 User manual

Vax
Vax V-043 User manual

Vax
Vax Bagged Cylinder User manual

Vax
Vax essentials VEU-104 User manual

Vax
Vax Rapide Spring V-021 User manual

Vax
Vax V-043 User manual