manuals.online logo
Brands
  1. Home
  2. •
  3. Brands
  4. •
  5. VDO
  6. •
  7. Measuring Instrument
  8. •
  9. VDO A2C59519487 User manual

VDO A2C59519487 User manual

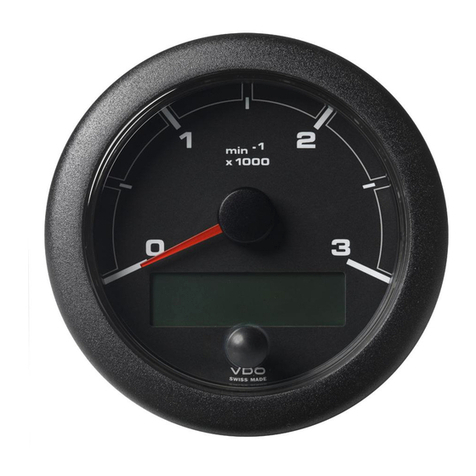
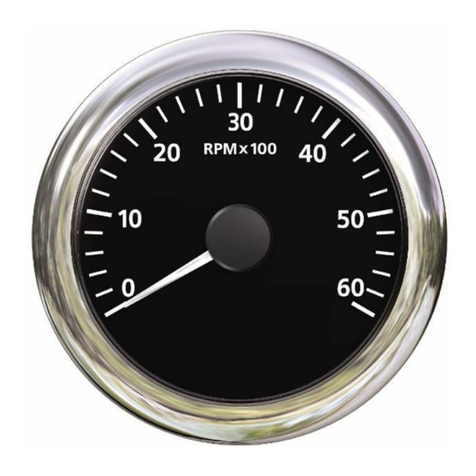
Tach With Display 85mm
Tech Support 1-800-265-1818
http://usa.vdo.com Instruction Sheet # A2C59519487 Rev 11-2010
Gauge Installation:
1. Select the desired mounting location of the instrument.
2. Depending on your mounting situations it might be
necessary to configure the gauge before installation.
See page 2 - Setting up the Tachometer.
3. Mount the gauge and secure with the VDO Spin-Lok™
Clamp.
(See page 4 for mounting options and instructions)
Wiring the Gauge (Illustration A):
1. Route wires from the instrument to:
(a) the battery (+) constant power after the fuse box or
user supplied in-line fuse – 5 amp fast-blow.
(b) the battery (+) after the ignition switch and after the
fuse box or user supplied in-line fuse – 1 amp fast-
blow.
(c) the light switch after the fuse box or user supplied in-
line fuse -1 amp.
(d) a good, dedicated ground location.
(e) the Ignition Coil - Negative terminal, Alternator W
terminal, Inductive , Generator , or Hall Effect Signal
(f) the Inductive or Generator.
2. Connect the harness according to the following wiring
Matrix:
Pin Description
1 Red - Battery constant (+12 / 24 V)
2 Black - Ground
3 Blue/Black - Sender Signal -
4 Brown - Battery switched (+12 / 24 V)
5 Green - Sender Signal +
6 Blue/Red - Illumination (+)
7 Not Connected
8 Not Connected
Note - Use 18 AWG for wire harness
Read these instructions thoroughly
before installation. Do not deviate
from assembly or wiring diagram.
Always disconnect battery ground
before making any electrical
connections.
IMPORTANT: Mounting dimensions
vary for different gauges. Please
be certain to follow the instructions
for your specific gauge.
Parts List
Item Description Qty
1 85mm Gauge 1
2 Spin-Lok™ Clamp 1
3 Gasket 1
4 8 pin Harness 1
5 14 pin Harness 1
6 Push-button 1
7 Instruction Sheet 1
Merchandise warranted against defects in factory workmanship and materials for a period of 24
months after purchase. This warranty applies to the first retail purchaser and covers only those
products exposed to normal use or service. Provisions of this warranty shall not apply to a VDO
product used for a purpose for which it is not designed, or which has been altered in any way
that would be detrimental to the performance or life of the products, or misapplication, misuse,
negligence or accident. On any VDO part or VDO product found to be defective after
examination by manufacturer, manufacturer will only repair or replace the merchandise through
the original selling dealer. Manufacturer assumes no responsibility for diagnosis, removal and/or
installation labor, loss of vehicle use, loss of time, inconvenience or any other consequential
expenses. The warranties herein are in lieu of any other expressed or implied warranties,
including any implied warranty or merchantability of fitness, and any other obligation on the part
of manufacturer, or selling dealer.
I
llustration A
Tach With Display 85mm
Tech Support 1-800-265-1818
http://usa.vdo.com Instruction Sheet # A2C59519487 Rev 11-2010
Programming the Tachometer (Illustration B):
Operation Basics:
Short Press (< 2sec.) - Long Press (> 2sec.)
The Configuration button must be connected before
programming can be done.
The display will return to normal operation if a button is not
pressed for 30 seconds. Any settings you have made will
not be saved.
Setting the Pulses per Revolution: (0.5 to 399.9 pulses)
1. With the ignition switch off, hold in the Configuration
button.
2. Turn ignition on.
3. Release the Configuration button.
4. “Pulse” will appear on the display.
5. Long press to get to the pulse setting screen.
6. Short press will increase the value of the flashing
number by 1.
7. Long press to move to the next position.
8. Long press to exit pulse setting.
9. “Pulse” will appear on the display.
10. Turn off ignition.
The tachometer is now programmed. The Configuration
button can be disconnected and connected to be used as
the Mode button.
Set Unit and Alarm Threshold:
1. With the ignition switch off, hold in the Mode button
2. Turn ignition on.
3. Release the Mode button.
4. “UNIT” will appear.
5. Long press to enter UNIT menu.
6. Short press to change the clock format.
12 hour am/pm - 24 hour.
7. Long press to return to UNIT menu.
8. Short press to show “warn” on the display.
9. Long press to enter WARNING menu.
10. Short press to set RPM warning limit.
11. Short press will increase the value of the flashing
number by 1 - Long press will move to the next position.
12. Continue until right most digit is set.
13. Long press to exit.
14. Turn off ignition.
The Warning Icon in the gauge will
illuminate and the Alarm Output (Pin
13 of 14 pin connector) will trigger to
ground when the RPM's exceed this
limit.
I
llustration B
NOTE: The Push-button supplied is to
be used as a:
a) Configuration button to set up the
tachometer before use.
b) Mode button for operation of the
tachometer during normal use.
Configuration
Mode
Pin Description
11 Green/Black - Configuration
(- Trigger)
12 Green/Red - Mode (+ Trigger)
13 Red - Alarm Output
(max 100 mA)
1-10, 14 unassigned
Tach With Display 85mm
Tech Support 1-800-265-1818
http://usa.vdo.com Instruction Sheet # A2C59519487 Rev 11-2010
Mode Button:
In normal operating situations, Short press of the MODE button
will cycle through;
Total Operating
Hours Trip Hours Time Voltage
Reset the Trip Operating Hours:
1. Press the Mode key repeatedly until the trip hours are
displayed.
2. Press and hold Mode key to reset.
Setting the Time:
1. Press the Mode key repeatedly until the clock is
displayed
2. Long press the Mode button to enter clock set mode
3. Short press will increase the value of the flashing
number by 1
4. Long press to move to the next position
5. When finished, Long Press to return to clock display
To set clock format (12 / 24 hour) see Set Unit and Alarm
Threshold on page 2.
Note if Pin 1 - Battery (+12 / 24 V) – of the 8 pin
connector is disconnected, the clock will need to be
reset.
Set the Illumination intensity:
1. Long press the Mode button while the Voltage is
displayed to enter Illumination setting.
2. Short Presses will increase the value of the flashing
number by 1.
3. Long press to save the Illumination setting and return to
the Voltage display screen.

  




            
!"          
$
%  &  '    *;
<=     !    
>?""
$

@
F$J'
!          $
K'
  $   !    X
      $  "  !
!'"
$      $  "  
    "  !  
$
   
@&Y
Z&[\

$
X 
$X
            !
>]          
$$           
!JK
      '  $    
$!
"
$'
          
      
    !]    
!
*"!

$      !  ^  
@&_
X    !      !
$`
;$
            
!"          
$
Tech Support 1-800-265-1818
http://usa.vdo.com

Other VDO Measuring Instrument manuals

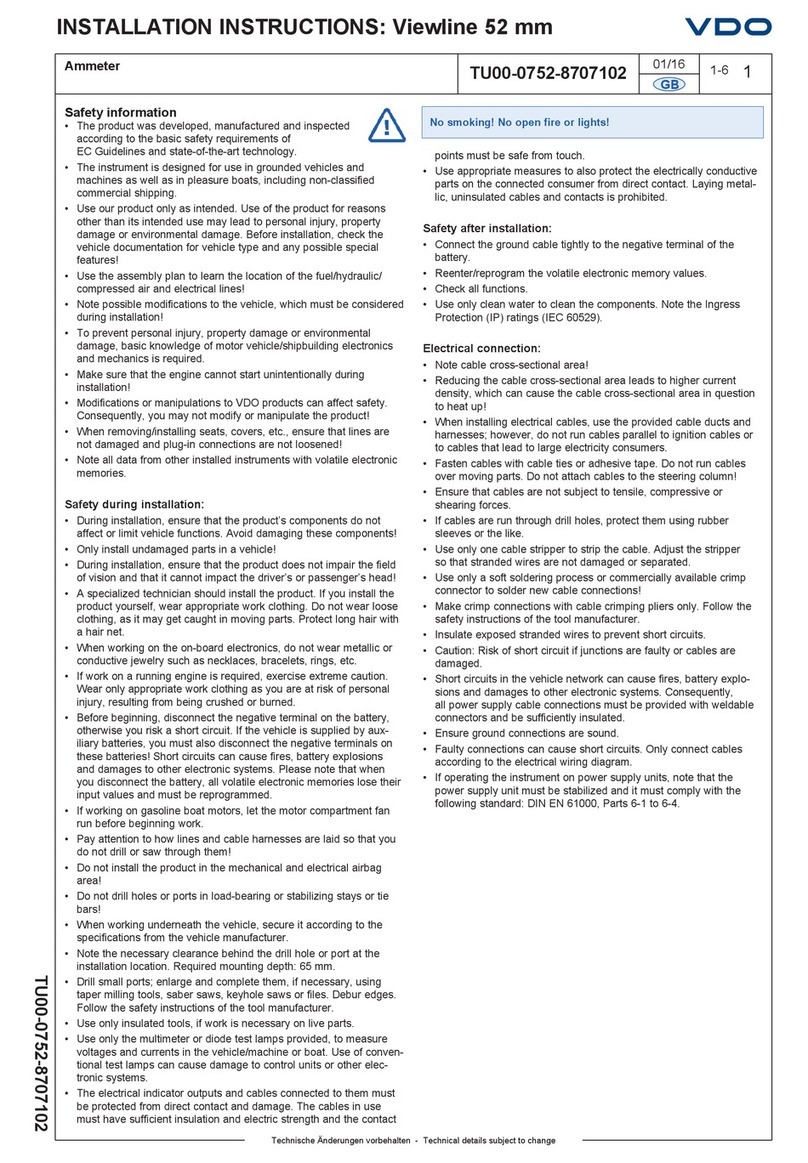
VDO VIEWLINE SPEEDOMETER User manual

VDO

VDO VIEWLINE SPEEDOMETER User manual

VDO VIEWLINE TACHOMETER WITHOUT LCD User manual

VDO

VDO VIEWLINE TACHOMETER WITHOUT LCD User manual

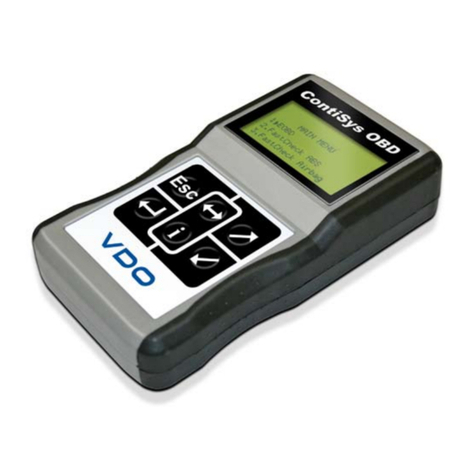
VDO CONTISYS OBD PROFESSIONAL User manual

VDO

VDO CONTISYS OBD PROFESSIONAL User manual

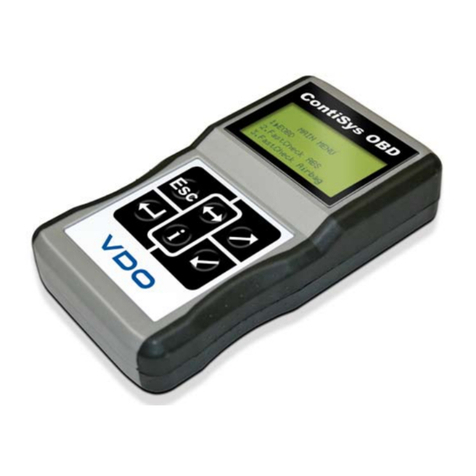
VDO CONTISYS OBD - V3.0 User manual

VDO

VDO CONTISYS OBD - V3.0 User manual

VDO TPMS User manual

VDO

VDO TPMS User manual

VDO CONTISYS SCAN User manual

VDO

VDO CONTISYS SCAN User manual

VDO 333.001 Install guide

VDO

VDO 333.001 Install guide

VDO CONTISYS OBD - User manual

VDO

VDO CONTISYS OBD - User manual

VDO COMPACT TACHOGRAPH KTCO 1318 User manual

VDO

VDO COMPACT TACHOGRAPH KTCO 1318 User manual

VDO TACHOMETER User manual

VDO

VDO TACHOMETER User manual

VDO CONTISYS OBD - User manual

VDO

VDO CONTISYS OBD - User manual

VDO TACHOMETER WITH COUNTER User manual

VDO

VDO TACHOMETER WITH COUNTER User manual

VDO TU00-0752-5807102 User manual

VDO

VDO TU00-0752-5807102 User manual

VDO GPS Speed Sender User manual

VDO

VDO GPS Speed Sender User manual

VDO CONTISYS User manual

VDO

VDO CONTISYS User manual

VDO KIMAX User manual

VDO

VDO KIMAX User manual

VDO VIEWLINE TACHOMETER User manual

VDO

VDO VIEWLINE TACHOMETER User manual

VDO VIEWLINE AMMETER User manual

VDO

VDO VIEWLINE AMMETER User manual

VDO CONTISYS VCI Instruction manual

VDO

VDO CONTISYS VCI Instruction manual

VDO Ocean Link User manual

VDO

VDO Ocean Link User manual

VDO CANcockpit Series User manual

VDO

VDO CANcockpit Series User manual

VDO Ocean Link User manual

VDO

VDO Ocean Link User manual

VDO OCEANLINK - User manual

VDO

VDO OCEANLINK - User manual

VDO TU00-0752-5607150 User manual

VDO

VDO TU00-0752-5607150 User manual

Popular Measuring Instrument manuals by other brands

EUTECH INSTRUMENTS DO 700 instruction manual

EUTECH INSTRUMENTS

EUTECH INSTRUMENTS DO 700 instruction manual

Klein Tools CL900 instruction manual

Klein Tools

Klein Tools CL900 instruction manual

Polimaster PM1710A Operation manual

Polimaster

Polimaster PM1710A Operation manual

Elster ALPHA A1800 Technical manual

Elster

Elster ALPHA A1800 Technical manual

Dynalink W3-01 user manual

Dynalink

Dynalink W3-01 user manual

Servomex 1100A instruction manual

Servomex

Servomex 1100A instruction manual

Techkon SpectroDrive Short manual

Techkon

Techkon SpectroDrive Short manual

Kofloc FM31 Series instruction manual

Kofloc

Kofloc FM31 Series instruction manual

Lutron Electronics VB-8213 Operation manual

Lutron Electronics

Lutron Electronics VB-8213 Operation manual

Beta 682 Operation manual and instructions

Beta

Beta 682 Operation manual and instructions

Omega FMA 4000 user guide

Omega

Omega FMA 4000 user guide

Anritsu VNA Master MS2024B Maintenance manual

Anritsu

Anritsu VNA Master MS2024B Maintenance manual

Metreg MQMe User instructions

Metreg

Metreg MQMe User instructions

Sierra InnovaSonic 210i instruction manual

Sierra

Sierra InnovaSonic 210i instruction manual

Teledyne SP Devices ADQ quick start guide

Teledyne SP Devices

Teledyne SP Devices ADQ quick start guide

Raycus RFL-C Series user guide

Raycus

Raycus RFL-C Series user guide

Frederiksen 429700 product manual

Frederiksen

Frederiksen 429700 product manual

Tektronix SD-14 Service manual

Tektronix

Tektronix SD-14 Service manual

manuals.online logo
manuals.online logoBrands
  • About & Mission
  • Contact us
  • Privacy Policy
  • Terms and Conditions

Copyright 2025 Manuals.Online. All Rights Reserved.